By Rachael Geerts – GBI Composites Materials Engineer
Many products, especially boats, are now being manufactured with a process called Vacuum Assisted Resin Transfer Molding (VARTM), also frequently referred to as infusion. The main topics of this article are: what infusion is, how to repair an infused part with vacuum bagging vs. infusion, and the results of our study comparing a vacuum-bagged repaired laminate and an infused repaired laminate.
What is Infusion?
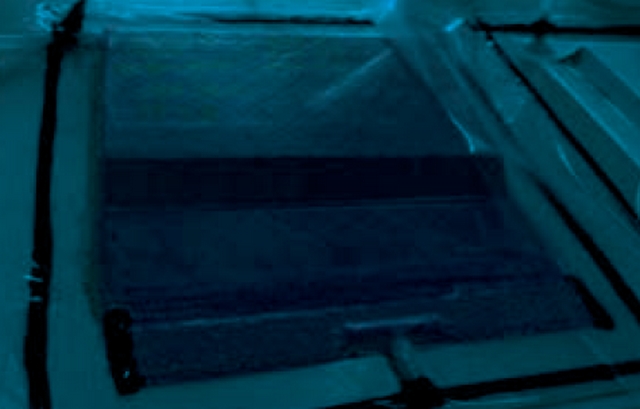
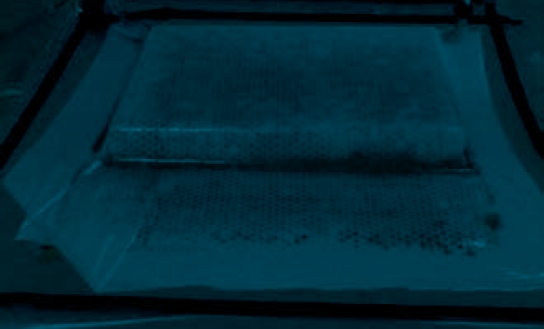
Infusion uses a vacuum to create a pressure differential between the part and a resin bath which pushes the resin into the dry laminate, wetting it out. To make an infused part the reinforcement fabric and coring are laid dry into a mold with vacuum bag, release fabric, flow media, etc. laid on top of the laminate. Then the vacuum bag is sealed and vacuum is pulled on the part. The vacuum removes the air from inside the bag so the pressure of the atmosphere acts as a clamp on the part and creates a pressure differential that allows the epoxy to be pushed into the part. The assembly is checked for leaks before the feed line(s) can be opened to infuse the part.
A low-viscosity epoxy is needed to effectively wet out the fibers during the infusion process. In general, a system with a mixed viscosity of 300-400 cps or lower should be used. WEST SYSTEM® 105 Resin mixed with any of the 200 series hardeners has a viscosity of about 650-975 cps at room temperature. Therefore, we do not recommend 105 Resin for infusion. In addition to requiring low-viscosity systems, the infusion process limits what fabric (weave types and weight) and what types of core material can be used so that the resin can flow through and wet them out. While this process works well for manufacturing composite parts, do these parts need to be repaired using the same method? No.
The rest of this article assumes that you are already familiar with the vacuum bagging process. For more information on, or to learn about, the vacuum bagging process please read my article “Vacuum Bagging Basics” in Epoxyworks 49. You can also download our Vacuum Bagging Techniques manual for free.
Repair Concerns
Strength
Strength is determined by the materials and workmanship of the repair. Reinforcement fibers take most of the loads in a laminate, so using the same type of reinforcement will help make the repair successful. A fiberglass laminate should be repaired with fiberglass, and a carbon laminate should be repaired with carbon. Additionally, matching the fiber-to-resin ratio (commonly referred to as the fiber weight percent) of the original laminate will help maintain the strength of the repair. Using a different reinforcement material or more layers than needed in the repair area can create a hard spot and can cause cracking or other issues around the edges of the repair. Typical fiber weight percents are 35-50% (hand-laminated), 60-78% (vacuum bagged), 70-78% (infused) by weight. The higher percentage of fiber will result in higher stiffness and strength for the same overall thickness.
Stiffness
Stiffness is driven significantly by thickness. When asked what weight fabric to use on a repair we recommend focusing on maintaining the original thickness rather than trying to match a specific weight of reinforcement fabric. For instance, a ¼” thick fiberglass laminate may need to be repaired. One could use a few layers of a heavyweight fabric like WEST SYSTEM 737 (17 oz. non-woven biaxial E-glass fabric) or multiple layers of a lighter weight fabric like WEST SYSTEM 742 (6 oz. woven E-glass fabric). Both are fiberglass so the strength will be nearly the same but the time spent doing the repair will vary. Areas that have more contours or where the laminate is thin are best repaired with lightweight fabrics. Meanwhile, laminates that are thick or are relatively flat, like our ¼” fiberglass laminate example, might be better repaired with heavyweight fabrics to quickly build up the total thickness.
Matching the original thickness of the laminate will ensure that the repair laminate has similar stiffness as the original laminate surrounding the repair. This will prevent cracking around the repair area due to differences in stiffness that can cause a stress concentration or “hard spot.”
To determine the number of fabric layers required to achieve a specific laminate thickness, divide the thickness desired by the single-layer thickness of the tape or fabric you intend to use. The table above gives the average thickness of a hand laid laminate, so you should take into consideration the fact that vacuum bagging the laminate will consolidate it about 5%-10%.
The fiber weight percent, the ratio of fibers to epoxy by weight, affects the thickness. When vacuum bagging or infusion processes are used to increase fiber weight percentage, the amount of resin is reduced. This results in a thinner laminate and needs to be accounted for when determining the number of plies.
Weight
Although the weight of the repair may not be a concern, it is important to remember that the properties of a laminate are affected by the fiber weight percent. The fiber weight percent is the ratio of fibers to epoxy by weight. As described above, the fiber weight percent can vary depending on the application method. The overall weight of the repair is influenced by the materials selected for the repair, and just like the strength of the repair, it is also influenced by the workmanship. We can control our fiber weight percentage which improves the properties of the repair laminate.
The Repair
Surface Preparation
The damaged laminate should be removed and then beveled out to increase the surface area for bonding the new repair. The surface should be beveled at a minimum of a 12:1 ratio. When repairing a cored laminate, the core thickness should not be included in the bevel ratio, only the skin thickness of the repair area. Read section 4.1 of our Fiberglass Boat Repair and Maintenance Manual for more about beveling the surface. The bonding surface should be sanded with 80-grit and cleaned of all contaminants and loose debris. After this step, the processes differ between infusion and vacuum bagging.
Vacuum Bagging
For a vacuum-bagged repair, the layers of the laminate should be wet out and laid down one at a time to build the laminate. Then the vacuum bag consumables (peel ply, breather, vacuum bag, etc.) are applied and the vacuum is pulled down.
There are several disadvantages and advantages to the vacuum bagging process. The application of epoxy can cause more of a mess than infusion. This process also results in varying fiber weight percent and is more susceptible to a higher void content. However, the fiber weight percent can be better controlled by measuring and mixing only enough epoxy to wet out the fabric. For hand-laminated parts, this is typically about 50% by weight of the total laminate. Once the vacuum is pulled down on the part, the laminate will be compressed, squeezing out the excess epoxy which is absorbed by the breather fabric increasing the fiber weight percentage. The vacuum bagging process is also more user-friendly for the do-it-yourselfers because it requires less vacuum pressure and gives a wider range of materials that can be used in the repair laminate compared to infusion.
Infusion
Infusion also has its own disadvantages and advantages. The infusion process requires a higher vacuum pressure and can end up using the same amount or even more epoxy than a vacuum-bagged repair. Extra resin is needed to fill the feed line(s) and have enough left in the bucket so that no air is pushed into the part, which can create voids in the laminate. More vacuum pressure is needed to create the pressure differential that drives the resin into the laminate and to keep the part consolidated. This also means that the repair area needs to be sealed really well. Any air leaks could cause dry spots (areas not wet out well with epoxy), affect the consolidation of the laminate and cause other issues. Sealing a cored laminate can be a challenge. If the core is open-cell, the repair area would need to be sealed off with resin to even have a chance at pulling good vacuum pressure.
Solid laminates might not be quite as challenging to make vacuum-tight but still could be difficult depending on the backing material. Backing materials only need to be used if the repair is on a hole in the laminate. Manufacturers have the benefit of being able to do the repairs in the mold, so the backing of the repair is the mold surface. For the average do-it-yourselfer, making a mold to put the part in to do the repair is not a realistic option. You may be able to shape a piece of foam or wood and seal it with a coat or two of epoxy to use as a backing for the repair. Just remember that it needs to fit well and be sealed around the edges to create a vacuum-tight surface for the repair. There are also fewer materials to choose from and the process can be more complex with different infusion manifolds. The benefits of infusion include fewer voids, cleaner processing, and no wet laminating work.


Our Test
We wanted to perform a comparative study on repairing a laminate that was originally manufactured using the infusion process, with an infused repair and a vacuum-bagged repair. As we discussed earlier, surface preparation is critical to any repair and that process is the same for both methods, so our goal is to compare the properties of the laminates. The easiest way to do this was to fabricate two test panels, one infused and one vacuum bagged. For this comparison, we made cored laminates that consisted of six layers of 10 oz. glass fabric on either side of a Baltek TM 1.5″ AL600 (AL600 is a factory-applied coating to reduce resin absorption) balsa core.
In our test, we used the same glass fabric and epoxy in each panel to provide the needed strength aspect of a good repair. By building up the same number of layers of fiberglass in each panel, we were able to determine if the thickness of each laminate would be the same which is required to achieve the same stiffness. For the vacuum-bagged repair panel, we calculated the amount of resin needed to attain a 45% fiber weight percent to thoroughly wet out all the glass fabric and core. We then used the vacuum to compress the laminate to result in a fiber weight percent that was the same as the infused panels. With the infused laminate, greater emphasis was placed on vacuum-tight sealing and infusion manifold positioning. Because of its higher viscosity, we weren’t able to use the 105 System for the infused repair. We used our PRO-SET® INF 114/INF 226 Infusion Epoxy instead. Both methods successfully created similar cored laminates.
Considering the properties discussed in this article are what makes a successful repair laminate and allowed us to make a vacuum-bagged laminate that would have the same properties of the infused laminate. The laminates were solid and structural, and we were able to match the properties between the two repair methods. Fiber weight percent and thickness are given in the table below, and since they are equal the strength was matched by using the same fiberglass and the same core material, although the infused panel did use more resin in filling the core.
In conclusion, a vacuum-bagged repair on a laminate is just as effective as an infused repair. The WEST SYSTEM 105 Resin/200 series Hardener in a vacuum-bagged repair should have similar or better properties than most infusion resins. If you have questions about repairing a laminate, contact us by email at [email protected] or call us at (866) 937-8797.


