By Greg Bull — GBI Technical Advisor

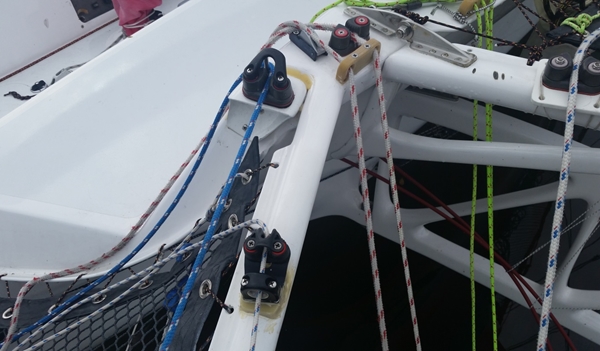
I used this quick mold method in order to move the mainsail traveler cleat from the transom of Strings to put it within easy reach of the helmsmen. The part I made had to be strong enough to withstand the loads of the traveler.
A male mold was the best choice for creating the shape to put the cleat where I wanted it. I
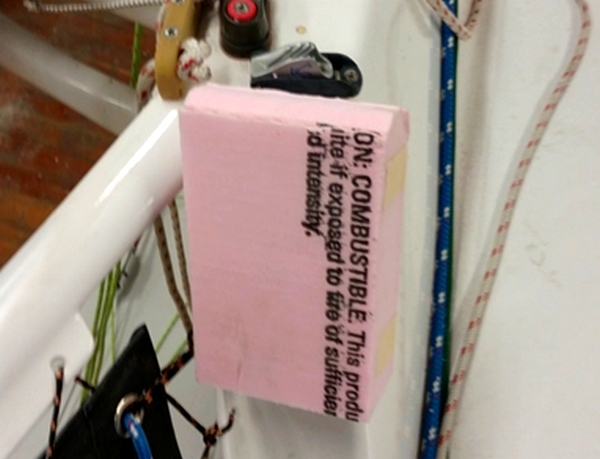
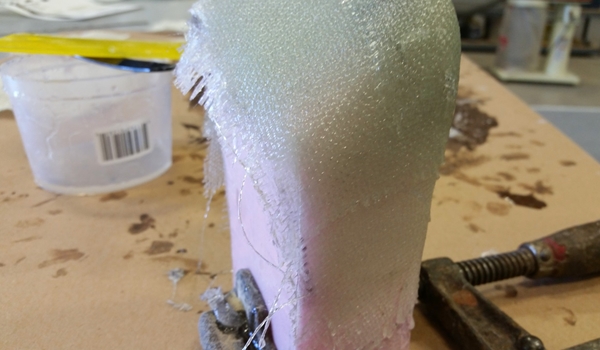
began with Owens Corning® Foamular® 150 foam insulation, the “Pink Panther” rigid board foam sold at home improvement stores. It comes in different thicknesses and will bond easily with WEST SYSTEM Epoxy to build thickness or create the desired shape. This foam is inexpensive and easily contoured with basic hand tools. I used a piece that was 2″ thick by 3″ wide and 7″ long.
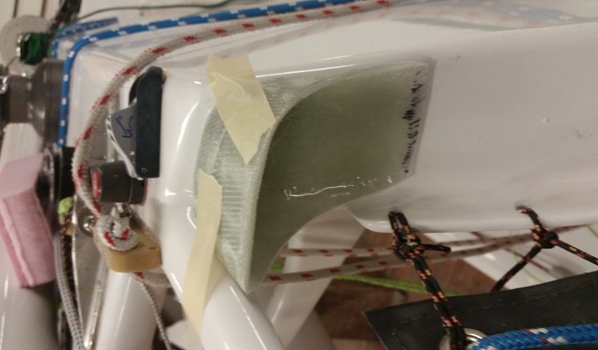
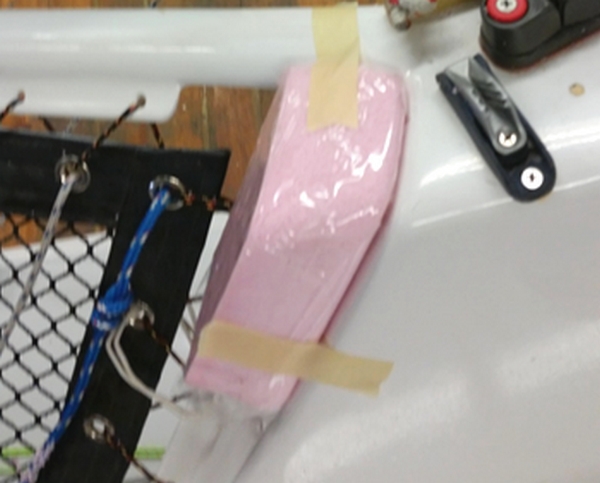
Using a drywall saw, I shaped the foam by cutting the general angles I needed. To smooth the surface of the foam, and for additional shaping, I used both the rough and the smooth ends of a rasp, and 36-grit and 80-grit sandpaper on a hard sanding block. I then covered the surface with 2″-wide clear packaging tape. I didn’t mind if the tape overlapped because this would be inside of the finished part and not visible.
With the mold shaped and covered with tape, I rubbed on one coat of paste wax as a mold-release agent. I was concerned it might not come off because the fiberglass was wrapped around the end of the male mold at a couple of different angles. Worst-case scenario, I would have had to destroy the mold to get the part off. Thanks to the paste wax, the part came off the mold easily.

After removing the part, I cut it to the shape I needed and test fitted it to the boat. Then the fun work started, filling the edges of the fiberglass with thickened epoxy and sanding them to make it smooth. I faired the part then coated the surface with WEST SYSTEM 105 Resin and 205 Fast Hardener tinted with 501 White Pigment. This pigmented epoxy coat served two purposes: it filled any pinholes and started to make the part white, acting as a primer for the white paint I applied.
I installed the part on the back of String’s cockpit. My final task was installing the cleat, which was the reason for the quick mold-making project. After a summer of sailing, the part and cleat have not moved. I wish I had done this a year or two earlier.