Upright Bass Repair
Spring 2008

GET STARTED
FREE PRINT & DIGITAL EDITIONS
Spring 2008
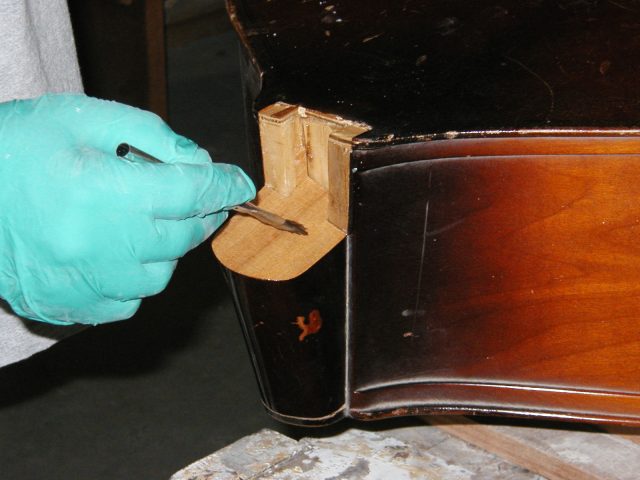
Above: I brushed WEST SYSTEM® 105/206 onto both of the upright bass’s repair surfaces and fit the joint together.
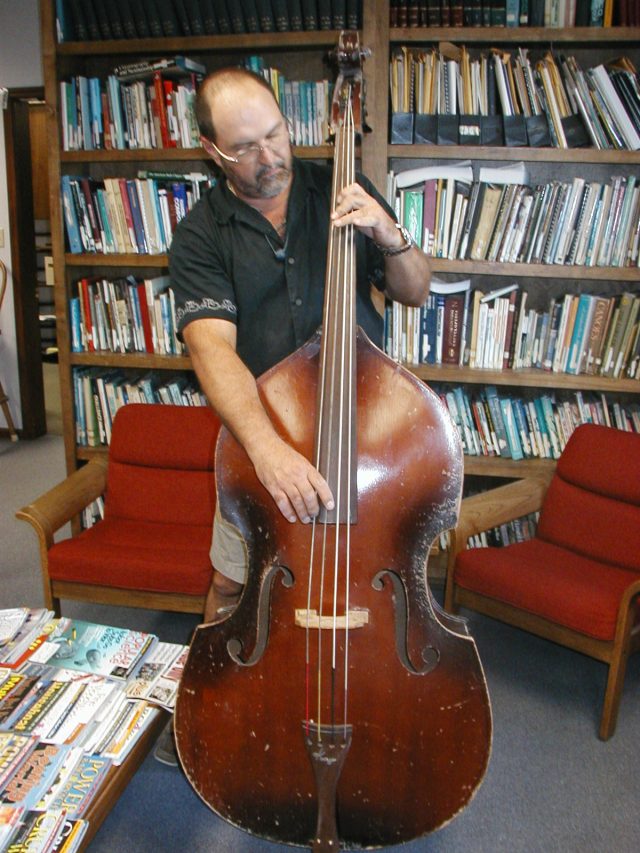
Just by luck, I was in the right place at the right time to purchase an old upright bass from the local school system for $50 because, sadly, the orchestra (stringed instruments) program was being discontinued. The bass needed strings and a new peg but was in decent shape—until I got my hands on it! As it was standing in the corner of my room patiently waiting for me to get to it, a gust of wind got there first, knocking it down and breaking the neck at the heel. My luck was in again because the break was very clean along a joint. The two parts could easily fit back together in such a way that the fingerboard would be properly positioned.
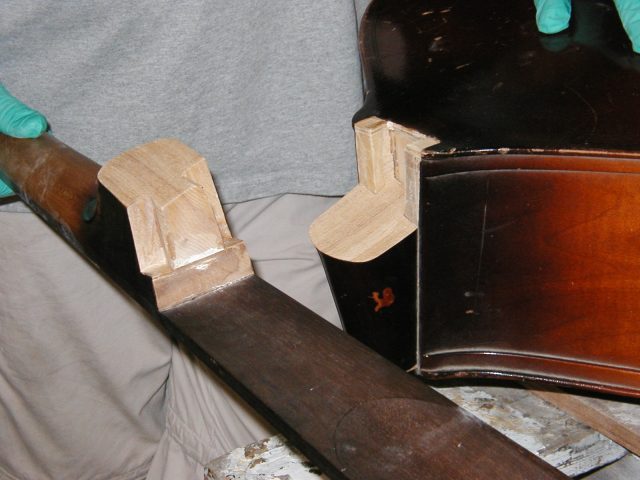
I lightly sanded the flat mating surfaces with 80-grit paper to clean and scuff the wood, taking care not to sand so much that the fit would become loose. Then I brushed WEST SYSTEM® 105/206 onto both surfaces and fit the joint together. (See photo at top).
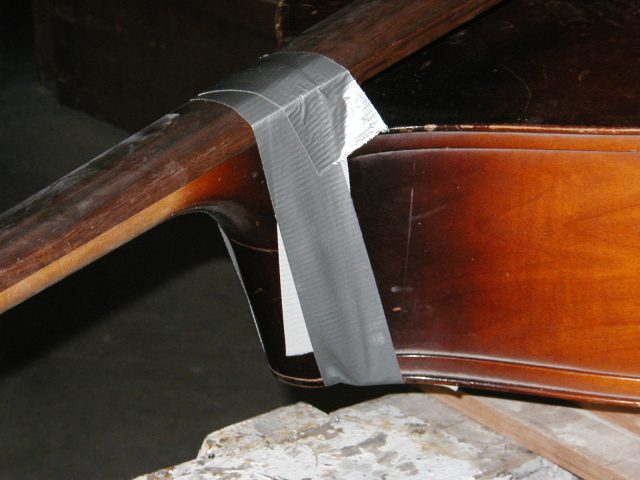
Enlisting some help from a friend, I used duct tape to hold the pieces together until the epoxy cured.
The bass has now been given a new lease on life, and I’m ready to learn how to play. But there’s no worries learning—in fact it’s fretless!