By Jeff Wright — Vice President of Technical Services
Boatbuilders or advanced hobbyists often want to learn more about the characteristics of the fiberglass laminate they’ve just created. But sending samples to a professional testing laboratory can be expensive and impractical. Fortunately, you can do these simple shop floor test that will yield reasonably accurate results.
Before you begin to shop floor tests on laminates yourself, it’s important to understand the difference between shop tests and standardized tests. Many organizations such as ASTM, ISO, or UL provide established test procedures defining a specific test method. These may specify things like sample preparation methods, equipment, and acceptable environmental conditions. These standards allow the test to be repeated by different people at different locations all over the world.
A shop floor test isn’t designed for scientific repeatability, but it is a fast and easy way to get solid data, with the understanding that it will not be used for any certifications. Here at Gougeon Brothers Inc., we use both shop and standardized testing. All of our published data is generated by specific ASTM test methods. But during the early stages of new product development, we may perform some quick shop tests to understand the direction and magnitude of changes.
Here are a few tests you can perform on fiberglass laminates in your shop:
Determining the percentage of fiber to resin content by weight
Tools needed for fiber[-to-resin ratio testing
- Old cast iron frying pan
- Propane torch
- Well ventilated area
- Accurate scale
- Saw for cutting laminate
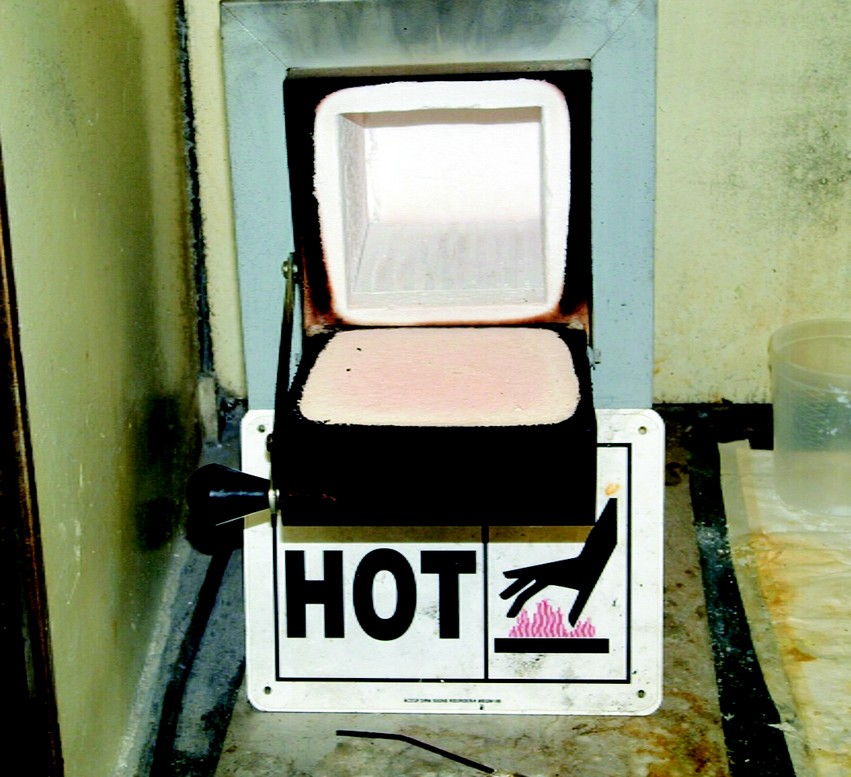
The most common way to determine the percentage of fiberglass and resin in a laminate is to use a high-temperature oven as shown in Figure 1. The sample is placed a ceramic crucible and then the weight is measured before and after the resin is baked out of the laminate at over 1,000°F.
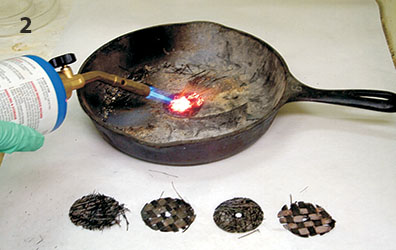
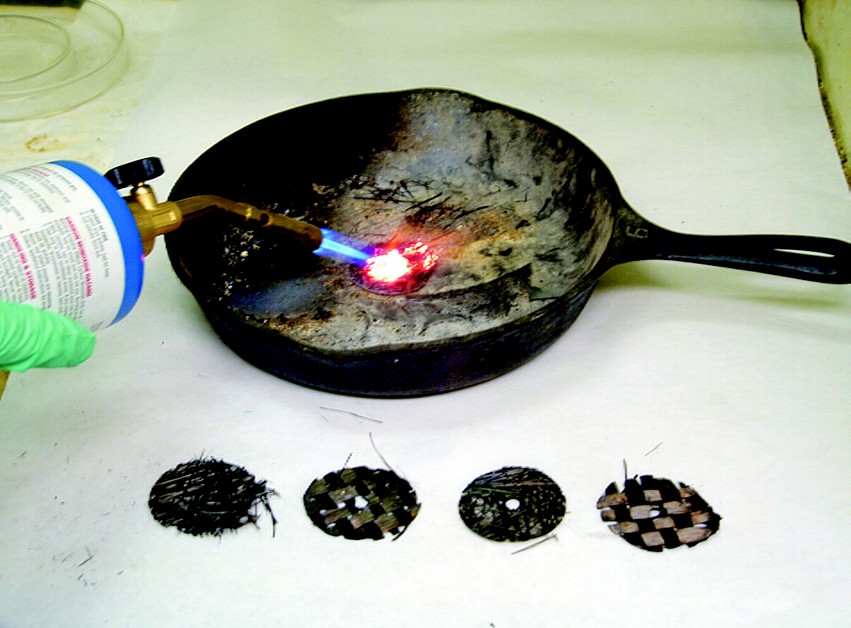
You can obtain reliable results by weighing a cured sample of the laminate on a small, accurate scale such as a gram scale. Next, place this sample into a clean cast iron frying pan (that will no longer be used for food!) and use a propane torch to burn away the resin (see Figure 2). Do this outdoors, away from flammable materials, and do not inhale the fumes.
Once the resin is completely burned away, which is evident when no more smoke is generated, weigh the remains of the sample. The change in weight divided by the original weight is the percentage of the laminate that is fiber versus resin.
This data is very useful for both vacuum bagged and hand wet-out laminates. For hand-laid laminates, a fiber content of about 40%–50% is typical. Vacuum bagged laminates will have fiber content of around 65%, if the fiber content is higher than 75%, the laminate may be starved of resin.
Evaluating a laminate’s impact performance
Tools needed for impact testing
- A fixture to hold the laminate panel in place. You can build a framework, clamp the panel around its perimeter and suspend the center of the panel above the floor.
- A large weight you can drop repeatedly from the same distance. Impact testing can illustrate how well a laminate will resist damage in service. In cored laminates, the skin thickness, fiber orientation, and core material can all affect the final laminate’s damage tolerance. The results of impact testing won’t give specific values useful for engineering calculations, but the results can be used to compare different laminates. This requires testing more than one sample to get useful results.
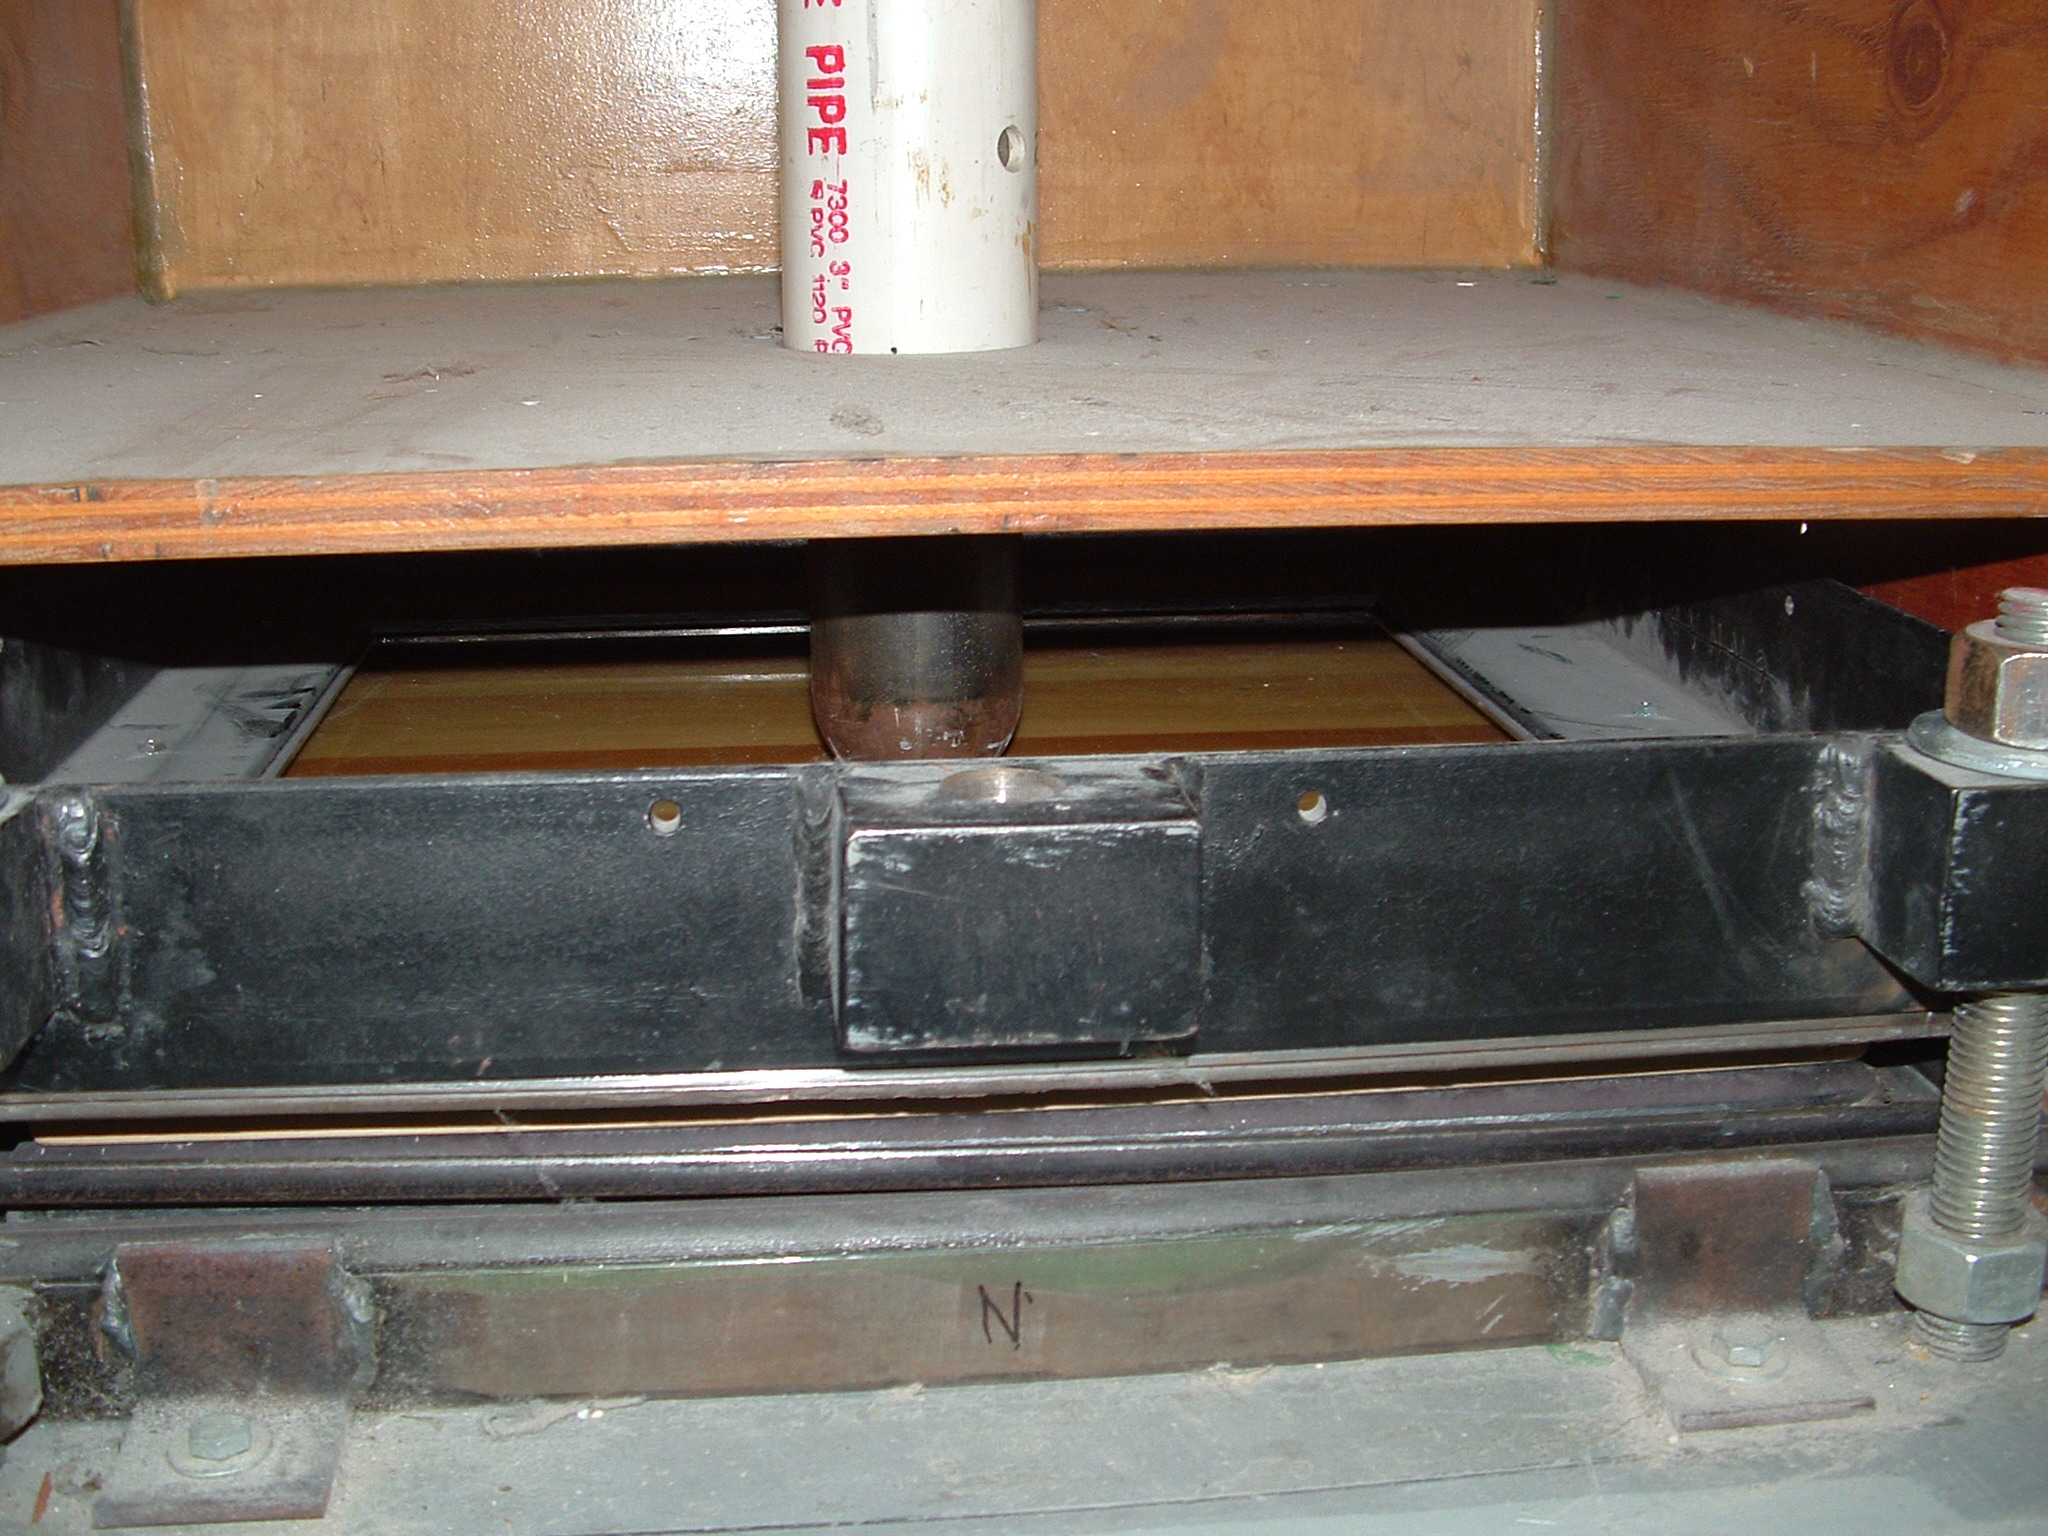
Gougeon Brothers has built its own impact testing device (see Figures 3 and 4). In impact testing, it’s critical to have a fixture that lets the panel be clamped securely in place while allowing the center of the panel to deflect.
Understanding the Heat Distortion Temperature of the resin
– Pot of water to near boiling and some way to heat it to near boiling
– Workbench with vise
– Large washers or other weights
– Thermometer
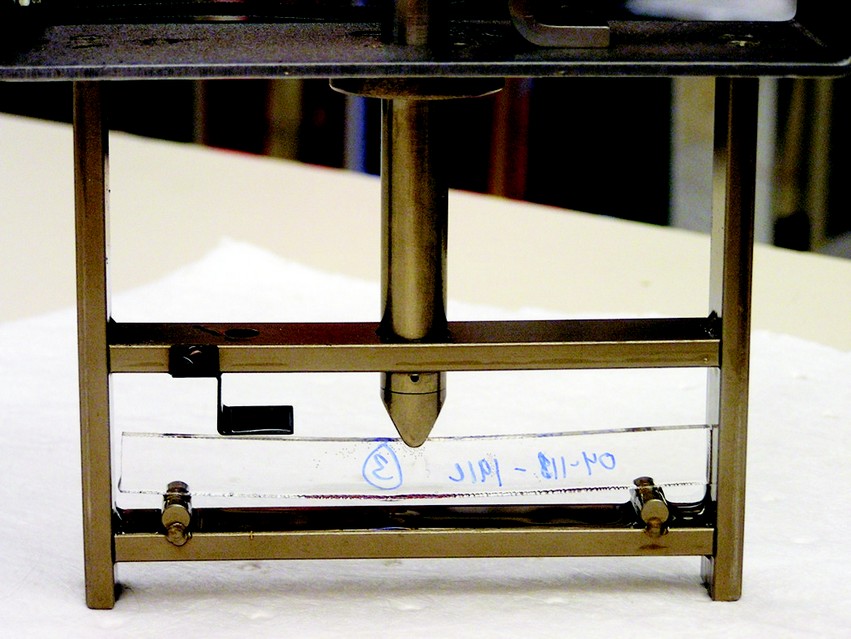
The Heat Distortion Temperature (HDT) of a resin indicates how much (when?) it will soften at elevated temperatures. The fixture used for the standard version of this test is shown in Figure 5 and 6. A cured sample of epoxy is placed into the fixture, submerged into oil, and then the oil’s temperature is increased. Weights apply a force that will deflect the sample when it the oil reaches a high temperature. The temperature at which this deflection occurs is the HDT. This test was discussed in Epoxyworks 23 in detail.
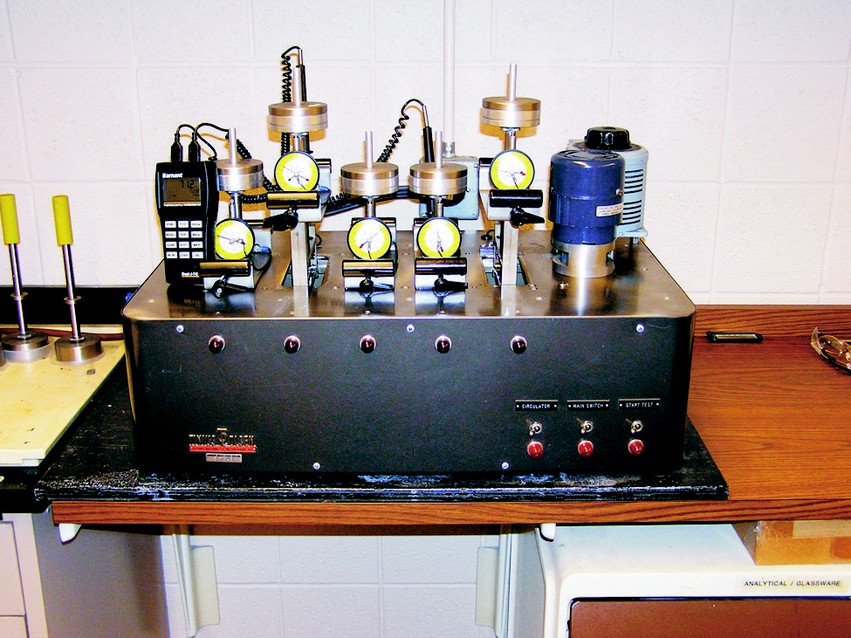
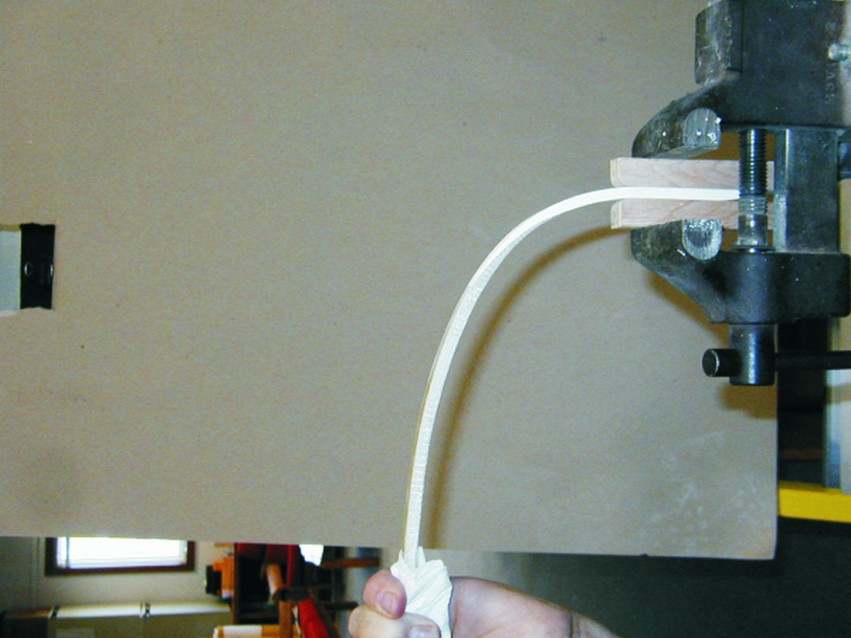
You can perform a rudimentary version of this test in your shop using hot water as the heat source and a vice to hold the sample while applying weights to force a deflection.
Place a rectangular laminate or neat epoxy samples into the water. Heat the water to a specific temperature, remove the sample and clamp it into the vise. Apply weights to cause a deflection. The amount of deflection, or weight required to deflect the sample, will change as the temperature of the sample increases.
We use a PVC tube to guide the impact weight into the center of the panel. This tube provides a convenient way to pin the weight safely in the suspended position. The weight is allowed to fall. Immediately after the first impact, we slide a piece of dense packing foam under the weight so the panel is impacted only once. This single impact is important in comparing the results from different panels.
An example of the results from this test is discussed in detail in Epoxyworks 31.
Adhesion Testing
Tools needed
- Vise
- Saw for cutting samples
- Sander or saw for creating scarfs
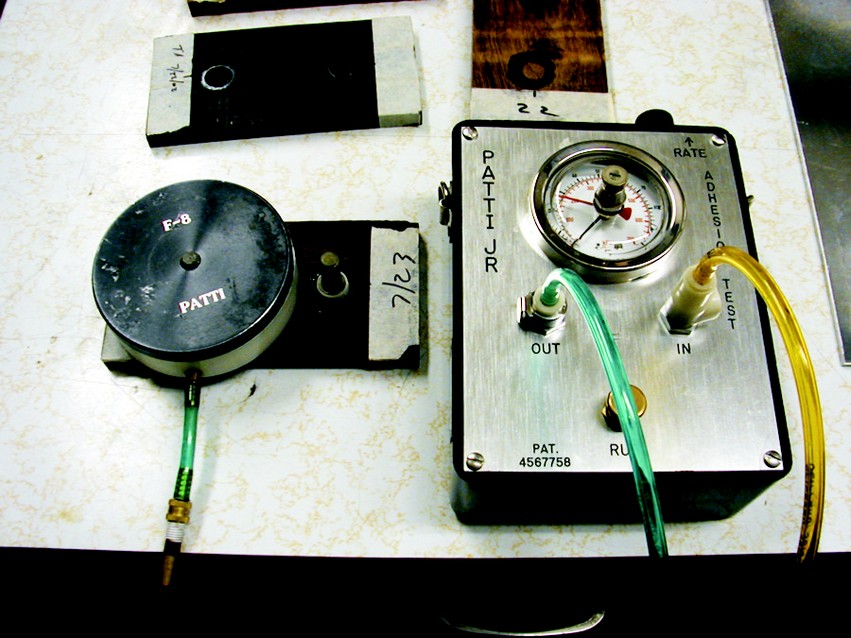
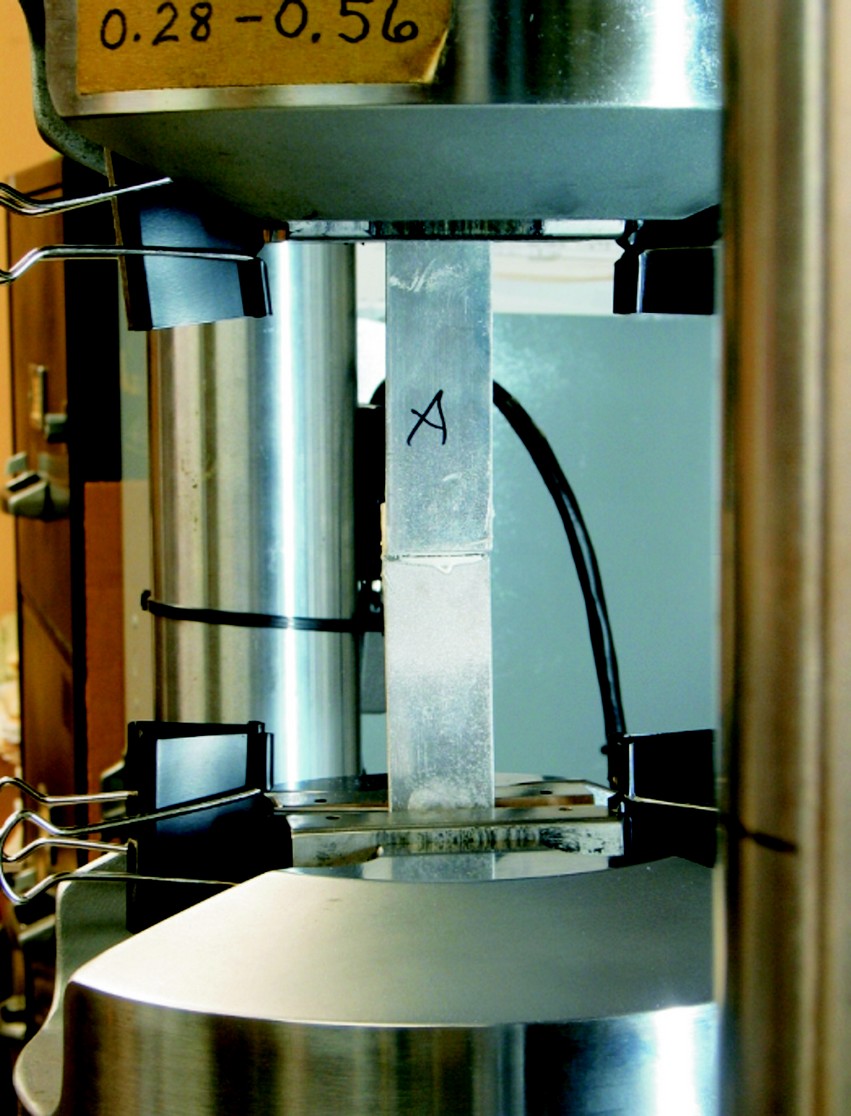
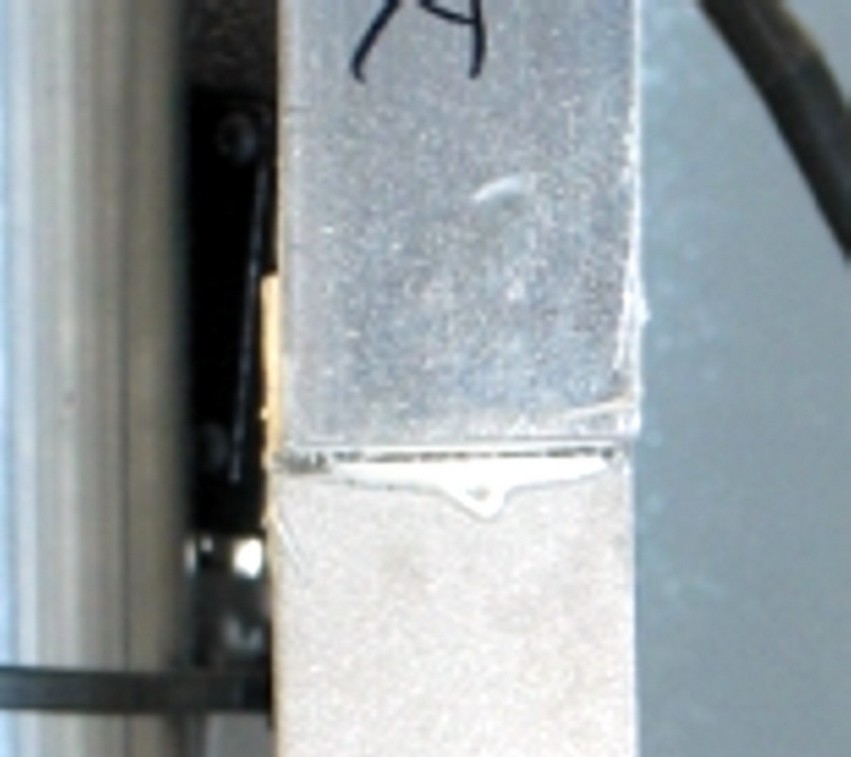
There are many standardized adhesion tests. In our lab, we often use the PATTI test device (Figure 7) and lap shear testing (Figure 8 and 9). Both of these tests have ASTM standards and require special equipment. Fortunately for those who want to test adhesion in the shop, it’s easy to create a peel test. Peel stresses are generally the most difficult loads for a bonded structure to tolerate.
This test demonstrates how much the reinforcing fibers increase the high-temperature stiffness compared to unreinforced, neat epoxy. Our Technical Advisors receive many questions about HDT because the published HDT is lower than what the customer anticipates the laminate will see in service. An example of this is the repair of the fiberglass tubing used in wet marine exhaust systems. Although the water temperature in the exhaust system may be higher than our published HDT, the epoxy combined with the fiberglass cloth will be very stiff at temperatures higher than the neat resin’s HDT. This shop test can help to understand how well epoxy performs at elevated temperatures when combined with fiberglass fabric.
Shop Floor Testing of a Scarf Joint on Plastic
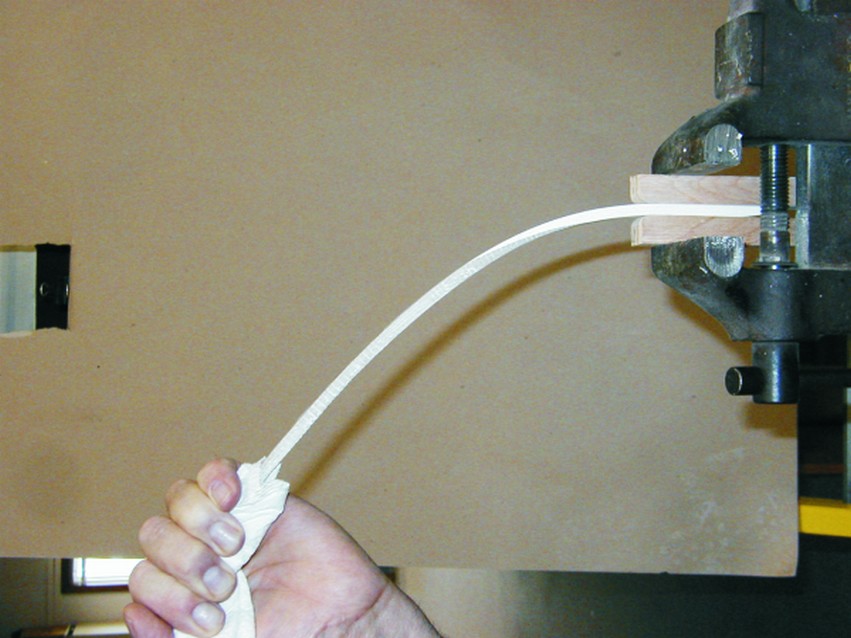
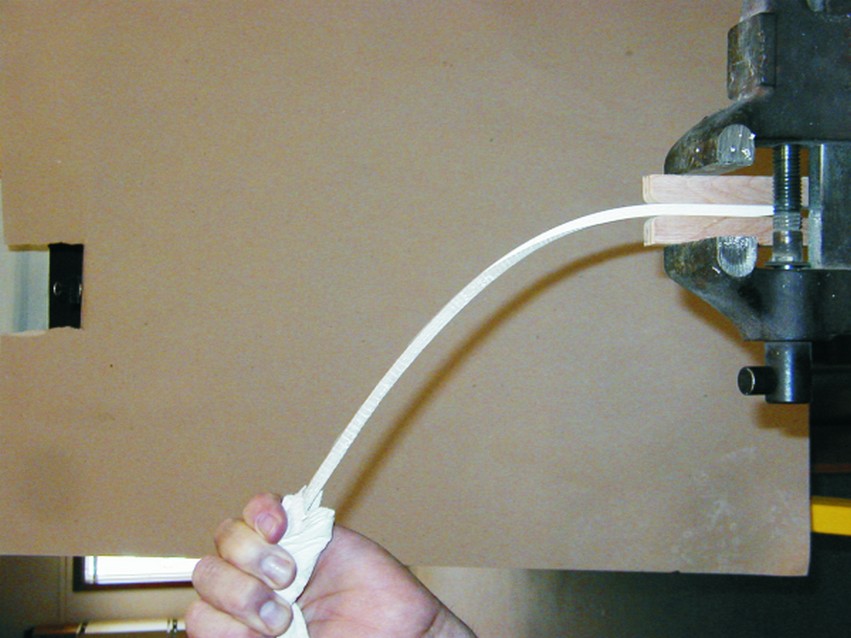
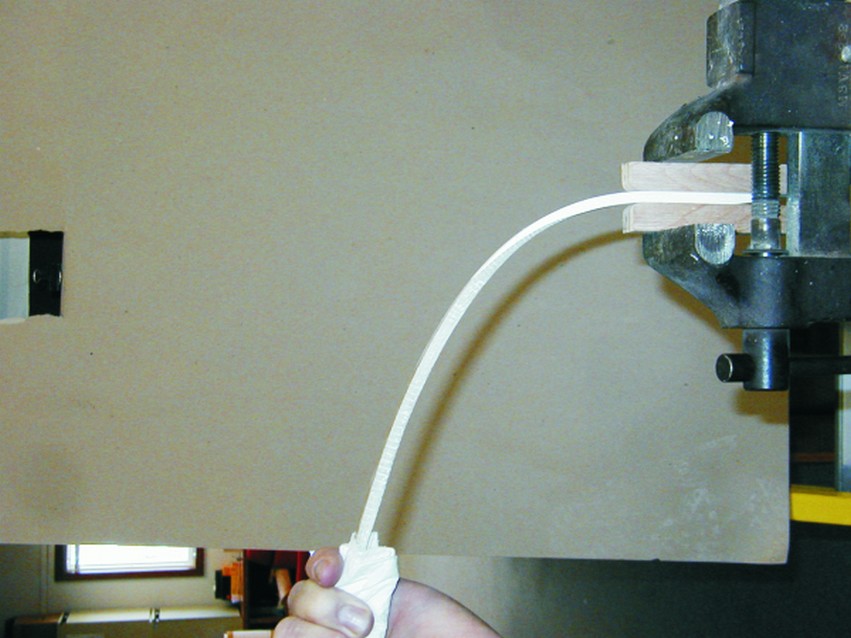
In Epoxyworks 20, Tom Pawlak performed a test to determine the adhesion of a WEST SYSTEM repair to DCPD polyester laminates. He created a scarf joint between the existing polyester laminate and the WEST SYSTEM laminate that was bonded to it, simulating a repair. He clamped the laminate into a vise and bent it, creating a peel stress at the scarf (see Figure 10 and the series of images following it). You could test the adhesion of a WEST SYSTEM fiberglass laminate to various woods, metals, composites, and plastics in the same way.
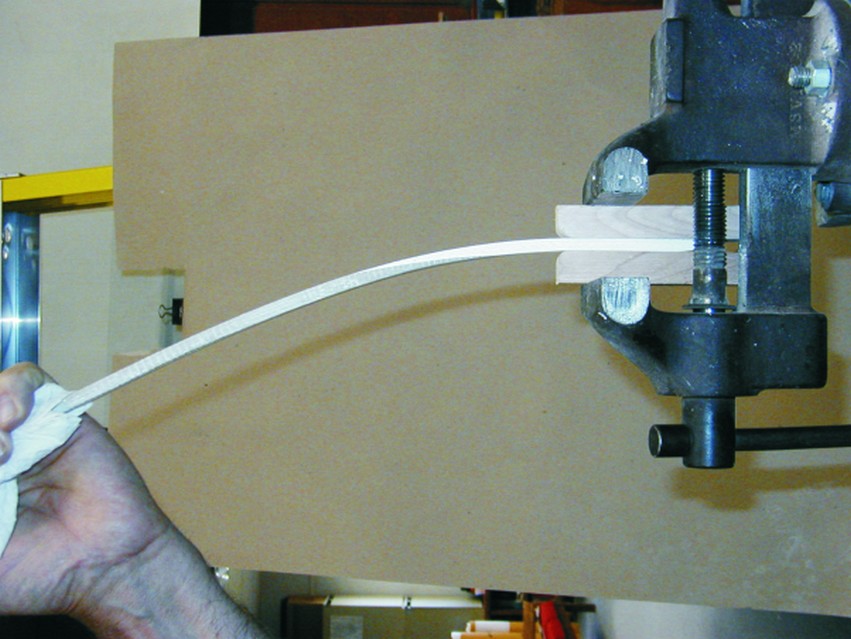
The test is limited because the actual force required to create peel is difficult to measure. Adhesion performance is better measured by the failure mode. After testing the sample, examine it to determine if the substrate failed, if there was a cohesive failure that left adhesive on both surfaces, or was the failure in the adhesion to the substrate. The failure mode will reveal the “weakest link” in the structure. For example, if a substrate failure indicates the adhesion exceeds the strength of the material, while an adhesion failure may signal a need to reevaluate surface preparation or the surface area of the bond.
Be creative, scientific, and safe
There are countless ways to test laminates in the shop. The examples given are not intended to create new test procedures, but to inspire testing solutions in other shops. It is important to understand what the results do and do not tell you. Most shop testing will only show the difference between samples, not the actual value of the property being measured.
Good documentation is critical when testing. Record as much as you can about the procedure, samples and conditions. It is amazing how much can be forgotten a week after you finished the test.
When testing, always keep safety in mind. It’s easy to create a lot of energy when attempting to fail a laminate, and that energy will find somewhere to go when the laminate fails. Also, take proper precautions anytime you use heat.
Gougeon Technical Advisors are always available to discuss any test data. Don’t hesitate to call us when you have questions.

