

By Damian McLaughlin
All of the boat builders that I know have little sanding tricks that make a job go faster or do it better. Fairing a 40′ custom-built hull is an arduous task that is often accomplished with two-man teams and fairing boards. We do 90% of the work with a grinding device. Almost everyone in the business will agree that a grinder will remove a substantial amount of material quickly. The trick is controlling that removal.
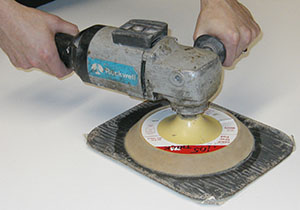
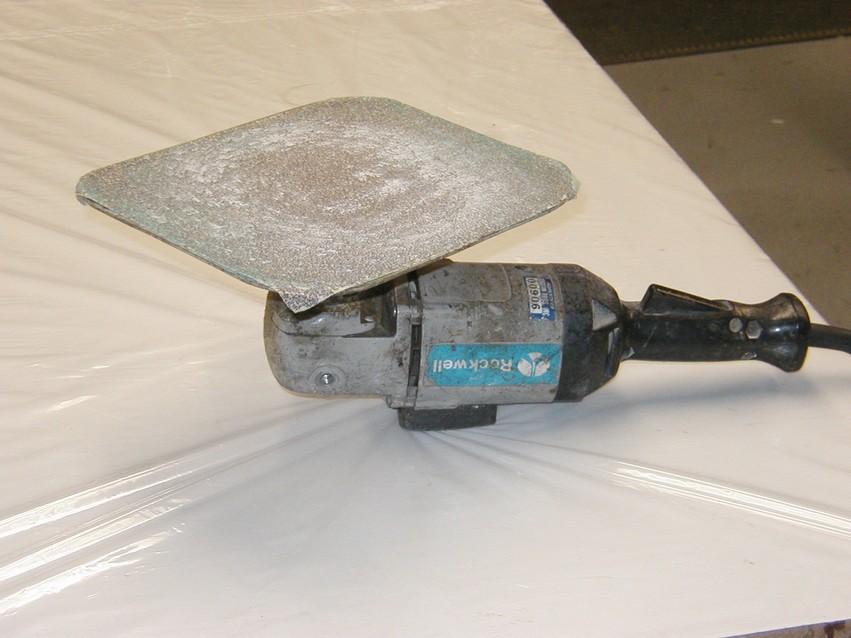
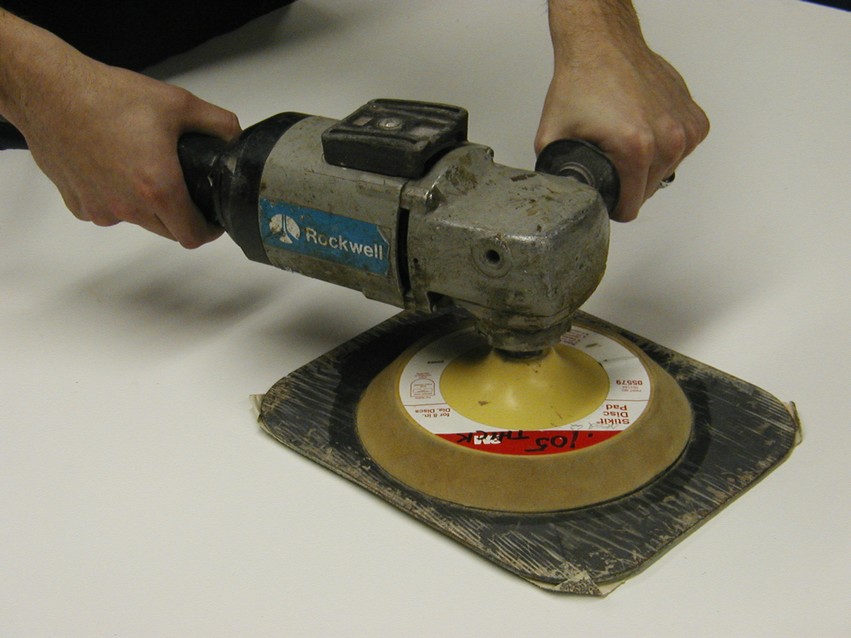
Here at my shop, we use a common heavy-duty 0 to 6,000 rpm sander/polisher. What is not so common is the pad we mount on this machine. We glue a 9″ × 11″ rectangular piece of fiberglass or Lexan™ onto a standard round foam backup pad. Using this setup, it’s virtually impossible to gouge the surface.
Now, I didn’t invent this device but I think I’ve gone a long way in perfecting it. These “square pads,” as we call them, are used for fairing convex and even concave surfaces. For convex surfaces, our sanding trick is to mount a sheet of fiberglass about .095″ thick onto a very stiff foam pad. The glass can be commercially purchased, but the best way is to make them in the shop.
The stiff foam pads we use are 3M™ #05579, available from marine distributors, or from Ferro Industries direct (#60658D or #60618D). Concave surfaces are addressed with a sheet of 1/16” thick Lexan attached to a very soft pad, Ferro #808D.
The “square” pad is actually a rectangle the exact size of a sheet of production sandpaper. To avoid balance distortions, care must be taken to attach the foam to the exact center. I carefully locate the center with fine pencil lines crossing from the corners of the pad. Also, cut the corners of the square pad to 2″+/- radius and sand all the edges for safety.
I mark the center with a center punch and mark a circle the exact size of the pad’s diameter with a pencil compass/scriber. They do vary. This is the glue line. Then I make a concentric ring 1/8” larger. This is the sightline, for the epoxy will squeeze out and cover the glue line. Both surfaces must be abraded with sandpaper, but the Ferro pads come with a canvas cover which is why I prefer them.
I apply two thin, level coats of unthickened WEST SYSTEM® Epoxy on each surface. The clamping system is simply four 1″×4″ boards about 12″ long and 4 lb lead weights. Make sure that the surface under the square is flat. This passive clamping protects the foam from permanent distortion. Take care through the life of this pad to never store it on its face with the machine attached because this will distort the foam, rendering it useless.
As with all tools, diligence during use ensures safety for yourself and those around you. The thought of this rectangle zinging around at 3,000 RPMs is a bit scary, but in practice, you’ll find it safe and easy to use.
Although beginners will quickly develop an acceptable skill level, there are some useful operational tips.
1. The optimum speed seems to be about 3,000 rpm. If you’re using a variable speed machine, slower speeds will help you gain confidence.
2. Constant diagonal movement across the surface is essential. Never move in a fore and aft direction on a waterline.
3. Move your feet 3″ to 4″ for every pair of arm passes. Areas that require kneeling or reaching out still need this constant motion.
4. Multiple passes removing small amounts of material on each pass is the best approach. As the job progresses, the visible irregularities will disappear. We dust off the hull often and inspect it visually and with our hands.
5. Using the flat of a pencil, we mark imperfections. In addition to marking trouble spots, we make multiple S-shaped scrawls on the whole surface to keep track of where we’ve been.
The soft foam/Lexan version we call “Superflex” is used for concave surfaces. It has some quirks of its own, but the technique for use is similar. Very heavy pressure will allow contortions into some tight radii and still do a good job of fairing.
The thought of this rectangle zinging around at 3,000 rpm is a bit scary, but in practice, you’ll find it safe and easy to use.
The fiberglass pads may be purchased from industrial suppliers such as Manhattan Supply Co. www.mscdirect.com. These industrial sheets are a bit denser and therefore heavier. I prefer the shop-made version which I lay up on a sheet of glass placed on a perfectly flat surface. Standard mold release wax assures release. I use three layers of a double bias 12 oz non-woven fiberglass sandwiched between single layers of 6 oz woven cloth and unthickened WEST SYSTEM Epoxy. I allow the laminate to sit for several days just to be sure the cure is complete.
I have found many uses for these pads over the last 30 years. I hope these sanding tricks will help those in the trade who are unfamiliar with these devices.


