By Ray Ordorica
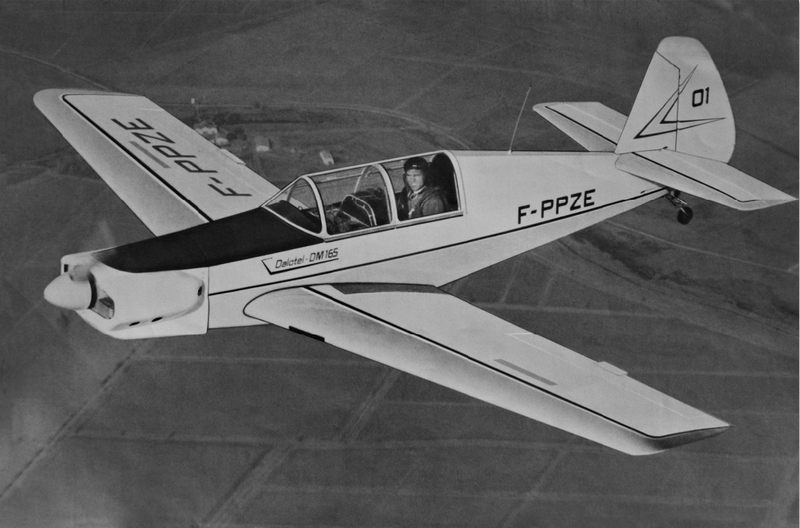
Above: The Dalotel DM 165 in flight.
I’ve had a strong interest in airplanes since I was a kid. I had always built model airplanes and went to air shows as often as possible. I loved the “warbirds,” and built many models of them, and of other more-common aircraft. Of course, I had always wanted to fly, to become a pilot, but for many reasons, I couldn’t make that happen. During my college years, my interest in aircraft waned, but after college, I moved to Alaska, and of course, aircraft are part of the Alaskan lifestyle. I got rides in Super Cubs, Cessna 180s, and the like, and naturally, my interest in aircraft returned. However, the general-aviation world is a costly one, and as a photographer, I had precious little cash to spare. So I remained pretty much on the ground.
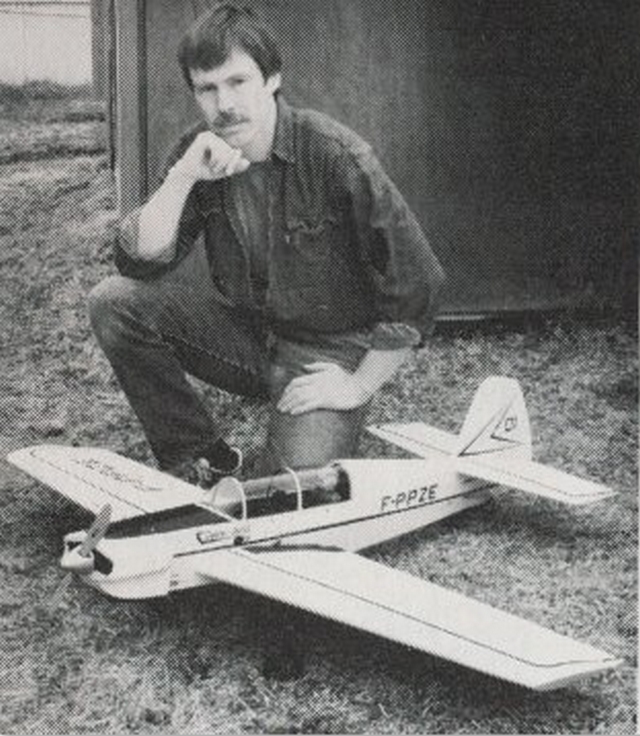
In the late 1980s, I discovered radio-controlled (R/C) aircraft. I became seriously involved in that game and built several models. Yet each seemed to be missing something. I decided to build an R/C model of the Dalotel DM 165, a French aerobatic aircraft that first flew in 1969 (also a key year for Gougeon Brothers, Inc.). The Dalotel was popular with modelers in the late 1980s because some guy won a tournament and made big money using an R/C model of it.
My model flew exceptionally well. It had it all, great performance, and good looks. I enjoyed it immensely but sold it when I left Alaska.
Twenty years passed, and it was time for me to build another R/C model of the Dalotel, which by now had become my favorite airplane of all time. This next Dalotel model was going to have all the details of the real one: retractable gear, scale cockpit, everything as close to the original as I could get. I went looking for plans and photos on the Internet…and then my life changed. I found a small ad offering the real Dalotel for sale, in England, in damaged condition from a forced landing.
After some serious soul-searching (I was not a pilot) I bought the one and only Dalotel DM 165, imported it from England, and began its restoration. My “model” was now full-size.
The Dalotel is the prototype for a series of aircraft that never happened, for many reasons. It is fully aerobatic, has tandem seats, and is powered by a 165-hp engine. The top speed is 190 mph with a 150 mph cruise. The landing gear is retractable. Best of all, it’s made largely of wood, and I happen to have a world-class woodworking shop called the Old Cranky Workshop, with sincere apologies to Norm Abram, grandmaster of PBS’s New Yankee Workshop. The wings and tail surfaces have built-up spruce spars and plywood ribs, all covered with plywood, with fabric over that. The fuselage is a steel tube, covered again with fabric.
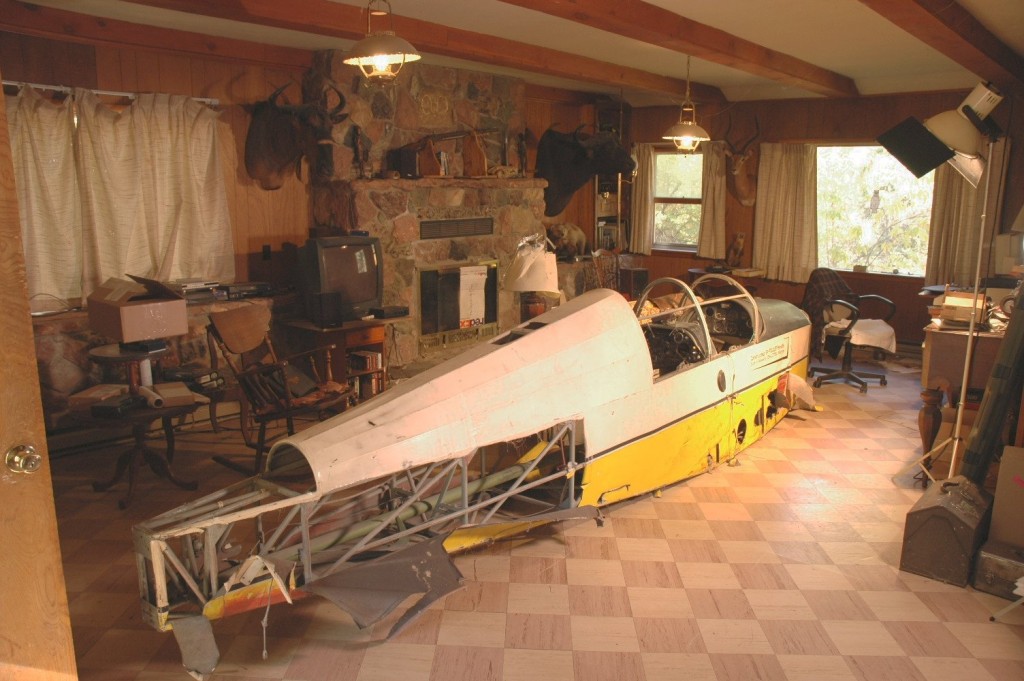
When the airplane arrived here in Idaho in 2006, it was a mass of broken wood, shattered wings, a fuselage covered with torn and rotting fabric, and mildly damaged tail surfaces. The engine had no prop nor spinner but otherwise was all there.
After nearly three years of digging through the bits and pieces of this airplane, I have finally begun gluing it all back together. As I examined the parts I found many glue joints had failed from age, humidity, and the use of non-waterproof glue. My first job was to determine what to use to glue the new wood back into whatever bits of the old structures I could salvage. I considered resorcinol, the traditional glue for aircraft. It requires high clamping pressure, extremely close-fitting, and several other considerations that must be met. These didn’t mate well with the repair of old structures, I decided.
A good friend with 36 years of experience teaching aircraft technology suggested I use epoxy. My experiences with epoxy were sparse, but I had The Gougeon Brothers on Boat Construction in my library and liked what I had read. I decided to use WEST SYSTEM® Epoxy on the Dalotel. After tentative beginnings with the clever 5:1 pump system, I found this epoxy very easy to use. I used it to re-glue broken parts in the stabilizer, install new rib sections, install new braces for the hinge mounts, and cover the stabilizer with thin plywood. The more I worked with WEST SYSTEM Epoxy, the easier it became.
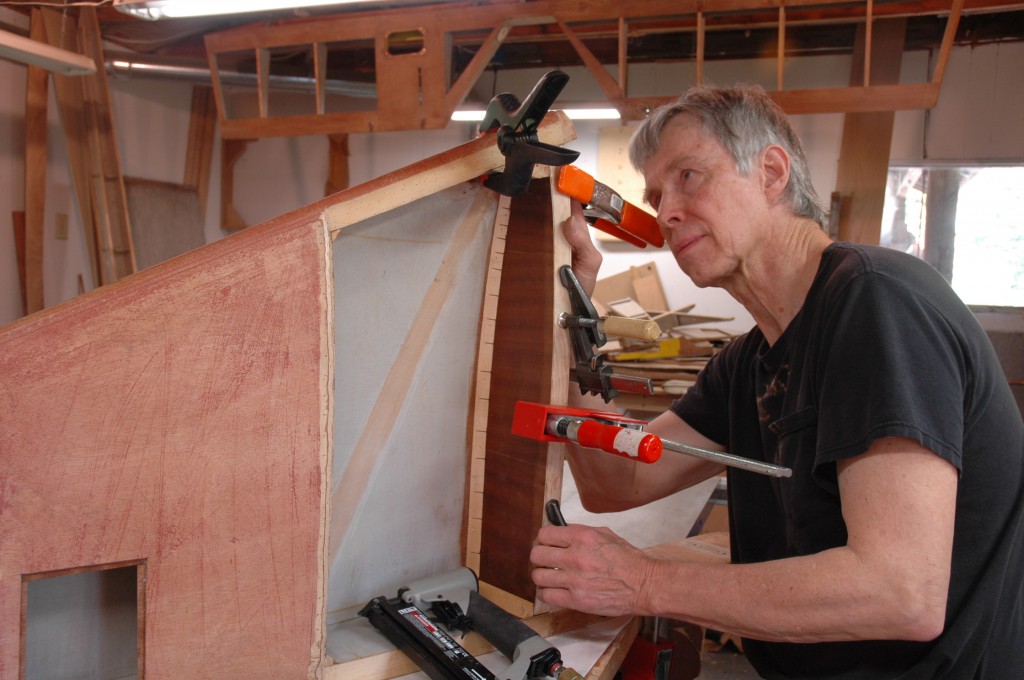
As my experience with WEST SYSTEM continued, my confidence increased. When I wanted to stiffen the front wood edge of the Dalotel’s new stabilizer, it was a fairly simple matter to lay thin fiberglass cloth onto the leading edge, wet it out with two coats of 105 Epoxy Resin® and 206 Slow Hardener®, fair it in with 410 Microlight Filler® and give the job a final very thin coat of neat epoxy, always using a squeegee to keep the parts as light as possible. I will do the same thing to the wooden leading edges of the wings.
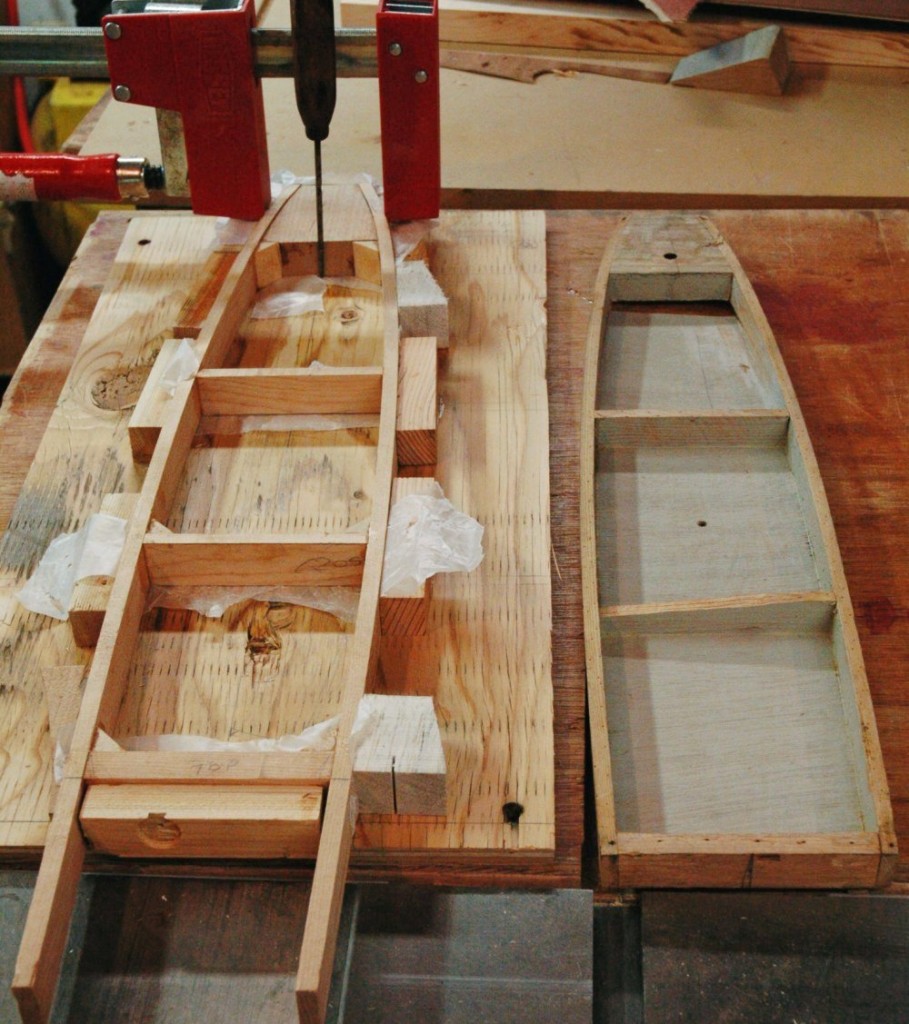
I always make before-and-after gluing test pieces and break them to “prove” the bond. These are simply two or three small pieces of wood glued together in a manner that lets me insert them into a vise and load the joint until something lets go. I make one test assembly with the fresh mix of epoxy before applying it, and then make a second test assembly when I’m done with the serious gluing. In every test I’ve made, the wood has broken first, and no epoxy joint has failed. You really have to do something like this if you’re betting your life on the quality of the bond.
After my success with the Dalotel’s stabilizer, I tackled the fin, one of the key parts of this aerobatic aircraft. The original glue joint around the fin’s key bottom rib had failed completely. The plywood sides were hanging free. I made a new rib, thicker and better braced than the original. My final glue area is nearly twice that of the original, yet still light. With WEST SYSTEM Epoxy holding it together I have no fear of the glue joint failing.
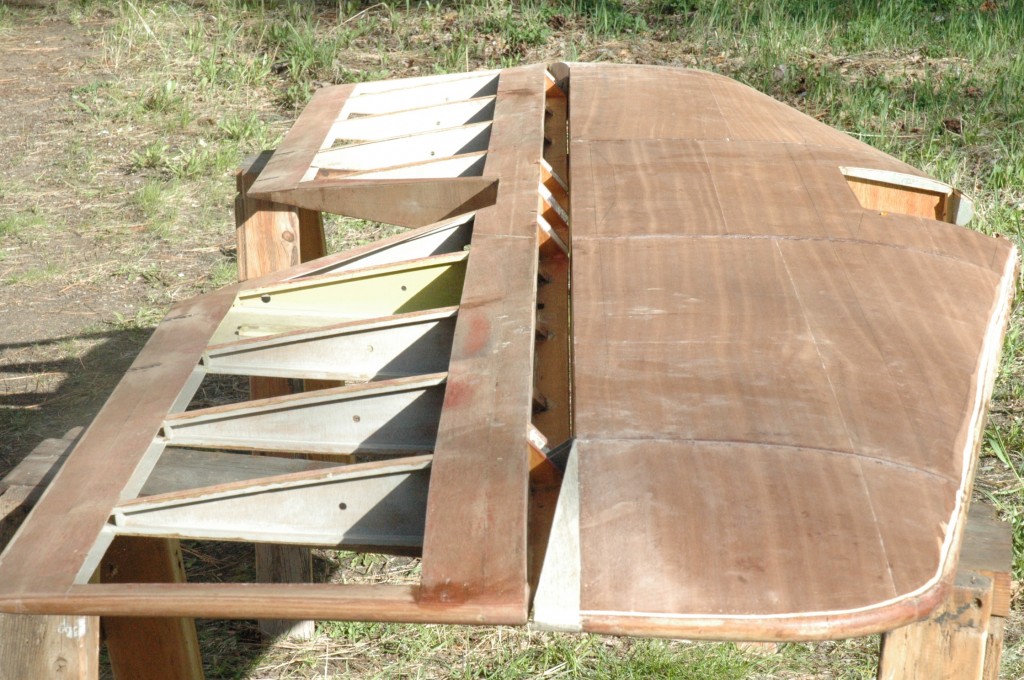
Next up is the rudder, which I redesigned internally. Then I’ll have to manufacture one wing in its entirety, including a wood box spar, plywood ribs, and plywood covering over that. With the use of WEST SYSTEM Epoxy, I’m sure it will all go smoothly, and I’m just as sure it’ll stay together far better than the original.
Along the way, I tried to redesign the control panel to modernize it and replace the dated metric instruments. I could not do so because I didn’t know what was needed. Therefore—entirely out of necessity, mind you—I obtained my private pilot’s license, and then I found it was extremely easy to lay out the control panel. Now I knew exactly what was needed, and where it had to go.
Thanks to Gougeon Brothers and all the folks at WEST SYSTEM Epoxy for giving me the opportunity to tell a small part of this ongoing tale.
