Repairing Bow Damage on a Lightning Sailboat
Spring 2024

GET STARTED
FREE PRINT & DIGITAL EDITIONS
Spring 2024
Getting started on any project is half the battle. This could not be truer when it comes to an unexpected fiberglass bow repair. Every crashed boat is different, making every repair a bit different. Some repairs are straightforward, textbook repairs. The damage occurs on a flat area of the hull that is a solid fiberglass laminate. A little grinding, a little fiberglass, and you’re done. What happens when the repair is not so simple, though?
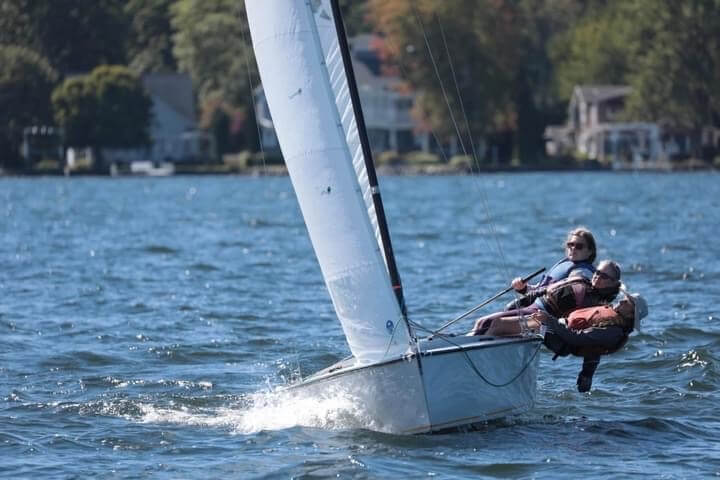
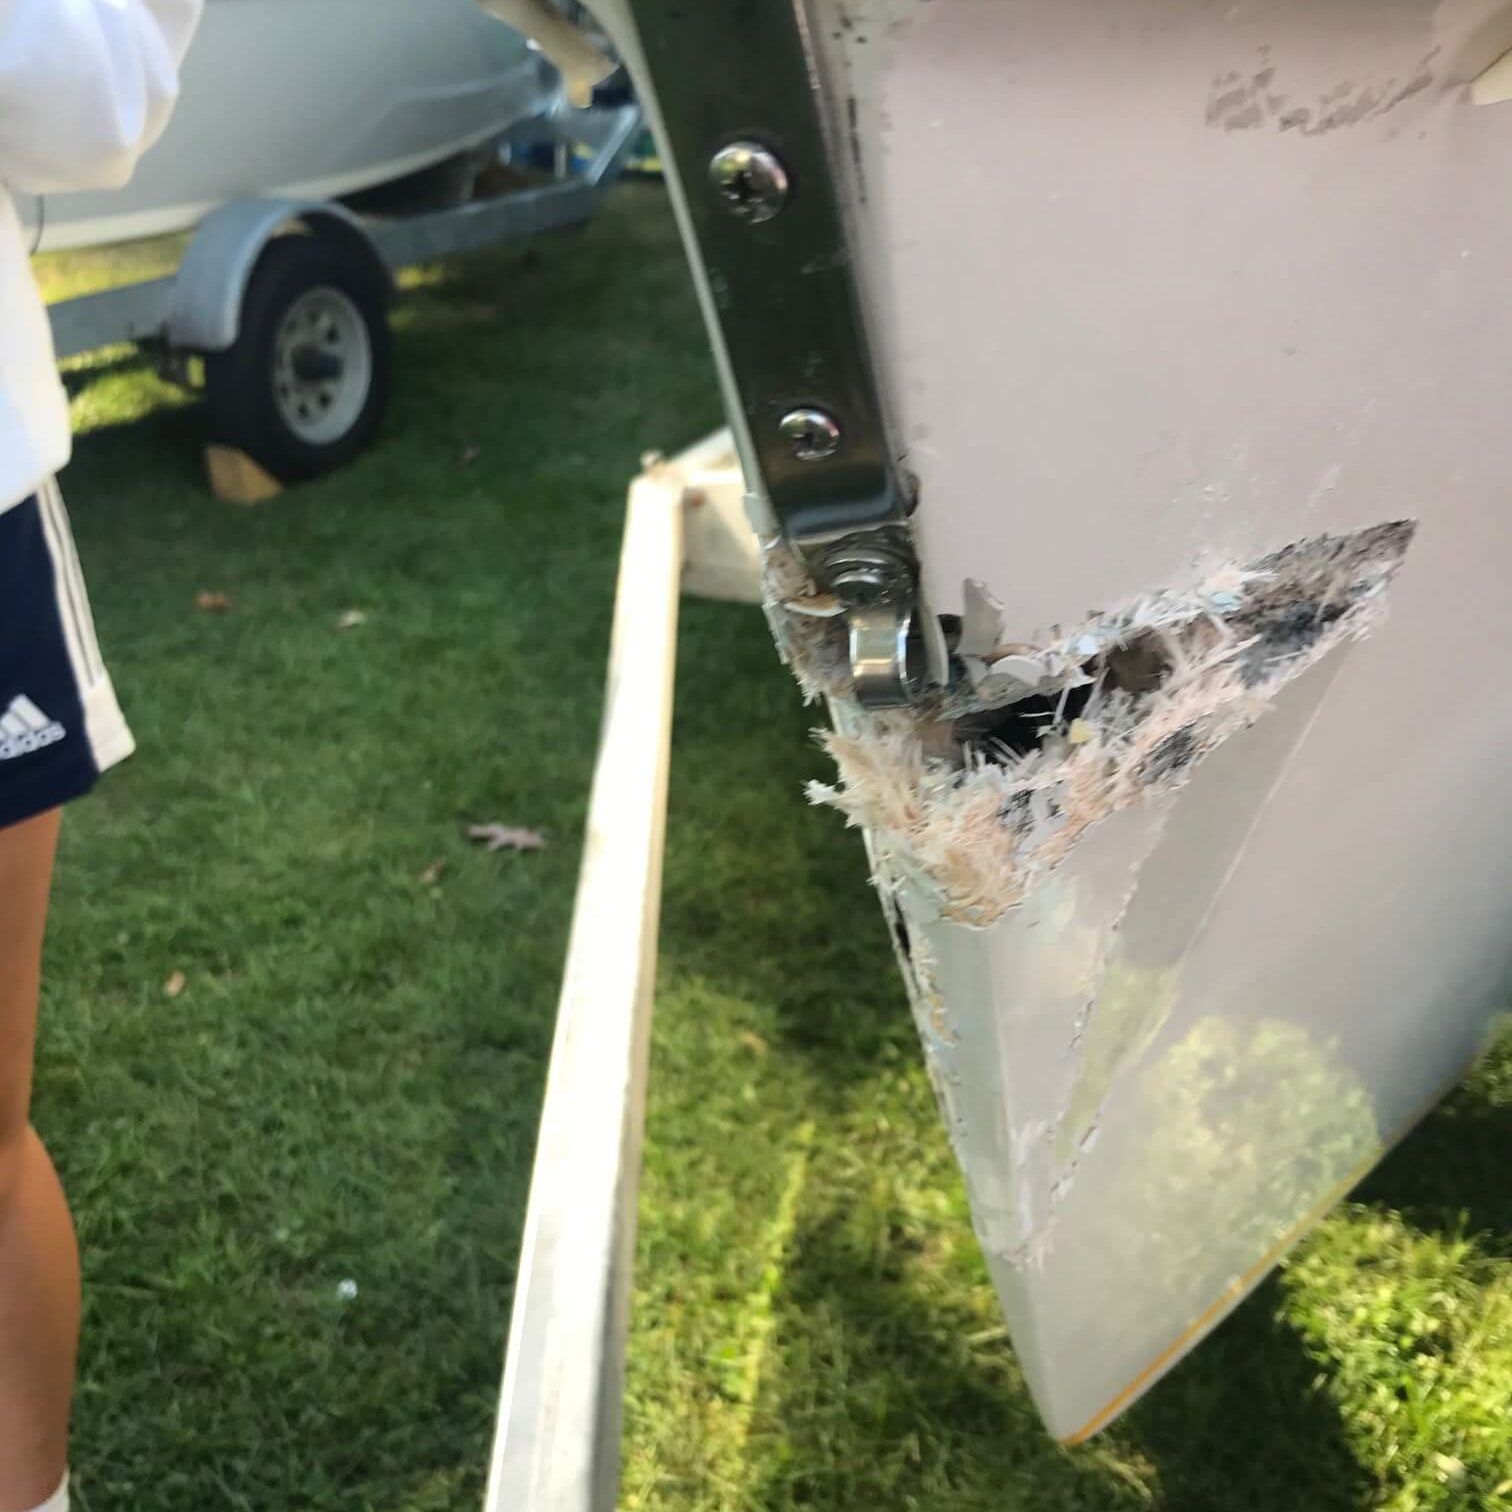
Let’s take a look at the next step beyond the basic repair. My daughter crashed a Lightning sailboat last fall and took a huge chunk right out of the bow stem. For the sailors in the group, yup, she was on port tack. This repair took a little more creativity to maintain the complex shape of the bow and build a good, solid laminate.
See a Time-lapse of the Repair Here
The first step in the repair was investigating how big the repair area would be after removing all the damaged fiberglass. This involved checking the inside and outside of the boat for cracks and delamination. Don’t pull or cut the fiberglass apart just yet.
It may be needed for shaping the repair.
By crawling into the bow with a flashlight, I was able to determine that most of the damage was in the solid fiberglass extending only slightly into the cored section of the hull. Later, I found out that there was only about a square inch of core damaged on either side.
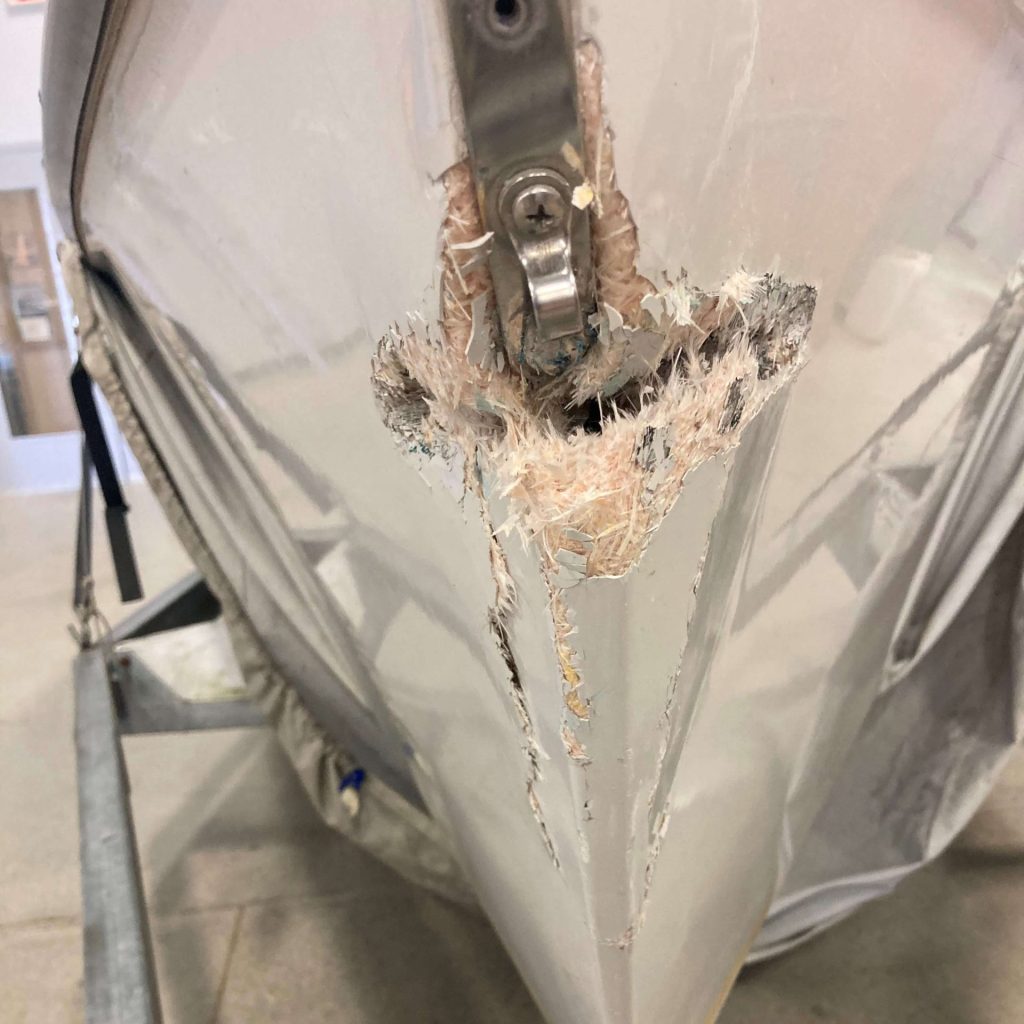
Now that I had a good idea of the extent of the damage and the makeup of the laminate, I knew how much material needed to be removed from the bow. The section of the bow stem to be removed spanned from just below the deck line down to the water line, and then it extended back onto the hull about 4″
on either side.
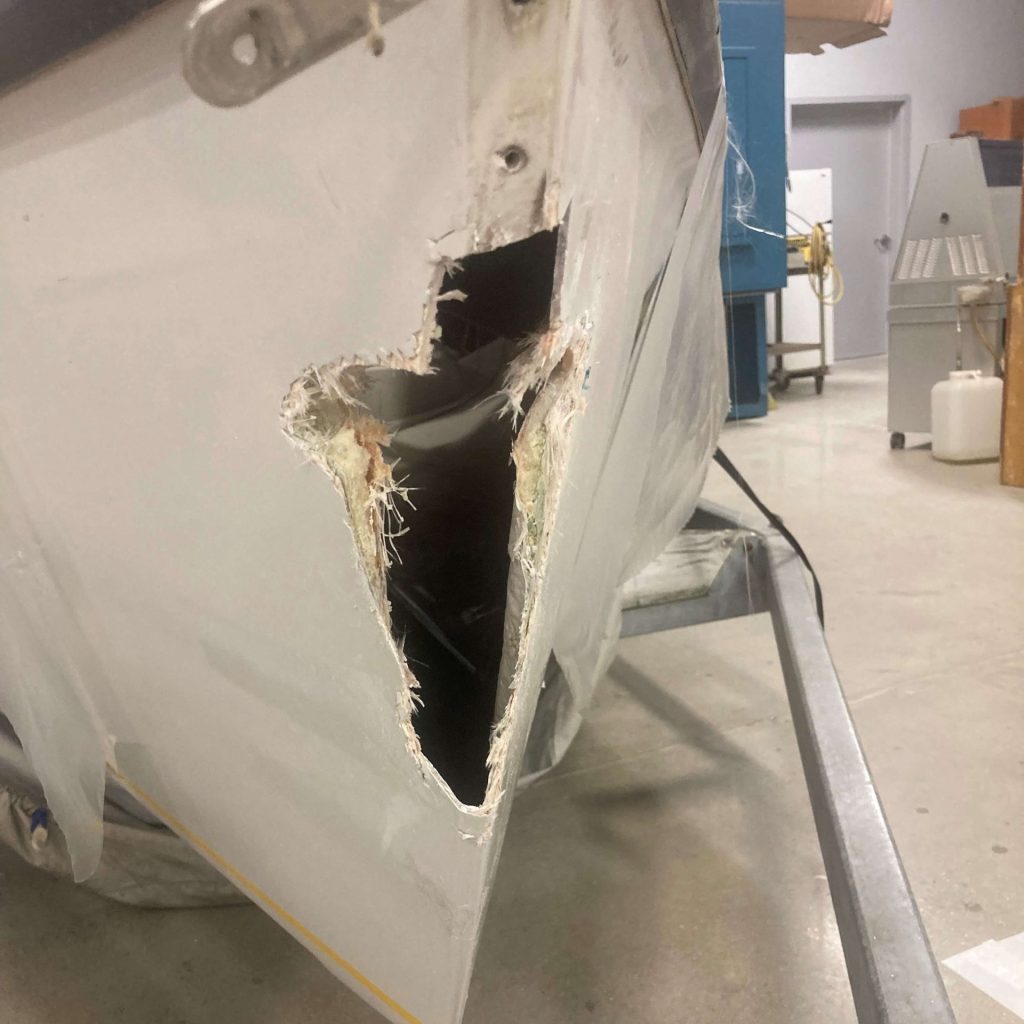
The bow stem on this boat is not the typical consistent V shape from top to bottom. The bow stem is about 1″ wide and flat at the top, then tapers down into a 1/2″ radius at the bottom. Before removing the damage and leaving a gaping hole, I needed a plan on how to rebuild this complex shape. The bow was large enough for me to be able to crawl inside to see the damage, but not large enough that I would be able to reach to work on the repair from the inside. Therefore, I needed a repair plan that could be done completely from the outside.
Chapter 4 of our WEST SYSTEM® Fiberglass Boat Repair and Maintenance manual shows how to use a fiberglass backing plate, glued to the backside of the hole on a flat surface, for repairing a small hole. I utilized this concept for my repair project, however mine would be a little more complicated due to the damage being right on the bow stem.
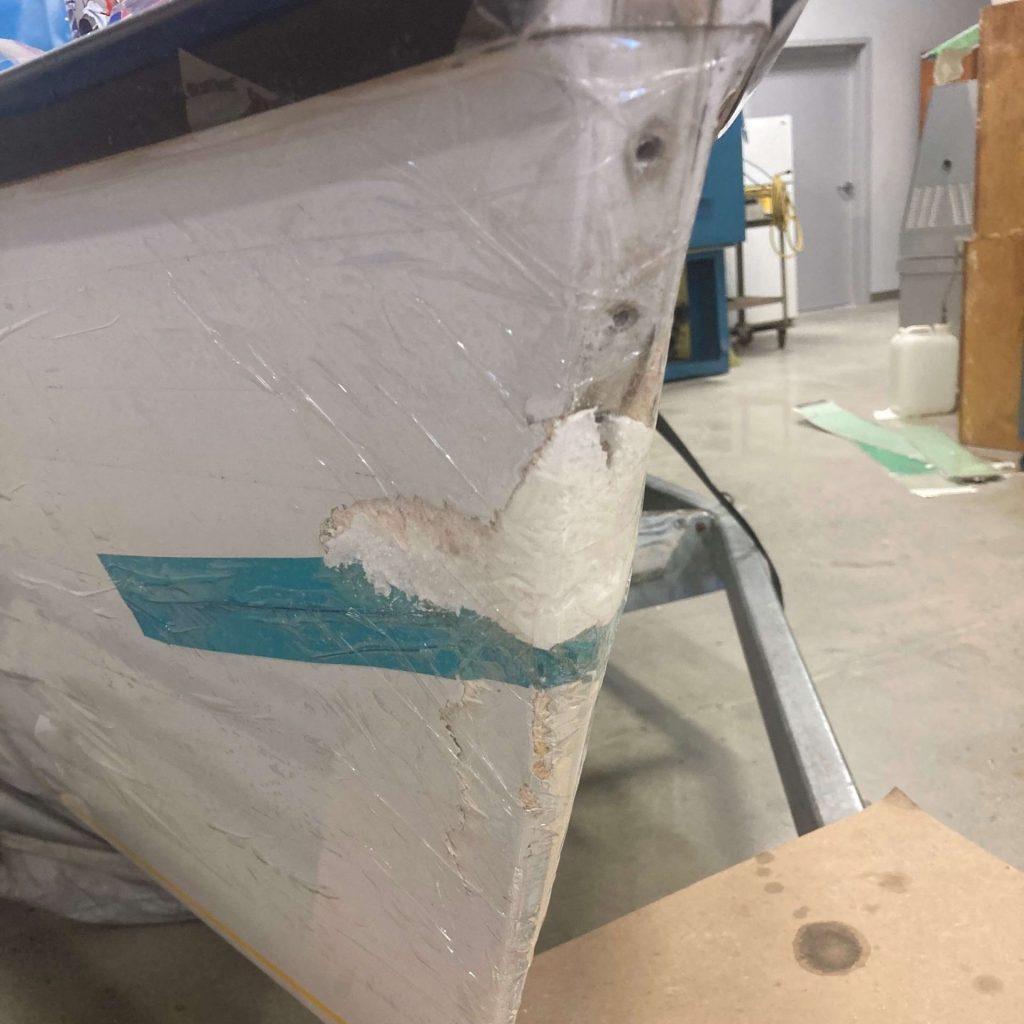
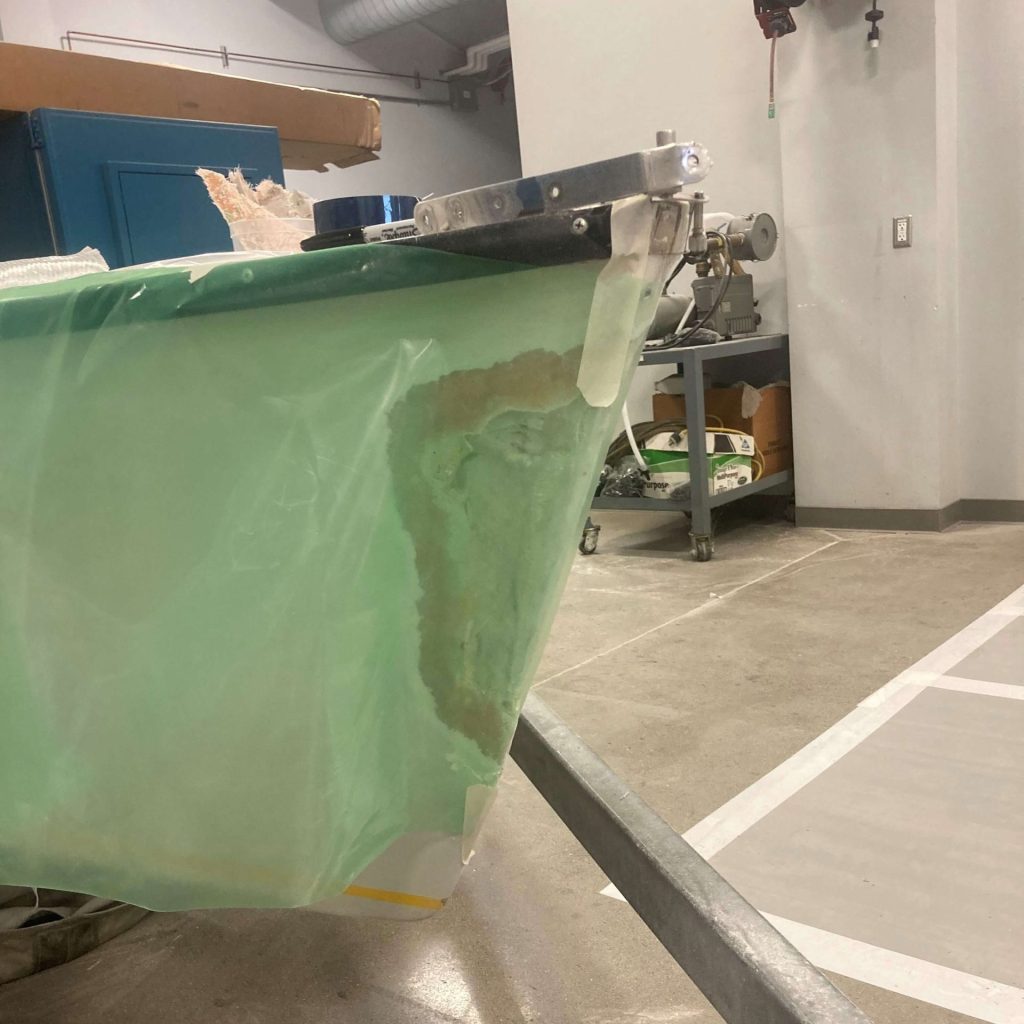
I used the boat itself as my mold to create a backing plate. I made a couple of cuts in the damaged fiberglass laminate to relieve stress so I could push it back into its original shape. I used some Great Stuff™ spray foam to fill in open areas and to help support the broken pieces in the proper position. After the foam hardened, I sanded it and the fiberglass, fairing it back to the original shape of the bow. Now that the bow was back to the original shape, I covered the area with clear packing tape to act as a release agent for building my fiberglass backing plate.
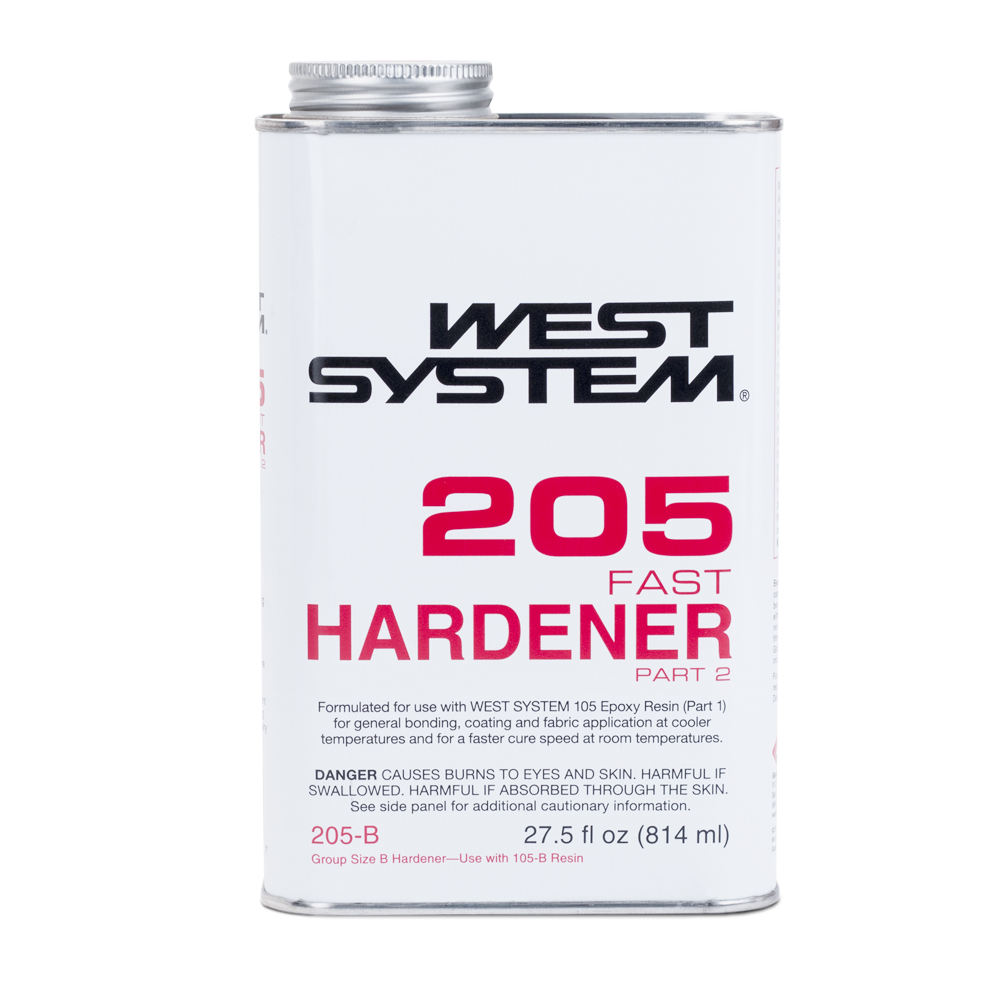
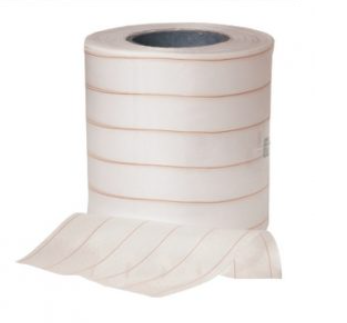
To build the backing plate, I used a couple of layers of 732 Fiberglass Tape (9 oz.) over the packing tape area. I used WEST SYSTEM 105 Epoxy Resin® mixed with 205 Fast Hardener®, applying 879 Release Fabric over the top. When making a backing plate, it’s always good to make it bigger than you plan on using. Even with a good investigation, when you begin removing damaged material, you may find there was more damage than you thought. After the epoxy had cured, I popped the backing plate off the bow
and set it aside for later.

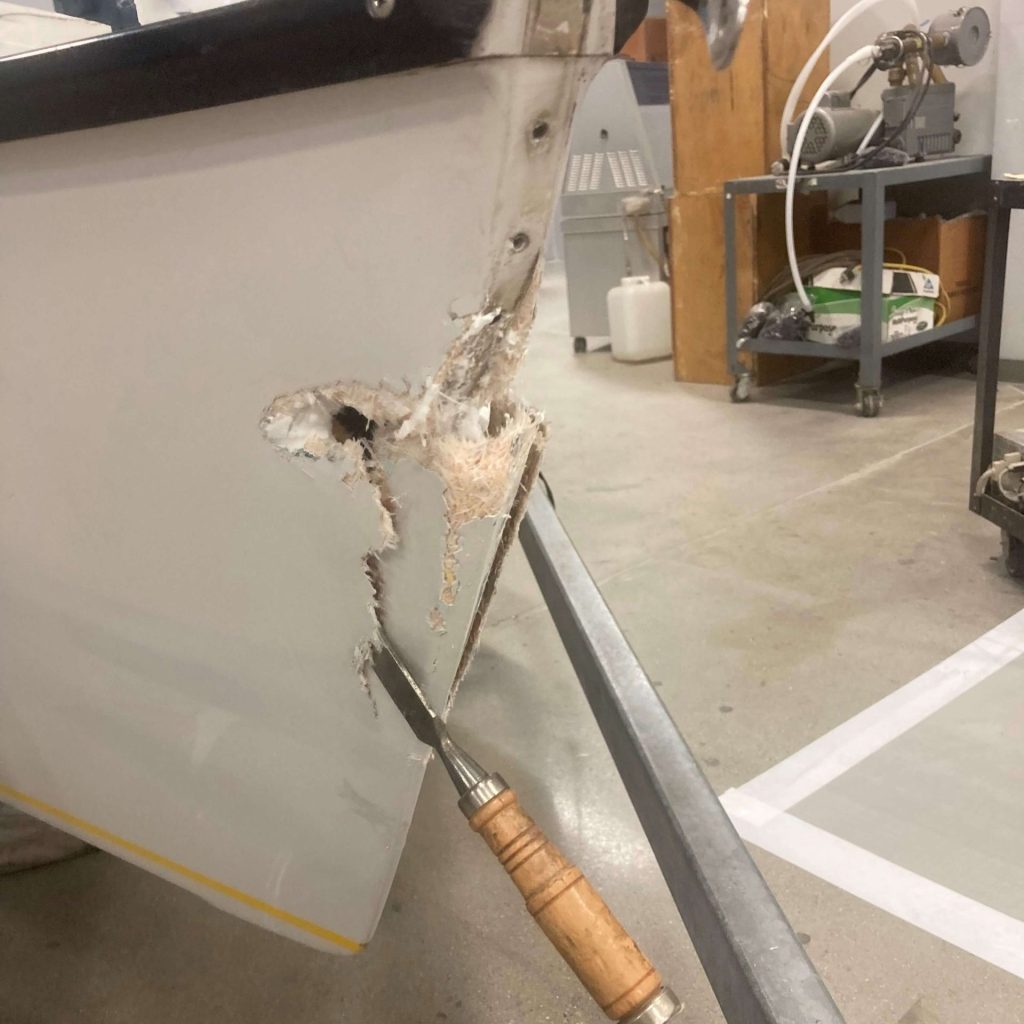
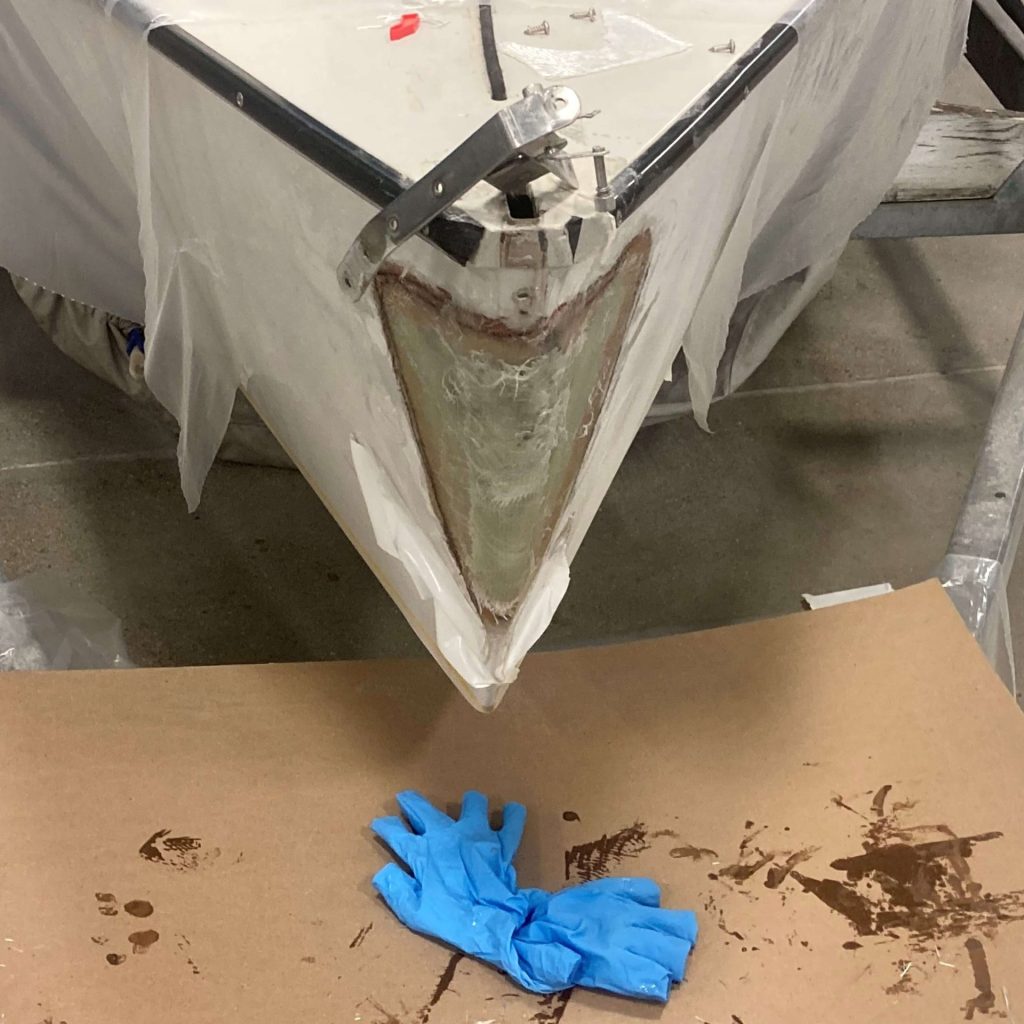
Now the fun begins. I marked out the area of the hull that I planned on cutting out. I used an oscillating saw to cut through the fiberglass along my marked area. I’m always conservative on how much I remove, but especially on this project. I don’t want to get into the cored area any more than I have to. You can always remove more material if you discover there is more damage than you first thought, but it’s best not to start by removing material you didn’t need to.
The hole was large enough to reaching through, allowing me to perform the interior surface preparation work from outside the boat. I used 80-grit sandpaper to sand a couple inches back from the edge of the hole, all the way around the perimeter.
While removing the damaged material, I had to remove a small section of foam core towards the top of the hole. Since it was such a small area of core, rather than replacing it, I opted to cut the edge of the remaining core at a 45° angle. Then I sanded around the area with 80-grit in preparation for fiberglassing over it later to replace the missing skin.
The next step was to cut and fit the backer. Being made of two layers of pre-laminated 9 oz. fiberglass, I could cut it to shape with quality scissors. Having areas with core and flat areas of just fiberglass laminate created contours that made fitting the backer smoothly against the inside of the hull. There were a few areas that I could not get completely flush, but they were small enough to be filled with epoxy later.
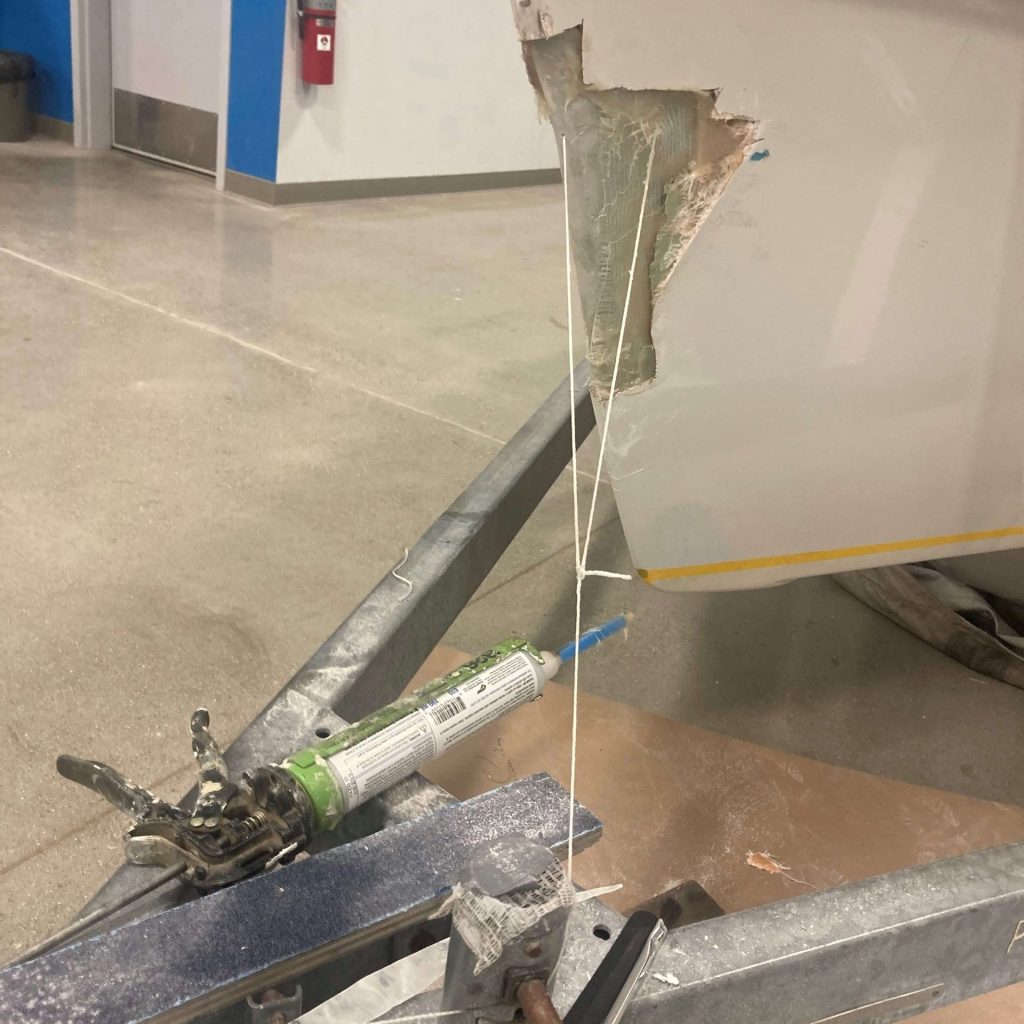
I drilled a couple of holes in the center of the backer and tied kite string to it. This would allow me to push the backer through the hole and let it hang on the string while I applied the epoxy. Then, later, I could tie the string off, holding the backer in place while the epoxy cured.
I started my epoxy application by working on the areas that farthest reach through the hole, and then worked my way back out. This meant applying fiberglass over the exposed core inside of the boat first. I used two strips of 727 Biaxial Tape (17 oz.) to repair the inside skin. I ran the strips vertically over the exposed core inside the hull. I applied a little extra epoxy where the backer would be in contact with the 727 Biaxial Tape to ensure a good bond.
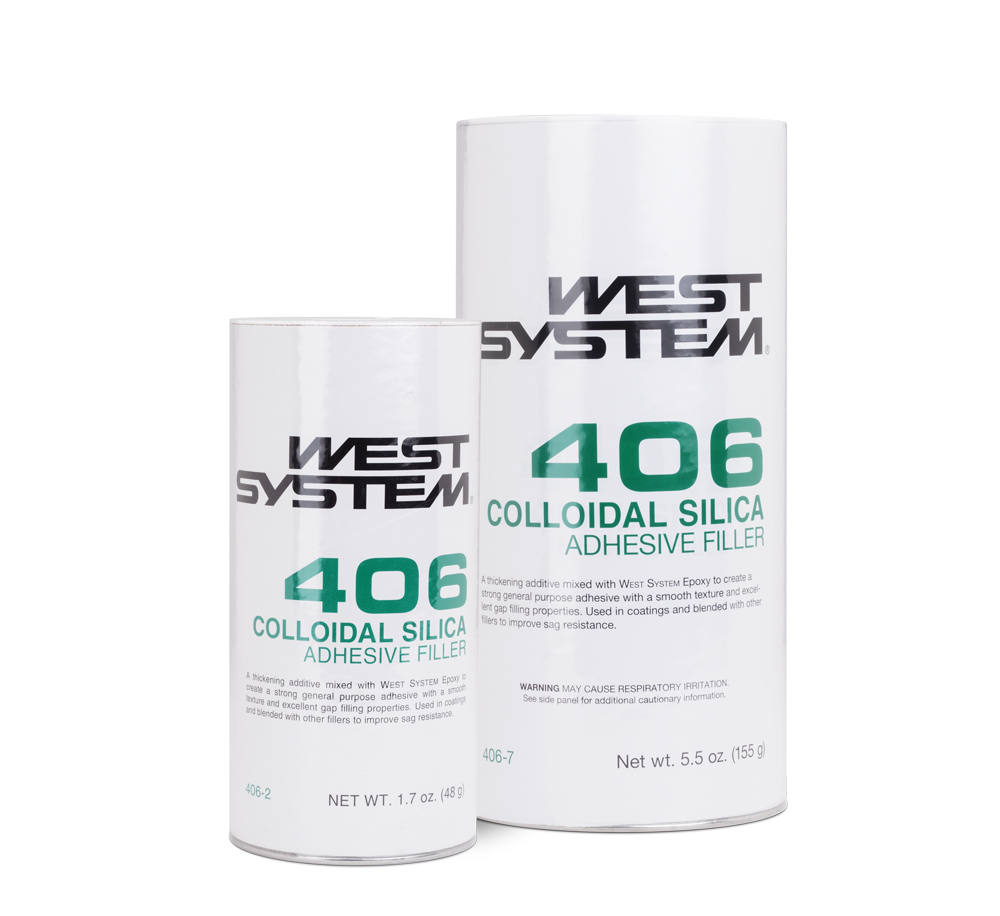
Next, it was time to begin work around the hole. I began by applying a 2″ wide epoxy coating around the perimeter repair area, on the inside of the hull. I used a thin mixture of 105/206/406. The 406 Colloidal Silica Filler gives the epoxy a little body and gap-filling ability to help prevent air voids between the hull laminate and the fiberglass tape I would apply next.
On a plastic-coated work surface, I wet out 727 Biaxial Tape with unthickened 105/206. I applied the wet-out, 4″ wide 727 Biaxial Tape strips to the inside of the hull. I positioned the strips in the 105/206/406 mixture so they overlapped the fiberglass by about 2″ and extended into the center of the opening by about 2″. I cut multiple strips of the 727 Biaxial Tape so it was easier to manipulate the strips to follow the opening.
The hole was now ready to be sealed with the backer. I used Six10® Thickened Epoxy Adhesive to apply a heavy bead of epoxy all the way around the backer. Six10 is mixed as it passes through the mixing wand. This allowed me to apply the epoxy to my backer with minimal disruption to my wet biaxial tape strips.
Pulling on the kite string, I drew the backer firmly into place, then tied off the string to the trailer. This would hold the backer in place until the epoxy cured. I used an 808 Flexible Plastic Spreader to gently smooth the 727 Biaxial Tape flat against the backer, removing any air bubbles. After that, I let the epoxy cure.
Cured epoxy can sometimes form an amine blush that can inhibit bonding. I washed the blush off with water and a 3M™ Scotch-Brite™ pad. I then sanded the surface of the backing plate and the bond line to remove any imperfections. This way, my next layers of fiberglass would lay smoothly.
The grinding exposed voids in the core created by the damage. I hand-sanded these areas, then gave a final sanding to the entire area. Now the entire surface was prepared for epoxy and fiberglass.
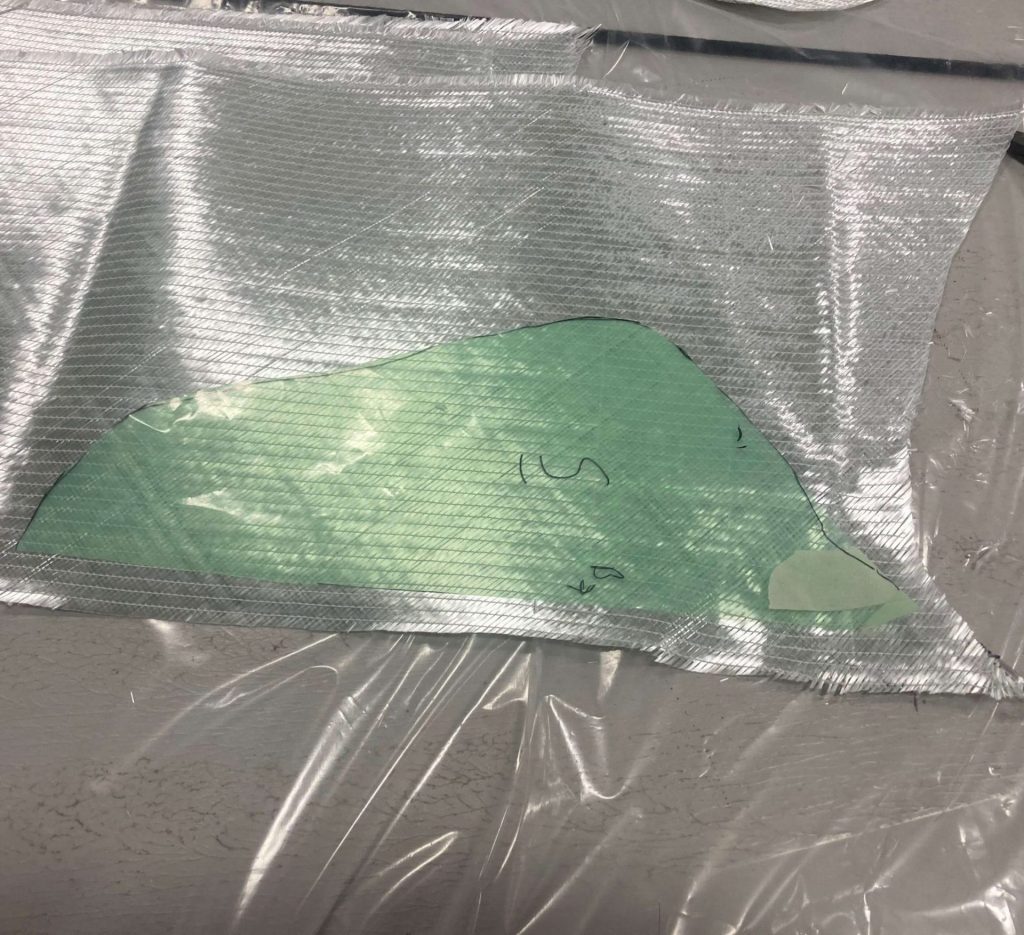
I now had the final shape for the fiberglass patches. Based on my thickness measurement of the original laminate, I planned to use three layers of 737 Biaxial Fabric on each side of the bow, overlapping them at the stem. This would produce a laminate thickness equal to what had been removed. I taped a piece of clear plastic over the repair and used a marker to trace the outline of the area to be patched. I now had my template.
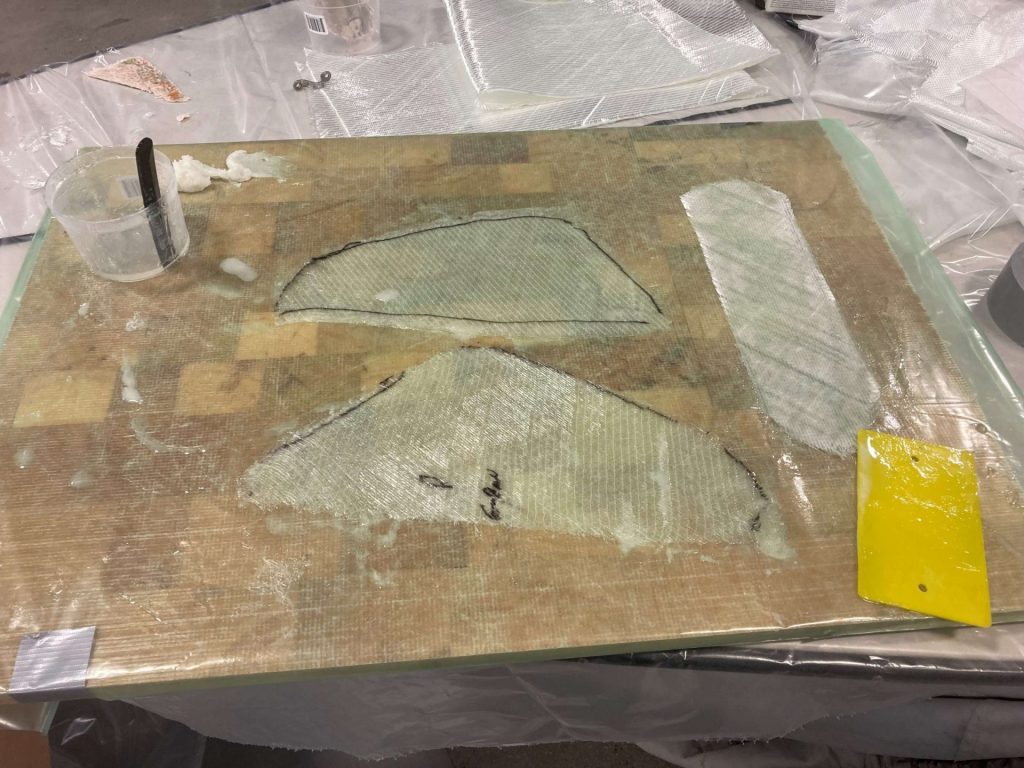
I cut the first piece of 737 Biaxial Fabric the same size as the template. Each subsequent layer was cut slightly smaller. I marked each one with the order I planned on applying them (largest first), which way was up, and which side of the boat it would go on. Cutting each fiberglass piece slightly smaller is very helpful: You stay truer to the original shape of the hull; it saves a lot of time and effort in the fairing process; and it minimizes waste.
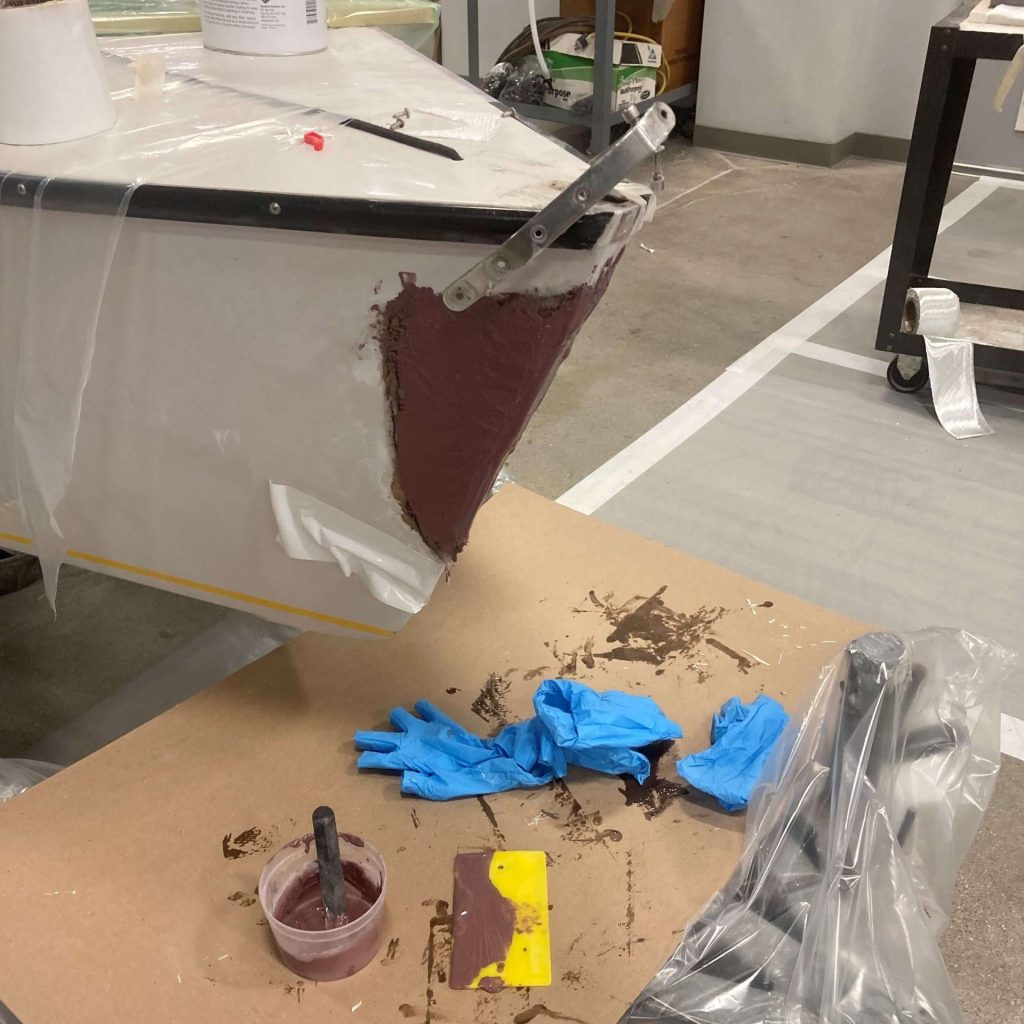
I brushed a thin coat of WEST SYSTEM 105/206 epoxy, thickened to a catsup consistency with 406 Colloidal Silica, onto the repair area. Wetting the surface with the thickened epoxy helped the fiberglass bond to the hull better and filled any small imperfections. After this coat, I added more 406 to my epoxy, bringing it to a peanut butter consistency. I used an 808 Flexible Spreader to force the thickened epoxy into the small voids left by the missing core and any other larger imperfections.
Time to wet-out my 737 Biaxial Fabric. Most of the time, when I do a fiberglass repair, I like to wet out the fiberglass on a piece of plywood coated with plastic, then apply the already wet-out fiberglass to the repair area. I find this makes less mess, and it is easier to get to the ideal 50:50 epoxy to fiberglass ratio by weight. Plus, I can wet out my fiberglass more comfortably at a workbench, then easily carry the plywood to where the repair work is being done.
I started with the largest piece. I wet it out and then applied it to the repair area, following the markings from when I cut the fabric earlier. Then I repeated the steps for the largest piece on the opposite side of the bow. I worked my way down to the smallest piece, continuing to alternate sides as I went.
The next day, I washed off the amine blush and started sanding. I used 36-grit sandpaper on my 8″ dual-action sander and my air file. Using a larger sander helps distribute pressure more evenly over a larger area to minimize highs and lows, and can span from the repair onto the original hull, assisting in guiding fairness. I can get the proper basic shape quickly with the power tools, but a hand sanding block is important to hone the finer details. As I progressed with my fairing, I worked my way down to 80-grit sandpaper.
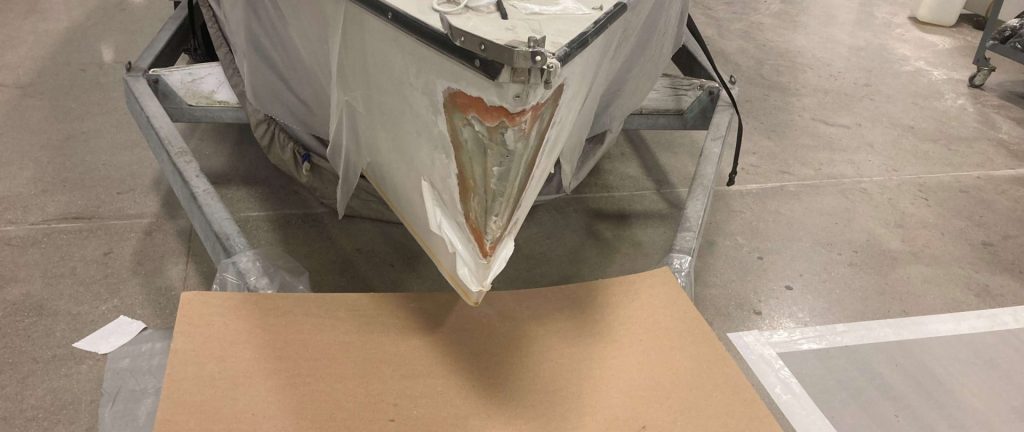
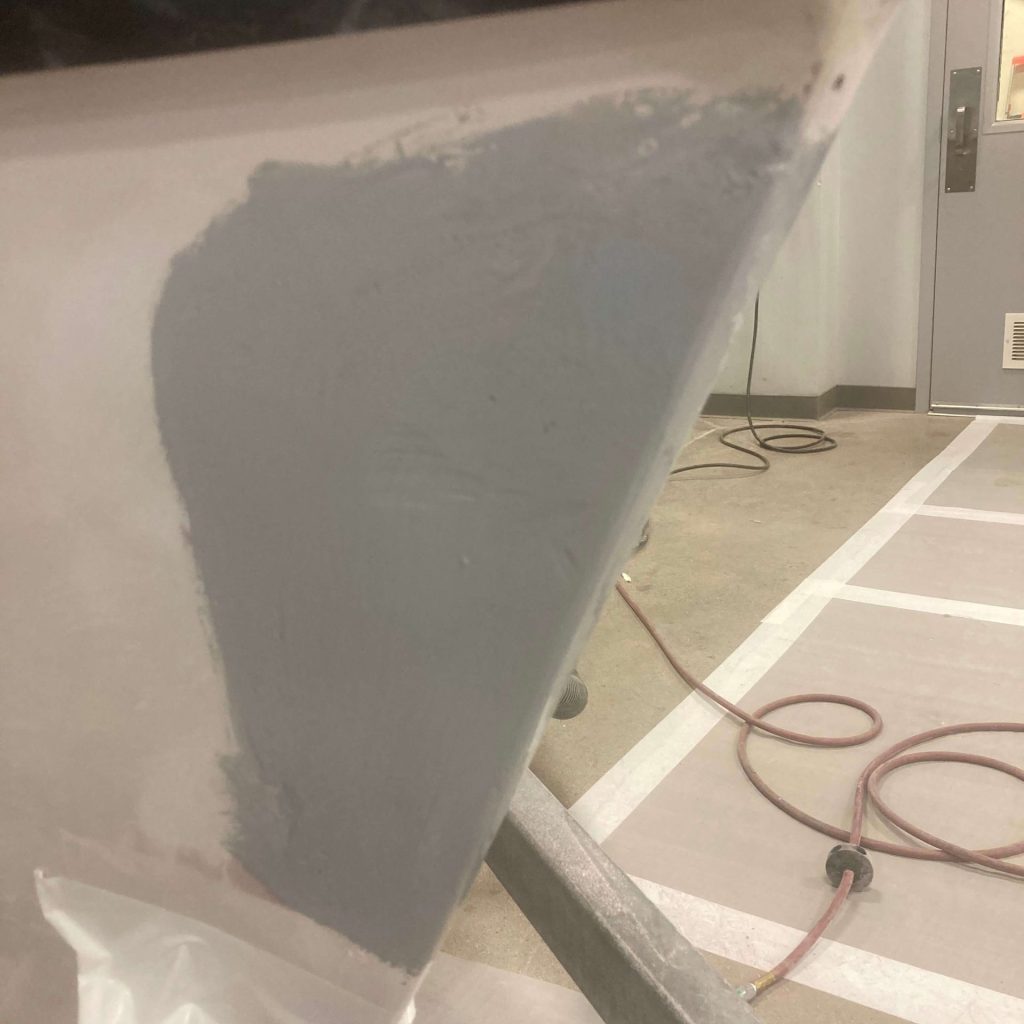
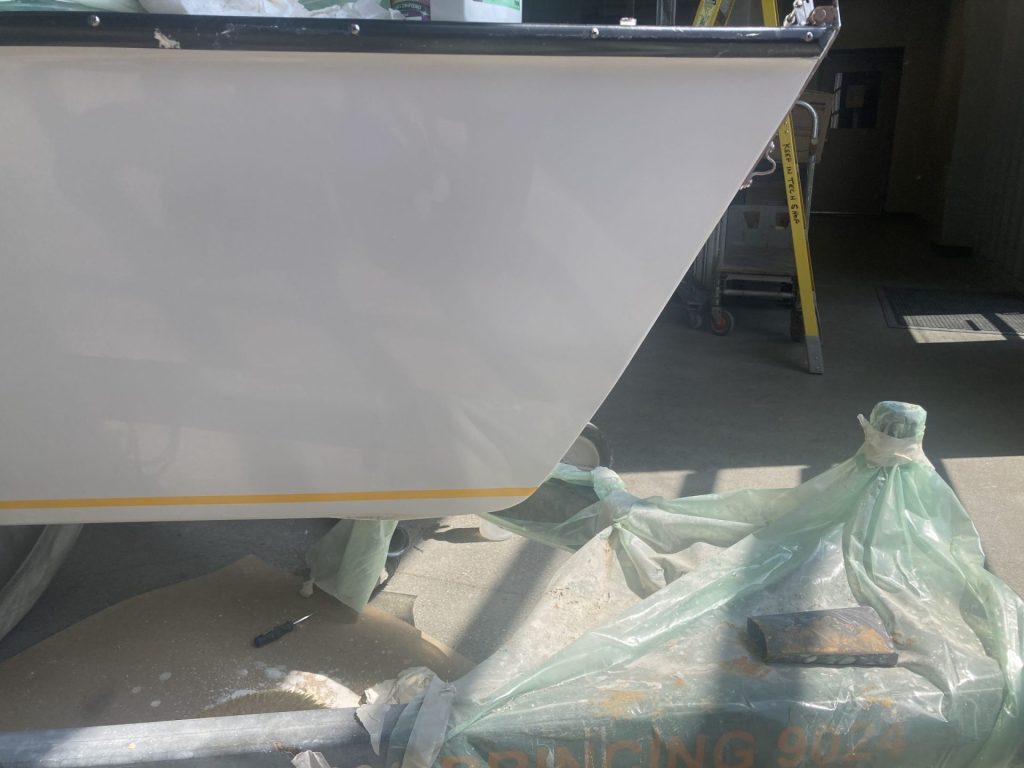
Once I had the shape I wanted, I brushed/rolled on a couple of sealer coats of epoxy-tinted with our 503 Gray Pigment. This helps in two ways.
It’s a little hard to tell from the pictures, but the hull color is actually light gray. Of course, if the boat were white, I would have used 501 White Pigment instead.
Once the seal coat becomes tacky, you can fill in pinholes, low areas, and any other spots that might need a little extra attention with epoxy. For nonstructural applications, I often use the partially cured epoxy left from the seal coat for my touchups. It has the consistency of taffy, which can work for you or against you. It has a thicker viscosity, so it will cling better, but this also means it can be stringy and sticky. Care needs to be taken because it’s easy to make a bigger mess than you are fixing.
After the epoxy cured, I wet sanded the epoxy to prepare it for the gelcoat. I kept an eye open for any imperfections. At this stage, you need to fix anything you see. Do not think that gelcoat, or paint and primer, are going to fill in a pinhole or divot.
Regardless of how great of a repair you make, it all comes down to the finish. Typically, fiberglass production boats have a gelcoat finish…which includes this Lightning. Unfortunately for me, the hardest part of gel coating a repair is the color match. Not my strength.
For many production boats, matching gelcoat can be ordered. Sadly, the Lightning has low enough production volume that pre-tinted gelcoat was not an option. Now I could order gelcoat and pigments and match it myself, but it would be time-consuming and a pain in the butt.
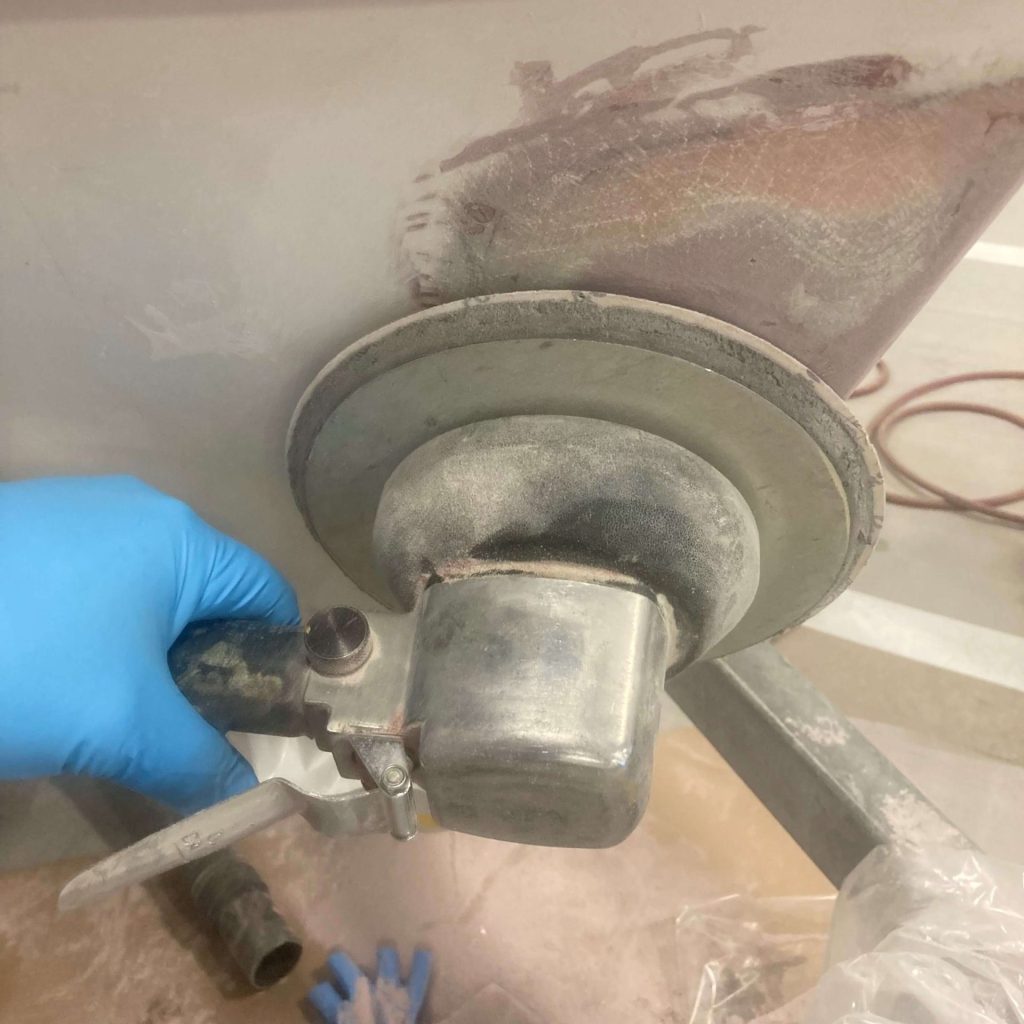
I sanded beyond the repair area into the surrounding gelcoat to blend the two gelcoats together. I taped the spray area out and covered the rest of the boat to keep the overspray off it. Then I did my last 2-step solvent wipe to make sure the area was clean.
I thinned a large enough volume of gelcoat for my first application. Then I mixed in the catalyst and sprayed a couple of coats of gelcoat to cover the repair area only. I did not want the spray to extend into my sanded blending area. While waiting for the gelcoat to become tacky, I cleaned the spray gun to prevent the gelcoat from hardening in it.
I had to wait a few hours for the gelcoat to cure most of the way. Gelcoat cure is inhibited by exposure to air, so to have a hard, sandable finish, I needed to brush on a coat of PVA. The PVA dries quickly and forms an airtight seal over the gelcoat. This allows the gelcoat to cure to a hard finish. After a day or so, I came back and washed the PVA off with clean water. Then I wet-sanded the new gelcoat smooth and blended it into the old. I used a buffer and rubbing compound to bring back the shiny gloss. I reinstalled the bow hardware and we are ready to race… well, once the ice thaws, that is
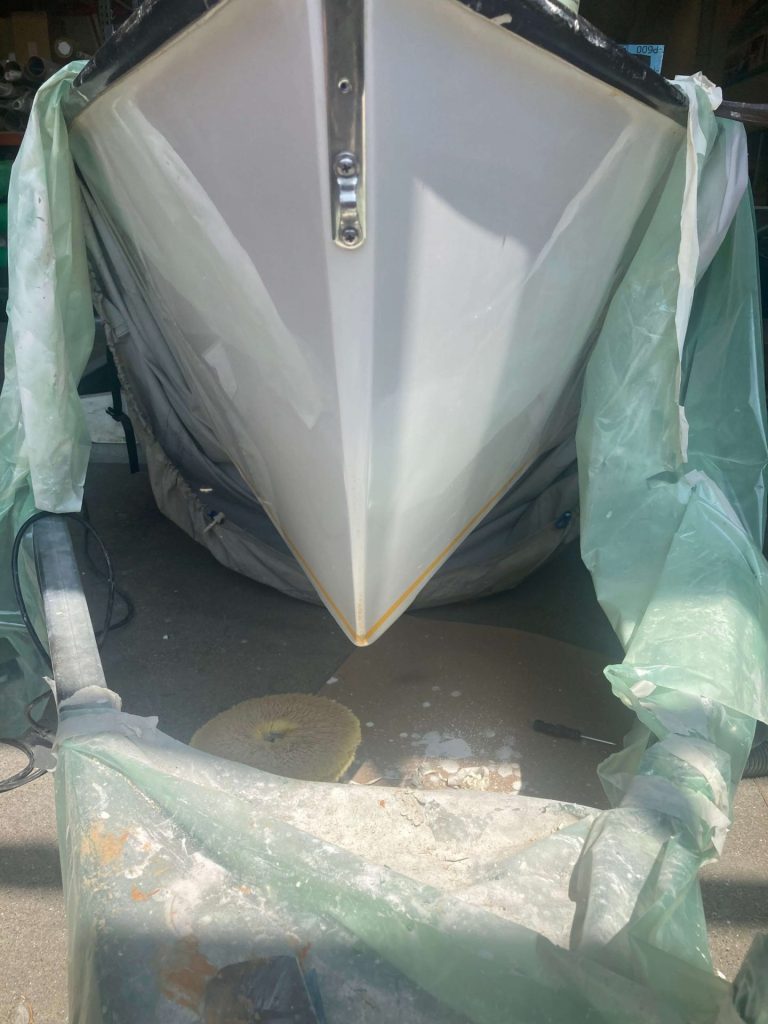
A thorough evaluation of the damage before doing any work is critical in determining the process for your repair. For this repair, I could not work from inside the hull, so I had to design a repair process that could be executed from the exterior of the boat. Molding a backer plate to build the repair on was an important step that needed to occur before the damage was removed. This is counter to the process we often follow when doing repairs. Charging ahead and cutting out the damaged section before developing the process for the repair would have made a challenging repair a whole lot more difficult. It also would have produced less-than-ideal results. Though it was a lengthy, multistep process, the damaged area looks good as new.
If you’re stumped on how to approach your next project, please contact the Technical Service staff at WEST SYSTEM to help you in developing your repair plan. Download our fiberglass boat repair instruction manual for FREE!
To learn more about WEST SYSTEM products, visit westsystem.com