Repairing a Fatigued Laminate
Spring, 2025

GET STARTED
FREE PRINT & DIGITAL EDITIONS
Spring, 2025
The bottom of a typical trailered powerboat is not something that gets a lot of daily attention but has a very important job. Since I have been involved in boat building and repair my entire career, I may think more than most boaters about what is going on below my feet when running through waves. This leads me to get out my creeper and rolling under my boat once a year to see the condition of the bottom. Last spring I realized that the bottom of my boat was not doing so well. There’s a specific area where gelcoat cracks had continued to grow. My old friend was telling me she needed some attention if we wanted to continue our adventurous relationship. It was time to make repairs in this area where the laminate had fatigued.
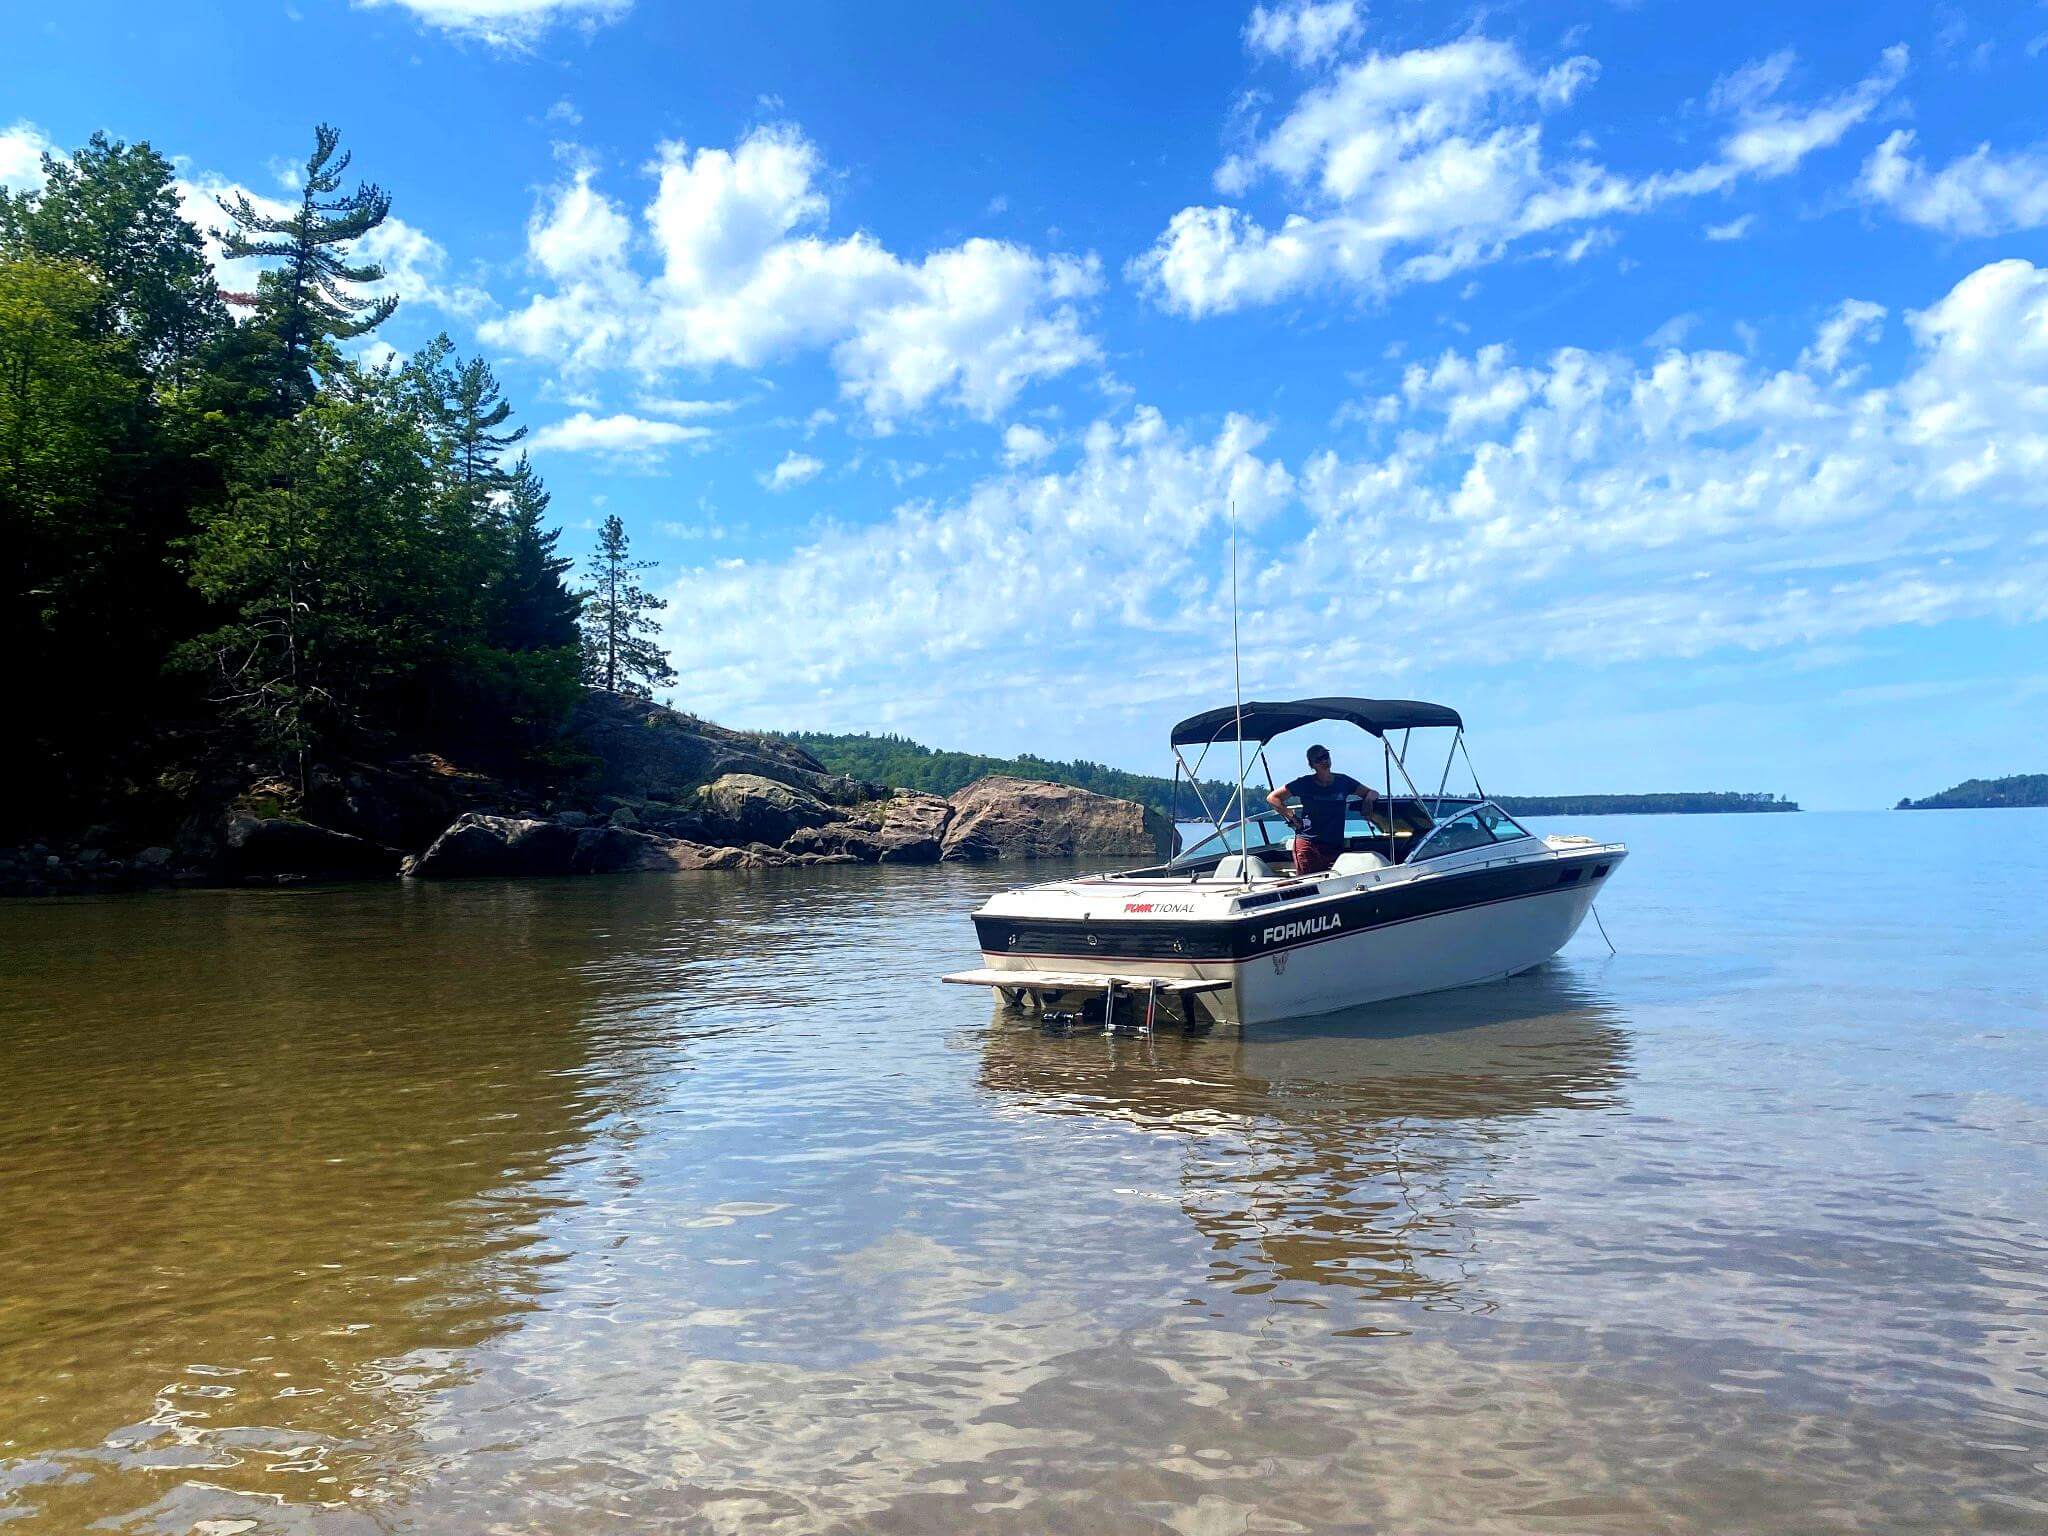
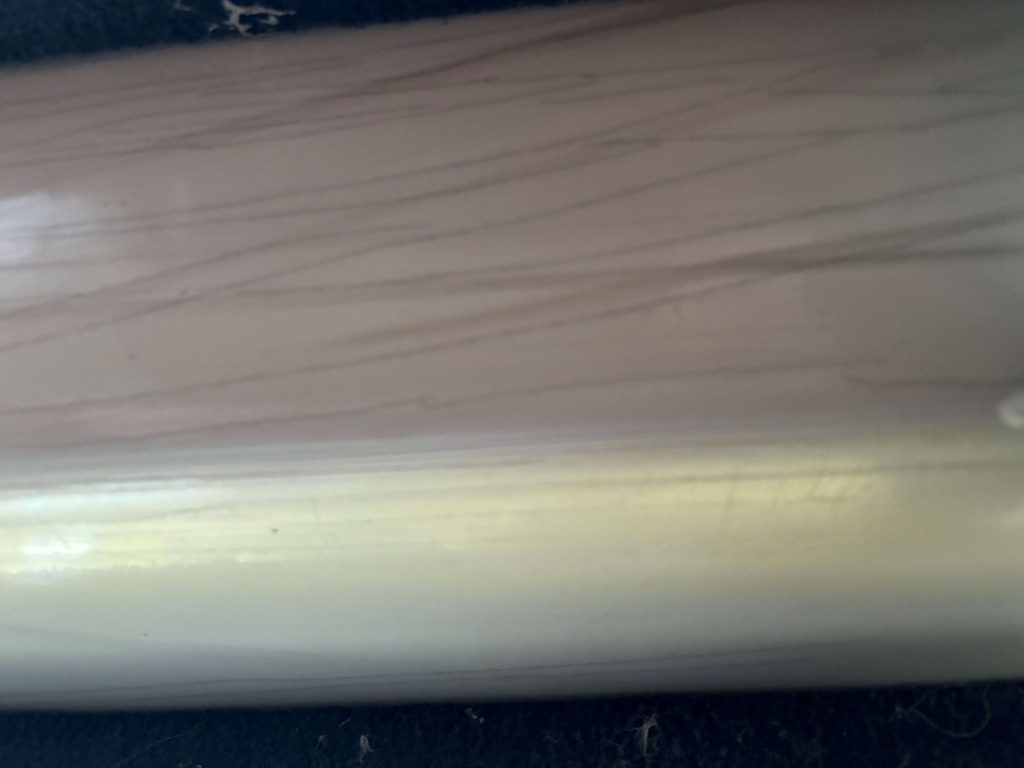
My 1986 Formula 242, Funktional, has been taking me around the Great Lakes and beyond for 20 years. With over 2,500 total hours running time on the hull, and having been trailered at least 100,000 miles since I have owned her, the bottom has had its share of choppy waves and Michigan potholes. What I noticed this year was significant growth of longitudinal gelcoat cracking near the keel on the forward portion of the bottom. The cracks were at the forward end of the long primary trailer bunks.
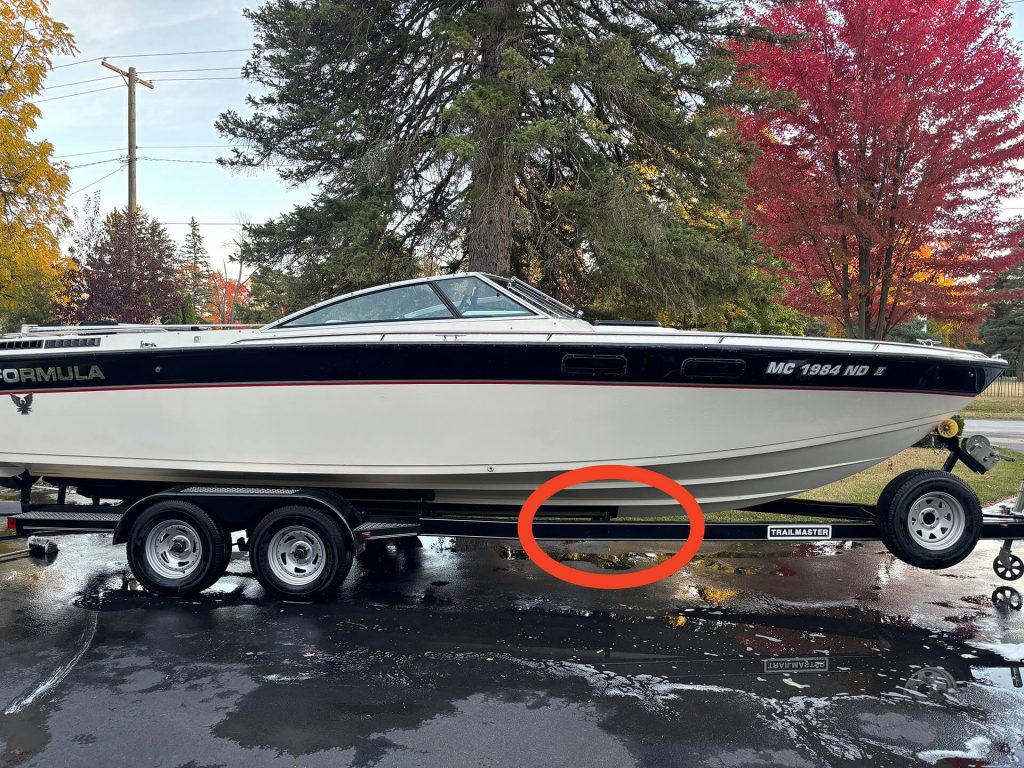
Taking some measurements of the gelcoat cracking location, and comparing it in relation to the hull framing, it appeared all the cracking was underneath the cabin sole. Since I had replaced the original sole several years ago due to rot (see Epoxyworks 37 “Replacing a Small Boat Cabin Sole”), I decided to attack the problem from the inside. I view the gelcoat cracks as both an indicator of a laminate problem and a cosmetic flaw. I personally don’t mind if the cracks are repaired or not, as long as the hull is sound. Repairing the fatigued laminate is what’s important. The gelcoat is a final finish, and not meant to protect the hull from moisture. For people to notice the cracks, the boat would need to be capsized—which would be a bigger issue!
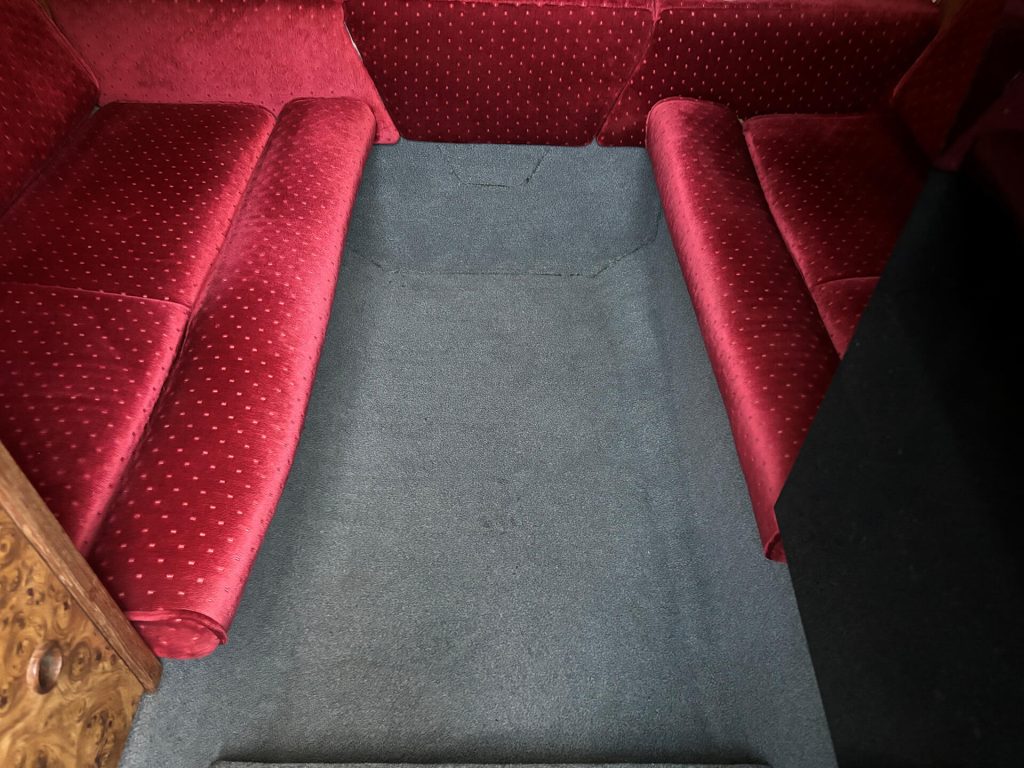
It’s not an easy decision to take your boat apart and delay the start of the short Michigan boating season, but it had to be done. I decided to remove some of the cabin’s interior components and carpet, then cut out the cabin sole.
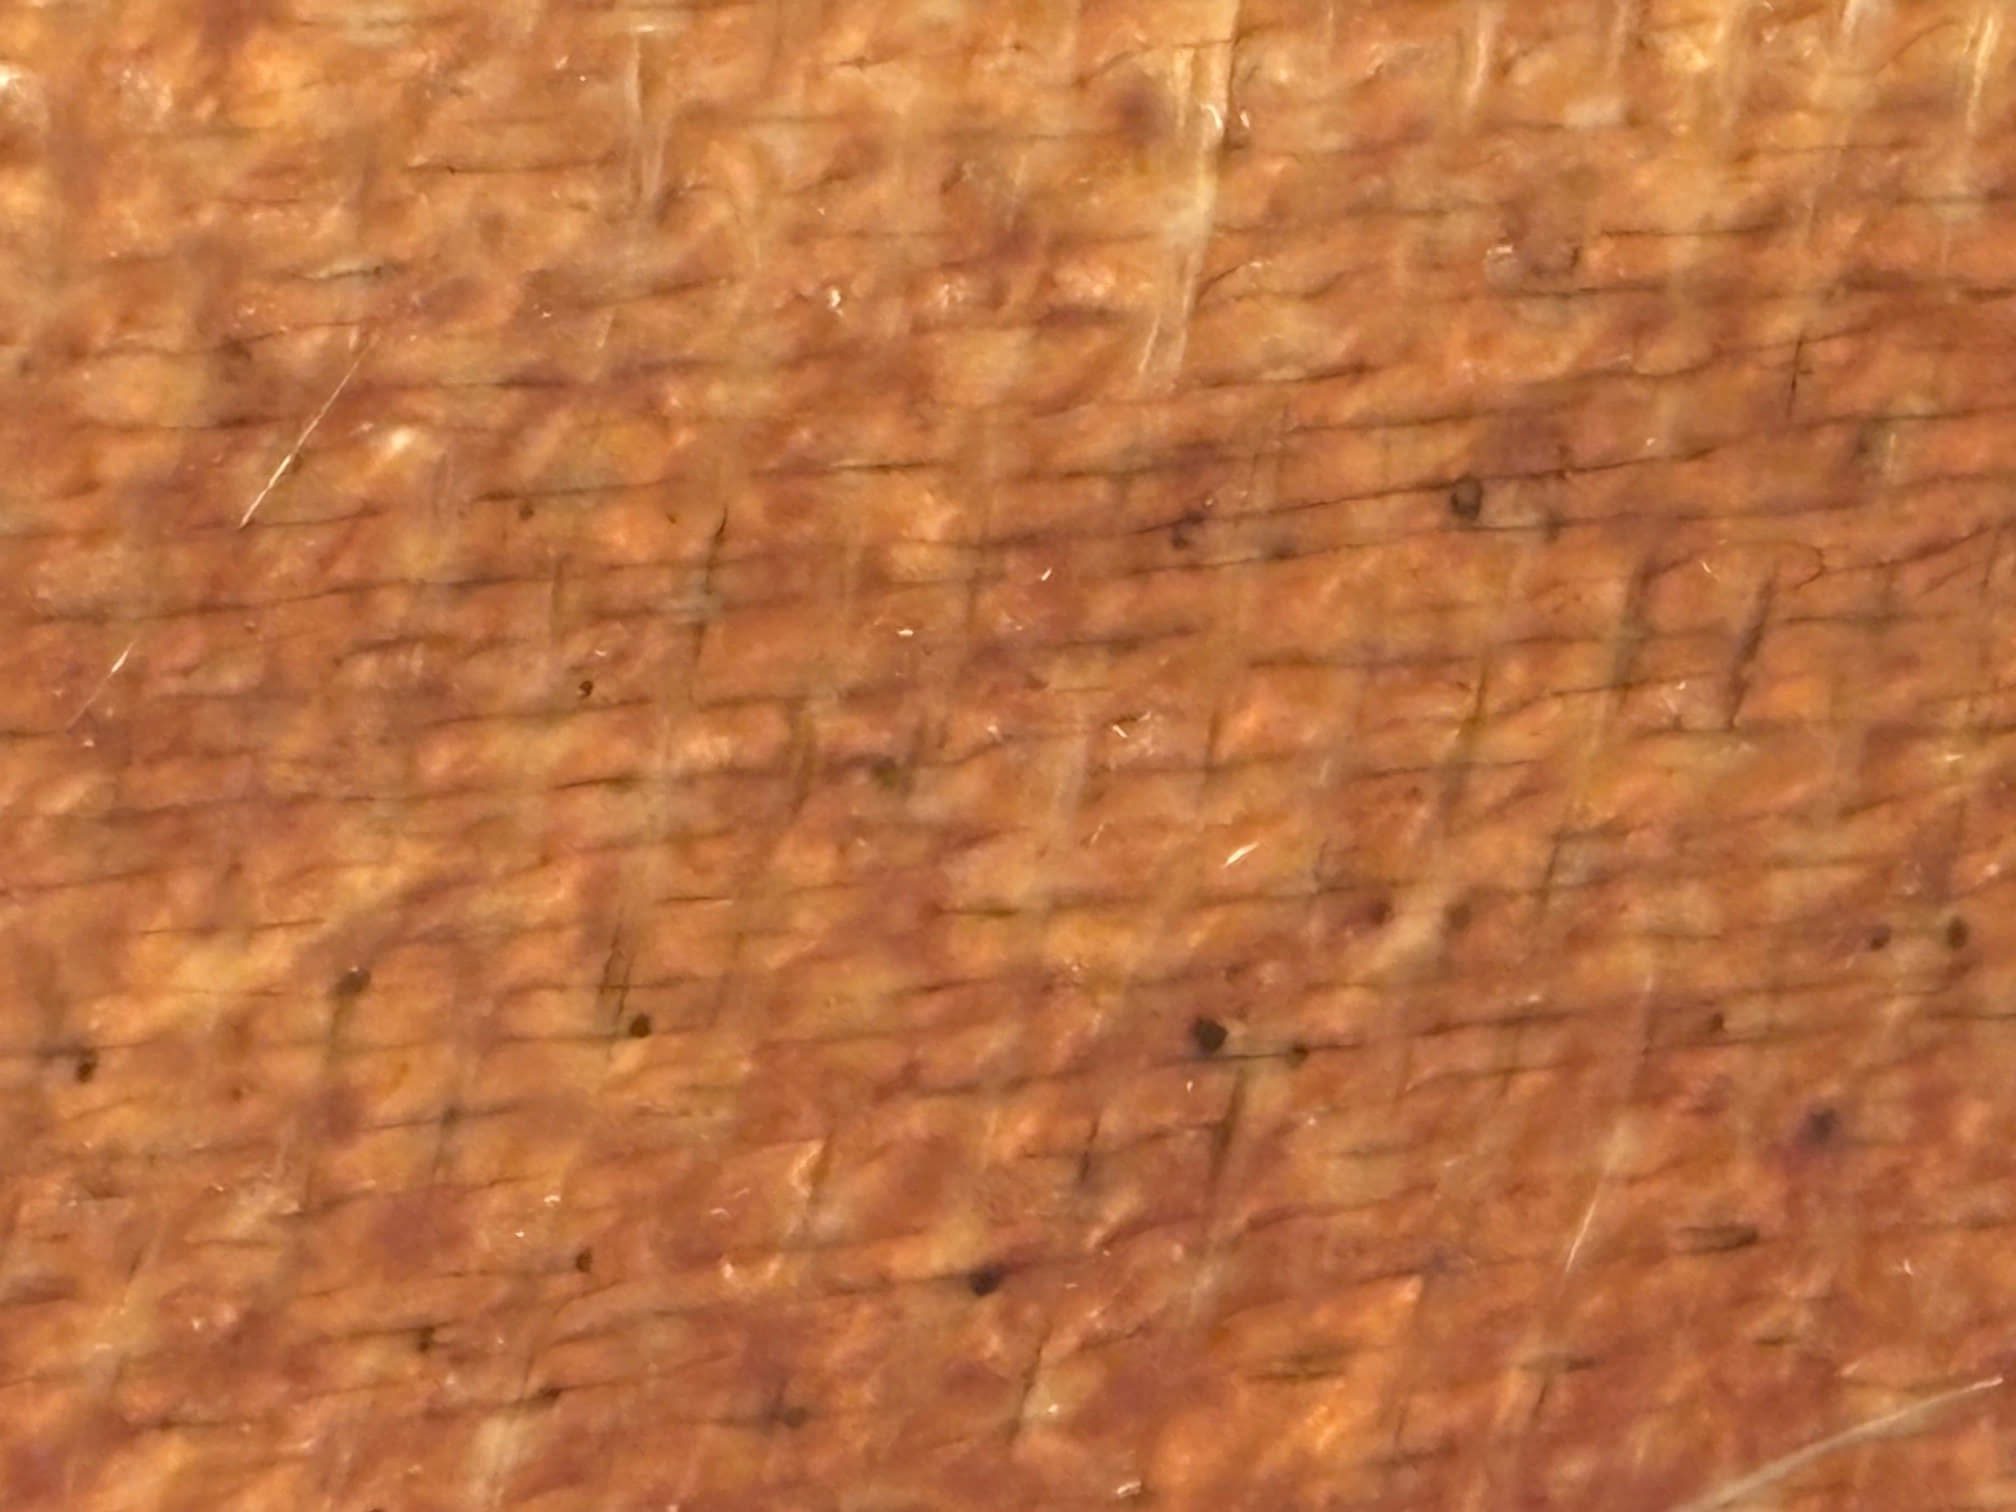
I closely inspected the inside of the hull bottom and could see very fine cracks in the vinylester resin of the laminate. This explains why the tapping test produced the dull noise. Even though Formula used vinylester resin, as opposed to polyester, this area of the hull has lost stiffness due to laminate fatigue when compared to the rest of the hull. Additional tapping, measuring and examination of the gelcoat cracks enabled me to conclude all the cracks were in this “panel”.
The panel is defined by the area between the stringers and the frames. In hull bottom laminate design, the size of these panels, along with the estimated pressure from wave pounding, is used to determine the required laminate strength and stiffness. I decided to only stiffen this panel since all other portions of the hull shell did not show signs of fatigue, and all the framing was dry with undamaged laminates.
A critical part of this repair is the focus on stiffening the entire panel. My repair laminate will extend from the forward fuel tank frame, to the frame at the aft end of the vee-berth, and all the way across to each stringer. This approach avoids any hard spots in the hull shell because the additional laminate is completely attached to the framing.
My repair needed to be stiff enough to reinforce the weakened laminate. If the repair laminate was not stiff enough, it may just peel off as the hull flexes. I decided to double the thickness of this bottom panel knowing it would provide enough stiffness and strength no matter the condition of the original laminate. In our Fiberglass Boat Repair & Maintenance manual (section 3.6), we discuss stiffening laminates using a cored stiffener. I did not pursue this method because it would raise the cabin sole and reduce the already limited headroom in the cuddy cabin.
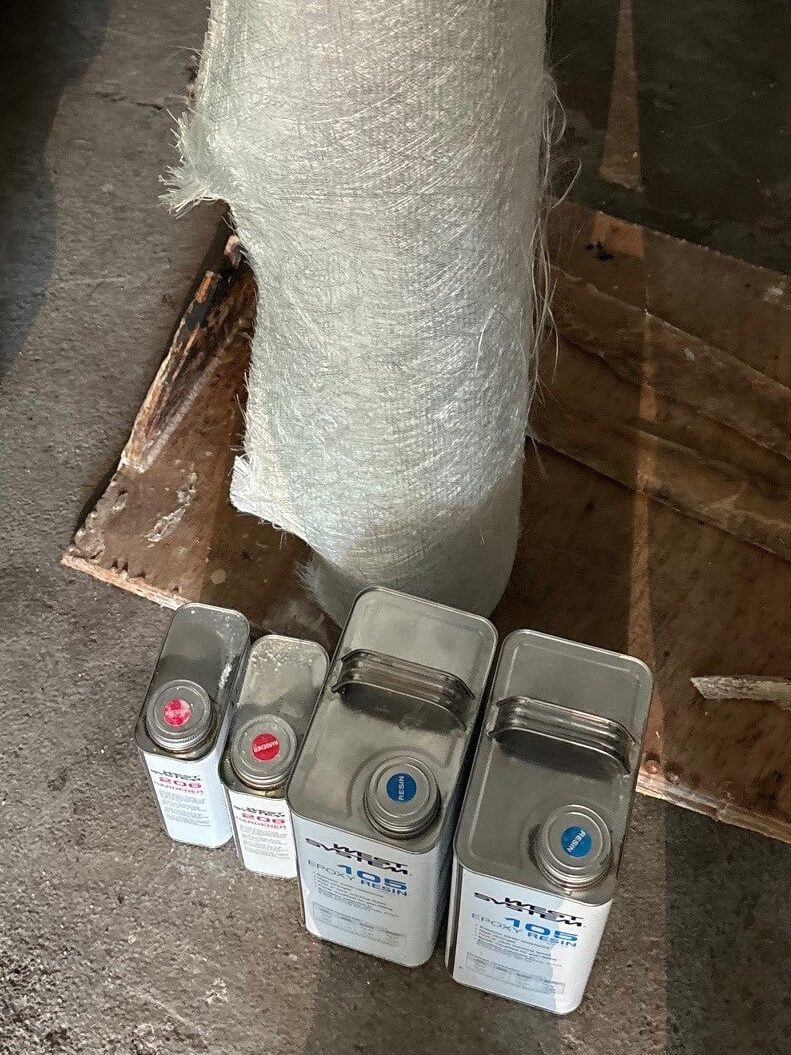
From my experience in the marine industry, and the appearance of the inner hull, I assumed the original laminate was a layer of 3 oz/ft2 of chopped strand mat (csm) followed by two alternating layers of 1.5 oz/ft2 csm and 24 oz/yd2 woven roving. Two more alternating layers of 1.5 oz/ft2 csm and 24 oz/yd2 woven roving went over the stringers and then onto the hull bottom.
Using the equations in Epoxyworks 56 “Calculating Laminate Thickness”, I calculated the bottom to be about 3/8″ thick. Using WEST SYSTEM® 738 fabric this would take about eight layers to achieve the same thickness. Although this would have worked, I was able to find a roll of knitted 2415 fiberglass fabric in our shop (2415 indicates the fabric will have 24 oz/yd2 of a triaxial knitted fabric and 0.75 oz/ft2 of a chopped strand mat.) Using that would reduce the number of layers to six layers.
It is important to note that more layers of a modern, knitted fabric (like WEST SYSTEM 738) is required to match the thickness of a woven, roving-type fabric of the same weight. Woven fabrics generally have a higher epoxy content because of the crimps in the fabric where the knitted fabrics achieve less thickness per oz. but have a higher fiber content. Since I was most worried about stiffness, matching the original thickness, and higher strength, the knitted fabric was a nice bonus for this fatigued laminate repair.
Preparing the surface is labor-intensive and critical for a successful repair. If the new lamination does not adhere well, it will not stiffen the bottom or transfer the load into the stringers and frames. The first step in this process was removing the carpet glue. Time and patience are the key to letting the adhesive remover work. It took longer to remove the carpet adhesive than it did to laminate all the fiberglass.
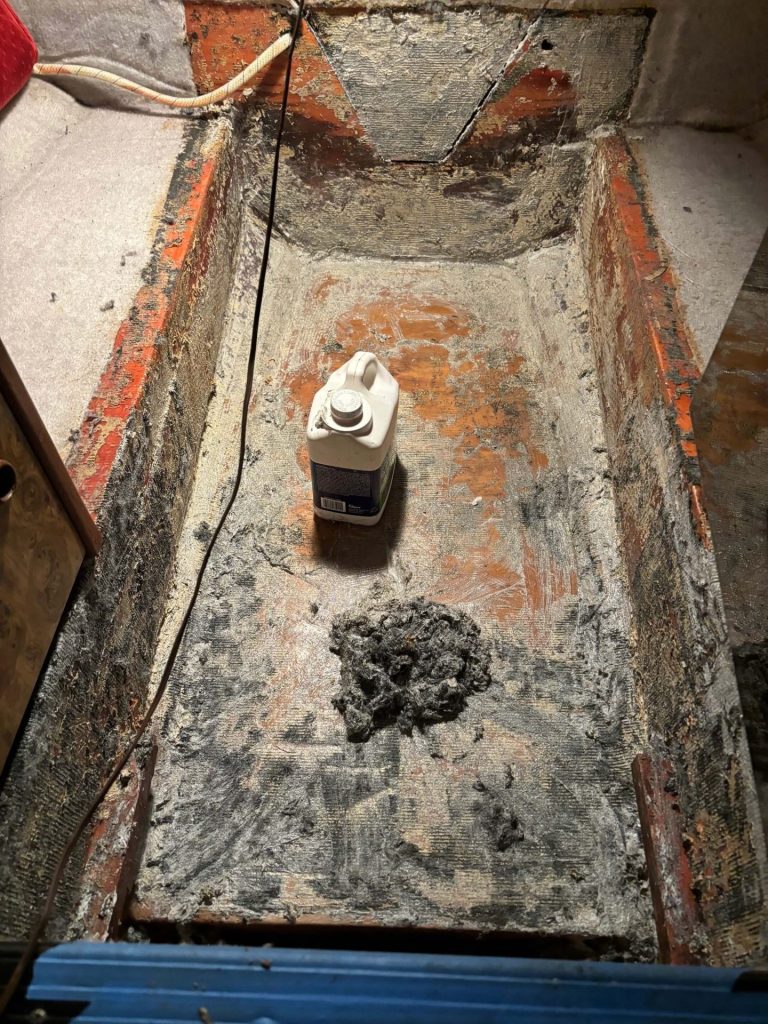
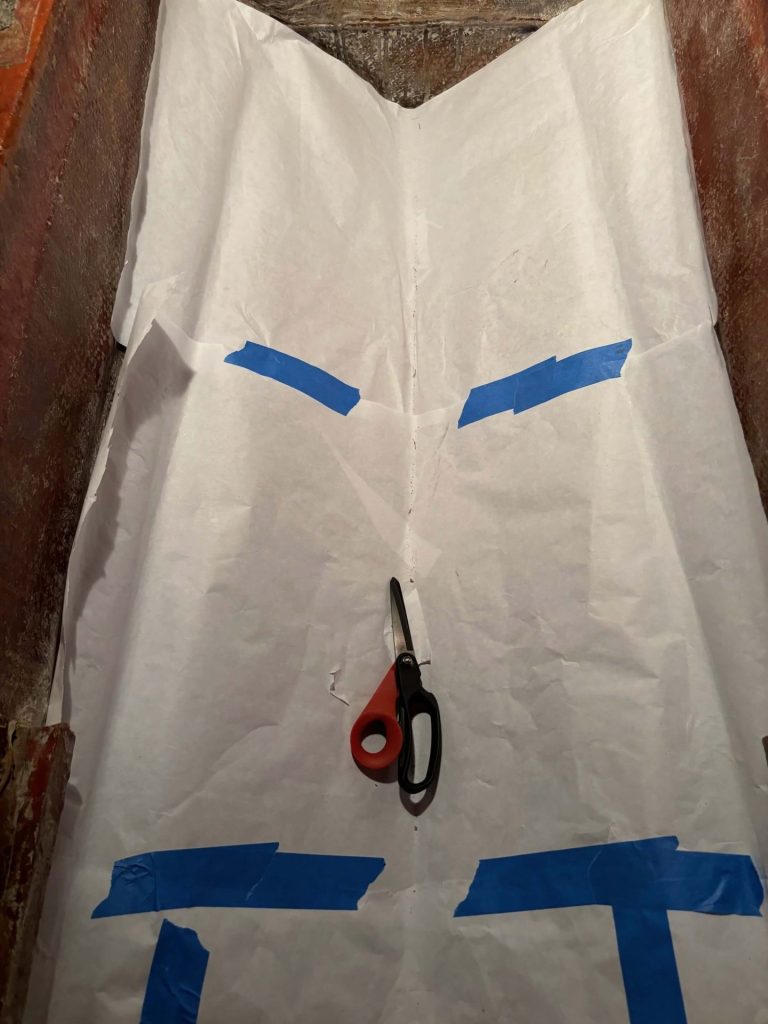
The next step was cleaning. Since bilge water can flow into this area there was engine oil on the surface. Using lacquer thinner and paper towel, it took many iterations of wiping on and off until the paper towel had no discoloration. Removing all contaminants should be done before any grinding or sanding is started. After cleaning, I made a paper pattern of the largest piece of fiberglass and set that aside.
With the surface extremely clean, the part most people dread begins—grinding and sanding the original laminate. With some preparation, the grief of grinding can be minimized. I used plastic sheeting to keep dust out of the rest of the cabin, suited myself up, and had many high-quality sanding discs available. After using various power tools to smooth the surfaces, and removing the remaining tabbing from where the cabin sole was attached, I finished by hand sanding with 80-grit sandpaper. I cleaned the surfaces with a shop vacuum. No need to solvent wipe at this point, which may introduce new contaminants.
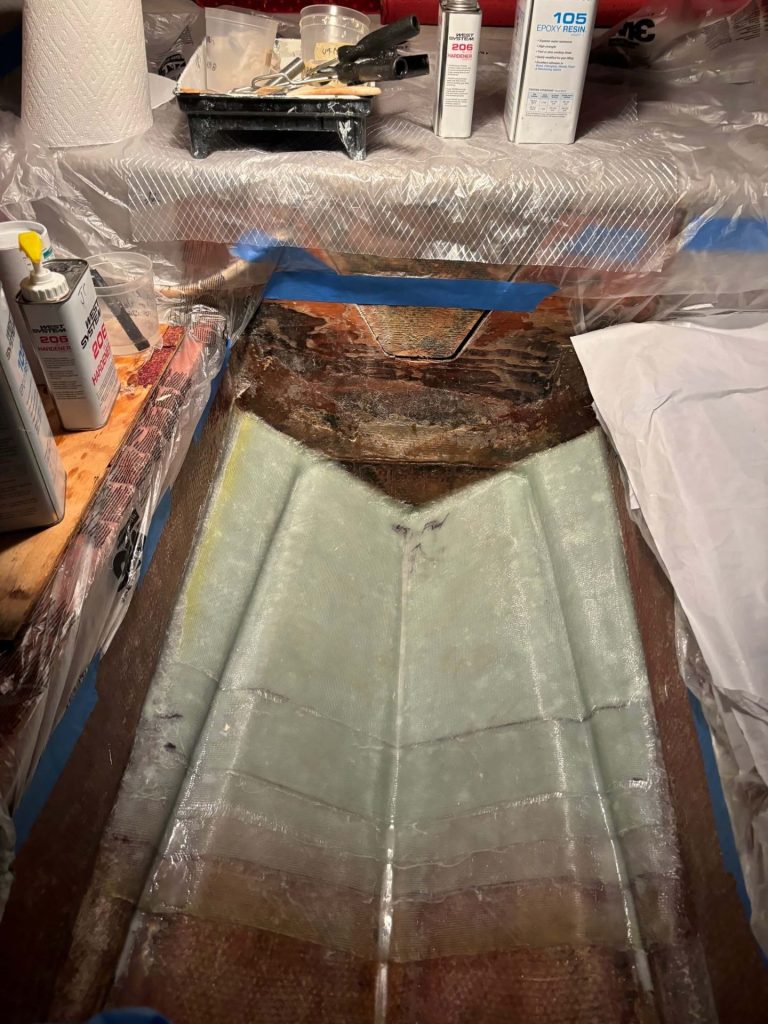
Pulling out the paper pattern, I was fortunate to find that the pattern was just a little bit narrower than the fiberglass roll I had decided to use. Butt joints were acceptable in this fatigued laminate repair, which eliminate several overlaps that would raise the cabin sole more than I desired. The first two layers of fiberglass would extend about 2″ up on each stringer and frame, laying across the bottom as one piece.
I knew it would be challenging to laminate one piece of fabric into several corners. It is difficult to force the fabric into one corner without pulling it out of another. In the end it worked out satisfactorily, but it was challenging and tedious. Others may have preferred to have overlaps down the keel, but I thought the resulting build-up could end up higher than the limber holes in the frames, reducing the flow of bilge water.
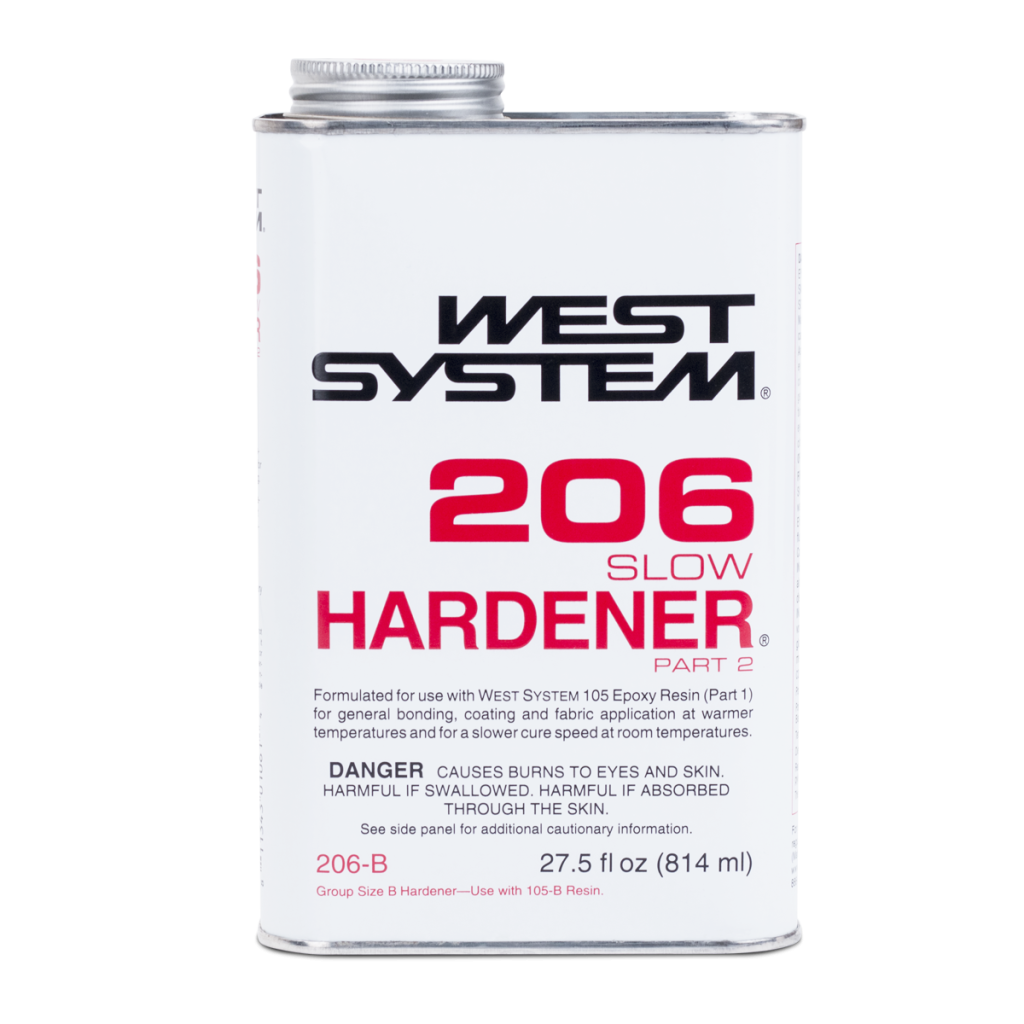
The first layer was critical to ensure good adhesion. I used WEST SYSTEM 105 Epoxy Resin® and 206 Slow Hardener®, mixed with 406 Colloidal Sillica to fillet any sharp inside corners and smooth other imperfections on the inner hull surface. I placed the first (largest) piece into the wet epoxy, then folded half of it back onto itself. I brushed a generous layer of 105 / 206 on the back side of the fabric then folded it back onto the hull and repeated the process with the other half. This back-wetting process makes wetting out heavier fabrics much easier and more thorough. Instead of forcing the epoxy down into the fabric, you are forcing the fabric down into the epoxy. Any extra on the surface will wet out the next layer.
Having a bright light in the cabin was important to determine that good contact was being made to the hull surface and there were no trapped air bubbles. I estimate it took twice as long to laminate the first layer as it did the last layer due to the time spent ensuring excellent contact to the hull.
Laminating this heavier fabric also required an aluminum grooved roller. Squeegees work well on fabrics 17 oz/yd2 and lighter, but the increased pressure of the grooved roller makes wet-out easier with heavier fabrics.
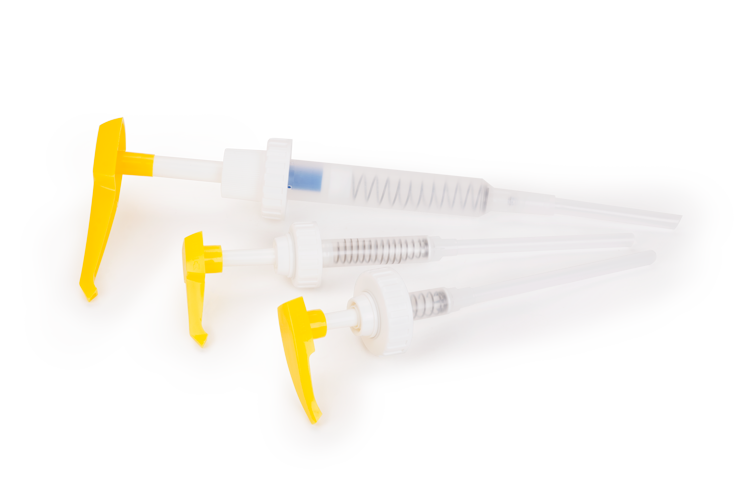
Using WEST SYSTEM Epoxy also ensures good adhesion. The entire laminate relies on secondary (mechanical) adhesion, a property where epoxy exceeds both vinylester and polyester. The extremely low VOC, due to the lack of styrene, eliminates the need for a respirator. Also, there will be no chemical smell lingering in the cabin for weeks after the repair is completed. Mixing and measuring small batches in the small cabin was made simple by using the 300 Mini Pumps. They eliminate the need to pour and measure liquids in a very confined work area.
105 / 206 provided the pot life I needed, and there was no risk of the laminate having excessive exotherm. I was able to laminate as many layers as my back could handle. Since I needed to have somewhere to stand during the lamination process, I cut each layer into a forward and aft piece. I could get all six layers for the forward section down in one session. After it cured, I could stand on it to laminate the aft section with staggered butt joints connecting the layers. The layers that were applied wet-on-wet formed a chemical bond, but anywhere that overlapped the aft layers had to be prepared to ensure a good mechanical bond. The overlap areas were washed with water and sanded with 80-grit sandpaper before laminating the remaining six layers.
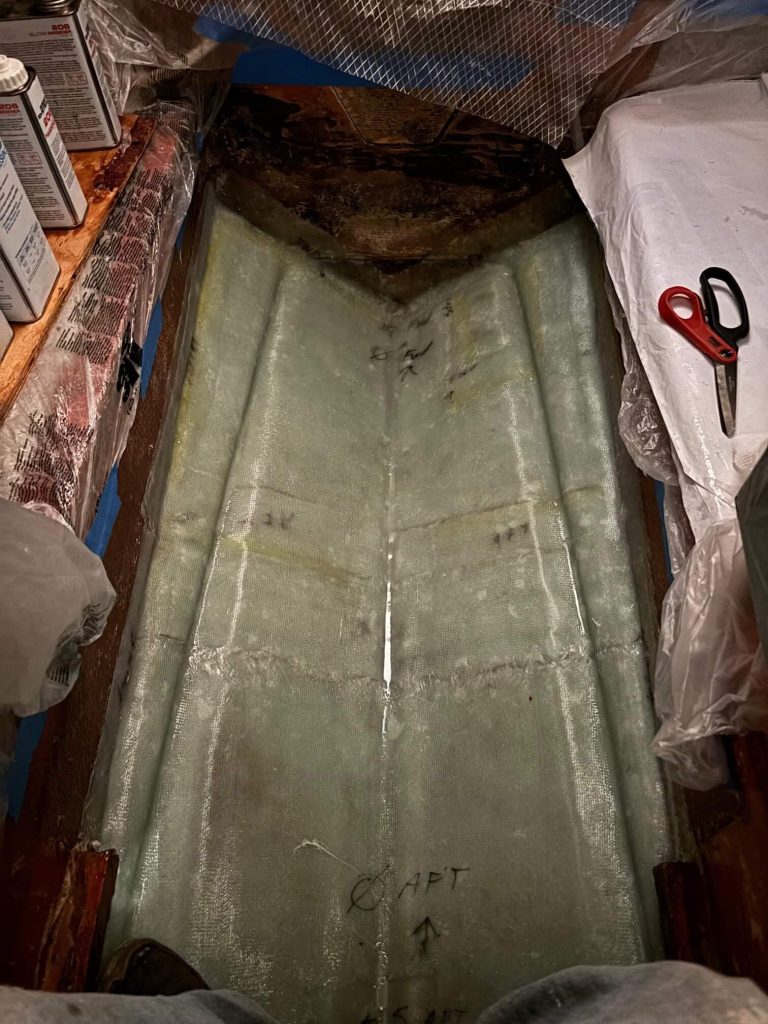
After the entire panel was laminated, I was inside the cabin removing my tools. I accidently dropped a screwdriver, and when it hit the bottom, I could hear a very sharp bang. It was very satisfying to hear my boat bottom was back to the desired stiffness!
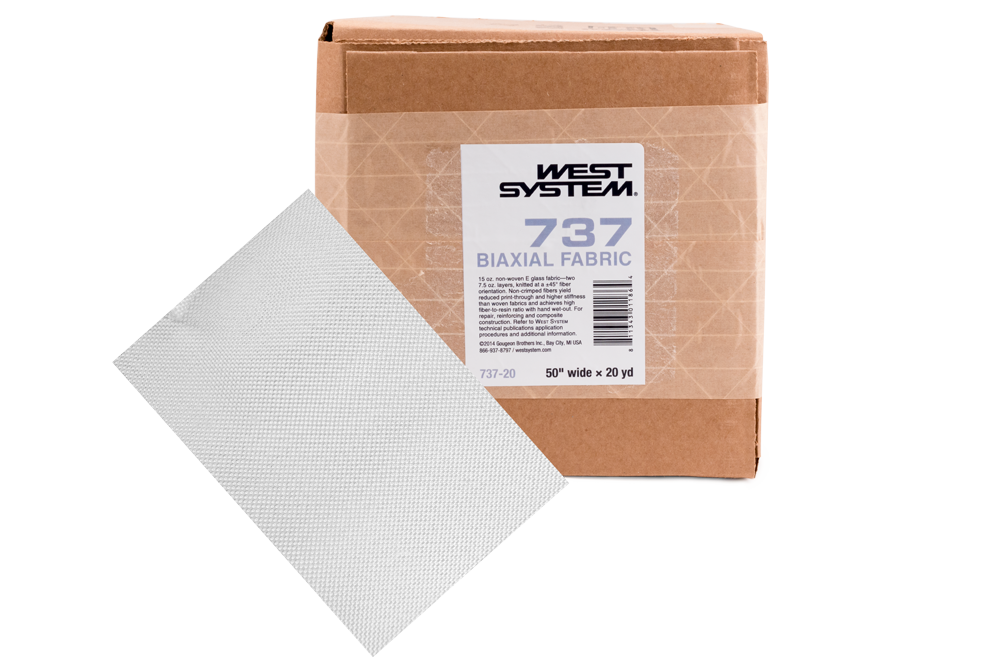
Time to prepare to tab the cabin sole back in place. The cabin sole had to be trimmed to accommodate the thicker bottom. This left some exposed wood that was sealed with epoxy. Two layers of 4″ 737 Biaxial Fiberglass Fabric was used to tab it back into place. New carpet was glued into place which was the most challenging part of the whole job. Trimming the carpet, not making a mess with the glue, and keeping the edges from unraveling was more difficult than the lamination process.
This fatigued laminate repair does not exactly follow our fiberglass boat repair process, where we suggest removing the damaged/fatigued laminate and replacing it with a new laminate matching the original thickness. In this case, that would require essentially cutting away the bottom of the hull in this area and building a new section which would be a much bigger project. Since the hull still had sufficient strength, I believed its life could be extended by reinforcing the area with attention paid to how the increased stiffness would transfer stress to the hull structure.
After a full season, repairing the fatigued laminate appears to have stopped the gelcoat cracks from growing, and the bottom still sounds stiff. Although it did add 40 pounds of weight to the hull, it is low and forward which is good for the hull trim in rough water. Most importantly, it is reassuring to have a nice solid bottom when an adventure takes you out of sight of the shoreline!


For more techniques and information, download WEST SYSTEM’s Fiberglass Boat Repair & Maintenance Manual for FREE!
Explore the latest Boat Repair Articles.