Refinishing a Wood Strip Canoe
Spring 2018

GET STARTED
FREE PRINT & DIGITAL EDITIONS
Spring 2018
About 30 years ago, I built an 18′ wood strip canoe. At the time, my family was young and I could only work on it intermittently. Over the course of six months, I had faired my mold frames, applied the redwood strips, faired the outside of the hull with a keen eye and applied the fiberglass cloth. Two months later I decided to take it off the mold to fair and fiberglass the inside. To my horror, the exterior hull bottom had a big dimple in the middle when removed from the forms. I immediately knew the cause. The humidity in my garage had skyrocketed since the outside of the hull was finished with fiberglass and epoxy. The unsealed inside of the hull had probably gained 4-5% in moisture content since the outside was fiberglassed.
I quickly re-attached it to the mold frames and forced it back to shape. Using small brad nails I attached the edges of the hull sides at the shear to each frame. I secured an industrial heat gun to the cement floor under the mold, pointed it straight up toward the inside of the hull, turned on its lowest setting and came back several hours later to check things out. A significant portion of the oil canning was gone, so I moved the heat gun fore and aft to get the shape back in those sections as well.
Over the next couple days, I faired the inside of the hull then placed it back on the mold frames to make sure everything looked good. Thankfully it did so I took it back off and fiberglassed then faired the inside again.


On the outside of my wood strip canoe I rolled a couple more coats of clear epoxy on a few subtle low spots, let it cure, long boarded it and applied a coat of two-part polyurethane clear. For 28 years the boat looked great.
A few years ago I decided to refinish the hull bottom with a couple coats of Z-Spar Captain’s® Varnish 1015. In preparation for that, I once again long boarded the hull to identify any subtle low spots. What I discovered was I had low spots but they were more than I would call subtle. The low spots had a pattern to them. There was a low spot centered every 16 inches along the mid-section of the hull. I laid a fairing batten on the hull centerline and the batten touched the hull at each of the locations where the strips were originally held to the temporary mold frames.

Now refairing the bottom with epoxy fairing compound would be easy to do but I wanted the hull to remain clear. This meant I could not use epoxy fairing compounds because it would hide the wood grain. So I taped off the perimeter beyond the low spots and sanded the surfaces dull. Because it would require several coats of WEST SYSTEM 105 Resin and 207 Special Clear Hardener to fill the low spots I added a bit of G-5 Five Minute Epoxy to the mix. This helped the clear 105/207 epoxy to gel sooner which allowed another coat to be applied an hour later.
After applying multiple localized coats and letting it cure, I got a long metal straight edge out to make sure the low spots were indeed filled. The results looked promising. The real proof though would be after fairing with a long board. Any low spots would be indicated by shiny epoxy where the sandpaper did not abrade the surface. In fact, there were a few more subtle lows that required another coat of epoxy or two to bring them into the fold. I applied two coats of Captain’s Varnish and I must say the hull outsides look as good as new.
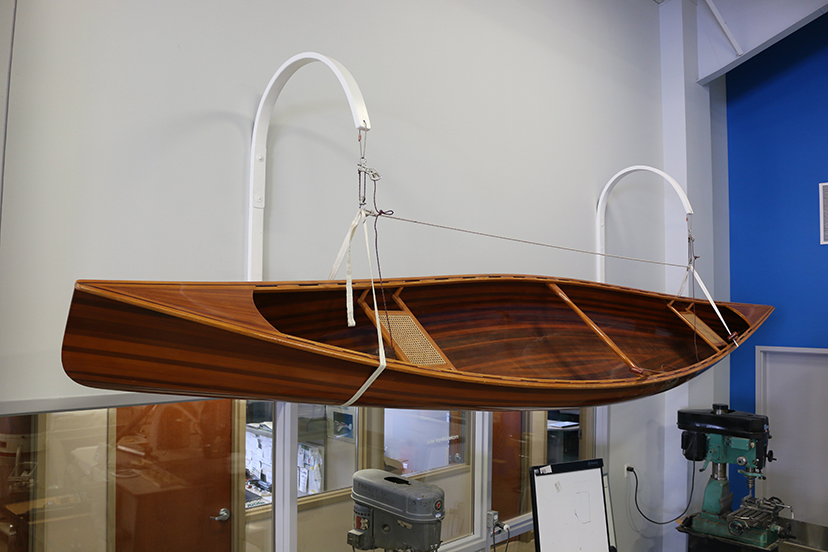
The wood strip canoe has been hanging on the wall in our new tech shop for a couple years since the hull exterior was refinished. The inside of the hull looks a bit drab in comparison since its clear top coat was applied 30+ years ago when the hull was new. I’ll be retiring in the spring so I think it’s time to get the inside prettied up and ready for an adventure.
Featured image (top)—Tom’s canoe hanging in its place of honor in the tech shop.


