Patch Holes in Aluminum Boats with G/flex Epoxy
Summer 2007

GET STARTED
FREE PRINT & DIGITAL EDITIONS
Summer 2007
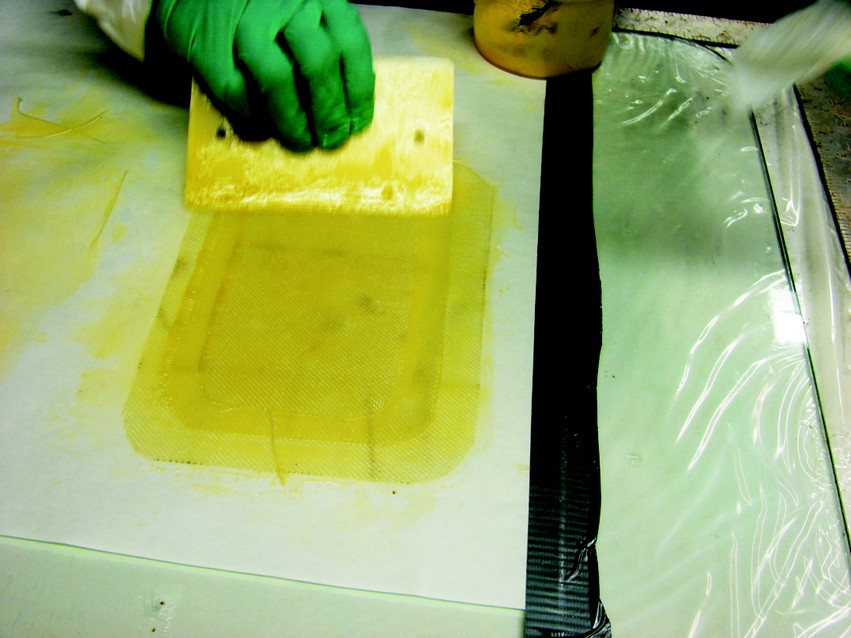
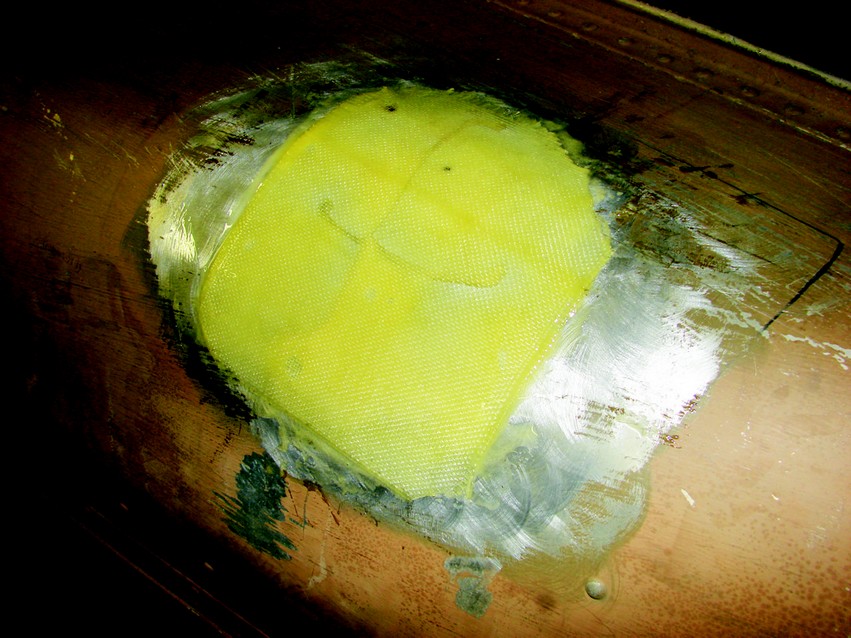
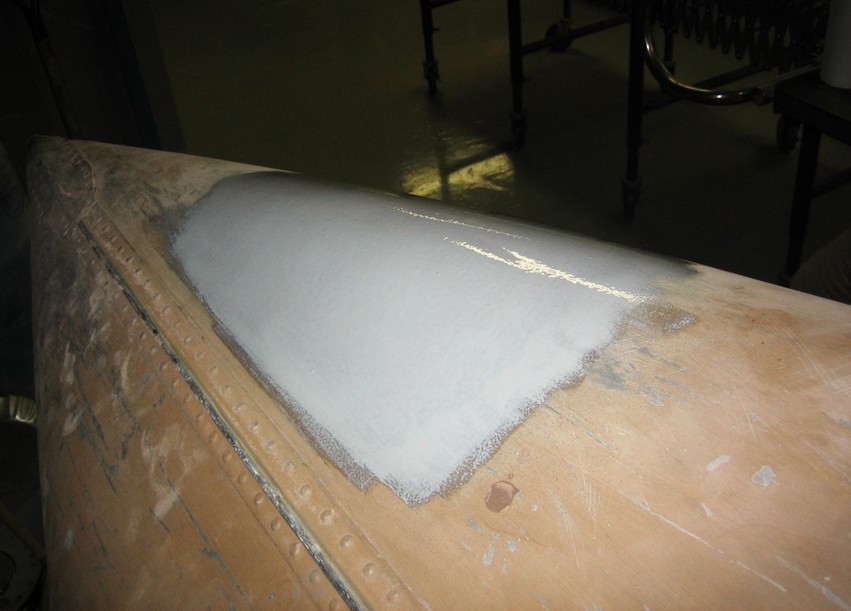
Above: 12oz fiberglass is used to patch holes in an aluminum boat. Fiberglass patches for both the inside and outside of the hull were wet out with G/Flex 650.
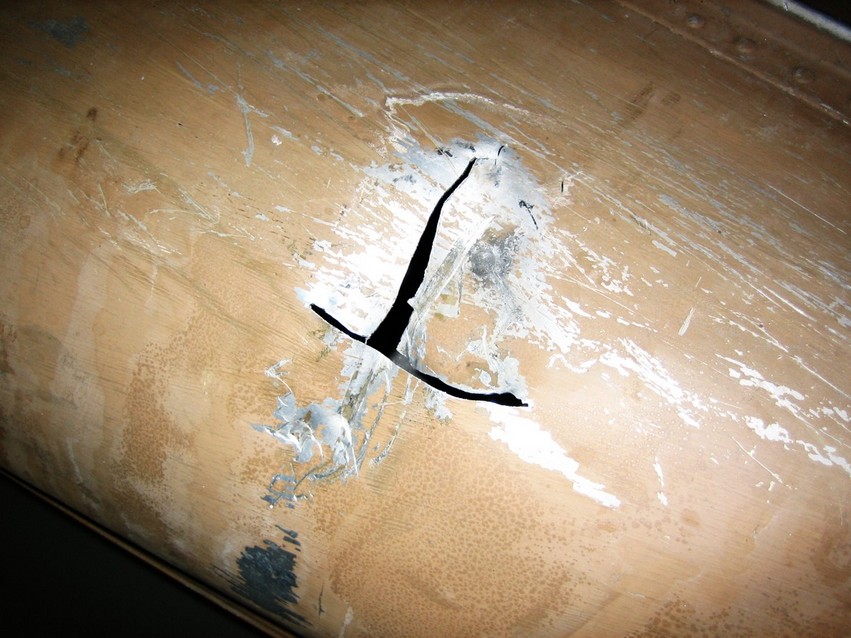
When we started testing G/flex Epoxy as a solution to leaky seams and rivets in aluminum boats, we put out a company-wide call for test boats. John Kennedy offered his old 15′ Michi-Craft canoe, saying he would bring it down from his cabin at the end of hunting season. Not smiling, he asked a few weeks later “just how big a repair we could handle.” It turned out John jack-knifed his utility trailer on an icy road, punching a fist-sized hole in the stern quarter of the canoe. Ouch.
This serious hole offered several competing solutions. Recycling was one. Cut up and placed in the green city recycling bins, the canoe could be gone the next trash day. Checking the mental Rolodex for the friend with the TIG welder and the associated skill to weld such wounds in thin gauge aluminum was another option. Or perhaps finding another friend, who is convinced that a torch and brazing rod in the hands of an artist will solve almost anything. However, since John has worked for Gougeon Brothers for 26 years, he decided to try the new G/flex Epoxy.
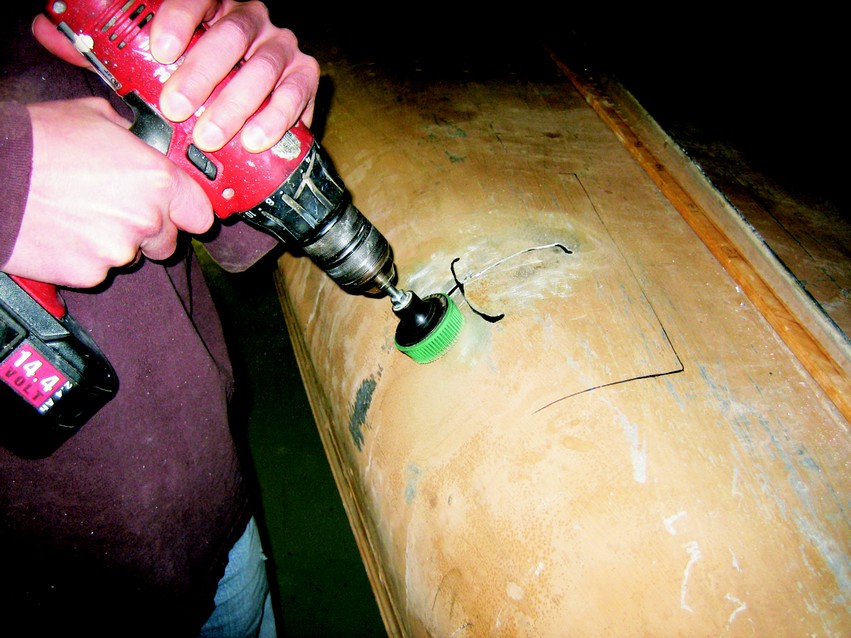
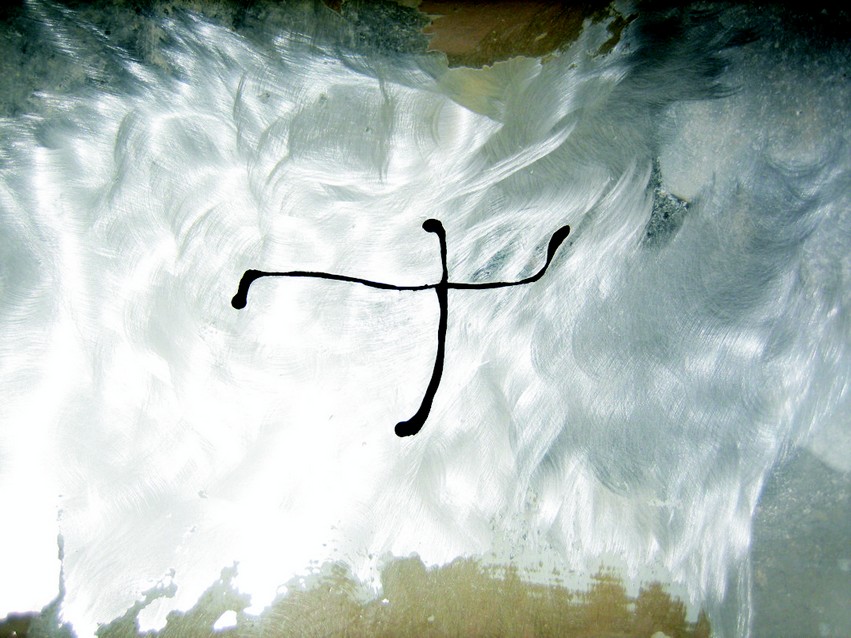
First, we hammered the torn aluminum out to near shape. The metal had yielded, so we cut away enough of the torn edges to allow the aluminum to lie fair. A hammer and an auto-body bucking dolly gave us reasonable control in getting the hull close to its original shape. We drilled stopper holes at the end of each tear to reduce the potential for crack propagation. Then we softened the edges of the aluminum with 120-grit sandpaper. We used a coarse 3M® Roloc™ Bristle Disc to remove paint both inside and outside, giving ourselves plenty of bonding surface area around the hole. Finally, we wet sanded with 80-grit to prep the surfaces prior to bonding.
For the patch, we cut a single piece of 745 (10 oz) Episize™ Glass Fabric for the outside and three pieces (in diminishing sizes) for the inside. The outer patch and the largest of the inner patches were 6.5″ by 8.5″ to allow approximately 2″ of overlap around the hole.
We laid out the patch pieces on plastic and wet them thoroughly with G/flex® 650. We brushed both surfaces of the canoe with the G/flex, taking care to work the adhesive into the scratches and small dings. Finally, we mixed 406 Colloidal Silica with the residual adhesive in our cup to make a thickened mixture suitable for filling the holes and cutaways in the canoe.
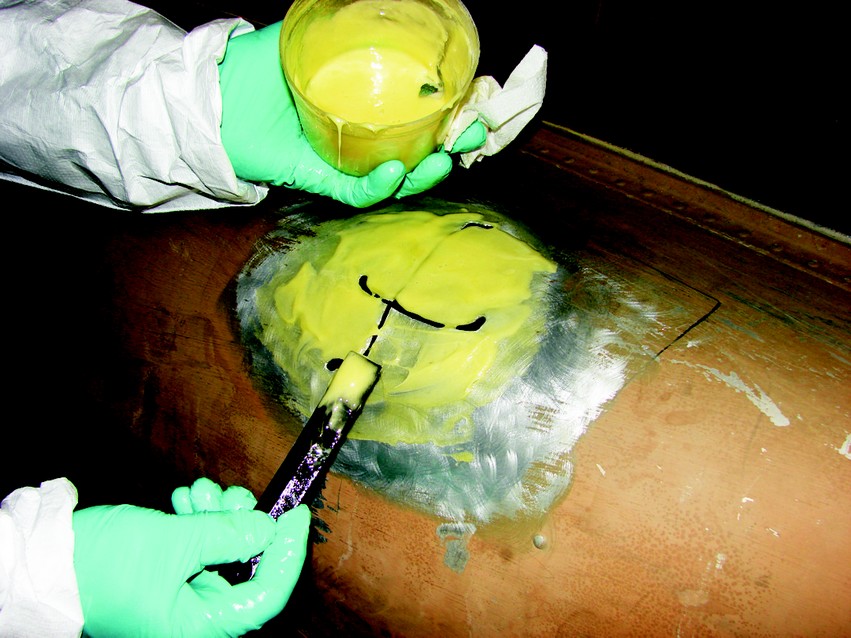
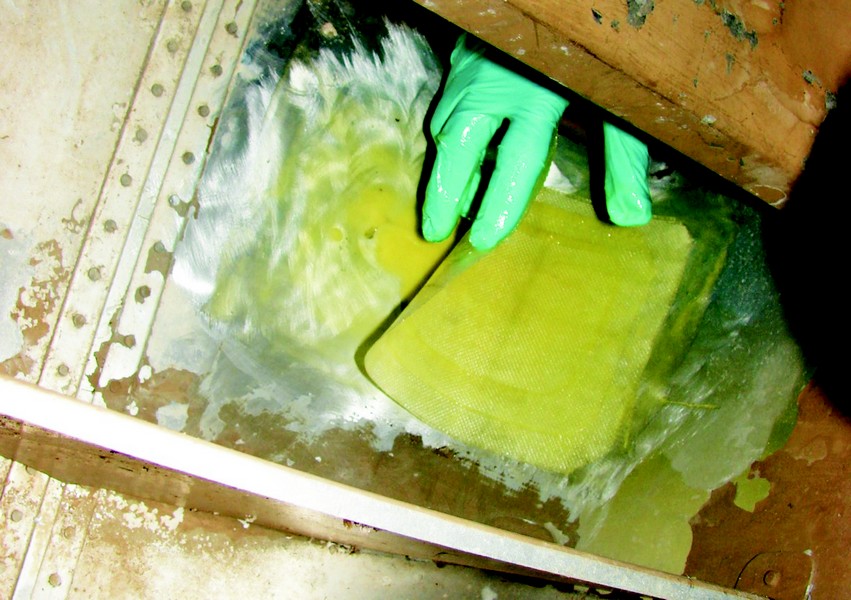
We started with the single-layer outside patch, applying it to the hull centered over the hole and smoothing it into the thickened mixture. Working away from the canoe, we stacked up the three inner patches and squeegeed them to make sure there was no entrapped air. We then centered the stack of patches over the hole on the inside of the hull and carefully laid it into place. We squeegeed the patch very lightly to remove the air. We then checked the outside of the hull to make sure that the pressure on the adhesive in the holes was not pushing the outer patch out of fair. When satisfied with the patch placement and fairness, inside and out, we let the patch cure overnight.
The next day, we ground the edges of the patches to remove any roughness. We then applied a mixture of 650 G/flex and 407 Low-Density Filler to fair the patches. This “toughened” fairing compound smoothed the outside for better hydrodynamics and the inside for cleanliness and additional scuff resistance. We found that the fairing mixture sanded easily despite the flexibility of the G/flex Epoxy adhesive. It made a fine powder and didn’t seem to load up the abrasive media.
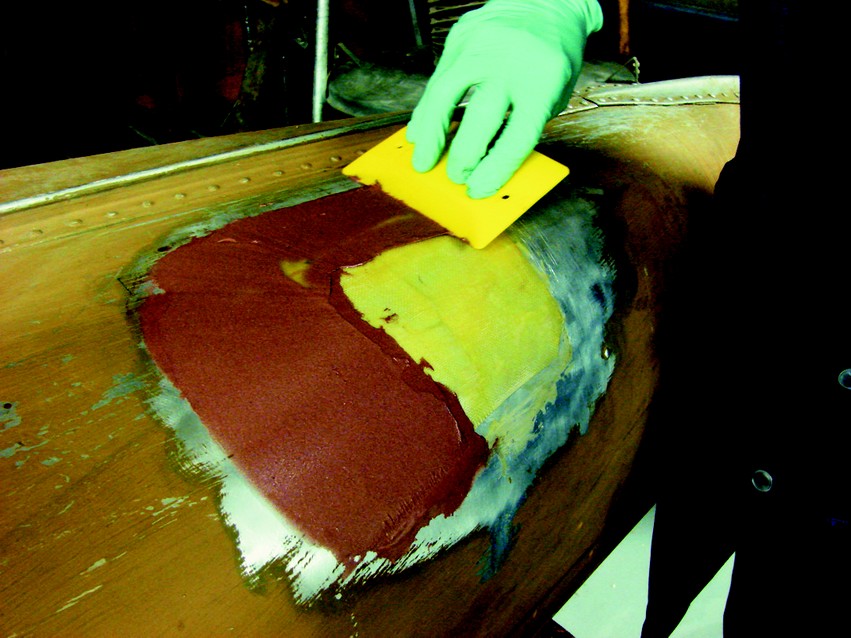
When the fairing mixture was cured, we applied a mix of G/flex and 503 Gray Pigment to supply a degree of camouflage for the fiberglass repair on an aluminum hull.
John is happy (why not, we fixed his canoe!) and has promised to drive more carefully.


