One Rotted Antique Door
Four Common Repairs

GET STARTED
FREE PRINT & DIGITAL EDITIONS
Four Common Repairs
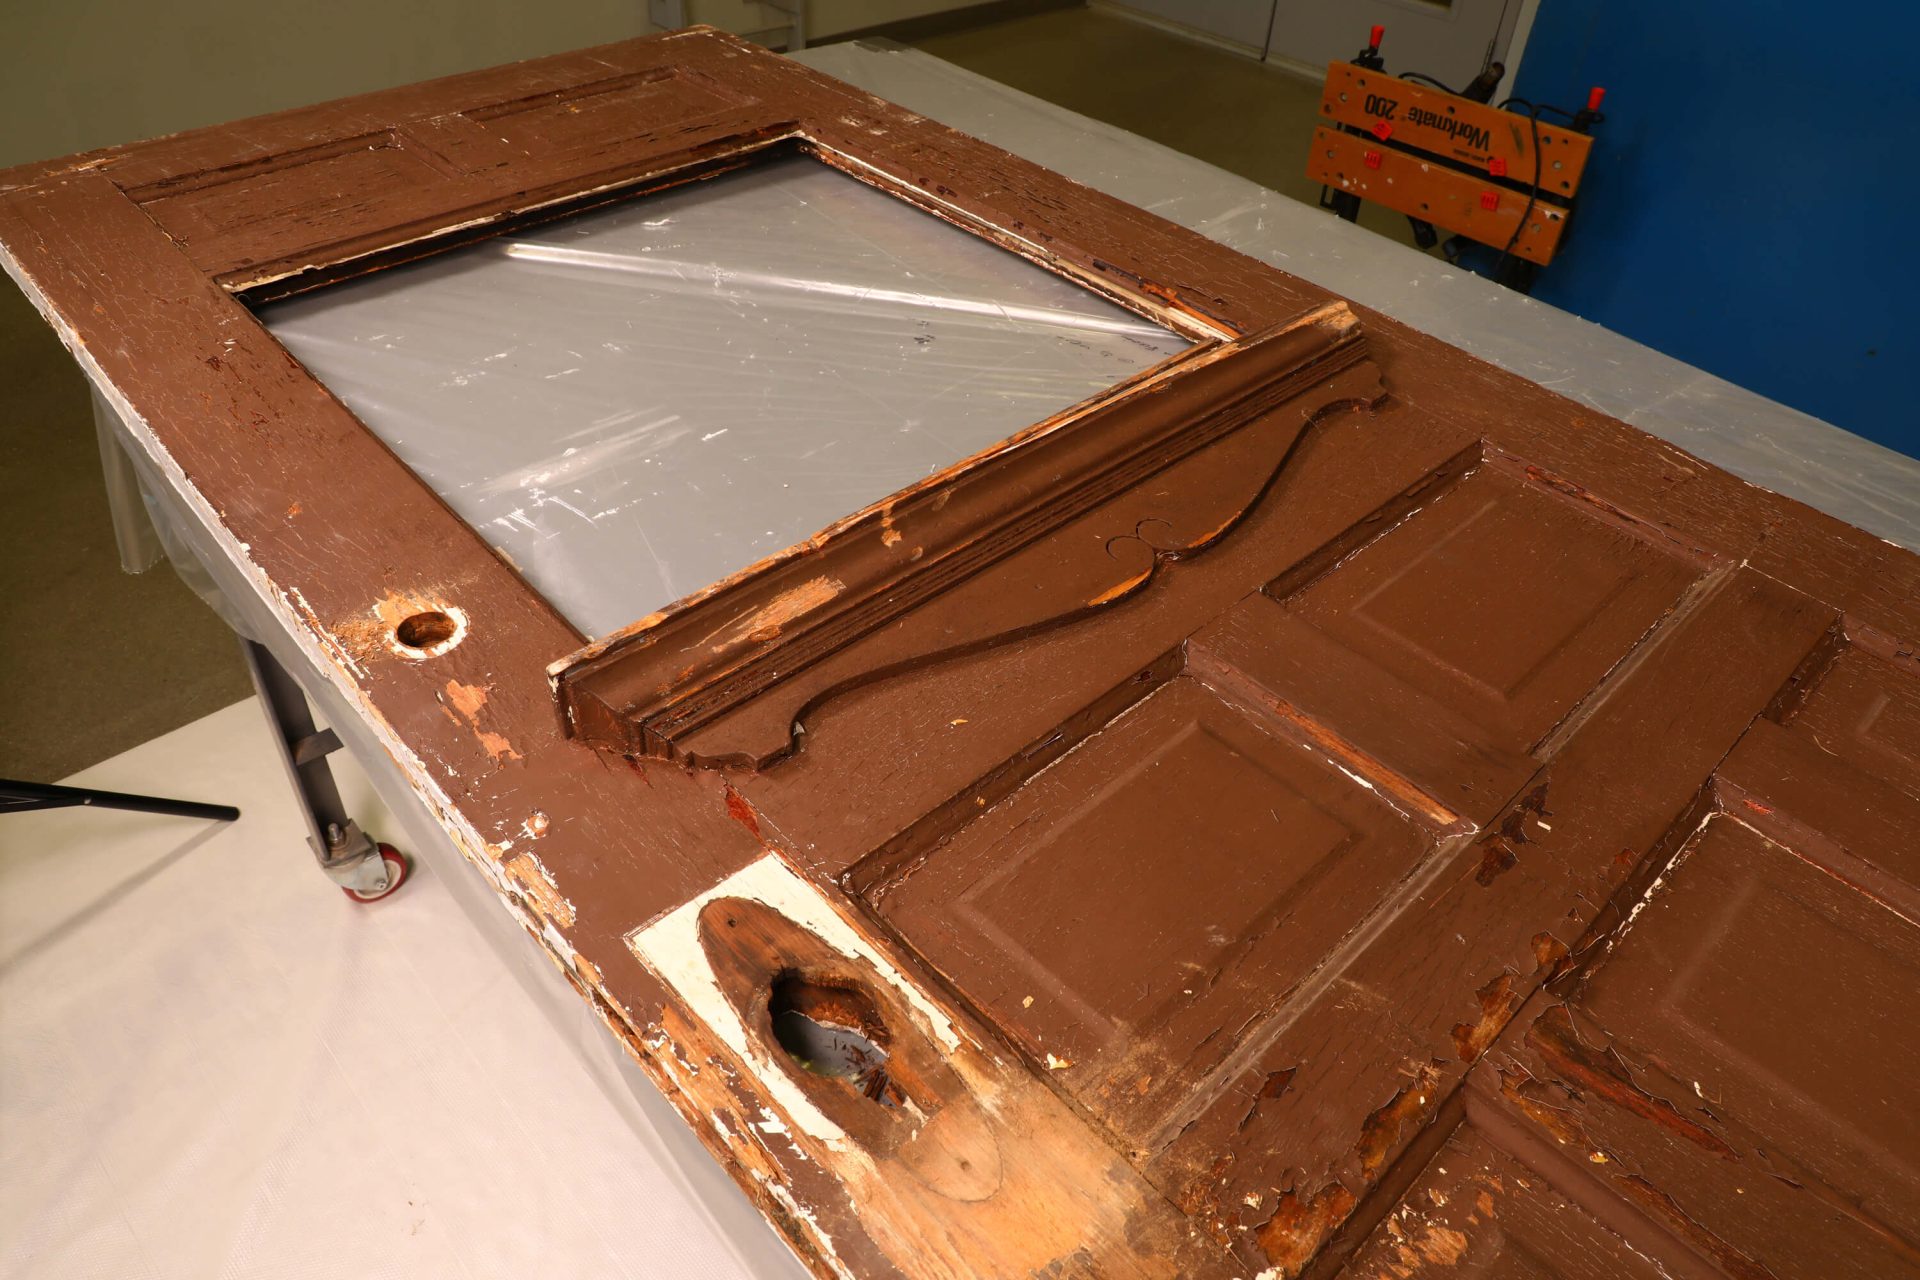
A friend of mine was looking to add a little character to his home. While in an antique shop, he came across an intricate door that happened to have all the features he was looking for. It was a beautiful door at one time and worth keeping around but needed a little TLC before painting and installation. Right away, I noticed five areas that needed repair. The original hardware for the doorknob and lock were missing. The voids needed repairing to install modern hardware. The top hinge plate was loose due to stripped wood around the screw threads. Part of the window ledge had been broken off and needed rebuilding. Finally, like most seasoned exterior wooden doors, this door suffered from rot deterioration along the bottom edge.
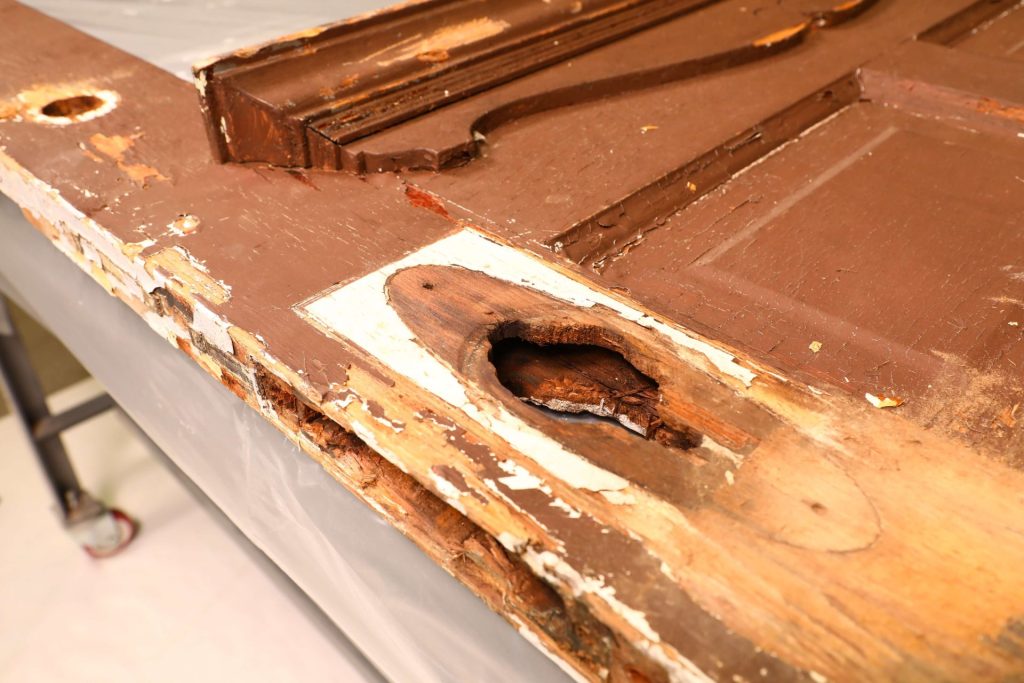
The door originally had a mortise lockset installed. Moisture had gotten in around the mortise lockset, and rot had eaten away a good amount of the surrounding wood. The holes remaining needed to be filled to accommodate modern, cylindrical lockset hardware.
To begin, I removed the paint that was on the surface and any loose or deteriorated wood to see how much area I would need to fill. Once the bad wood was removed, there was a decent-sized cavity.
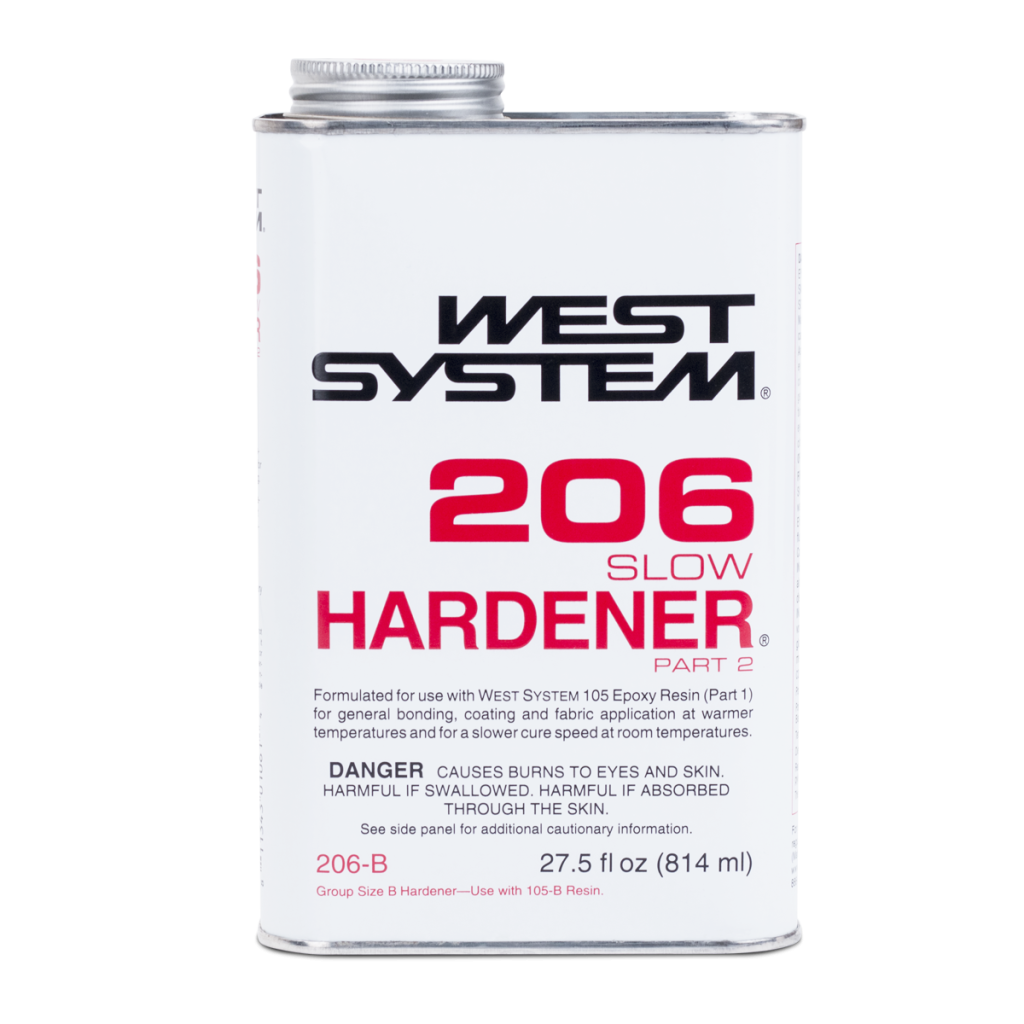
There are two approaches I could have taken to fill this space. One approach is to fill the cavity full of layers of epoxy. Because epoxy generates heat when it cures, you have to be careful with how deep you pour epoxy. “Deep” varies based on the epoxy system you use and the working temperature. A good rule of thumb for our 105 Epoxy Resin® and 206 Slow Hardener® combination is, at 72°F, you can pour a ¼” maximum depth every 2.5-3 hours. With the size of this hole, it would take multiple pours, a lot of time, and use a lot of epoxy. The second method, which I opted for, involved filling most of the volume with a wood plug, bonded in place with thickened WEST SYSTEM Epoxy. This allowed me to fill the hole in one step, which was a much more efficient use of time and materials.
I squared off the cavity, so fitting a wood plug to fill the volume would be easier. I measured the space, found a piece of scrap wood of proper thickness, then cut it roughly to shape.
To prepare for epoxying, I taped off the back side of the door with clear plastic packing tape so that thickened epoxy would be contained in the door handle opening. The 105 System does not bond to plastic packing tape, which makes for easy removal.
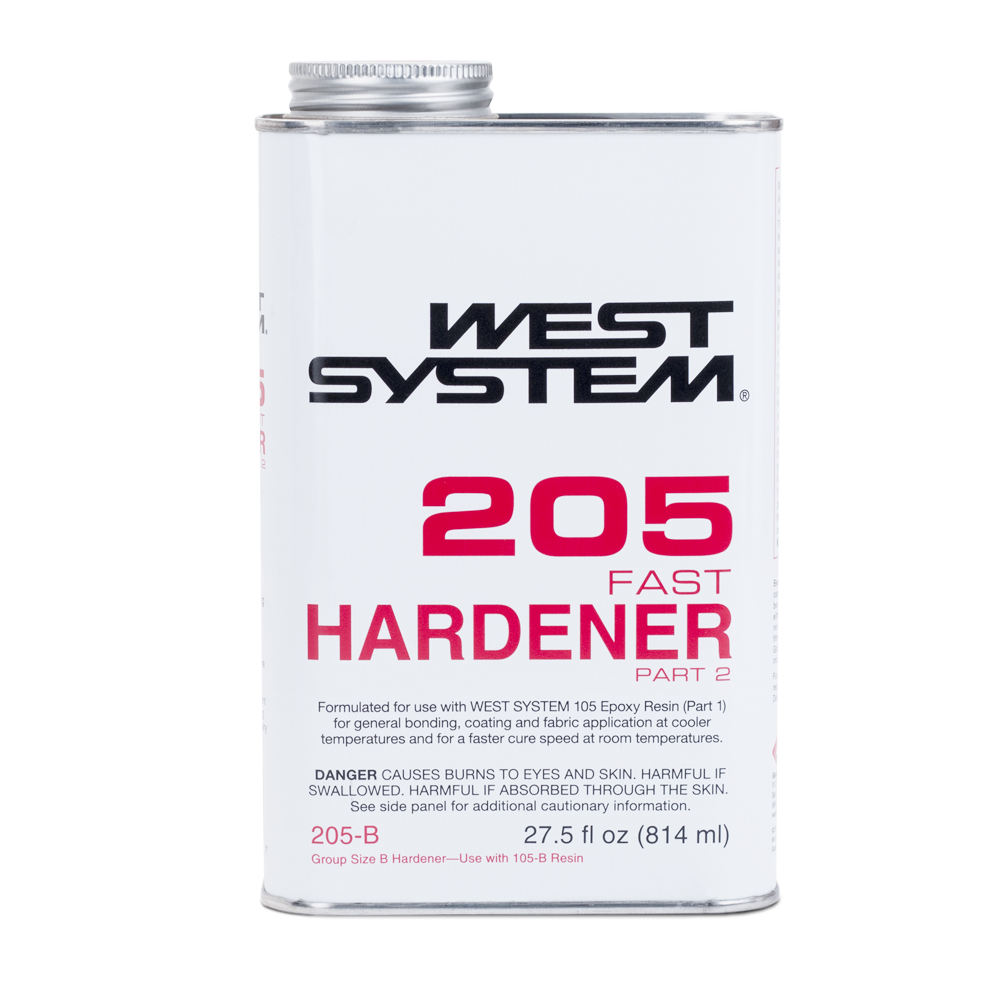
I broke out the 105 Epoxy Resin with 205 Fast Hardener®, mixed up a batch of epoxy, coated the inside of the void in the door, and then the surface of the wooden plug. This initial coat of neat (unthickened) epoxy penetrates the wood surfaces. I mixed up a second batch, adding 410 Microlight® Filler until the epoxy was between a mayonnaise and peanut butter consistency. The 410 Microlight Filler is strong enough to bond in the wood plug while still being easy to sand, so it was a perfect choice for this application.
I generously applied the thickened epoxy into the void and then coated the wooden plug before inserting it. I spread the squeeze-out, leveling it slightly proud of the surrounding door surfaces. I had to apply a little extra epoxy in a few low areas. Then, I left the epoxy to cure.
The first fill was not perfect. I sanded the epoxy flush with the height of the surrounding surfaces on the face and edge of the door. I scuffed the few remaining low spots and applied another coat of 105 / 205 / 410. Again, this was allowed to cure and sanded flush.
I flipped the door over, removed my backer tape, and sanded flush. There were a few small voids where the tape was wavy or trapped a couple of air bubbles. Again, I scuffed up the low areas and reapplied thickened epoxy. After curing,
I sanded flush.
The surface now needed to be sealed. I applied two coats of 105 Epoxy Resin mixed with 205 Fast Hardener. I waited about 90 minutes between coats. The surface was ready to be prepped for paint.