

By Bruce Niederer — GBI Technical Advisor
We spend a good amount of time doing everything we can to inform our customers how best to make WEST SYSTEM® Epoxy stick to wood, metal, and even plastic, or underwater with the introduction of G/flex 650 and 655. Still, there are many instances when you don’t want the epoxy to stick to one surface or another. This is where mold release agents come in very handy.
Tabletops and work surfaces
The simplest fix is to cover your workbench with 3 mil or heavier plastic sheeting. It’s inexpensive and tear-resistant, can be taped to the work surface, and cured epoxy will peel off it. Other, even cheaper options include cutting open a garbage bag or a plastic storage bag. However, plastic sheeting can melt if a cup of mixed epoxy sits on it and overheats.
A good option is to use a waxed Melamine board available from Home Depot, Lowe’s, or Costco. Applying 2 – 3 coats of a good automotive paste wax with carnauba in it creates a pretty good non-stick surface. With this, you have the advantage of it being hard for more exacting work or clamping operations, whereas the plastic might get in the way. Guidelines can also be marked on it without having to deal with any movement.
Our Senior Tech Advisor, Tom Pawlak, uses and recommends Meguiar’s® Mirror Glaze Auto paste wax.

Another easy option for preventing adhesion to a working surface is plastic packaging tape. It works quite well when you want the epoxy to stick in one place and not another, like on temporary frames used for stripper canoe construction.
Fasteners and Hardware
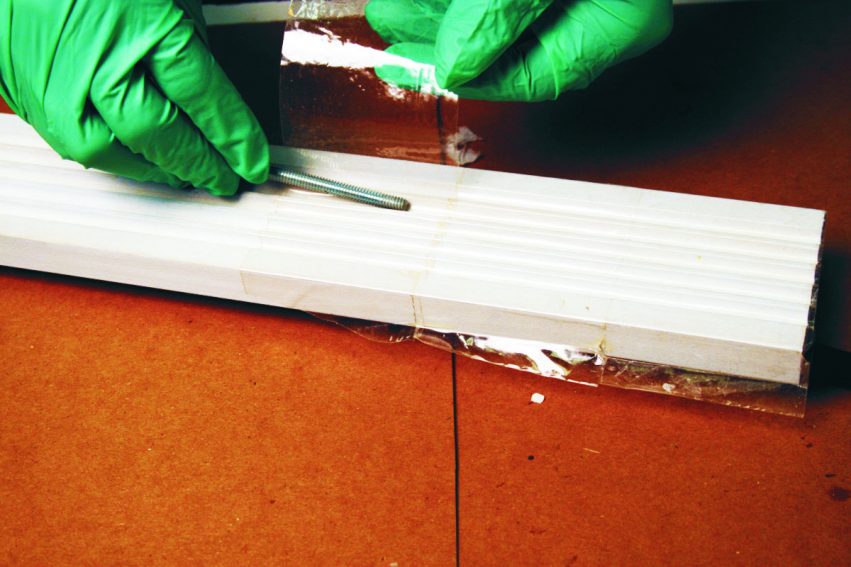
When you want to install a threaded bolt or screw and be able to later remove the fastener, there are a couple of easy options. In our boat building class with the Saginaw Bay Community Sailing Association, we keep a wax toilet ring for on the workbench and stick a bunch of screws in it. We just pull these out as we need them. The wax gets in the threads and we can back the screw out easily after the epoxy has cured. You can also put automotive paste wax on a piece of cheesecloth, grab the threads firmly below the head, and back it out with a cordless drill in reverse. This applies a nice thin coat of wax evenly over the entire thread pattern.
Pam® Cooking Spray is a quick and convenient adhesion preventer. Simply place the fastener on a paper towel and spray the threads, butter the threads with a bit of thickened epoxy so air isn’t trapped, push the fastener into the oversized, partially filled hole and let the epoxy cure. Back it out after the epoxy hardens and now you’ve cast threads in the epoxy.
Polyvinyl alcohol or PVA is a green liquid available at hobby shops and craft shops. Dip the fastener in or brush it on the threads, let it air dry, and install the fastener like I just described for Pam.
There are a number of aerosol mold release sprays on the market. A couple we’ve used around the tech shop are Stoner® E-497 and E-499 Thermoset Mold Release. They work well for all thermoset resin systems used in most boats – epoxy, polyester, and vinyl ester. They do not contain any silicone, which you want to avoid in any mold release, especially a spray. Silicone aerosol sprays can contaminate the entire shop if you’re not careful.
Another common household product that makes a decent mold release is Aqua Net® Regular Hold hair spray. It is nearly all PVA and works well.
Mold and plug surfaces
Molds and plugs get used in both production and one-off projects. In a mold, the part gets built inside the form. With plugs, the part gets built on the outside. To make flat panels, we often use tempered glass card table toppers—the simplest and most basic shape for a mold surface. Mold shapes and surfaces can get very complicated, especially in a production setting. It takes a lot of engineering to design and build a mold to make, say, the inside liner of a boat hull.
Many one-off composite projects utilize a plug because they are easier to build and generally require less material and associated cost. A one-off project might simply use stripper construction over frames to make a plug quickly and easily. Sometimes this can be made simpler by building a frame and stringer “skeleton” plug, glassing over the stringers, and filling, then fairing to build the designed shape. Plastic packing tape works great as a mold release over the frames and stringers.
The one thing all molds have in common is that the contact surface needs to be prepared so that the part can be easily removed once cured. Another requirement is that the part does not pre-release or pull away from the mold/plug surface while still curing or while being post-cured. Pre-release is generally more problematic with poly- and vinyl-ester resin systems because they shrink about 3–5% while curing, but it can and does occur with epoxy. Pre-release can cause more print through, requiring more post-finish work, so the right choice of mold release can be critical to the success of a project.
Simple Projects
For simple home-built projects, many of the materials I’ve mentioned above will work on mold surfaces. Meguiar’s or other carnauba-based car waxes will work, and they are easy to find. The aerosol sprays–Stoner Thermoset Mold Release agents and Aqua Net hair spray— can work well by themselves or in conjunction with a wax. The trick is to mist the sprays over the mold surface. Multiple thin coats work much better than a couple of heavy coats and result in a better surface profile as well. Many times, the first part pulled from a mold is the most problematic, and the wax/spray used in combination addresses the issue very well. You can read what a friend did to build a mold and make fan shrouds for our local Metro Buses using the wax and hairspray method here in Epoxyworks #14.
Commercial Mold Release Products
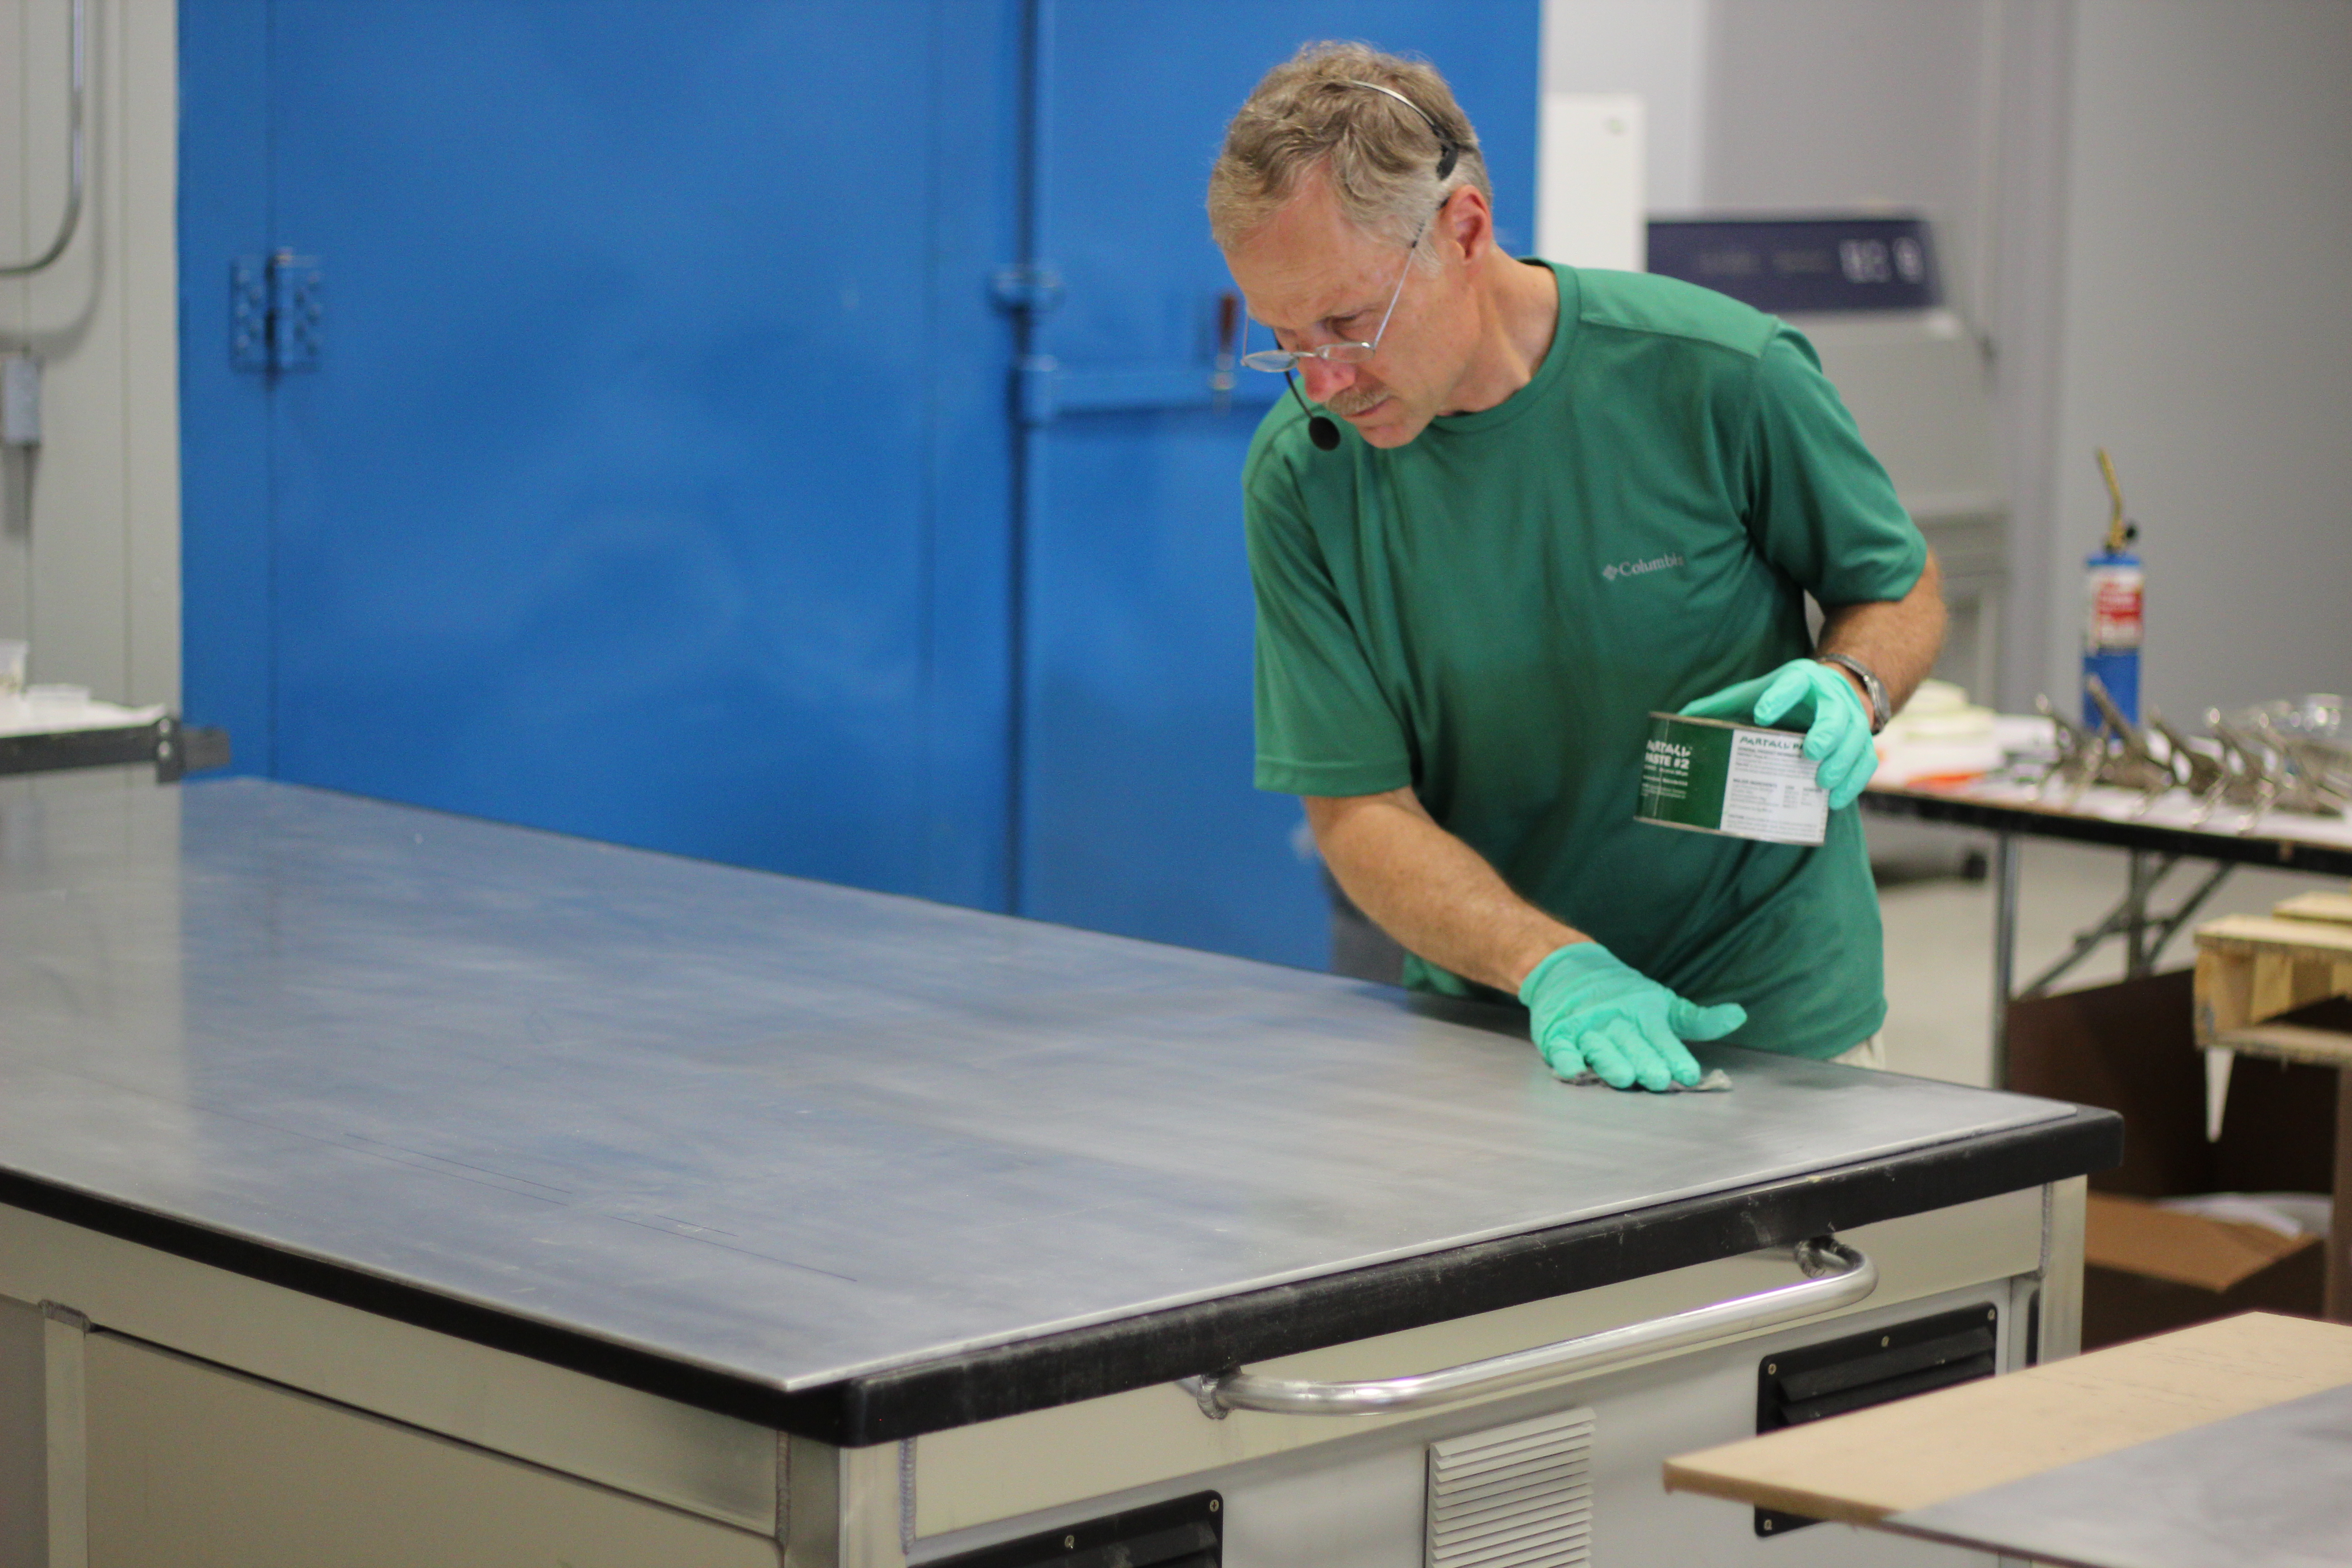
There is also a wide variety of application-specific commercial mold release products. Application variables are resin type (epoxy, PE, or VE), cure schedule (room temperature cured or post-cured), and the size and complexity of the mold. For room temperature projects, I have become enamored with Part-All Paste Wax #2. It’s a little different to apply than a car wax – you don’t let it dry to a haze, or it is really hard to buff out. I let it sit for about 60 seconds and then start buffing with cheesecloth. The result is a highly polished surface that resists separation and fish eyes.
For post cured parts, it’s necessary to have a high temp wax that will not break down at elevated temperatures and cause the parts to stick. Part-All Hi-Temp® wax utilizes a Teflon® additive to achieve this property. Neither of these products contains silicones.
Another wax I have more experience with is made by TR Industries – TR 104 Hi-Temp wax. This product achieves its high temp properties by formulating with very high carnauba content. We have used this wax at temps of 180°F for 8 hours without pre-release or breakdown occurring.
Any of these waxes can be used with PVA spray films to increase the releaseability on difficult or intricate molds. Remember, with epoxies, poly-, and vinyl esters you should avoid mold releases that contain silicones which can contaminate the part or worse.


