by Tom Pawlak — GBI Technical Advisor
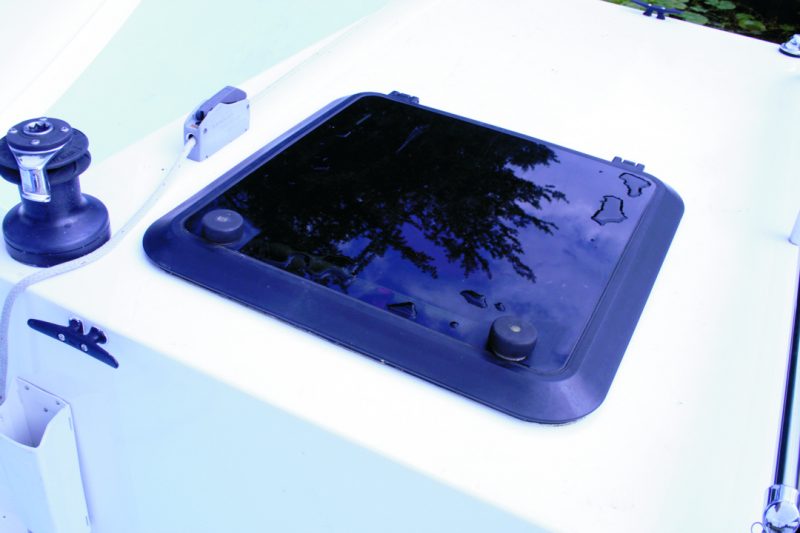
Above: Meade’s removable hatch, installed on the Gougmaran.
Meade Gougeon installed the original hatches on his Gougmaran, but he wasn’t convinced he had selected the ideal locations. Prior to installation, he thought about how difficult it would be to remove and relocate them if he used one of the flexible adhesive/ sealants made for this purpose. There had to be a better way, one that would allow hardware to be easily removed yet seal out water.
Meade hatches an idea
He decided to install his hatches with WEST SYSTEM® Epoxy thickened to a mayonnaise-like viscosity with 410 Microlight Filler. He reasoned that the lower-density epoxy/ 410 combination would be flexible enough to stay attached to the epoxy-coated plywood deck and to the plastic trim ring that defines the perimeter of the hatch. The trim ring bottom edge had grooves to help bedding compounds adhere and assist in sealing out water. He did have some concerns about the differing coefficients of thermal expansion for the plastic trim ring and the plywood deck. Common flexible sealants handle this nicely in that “they go along for the ride.” He was not sure if the epoxy/410 would be able to handle these forces, but the hatch would be installed with a number of screws that would address these loads nicely. Two years went by with the hatches performing successfully with no problems. That is to say, no leaks.
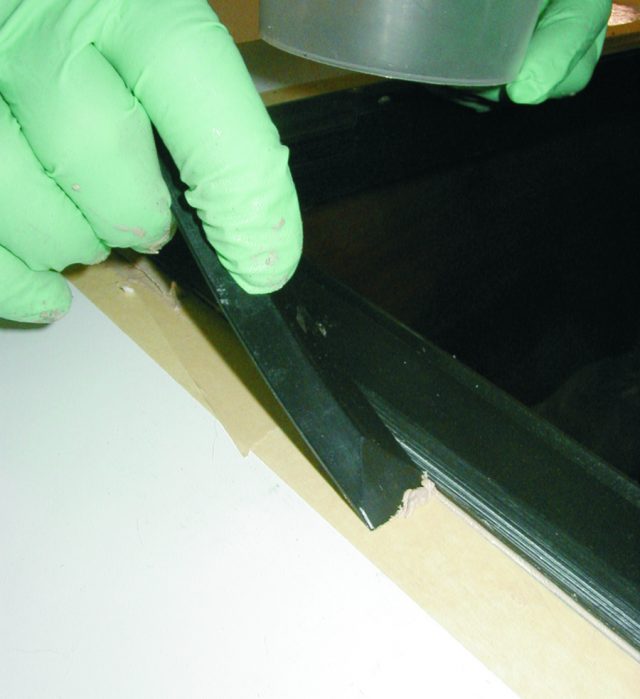
In 2006 though, Meade decided it was time to upgrade the hatches. He needed a larger opening so camping equipment could be stored in the compartments. After removing all of the mounting screws, he was delighted to find that if he just lifted up on one of the corners of the hatch, the whole thing came away with little effort (Photo 1).
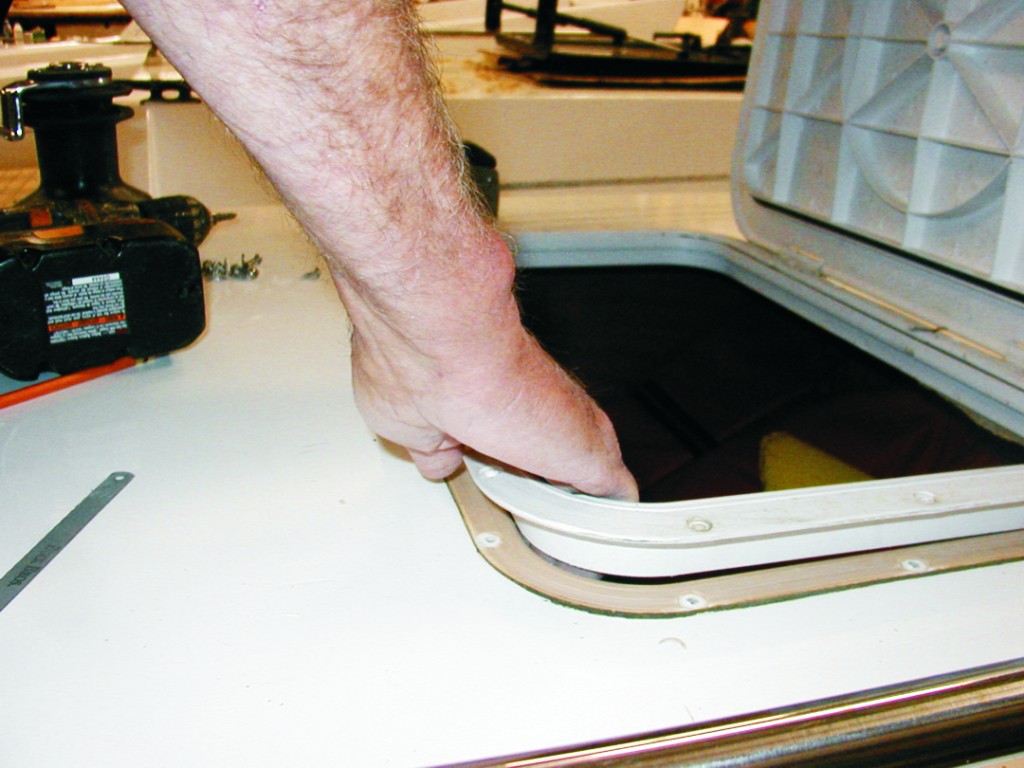
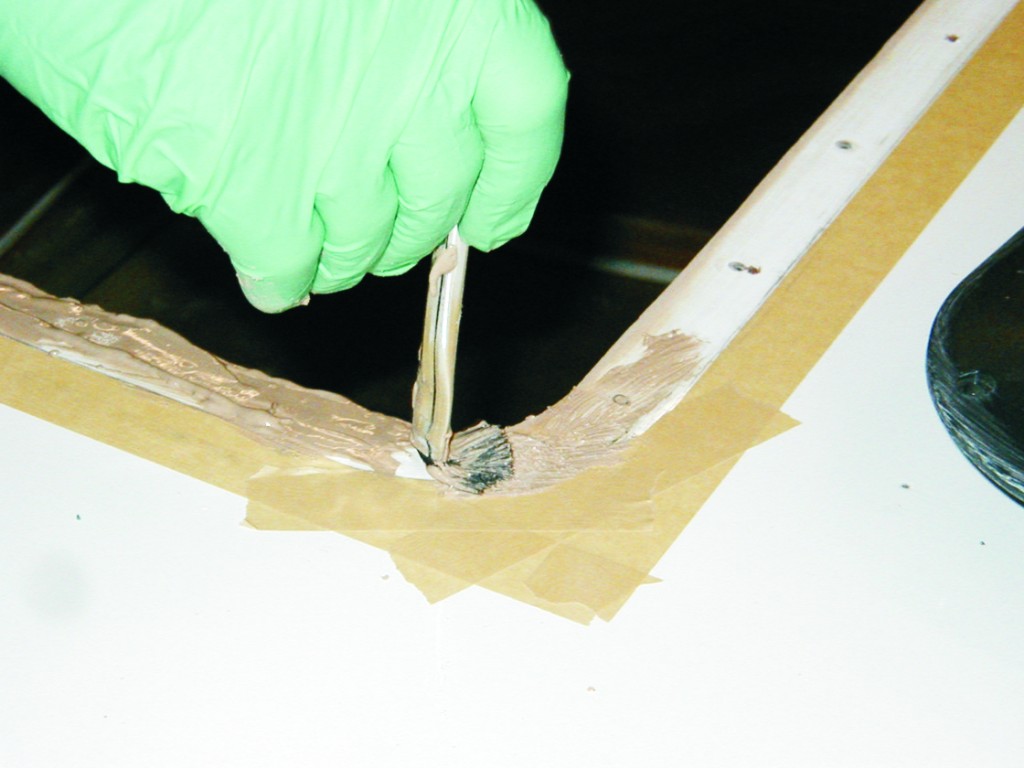
All the epoxy originally used to install the hatch was left on the deck with an exact molded profile of the bottom edge intact. Obviously, the bond between the plastic flange and the epoxy was not very strong, but it was adequate to not allow any leaks over the two years of service. The epoxy/410 Microlight mixture was easily removed with a low-angle block plane (Photo 2). Epoxy thickened with Microlight carves and sands like low-density wood.
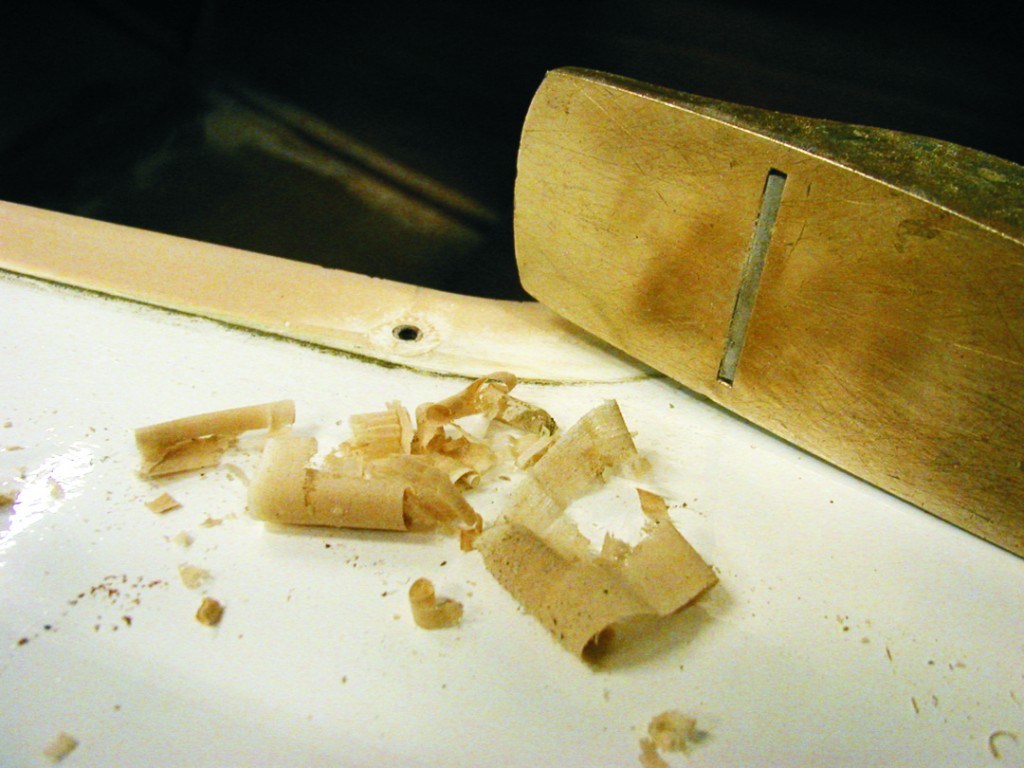
After removing the first of two hatches, Meade felt that his goal of easier hardware removal had been realized. He didn’t say it, but he must have been thinking “It’s great when a plan comes together.”
Removable hatch installation
Here’s the process Meade used to install his new hatches:
- Cut opening to size.
- Dry fit the hatch.
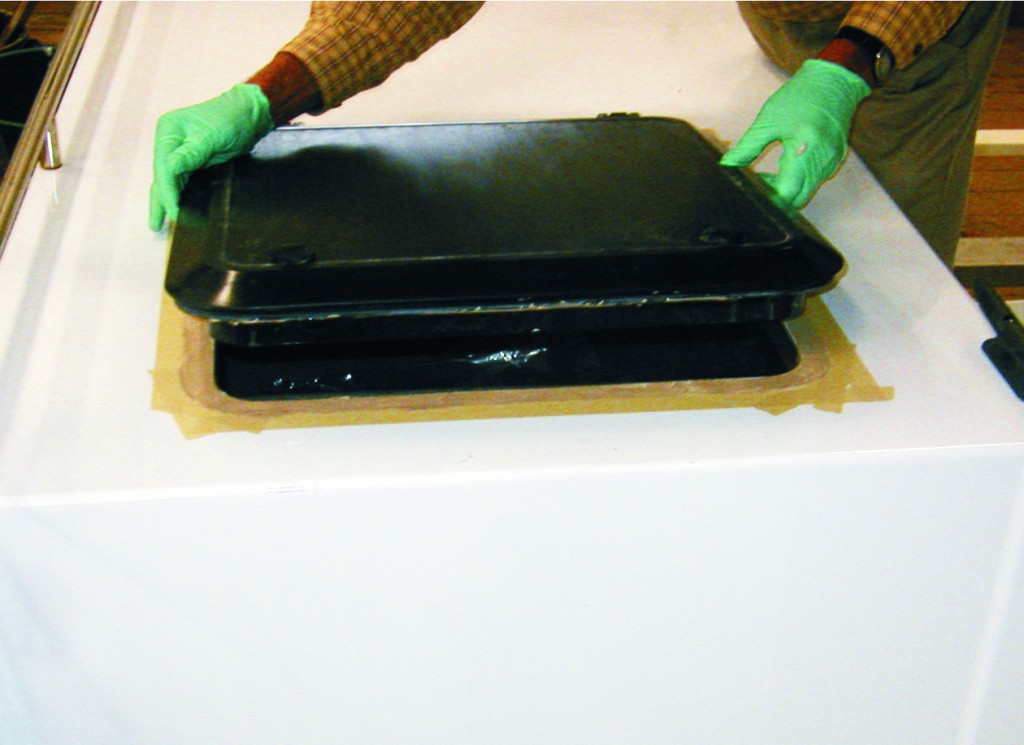
- Mask off the surrounding deck with wide masking tape (Photo 3).
- Sand the deck to give the epoxy something to stick to.
- Use a trim ring as drill template and drill the pilot holes for mounting screws.
- Apply mold release to the parts of the hatch frame that are not being glued down to assist in removing residual cured epoxy later. Mold release can be cooking spray, Vaseline™, or shiny plastic packaging tape.
- Seal edges of exposed wood core and the drilled holes with unthickened resin/ hardener mix.
- Thicken epoxy with 410 Microlight to a mayonnaise consistency.
- Apply thickened epoxy to the bottom of the mounting flange, filling the grooves.
- Brush a 4–5 mil coating of thickened epoxy to the deck around the perimeter of the opening (Photo 4).
- Position the hatch over the opening and press it into place, squeezing out any excess epoxy (Photo 5).
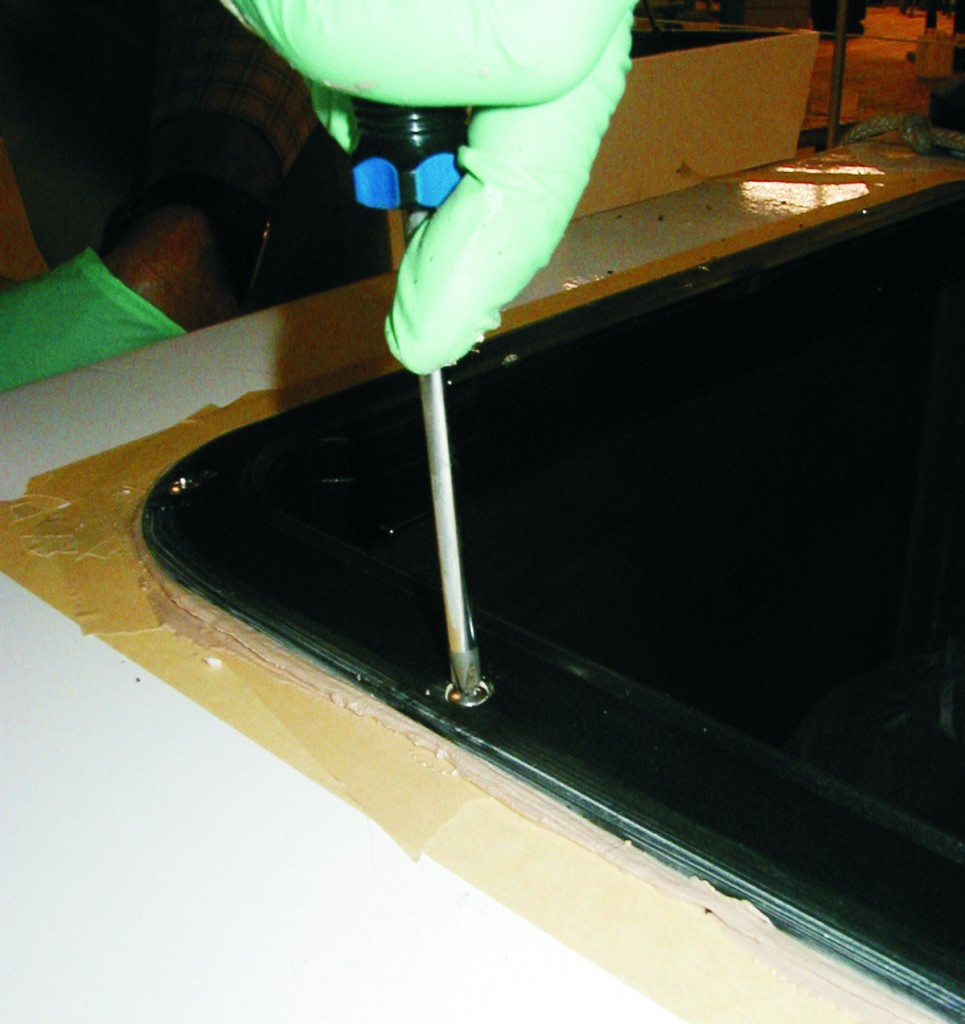
- Install the screws, taking care to snug the screws only slightly (Photo 6).
- Clean off excess epoxy from the perimeter of the flange with a sharpened wood stir stick or use one of the molded plastic 804 Reusable Mixing Sticks that already have a chisel point feature (Photo 7).
- Clean up excess epoxy on the deck and flange with a plastic spreader or putty knife.
- Pull up masking tape while the epoxy is uncured.
- Use alcohol and cheesecloth to clean up the remaining epoxy residue.

