FREE PRINT & DIGITAL EDITIONS

SUBSCRIBE

Bottom paint is applied to the exterior after the fairing material is sealed with epoxy.

Installing a Bow Thruster

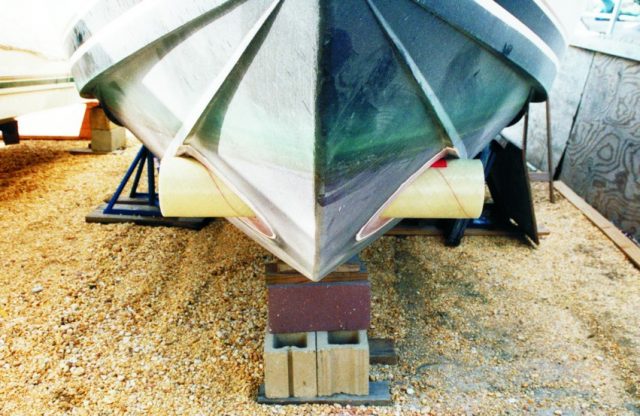
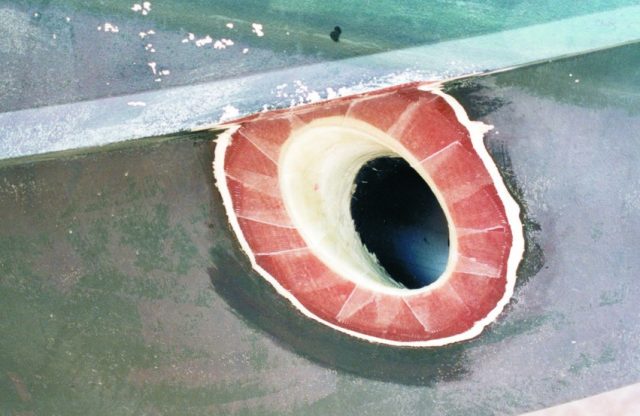
Above: After installing the bow thruster, the fairing compound is sealed with epoxy, and bottom paint is applied to the boat’s exterior.

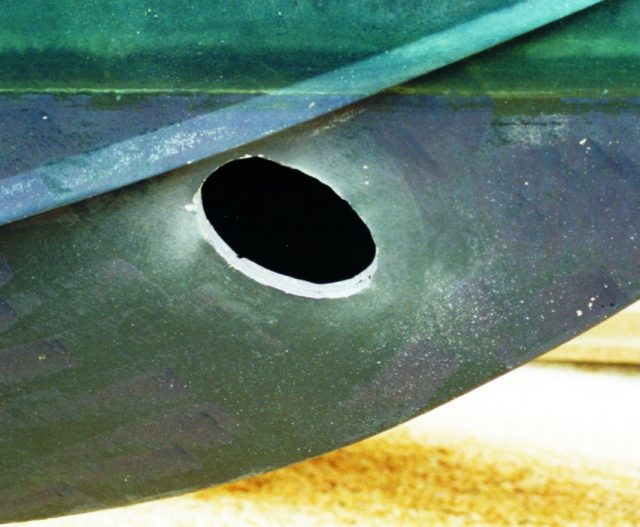
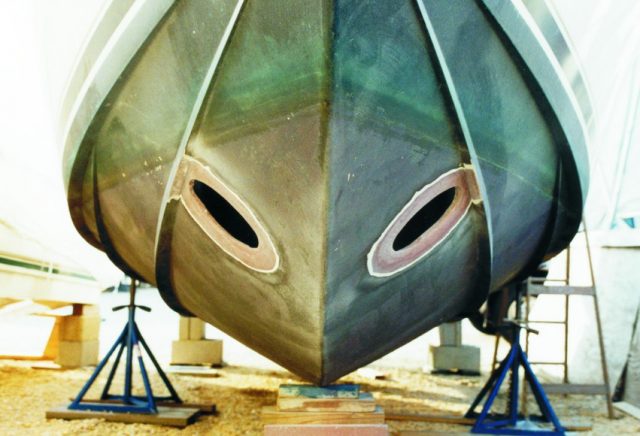
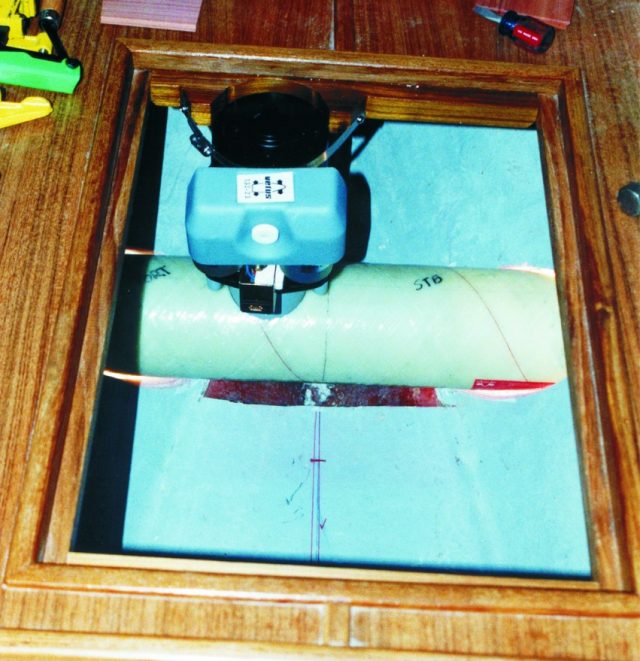
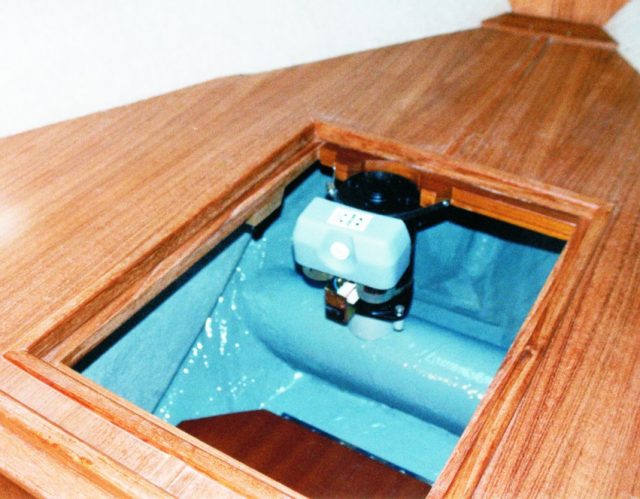
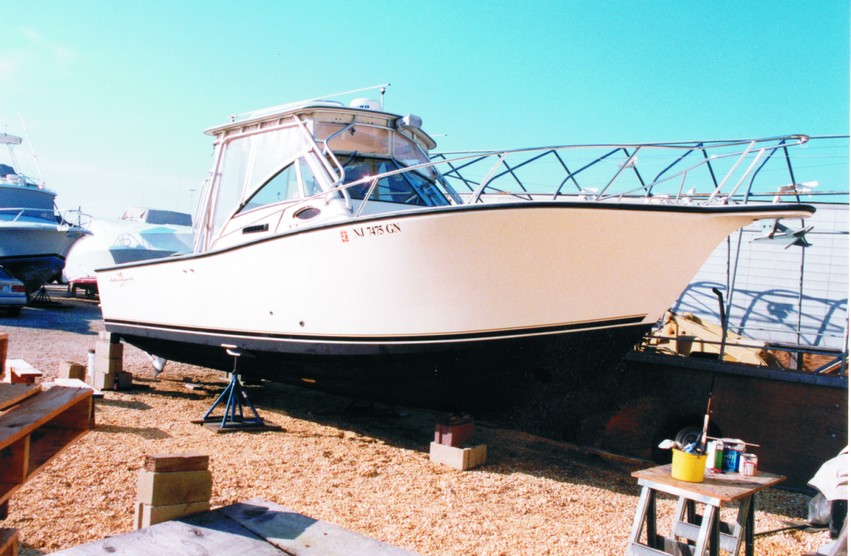
Island Heights, New Jersey architect, John B. Wilson, needed to install a bow thruster in his 26′ Albermarle sport fisherman, using WEST SYSTEM® Epoxy products. The toughest part of the job was cutting through the 1″ solid hull laminate. After trying several tools, he had success with a Roto Zip™ with a ½” carbide bit by making two ½” deep passes. The only other difficult job was cutting away a portion of the floor in the storage area under the V-berth to make room for the 5″ diameter thrust tube. The Vetus unit Wilson used delivers 77 lbf of thrust. In hindsight, Wilson says he should have used the next size larger unit. It delivers more thrust and uses the same size tube, but the larger motor would have been more difficult to fit under the V-berth.

Wilson’s photos documented the sequence of steps for installing his bow thruster.

The holes for the bow thruster tube were cut through each side of the hull, after determining the thruster's location. The edges of the holes were ground to a 1:12 taper to increase bonding area and allow the reinforcing fabric to be faired flush with the hull surface. Interior view of the bow thruster positioned for proper motor clearance. Exterior view of the bow thruster tube protruding from the hull. When aligned and fixed in position, the excess ends of the tube were cut off. Reinforcing fabric is applied to the exterior of the joint. The fabric extends from the edge of the bevel to the inner surface of the bow thruster tube. The edges of the reinforcing fabric on the hull surface and inside of the tube are faired smooth with epoxy thickened with a low-density filler. The interior joint is filleted and reinforced with fabric before painting.