By Tom Pawlak — Retired GBI Technical Advisor
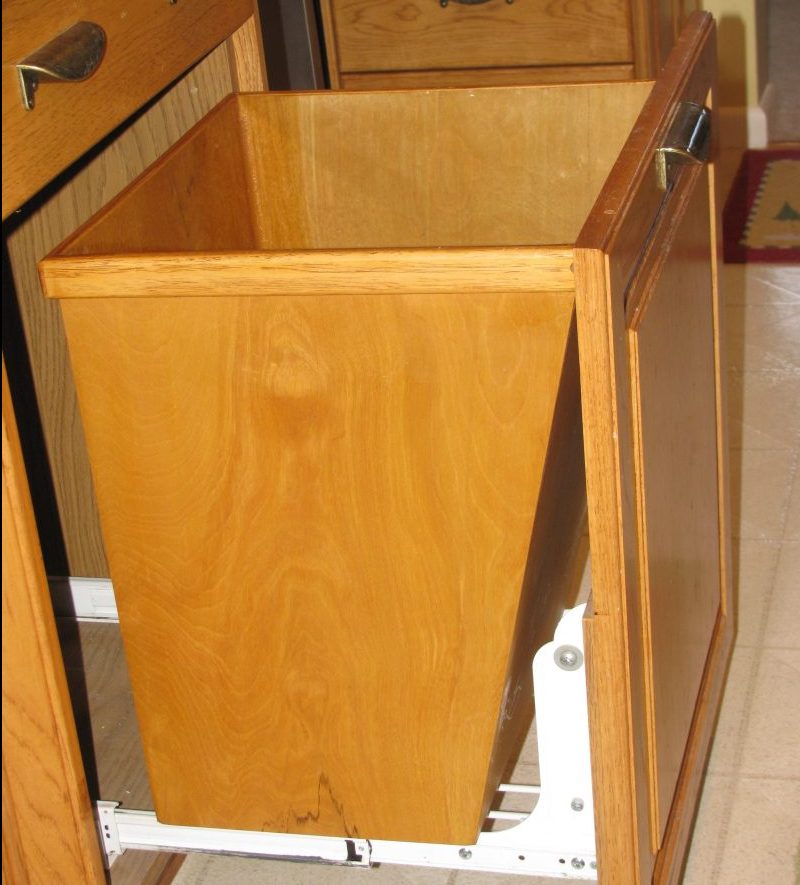
Photo above: The finished custom wastebasket fits perfectly in the drawer.
I don’t know about you, but I have problems finding wastebaskets that fit the spaces I have in mind. The baskets are either way too small or a bit too large for the opening. It happened at a previous house we lived in and it happened again in our current home. My solution was to make my own custom wastebaskets with 4 to 6mm (3 16″ to 1 4″ thick) plywood sealed with and glued together with WEST SYSTEM® Epoxy.
I made my last one several years ago after having new kitchen cabinets and countertops installed in our home. We had ordered a sliding wastebasket/recycle bin feature that was to be installed in one of the base cabinets. When the basket was installed, we were disappointed with how small and impractical it was. Small isn’t necessarily bad if that is all the room available in a given area, but in this case there was so much more room inside the cabinet that I decided to make my own basket to utilize the remaining space.
I purchased a 4’×8′ sheet of 4mm thick, three-ply plywood with face veneers that matched the hickory used to make the cabinets. Before laying out the pieces and cutting them, I gave the panel a light sanding with my palm sander and applied two coats of 105 Epoxy Resin®/207 Special Clear Hardener™. Once it cured, I cut out the four sides and bottom pieces. The mating edges were sanded with 80-grit before assembling with 105 Resin and 205 Fast Hardener® thickened with 406 Colloidal Silica Filler. Had Six10 Adhesive been available at the time this would have been the perfect project for it because the coaxial tube and static mixer tip allow you to lay a perfect bead of epoxy along the joints without drips or runs. As it was, I thickened the epoxy to a mayonnaise consistency, added sanding dust to color the epoxy to match the wood panels and applied it with a small, stiff brush.

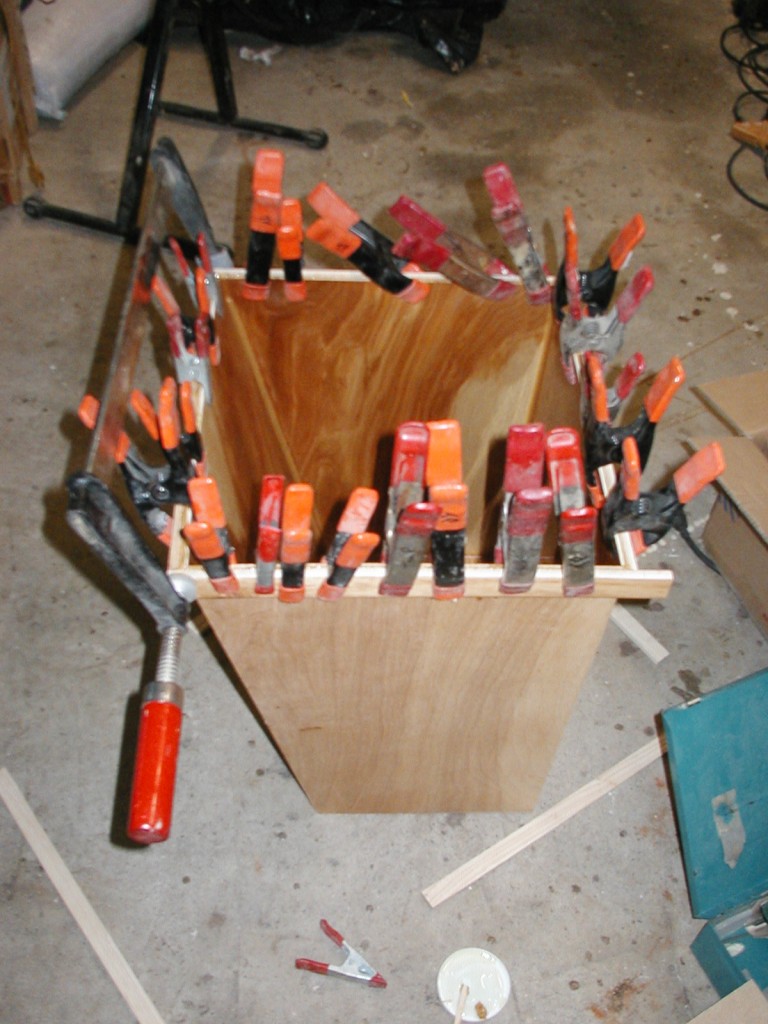
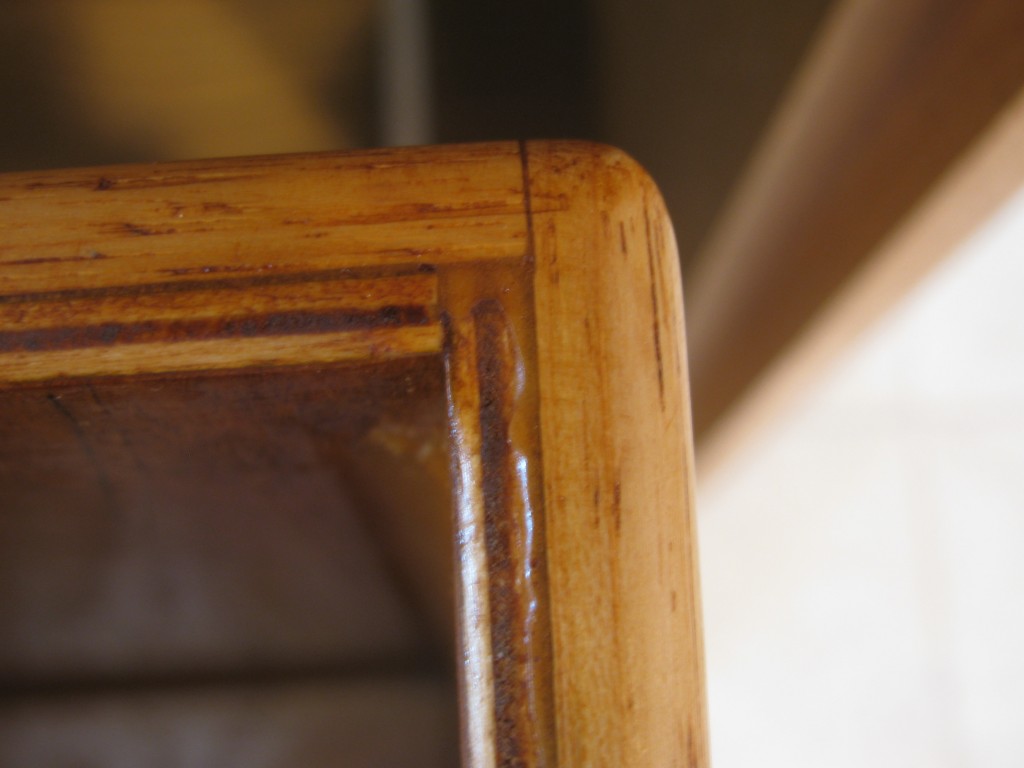
While the epoxy cured, sliding bar clamps held the panels together. Bungee cords or duct tape would have worked as well given that epoxy does not require clamp pressure. I formed the excess glue that squeezed out of the joint inside the basket into a smooth fillet. Spring clamps were used to hold the wood lip that surrounds the top of the basket in place while the epoxy cured. I sealed the outside of the basket with two coats of 105 Resin/207 Special Clear Hardener.

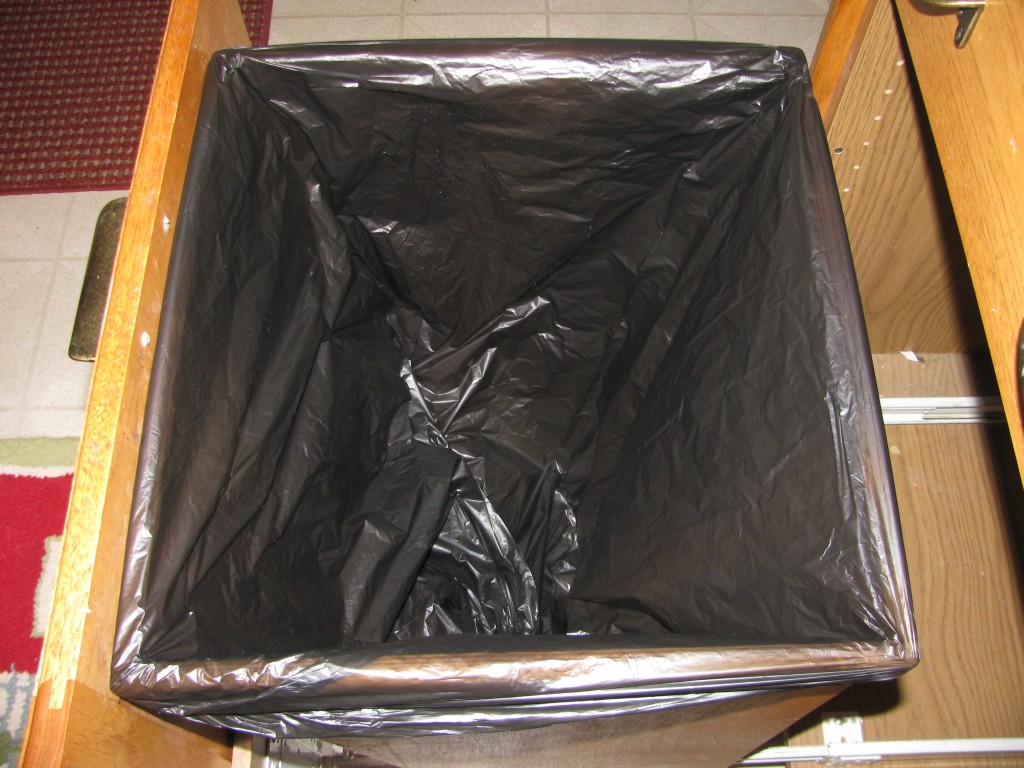
The wastebasket perimeter was designed to fit a standard 30-gallon plastic bag so the bag stretches slightly at the corners when it is draped over the rounded lip of the basket.
The basket has served us well. It is lightweight and durable. The epoxy-coated surfaces and smooth fillets look good and make cleanup a breeze.


