By Rachael Geerts – GBI Composites Materials Engineer
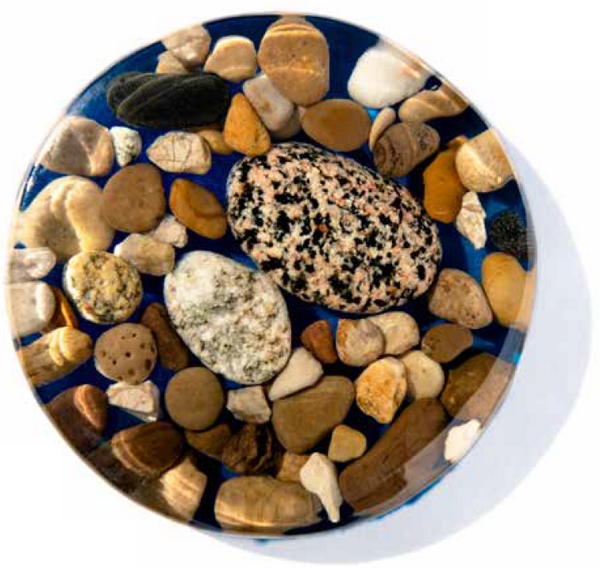
Casting epoxy is really catching on. Live edge tables with bright centers, clear coasters with stones, wood, or shells intricately placed, or even beautiful jewelry can be made with WEST SYSTEM Epoxy. With so many people venturing into using epoxy this way, I will address common questions about casting depth, colorants, bubble removal, and finishing.
Casting Depth
A customer’s first question is usually about epoxy casting depth. Either they want to know how deep they can pour the epoxy at one time, or they have already poured an 8″ by 10″ by 2″ deep casting and are wondering why the epoxy started smoking and cracked.
Epoxy cures through an exothermic reaction, generating heat as it cures. In large volumes, this can be a lot of heat (300+ °F). The slower the hardener you choose the better it can handle larger volumes of epoxy, because the exothermic reaction does not take off so quickly.
WEST SYSTEM initially developed its 105 Resin-based epoxy system as a laminating epoxy. It was meant to be used in thin films, so its chemistry creates enough heat to push the reaction through without requiring an external heat source to reach a full cure. We recommend 105 Resin and 207 Special Clear Hardener for casting projects. While it is a slower curing system, it still should not be poured more than ¼” deep at a time. We have found that building up castings ¼” at a time allows the epoxy to cure without overheating.
Here is how to add multiple layers seamlessly for castings deeper than ¼” overall: When the first pour is tacky like the back of masking tape, a second pour can be made. When the epoxy cures enough to become tacky, it means the previous layer has begun to cool down and will not contribute heat to the next layer. Adding another layer at this stage allows you to skip any surface prep. If the cure goes past the tacky stage, allow the epoxy to finish curing, then sand dull and clean the surface before applying the next layer.
Without proper surface prep, a visible seam may appear between layers and the adhesion of the new layer to the previous layer will not be as strong. Seams are more noticeable when the epoxy isn’t pigmented, but are sometimes visible between layers of colored epoxy.
Colorants
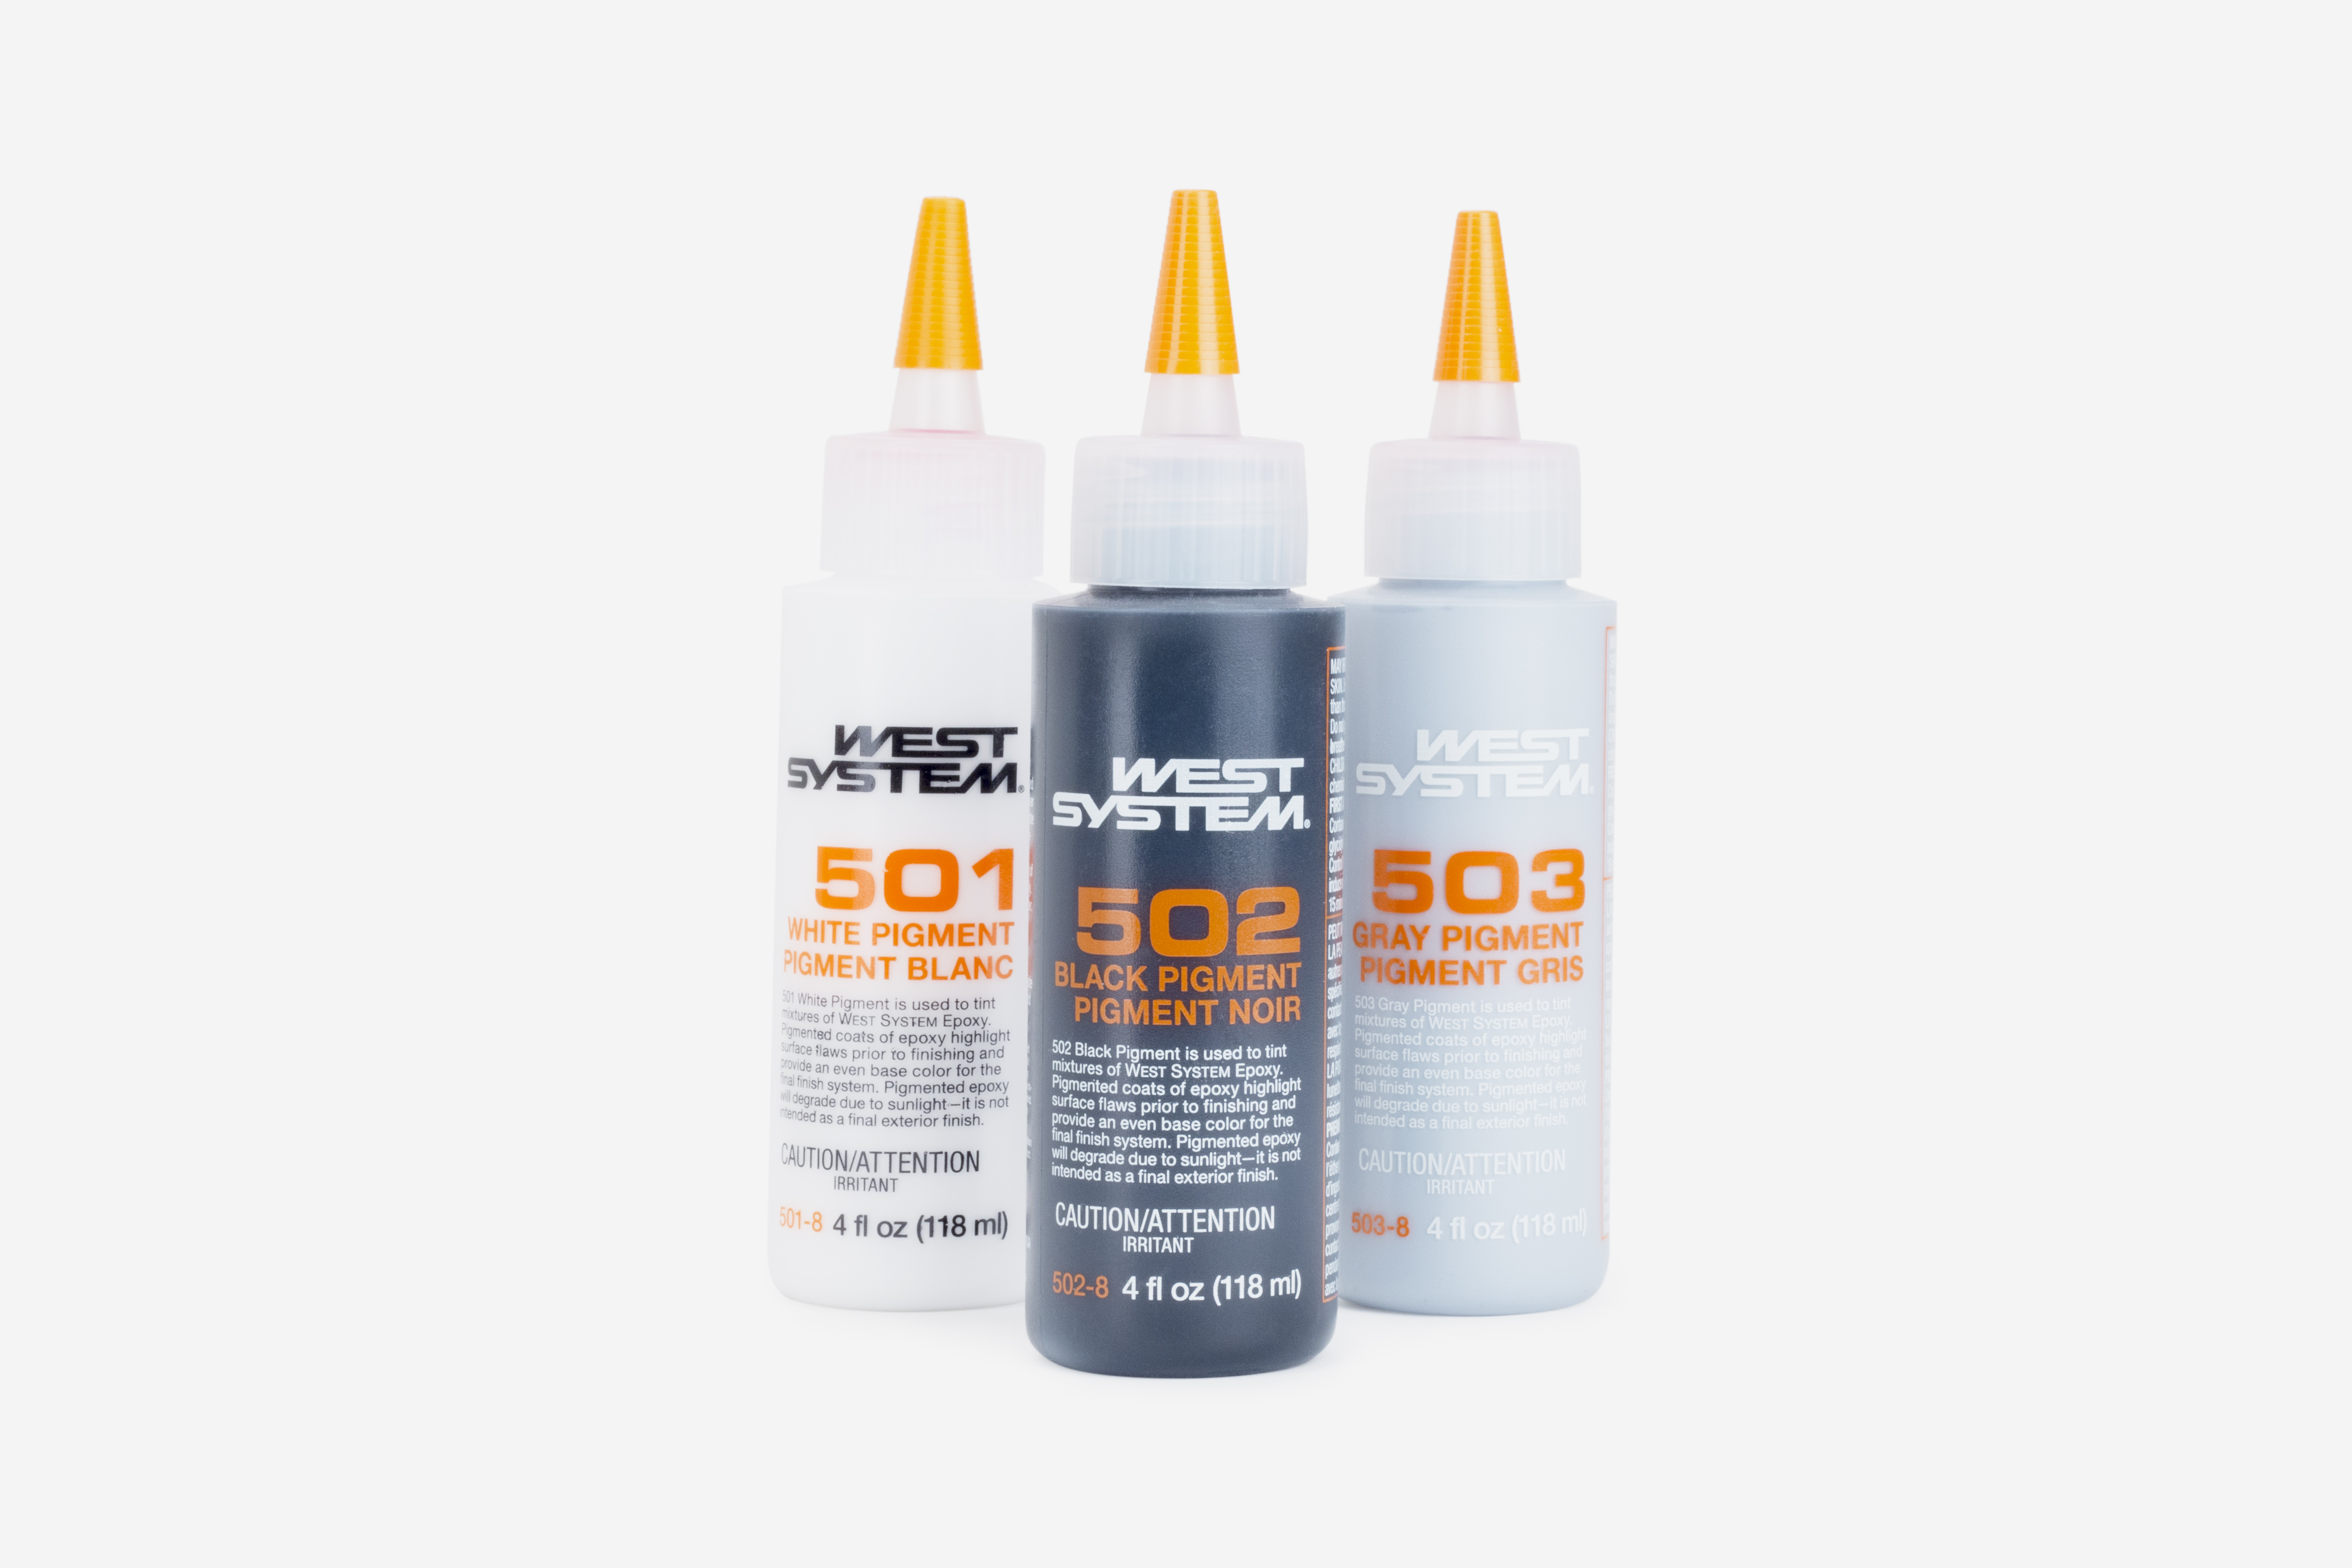
I will refer to solid colorants, such as mica powder or pigments suspended in liquid resin (such as our 501 White Pigment, 502 Black Pigment, and 503 Gray Pigment), as pigments. I’ll refer to liquid colorants such as alcohol dyes or acrylic paints as dyes. With so many brands and types of colorants, we recommend making a test batch when working with a new material or color before starting a big project.

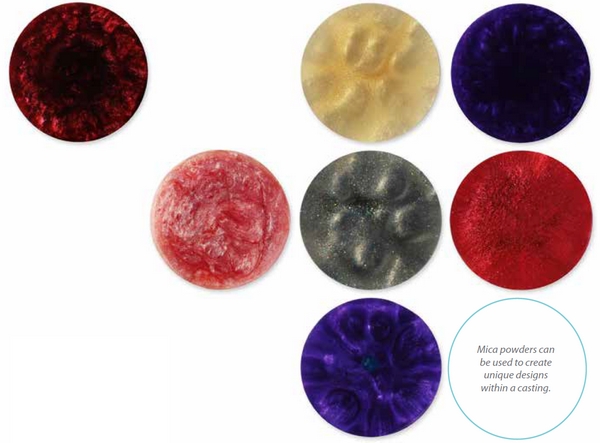
Adding colorants reduces the properties of cured epoxy. We recommend adding no more than 5% by weight. When selecting a colorant, have an idea of what look you are trying to achieve. I have used mica powders in some of my small test projects. While they are fun and offer a variety of colors, they can be difficult to master in epoxy. Since they are solids, they typically make the epoxy opaque. They may also sink out or make unanticipated designs if the epoxy cures too slowly or heats more than expected. Some artists use this to their advantage. Once you’ve mastered colorants they can be a lot of fun. But it’s important to create a few test pieces so your parts will turn out the way you intended.
Dyes also come in a variety of colors. They color the epoxy more consistently because they don’t settle out. Use them when you want to add some color to create transparent, translucent, or opaque epoxy.
As with pigments, dyes can create interesting designs-just remember that we don’t all start out as a Monet or Van Gogh. It takes time to master a new art media.

Experimenting with dyes, my colleagues and I have noticed that water-based dyes can boil inside the epoxy if it gets too warm. I recommend going with a slightly shallower pour or devising a way to release some heat from the casting. For example, have a fan blowing across the surface of the pour to circulate air around the part.
Bubble Removal
Many people ask about removing air bubbles from epoxy. This applies to casting inside wood or coating wood, such as with live edge tables and river tables. As the epoxy heats and starts to cure, the sides of the wood will release air trapped inside the wood. This “off-gassing” can lead to micro-air (tiny air bubbles) in the epoxy.
To prevent this, seal the edges of the wood with a thin layer of epoxy and let it reach the tacky stage before pouring epoxy into the cavity. The thin epoxy layer will seal off the wood so it can’t release air into the casting. If the epoxy seal coat has fully cured, sand and clean the surface before pouring the fill layers.
Resin and hardener must be thoroughly mixed (about 2 minutes) in order to cure, but this mixing can introduce air into the epoxy. There are three effective ways to remove most, if not all, of this induced air.
The first method is to set the mixed epoxy on a vibrating table. The vibrations will help the air move to the surface and be released from the epoxy.
The second method is to put the epoxy in a vacuum chamber, which will quickly evacuate the air bubbles. Be sure not to pull so much vacuum that the epoxy starts lifting, which will look like it’s boiling. Once you turn off the vacuum, slowly let the air back into the chamber. Opening the chamber valve completely at once can create a rush of air into the chamber, inducing air back into the epoxy.

The third method is to use a heat gun or small propane torch to remove air bubbles near the surface of the epoxy after it’s already poured into the casting cavity. Waiting 5 to 10 minutes for the air bubbles to reach the surface will make them much easier to pop. Move the heat source over the area at a rate of about one foot per second while keeping the flame 15-18 inches away from the surface. Don’t let the heat source heat the epoxy to the point that it gels or smokes.
Finishing
Just because the epoxy is hard doesn’t mean it has fully cured. Wait at least 24 hours before sanding and applying a UV-stable topcoat over the epoxy.
The topcoat can be anything from an automotive clear coat to a two-part polyurethane, provided the instructions from the manufacturer are followed. Since the epoxy has fully cured, you are now top-coating an inert plastic surface.
If you don’t want to add a topcoat over the epoxy because the project will not see sunlight, keep in mind that if you sand the epoxy, you may not be able to polish it back to its original high-gloss shine because it is not a hard enough surface. This is a good reason to use a clear, UV-stable top coat. You can sand the surface if there are any imperfections, then apply the topcoat to achieve a nice high-gloss finish.


