by Captain James R. Watson
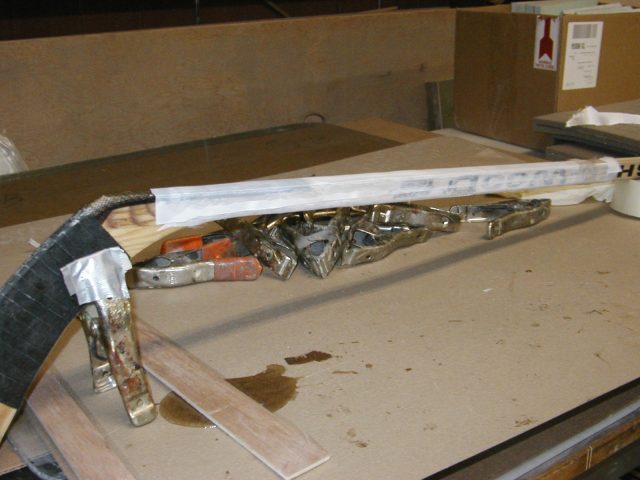
Above: The final step in this hockey stick repair is applying a layer of fiberglass tape to the repair area with G/flex 650 for additional reinforcing.
Ice hockey sticks are exposed to cold temperatures plus high shock forces from contact with the puck as well as with the ice and skates. Hockey sticks can be wood/fiberglass laminates or composites of carbon fiber or aramid. The stick blades often chip and split with use and have to be repaired (or else replaced at $50–$150 each). A customer who repairs and maintains hockey sticks for a local team had been using a conventional epoxy for repairs and found that it often chipped under such use.
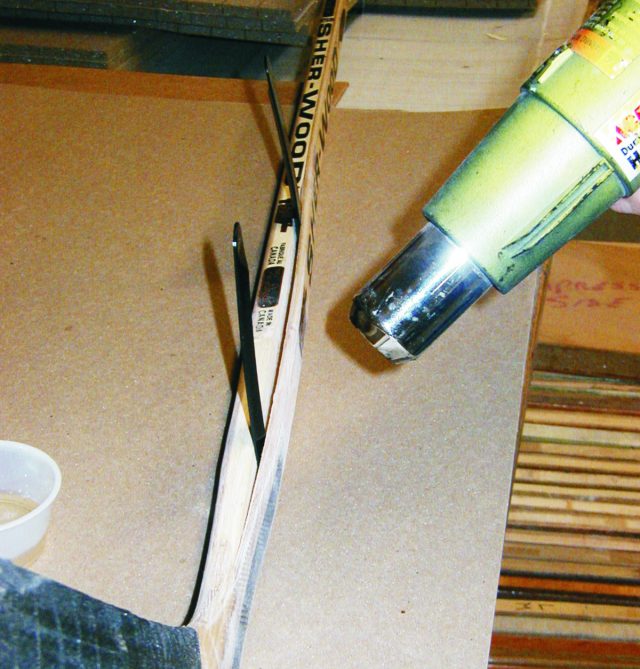
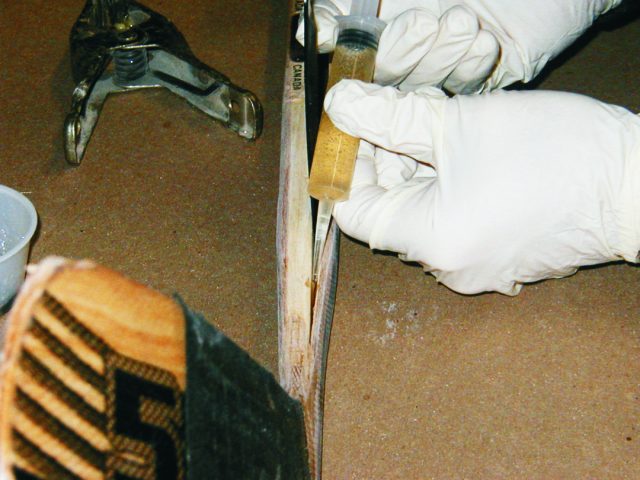
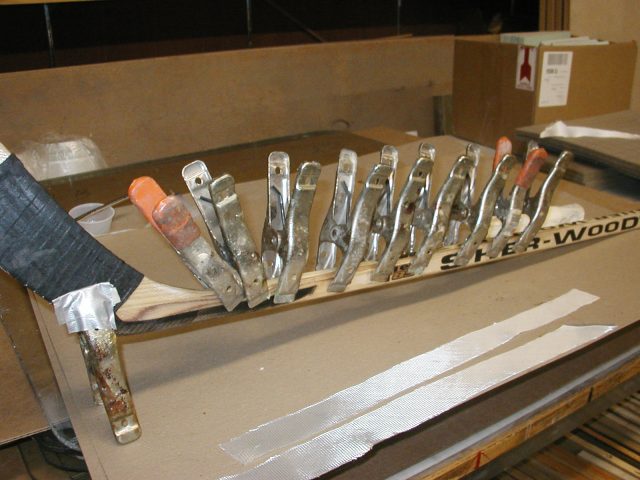
To make the repair, he pries open the split and dries it with a heat gun. While it is still warm, he injects G/flex® into the split, clamps it together, and allows it to cure. After removing the clamps, he wraps the repair area with one layer of 2″ fiberglass tape, wetting it as he proceeds. The tape is somewhat more difficult to wet out with G/flex due to its increased viscosity, but no other finishing is needed.
Using G/flex, the customer has found that the more flexible epoxy provides a significant improvement in durability over the epoxy which he had used previously.
Hockey Stick Repair Steps
4-Step Hockey Stick Repair
- Open the split
To repair the hockey stick, begin by opening the split, clean out any loose material, and warm the area with a heat gun.
- Inject G/flex Epoxy
Inject G/flex 650 into the split. Work the mixture into the crack.
- Clamp together
Clamp the stick together with even pressure to force a small amount of epoxy from the crack.
- Apply Fiberglass Tape
Apply a layer of fiberglass tape to the repair area with G/flex 650 for additional reinforcing. (See image at top of page).


