G/flex Shoe Repair
Summer 2007

GET STARTED
FREE PRINT & DIGITAL EDITIONS
Summer 2007
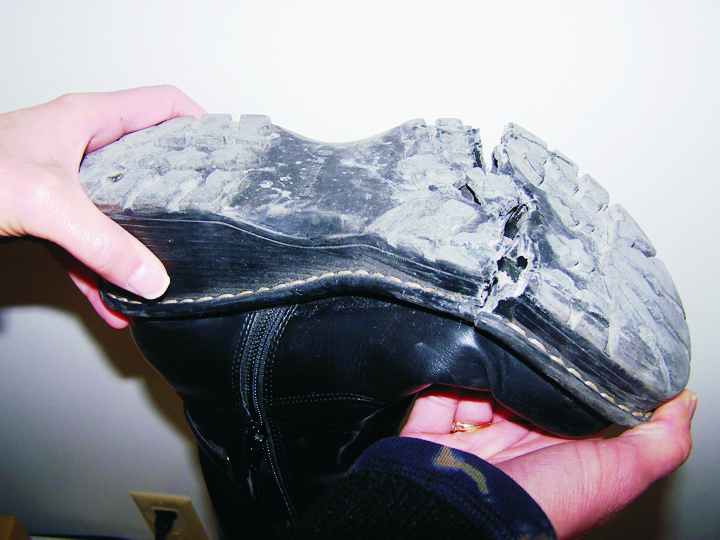
Above: The cracked sole of Julie’s favorite boot prior to this G/flex shoe repair.
My good ol’ faithful boots (meaning they’re old and need to be thrown out but I just can’t do it) blew a deep crack in each sole. I figured what a great time to try out our G/flex Epoxy.
I found that there are a lot of things that I like about this material: It is mixed at a 1:1 ratio, so I traced two equal, poker-chip-sized circles side by side and squirted G/flex 650 Resin in one And Hardener in the other. This makes eyeing a 1:1 ratio pretty darn accurate. I then blended the two together. G/flex gives lots of working time. I bent the boot open so I could force the epoxy into the crack. I placed the boot on a zipper seal-top bag and put one weight on the toe and another one inside to straighten it out. I allowed the epoxy to cure overnight.
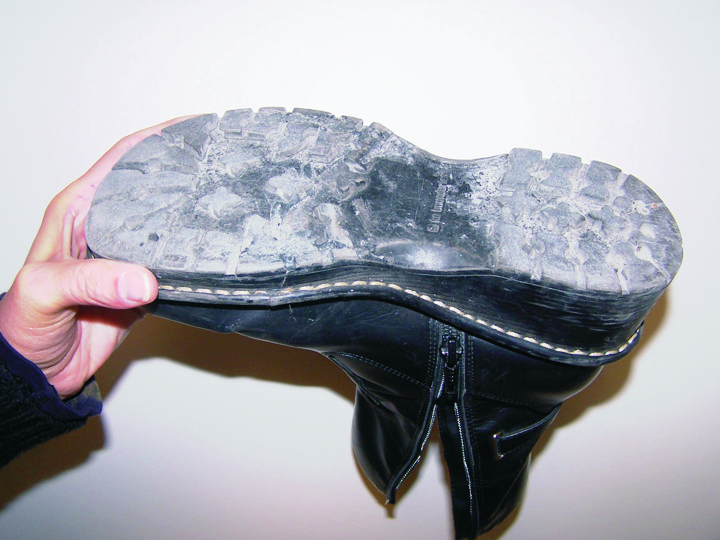
G/flex gets its name from “flexible”—not like a rubber band but rather like a hockey puck or the rubber of my boot’s sole. A perfect match, it seems. Several weeks later after walking on ice, in wet puddles, in the shop, and even in the mall, the boots are as good as new or maybe even better!
This repair worked so well that I thought I would try it on my husband’s hiking boots, which were in need of a different kind of repair. These boots are from L.L. Bean™ (expensive and faithful). The boot was punctured on a hiking excursion and now leaked water. So I thought, “why not try the G/flex on it too?”
I lightly scuffed the surface with a 3M #7447 Scotch Brite™ pad and applied the G/flex 650 to the “entrance wound.” I wetted a piece of 10 oz canvas material, for flexible reinforcement, and then used it to cover the hole. The boots were supported from the inside with a crunched-up newspaper. I covered the wet lay-up with a zip-lock bag and applied pressure with a sand-filled bag. Then I allowed the repair to cure overnight.
The next day the boots were put to the test. The adhesion seemed to work very well, and the fix resulted in a waterproof boot with the repair area being a little stiffer than the original surface. This additional stiffness seems acceptable. Use over time and exposure to the winter elements will determine the success of the repair. While the repair may not be the most eye-appealing, “It’s what’s inside that counts,” and what’s inside these boots are some very dry and very happy feet.


