

Uses and Tips for Furniture Repair and More
by Tom Pawlak and Captain James R. Watson
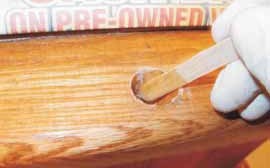
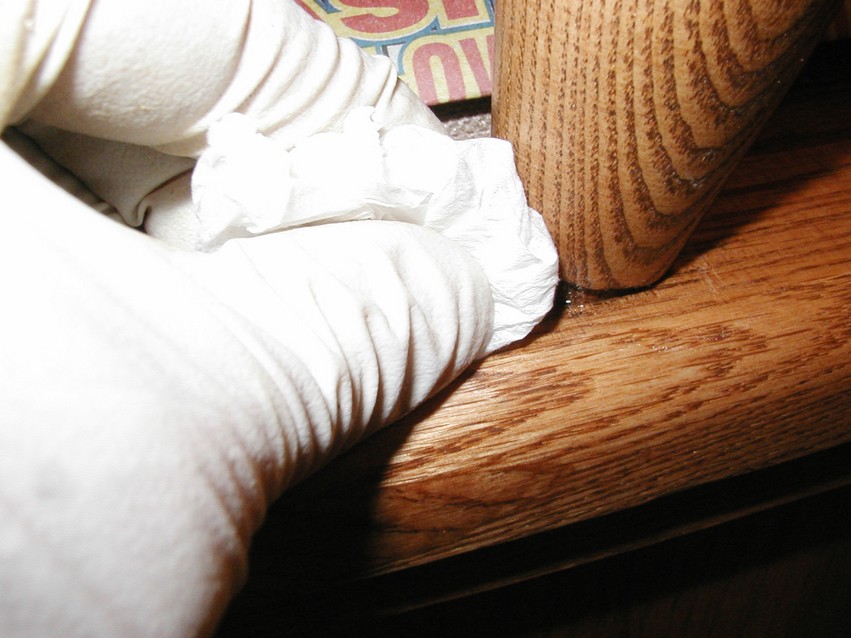
Above: G/5 Five-Minute Adhesive is applied neatly to a furniture joint.
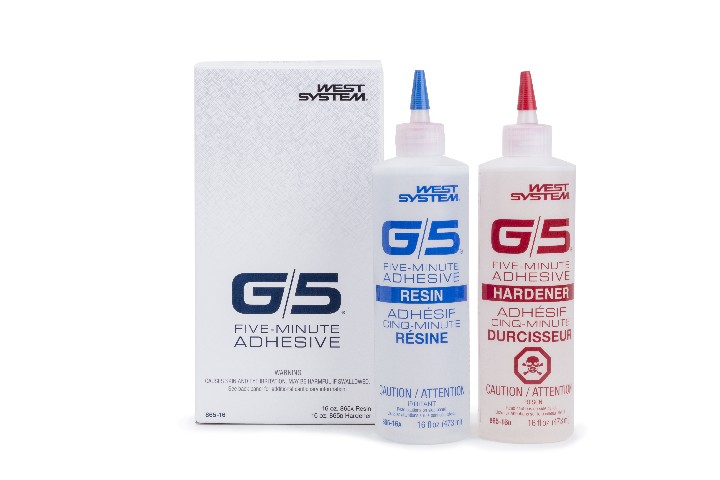
Let’s look at some ways G/5 Five-Minute-Adhesive can be used around the house for everything from furniture repair to building model railroads.
Using G/5 to Repair Furniture
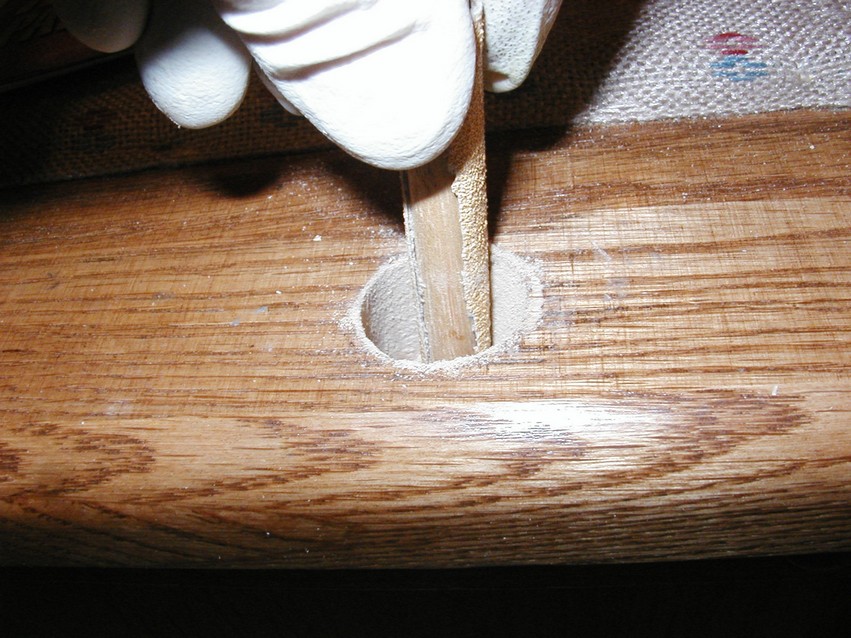
G/5 is ideal for simple furniture repairs when you don’t need much working time. For example, I used it on our 30-year-old rocking chair when the mortise-and-tenon joint connecting the spindle leading from the armrest to the seat came apart. (The armrest connects to the seatback with a wood screw.) Probably the most important step in this repair was surface preparation. The saying “You’re only as good as what you are attached to” applies. In this case, the original glue that had failed needed to be removed from both the mortise and tenon.
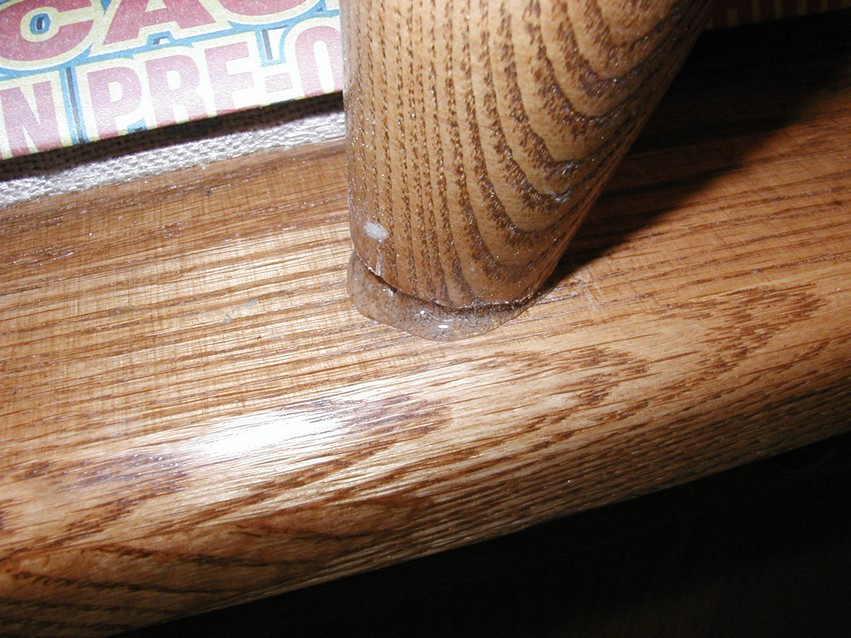
The chair was back in service about 30 minutes later.
Spot-Prime Metals
You can spot-prime metals with G/5 in place of slower drying paint primers for indoor applications prior to applying latex paints. Latex paint can be applied to G/5 about ten minutes after the epoxy is applied and while the epoxy is still soft. G/5 provides a thin barrier and prevents rust that otherwise forms in latex paint when it dries over bare steel.
Model Railroads
Model railroad set builders create natural-looking surfaces by applying a film of G/5 adhesive and then sprinkling small objects onto the surface while it is still uncured. These objects include pebbles, sand, dirt, twigs, dried grass, flocking powder, sawdust, natural grains, nutshells, straw, glass chips, glass or plastic beads, metal filings, cotton balls, and spun polyester.
Epoxy Cleaning Tip
WEST SYSTEM® Epoxy cleans up easiest before it has cured. The problem is, because of its clarity, uncured epoxy can often be difficult to see. By the time you notice it, it’s already cured and is much more difficult or impossible to remove. Cured on leather or carpet, it’s permanent. Cleaning up epoxy drips before they cure is crucial.
Mixed epoxy resin and hardener fluoresce under exposure to a black light—the common name for a lamp that emits electromagnetic radiation in the soft, near-ultraviolet range while providing very little visible light. After completing a task with epoxy, expose the area to a black light. You’ll be able to see epoxy drips, runs, or smudges you can easily wipe away with a little denatured alcohol and paper towel.


