Using Epoxy with Oak
Spring 1995

GET STARTED
FREE PRINT & DIGITAL EDITIONS
Spring 1995
Editor’s Note:
This article about epoxy and oak was originally published in early 1995, and is shared at Epoxyworks.com for historical purposes. A dozen years after this article was written, we developed G/flex epoxies, which are rubber toughened to withstand shock, vibration, expansion and contraction. G/flex epoxies adhere tenaciously to many difficult to bond substrates, including dense and oily wood species like oak.
For current recommendations pertaining to epoxy and oak, we now recommend the following articles:
So Stands the Mighty Oak
Letters to the Editor — White Oak
White Oak Redux
Understanding Flexible Properties
The 1995 article that follows has editorial inserts with current recommendations/information in red.
By Brian Knight
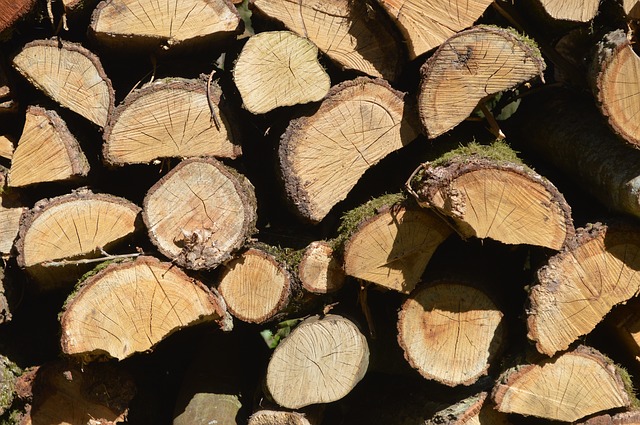
In traditional boat construction, white oak is often used for frames, stringers, keels, stems, and deadwood. Red oak is found in furniture, architectural trim, and cabinet work. But we don’t even mention oak as a potential construction material in The Gougeon Brothers on Boat Construction or any other technical publications. Why not? Let’s examine the properties of the wood and the ability of WEST SYSTEM 105 Resin-based epoxies to adhere to it.
Boat builders using traditional methods choose white oak for several reasons. It has good rot resistance, good compressive strength, holds fasteners well, bends easily — either with steam or without, and is hard and impact resistant. Red oak, while not often used in boat construction because of its poor rot resistance, is ideal for furniture and trim because it is hard and durable.
With credentials like that, why not use oak for contemporary composite construction techniques? One reason is its lack of dimensional stability. All wood reacts to changes in moisture content. It shrinks as it loses moisture and it swells as it gains moisture. Typically, the movement is much greater across the grain of the wood than it is parallel to the grain. This movement can result in warping, splitting, checking and other problems. Oak, especially white oak, is one of the more dimensionally unstable species of wood. It twists and bends as it tries to adjust to changes in its moisture level. For example, when its moisture content changes from 7% to 12%, a piece of white oak will swell about 50% more than a piece of Honduras mahogany under similar conditions. With this much movement, the stress on a glue line becomes enormous and can pull the joint apart.
Another problem is the hardness of the wood. The high density of oak makes it difficult for most adhesives to achieve a good mechanical bond. Even very thin, watery adhesives can’t penetrate very deeply into the wood fiber. This means that the adhesive can only attach to a very thin layer of wood cells on the surface—not deeply enough to match the high strength of the wood.
These two factors, dimensional instability and high density, interact to result in the unpredictable performance of an adhesive bond. The grain strength of the oak is about the same as the adhesive strength of the WEST SYSTEM 105 Resin-based epoxy. When the oak changes dimensionally, there is a “tug-of-war” between the strength of the wood and the strength of the epoxy bond. Sometimes the epoxy holds and sometimes it doesn’t. [The flexibility of G/flex epoxies is what allows them to maintain their bond with oak—Ed.]
So, what can you do about it? The best option is to use a more stable species of wood [or bond with G/flex epoxy —Ed]. Ash is a good substitute for white oak. The physical properties of ash are remarkably similar to oak, but ash is much more stable. It even resembles oak. Ash’s rot resistance is poorer than that of white oak, but as long as it is conscientiously coated with epoxy, that won’t present a problem.
If you must use oak, there are a few things you can do to optimize your chances of getting good results with WEST SYSTEM 105 Resin-based epoxy. [You will still get better results with G/flex Epoxy. Follow recommendations in G/flex instructions—Ed.]
It is best to avoid the use of oak in high stress areas in projects involving WEST SYSTEM 105 Resin-based Epoxy. As it adjusts to changes in moisture content, oak moves considerably. This and its high density make bonding oak with epoxy unpredictable. If possible, use an alternative wood species like ash. If you have no choice in the matter, then following the suggestions above will maximize your chances for a successful glue joint. [For best results, always choose G/flex Epoxy for bonding oak. —Ed]


