
By Tom Pawlak — GBI Technical Advisor
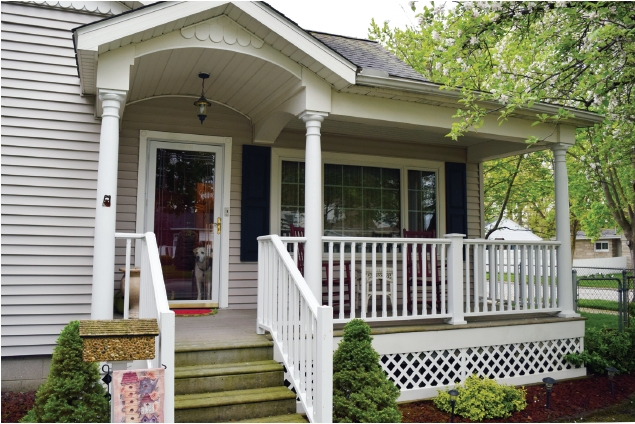
About 15 years ago we did a major exterior facelift on our home. A large component of the facelift was a new covered front porch. It was fun to see the new look take shape as the eaves were extended and the porch roof installed.
When the contractor started installing large 8″ square posts to support the new porch roof, I immediately disliked their bulkiness and clunky appearance. A few days earlier while on vacation, we had stopped at a lumber yard during a rainstorm and saw three beautiful, round, hollow wooden columns that would be perfect on our new porch. I made the 140-mile round trip to purchase them.
The next day, I coated the outside and the inside (including end grain) with 105 Resin and 206 Slow Hardener. I applied a second coat on the outside and end grain and three hours later I applied a fast-dry primer called Cover Stain Primer-Sealer (made by Zinsser) over the partially cured (rubbery) epoxy. I had used this primer in a similar manner previously in a test that performed well on my old porch railing so I was confident that it would work on the new wood columns as well. The following morning I sanded away any raised wood grain and quickly applied another coat of Cover Stain Primer-Sealer. An hour later it was ready for the top coat of house paint.
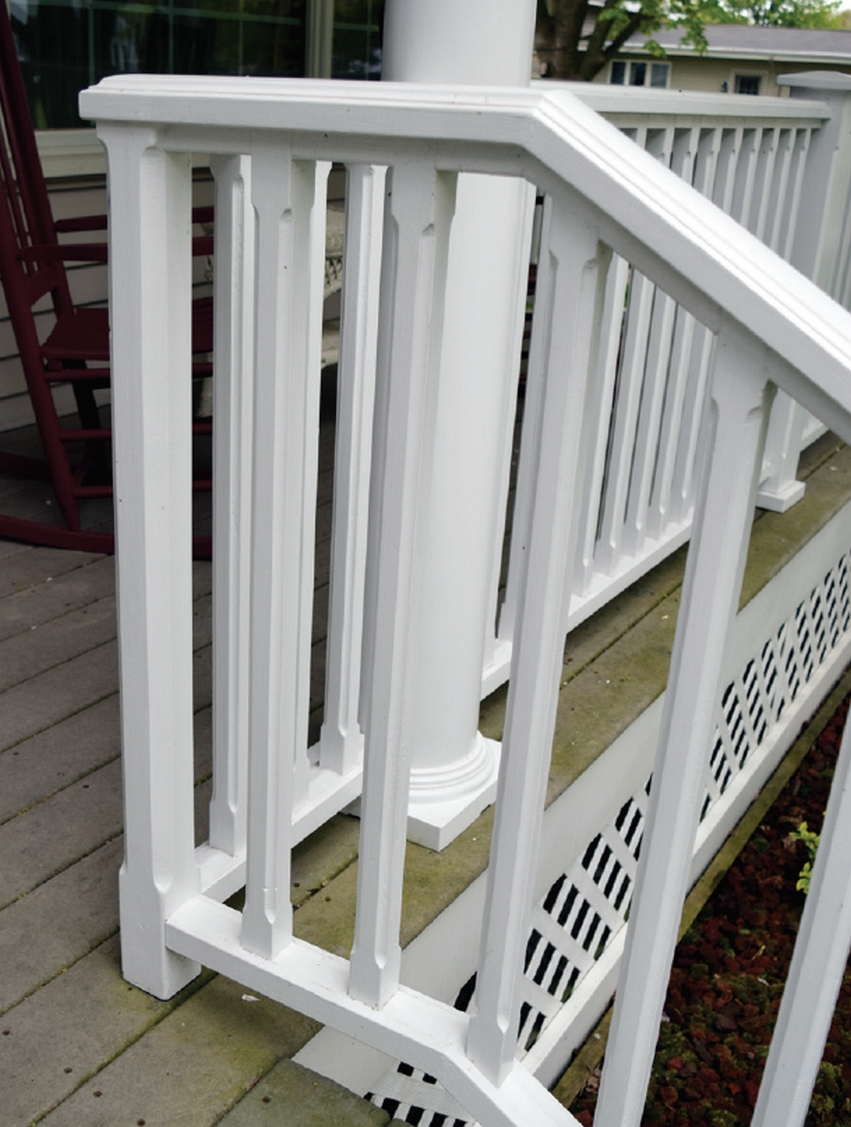
Once the columns were installed, I measured the distance between columns for the new porch railing that I intended to build. The railings and spindles were constructed from well dried re-sawn common 2×8 and 2×10 construction-grade lumber. I felt comfortable using this low-cost lumber because I would be cutting around large knots and sealing all the wood in a couple coats of epoxy. This would stabilize the wood’s moisture content, minimize the potential for warping and twisting, and protect against rot.
The spindles ended up being 1½”x 1½” in cross section with the four edges each fluted with a 3/8″ inside radius router bit. I was surprised at how this simple edge detail significantly dressed up the appearance of the spindles.
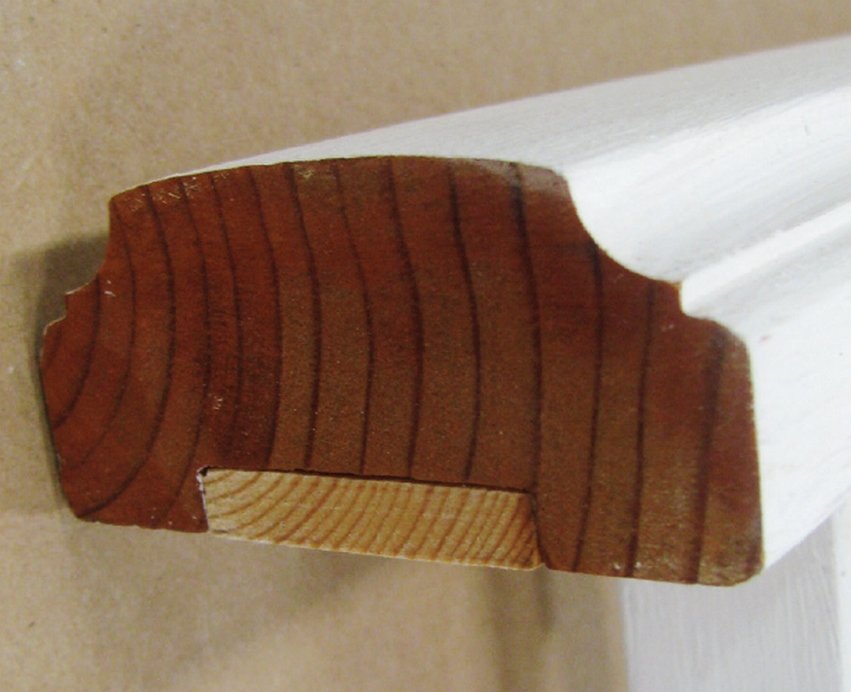
I made an assembly jig that was laid out on a 4’x8′ sheet of OSB (oriented strand board) covered in plastic to hold the spindles at the correct distance apart. Temporary blocking held in place with drywall screws allowed the rail top, rail bottom and spindles to be accurately positioned to keep the spindles square to the rails and equally spaced for gluing. The bottom of the top rail and the top of the bottom rail featured a 1½” wide x ¼” deep dado that the spindles and spacer pieces were glued into with the epoxy. There are no fasteners in the railing sections other than a few brad nails to hold the small wood fill pieces between the spindles while the epoxy cured.
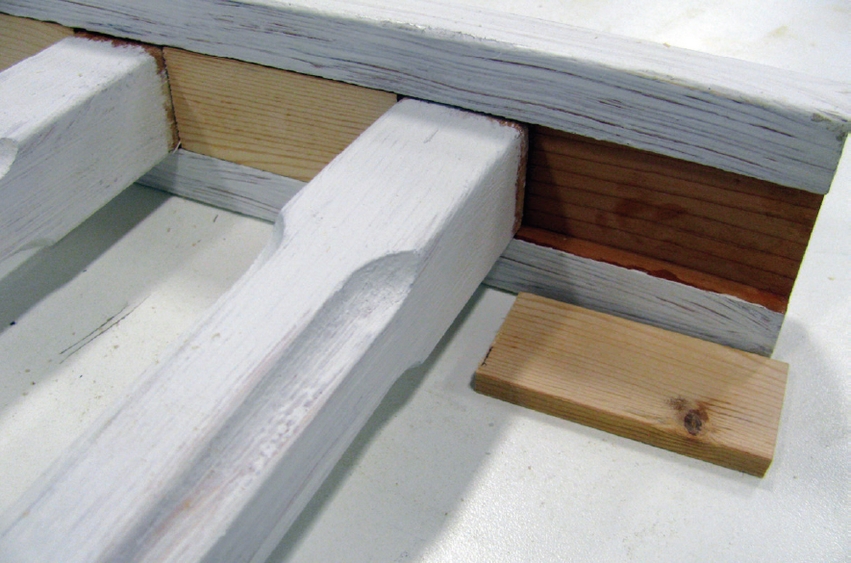
Where the railings tied into the columns, I used a saber saw to cut a slight concave radius that matched the curve of the round column it would be attached to. The ends of the top and bottom rail were sealed with two coats of epoxy then held in place with a couple of stainless steel deck screws.
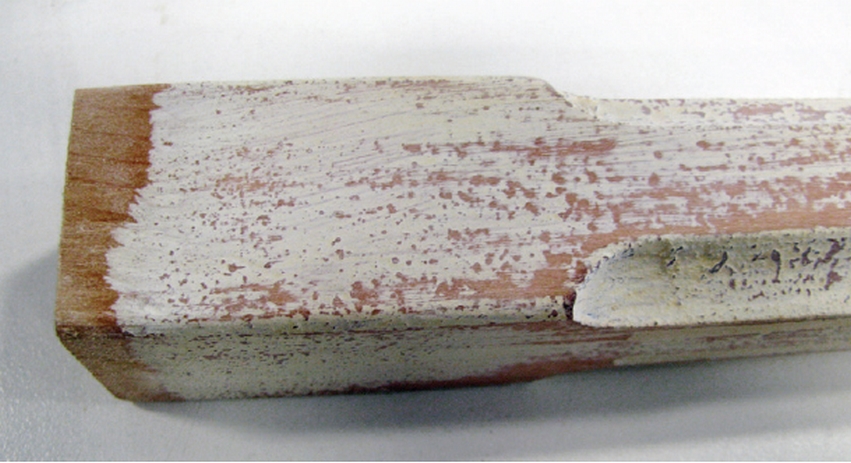
Well, 15 years later I can attest to the benefits of coating and sealing the wood with epoxy prior to painting. Last year I repainted the columns and railings for the first time. I repainted only because I had taken chunks of wood out with my snow shovel and wanted it to appear uniform rather than looking touched up where the snow shovel had damaged it.
I recently found a section of top rail and a few leftover spindles in my garage rafters. I’ve dry assemble them so you can see how they were put together. Everything was glued with old WEST SYSTEM Epoxy left over from previous jobs.
One other detail worth mentioning is I made sure the top and bottom of the wood columns were vented.
To keep bees and wasps from taking up residence inside the columns, I used G/5 Five-Minute Adhesive thickened with 403 Microfibers to glue a layer of fiberglass window screen at the top and bottom of each column.
In retrospect, I can say it was well worth the time and effort to glue and seal all the common lumber pieces with leftover WEST SYSTEM Epoxy. There was not the slightest incidence of cracking or peeling paint in any of the columns or sections of railing after more than fifteen years of exposure.