

An Epoxied Bar Top with Encapsulated Memorabilia
By Bruce Niederer — GBI Technical Advisor
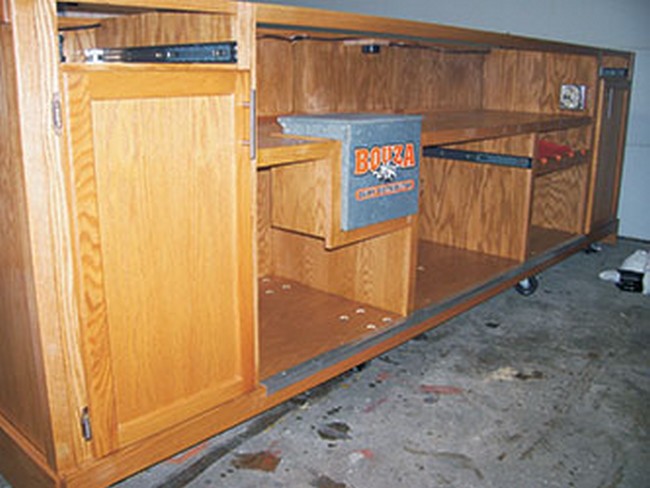
I helped by brother Nelson with a different, smaller custom bar he built for a customer who comes from a long line of dairymen. His family has been in the business for decades. He has a little bar area in his garage where he and his buddies hang out and work on cars or watch their hunting blind videos while they have a couple of beers.
The bar is on heavy-duty wheels so it can be easily moved when necessary. He collected dairy memorabilia—old milk bottle caps and family photos which he wanted to be encapsulated in the epoxied bar top.

We regularly get calls from customers attempting an epoxied bar top or similar surface with items encapsulated in poured epoxy. The photos explain the process we followed and some of the techniques for success.
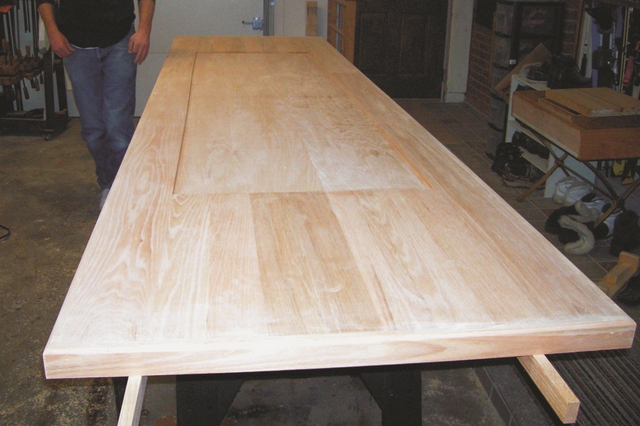
The recess was sanded with 220-grit and the memorabilia to be encapsulated were artfully arranged in the ¼”-deep recess. Each piece was encapsulated with Mod Podge®, available at most art supply stores. This important step seals the paper so it doesn’t wick up any epoxy, which will cause dark or discolored splotches on photos or anything made with paper or cardboard. Under each item, we brushed a thin coat of mixed WEST SYSTEM 105/207 to set the items in before pouring.
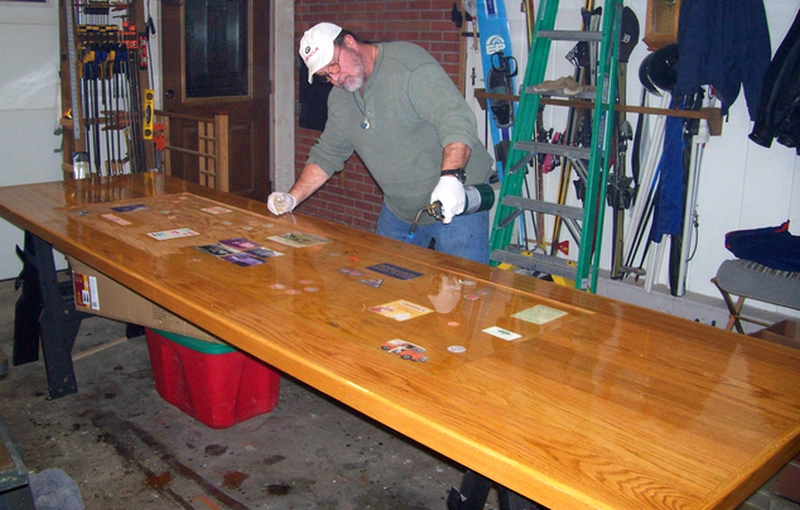
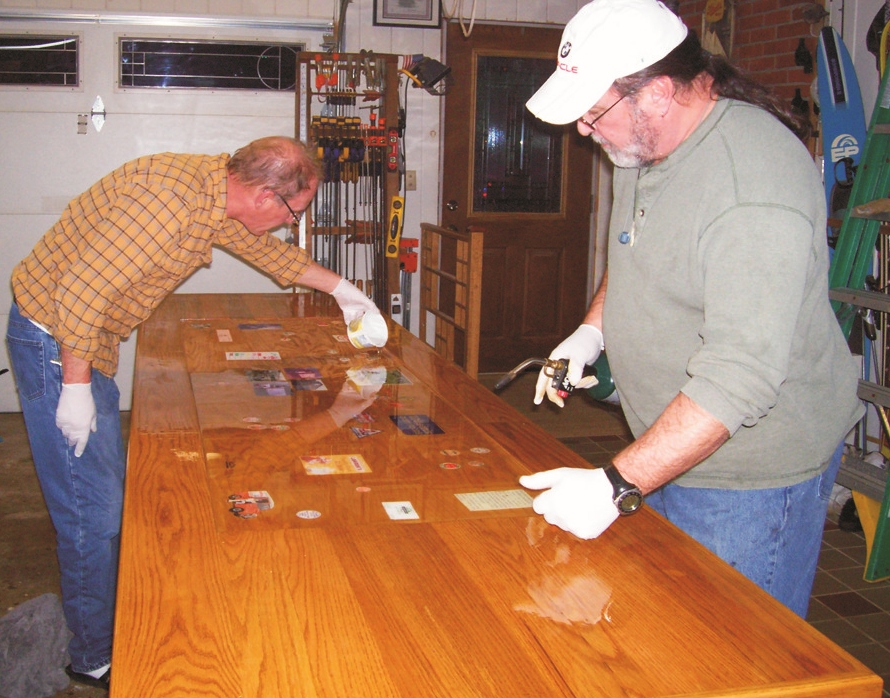
We got started with one of us mixing and pouring and the other chasing bubbles with a propane torch. Because the recess was coated with two coats of cured and then sanded epoxy, we didn’t need to worry about bubbles due to the out-gassing of the wood. But it’s pretty much impossible to stir the resin and hardener without inducing some bubbles in the cup. One of the best ways to deal with them is with a flame treatment using a handheld torch. A heat gun won’t work—it’s not hot enough. You must use a flame held so it just barely touches the epoxy surface. Move the flame quickly—12″ to 16″ per second—you don’t want to scorch the epoxy. WEST SYSTEM epoxies don’t contain flammable solvents so this is safe, but be careful; the epoxy can ignite if the flame lingers in one spot too long.
You typically get bubbles when you mix in a cup with a stir stick. With smaller bubbles, if they don’t pop after a quick pass or two, don’t get all crazy about it and risk a scorch or worse. Just walk away for 10 or 15 minutes, have a beer, and then try it again. Those little bubbles will rise towards the surface and then you can get them out.
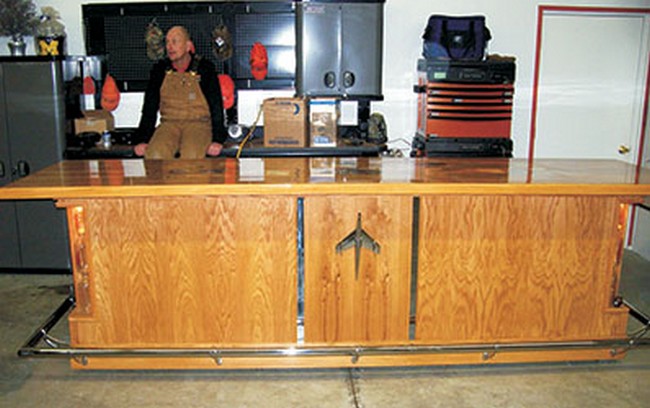
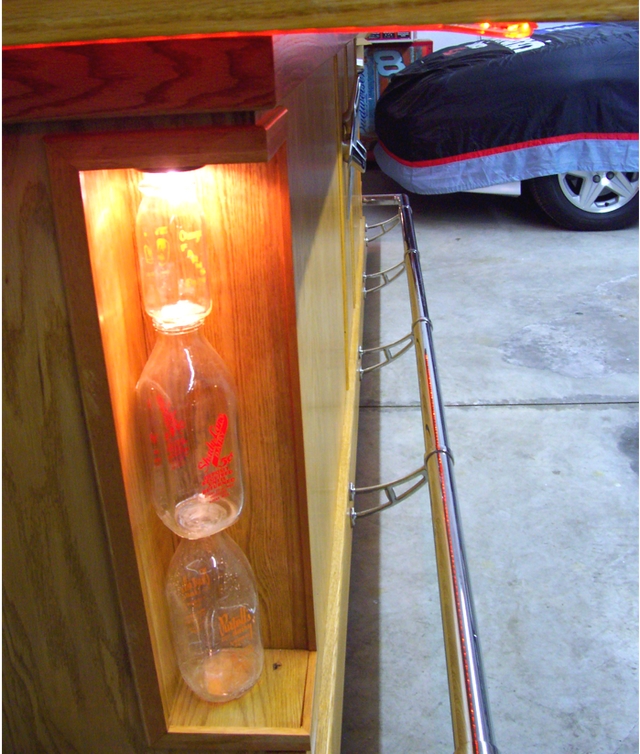
The finished top is clear and beautiful with no bubbles. The bar has some nice custom features including a replica of a 1957 Chevy Impala hood ornament flanked by chrome strips, lighted milk bottle corner posts and orange lighting under the bar rail. An antique milk box with the old family dairy logo serves as an ice box that drains into an antique metal milk can.
Things we learned
The recess was about 1/4″ deep and it took about 1 1/2 mixed gallons of 105/207 to fill level. We could have got the same result with a 1/8” recess and saved some epoxy bucks. The client brought in a couple of additional pictures after the first pour cured. We added them, then finished the pour. Those last two pictures look like they’re floating in the middle of the epoxy. They look more three-dimensional as a result—a nice effect for photos.


