Depth Sounder Installation
Summer 2007

GET STARTED
FREE PRINT & DIGITAL EDITIONS
Summer 2007
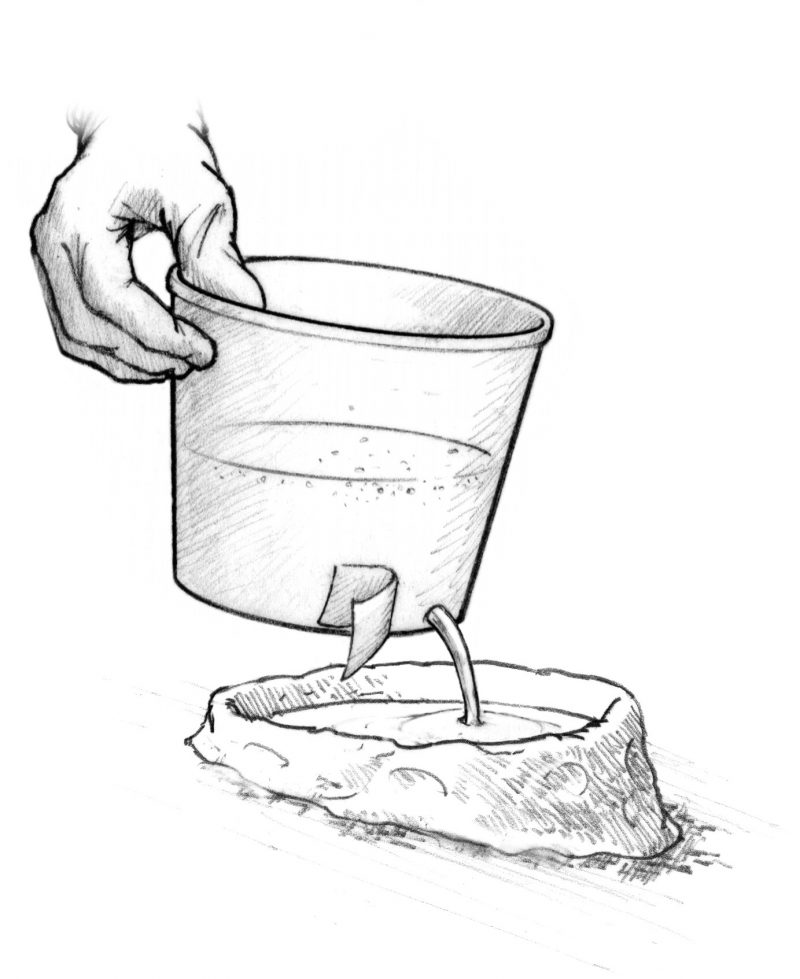
Above: Pouring an air-free transducer base for installing a depth sounder. Draining neat (unthickened) epoxy through a hole in the bottom of the mixing cup will leave the air bubbles behind on the surface. A putty dam on the hull ensures the correct size and shape for the depth sounder base.
Jim Costello of Dallas, Texas, asked the Gougeon Tech Staff about a depth sounder installation that called for mounting a transducer to the hull of his 1983 Bayliner Capri Classic.
“The user manual for my new Hummingbird fish finder says that the transducer can be installed in the hull with a slow curing epoxy. It says to try to eliminate all bubbles. I have WEST SYSTEM 105 Resin, 206 Slow Hardener, 404 High-Density Filler, and 406 Colloidal Silica on hand. What if I just mix up some peanut butter thick epoxy paste and use that? Or do you have any other suggestions? I can mount the transducer on a part of the hull that is thin enough for the application, according to Hummingbird. Thanks.”
Depth sounder manufacturers generally recommend using low viscosity, slow curing epoxy when installing their transducers in fiberglass hulls. This is because air bubbles interfere with a transducer’s signal and low-viscosity epoxies are less likely to trap air bubbles between the transducer body and the hull than higher viscosity types or those thickened with powders.
Installing the transducer in the ideal location is critical for the depth sounder to operate properly. Air bubbles that can form between the hull and the water while the boat is moving will weaken or cause the signal to be lost. So follow the manufacturer’s instructions carefully to identify the proper location for the unit. This method should only be used on solid (not cored) fiberglass. Cored hulls will interfere with the signal.
The area you select needs to be clean and abraded so the Epoxy will stick well. Abrading can be done with sandpaper or a fresh wire brush. Norton® makes a circular wire brush called a Rapid Strip Brush™ that mounts in a drill motor and will work nicely for this.
Installation instructions recommend creating a circular putty dam that is slightly larger in diameter than the transducer itself. Into this area pour enough slow curing epoxy (WEST SYSTEM® 105 Resin and 206 or 209 Hardeners) to bridge gaps between the transducer and the hull. To install the transducer, tilt the unit on a 30° to 40° angle above the epoxy and slowly lower it into the epoxy. As the corner of the unit touches, slowly allow it to level out. This should eliminate air that could otherwise become trapped if you were to just set the unit straight into the epoxy.
If the hull is angled in the area where you intend to mount the unit, you can shim the unit with a piece of cured epoxy to level it before using the method described above to install the transducer.


