The Coupe de Ville of Epoxy Caddies
Spring 2012

GET STARTED
FREE PRINT & DIGITAL EDITIONS
Spring 2012
By Mike Barnard
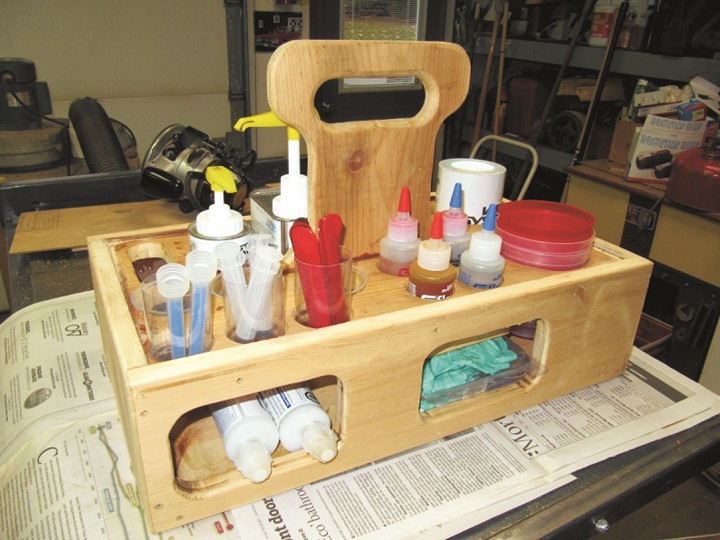
Inspired by an old Boatbuilder article by Captain James R. Watson, my father and I built our own deluxe epoxy caddy, which we call the Coupe de Ville of Epoxy Caddies. My dad has grown very fond of WEST SYSTEM® Epoxy and his box of epoxy-related items has been growing at a steady rate. The overflow of his box in an already “treasure” packed garage emphasized his need for an organization and storage system for these materials. We have had several requests for this same type of solution lately.
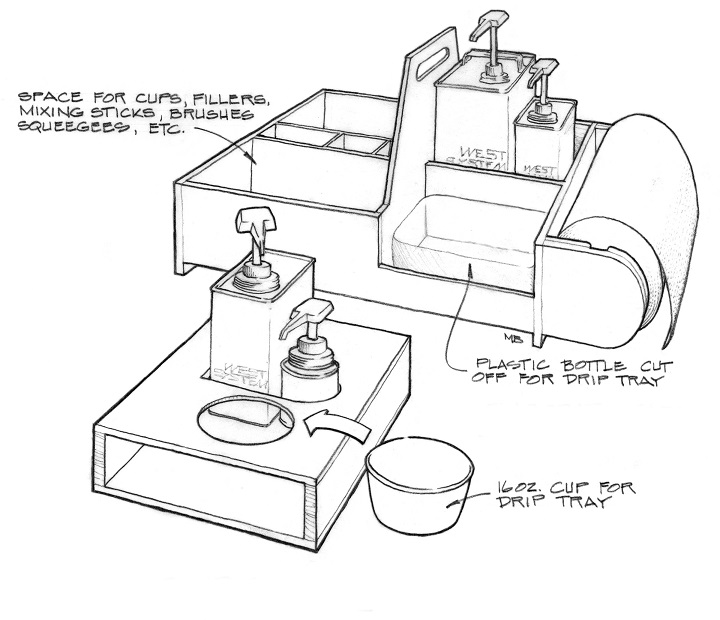
Transporting epoxy with the 300 Mini-Pumps in the containers is typically awkward with a risk of overturning. The pumps could become damaged, and the alternative, to remove them, is messy and unnecessary. We always store the epoxy with the pumps in place. Inadvertently, a drip will cause a mess. A pot placed under the mini pumps will catch those rascals, but if the containers or the pot are not positioned correctly all’s for naught. The epoxy caddy solves both transportation and storage problems.
An epoxy caddy can be simple or as elaborate as you want. One could design it to become an epoxy workstation complete with storage for brushes, stir sticks, hand cleaner, gloves, paper towels, and so on. Or it could be designed simply with cutouts for containers and drip pots. One can simplify or expand upon the concept, tailoring it to meet your needs.
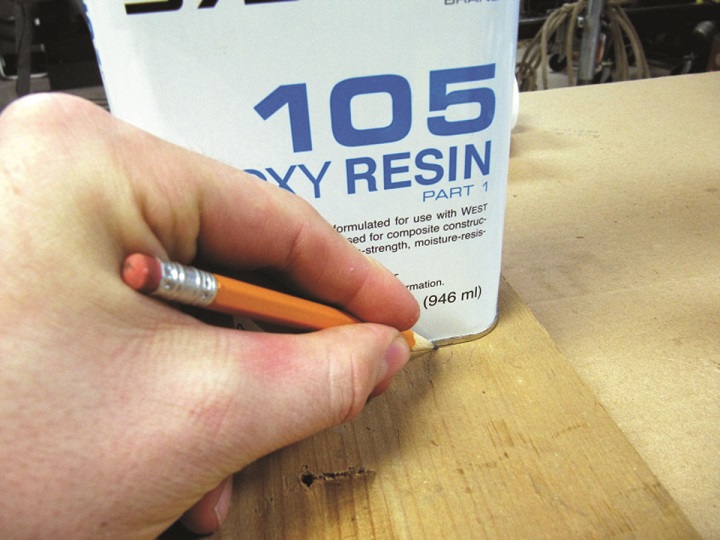
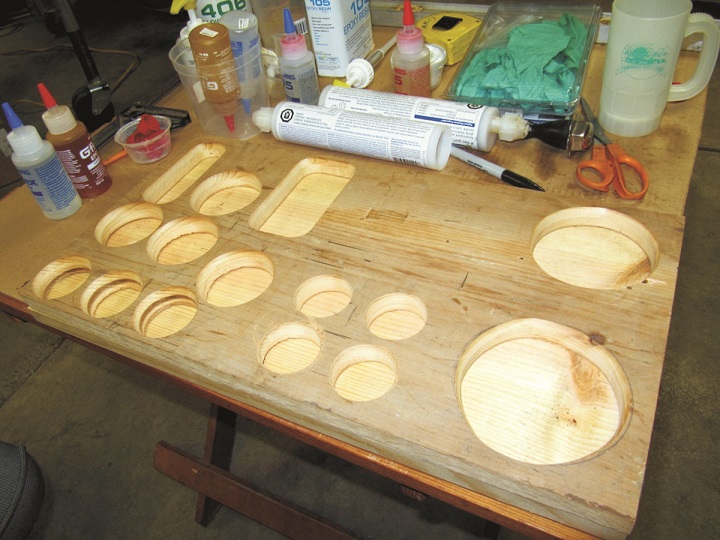
Set whatever size containers you are going to use together, trace around their bases onto the plywood, and cut it out with a saber saw. Position the drip pot cutout so it will be under the spouts of the mini-pumps. With pots in position, you’re ready to go to work.