Composites Merit Badge
Spring 2014

GET STARTED
FREE PRINT & DIGITAL EDITIONS

Spring 2014
In 2006, Boy Scouts of America created a merit badge for composite materials, and I am now a merit badge counselor for this. Scouts who are interested learning about composites to earn this will badge contact. As an Eagle Scout, I understand the work ethic and dedication each Boy Scout must have in order to achieve the Eagle Scout rank.
It requires earning 13 merit badges demonstrating knowledge on topics ranging from cooking to nuclear science to music. As of January 1, 2014, there are over 120 elective badges a Scout can earn beyond the required 13. A Scout must obtain a certain number of elective merit badges for each rank.
The first step is learning about composites, and Boy Scouts of America provided me with a PowerPoint presentation on the basics. Next, Scouts are required to build at least two items using composite materials.
A composite material is made out of more than one component. Composites have been around for thousands of years, but they have never been more sophisticated than they are today. Bricks of mud and straw were one of the first manmade composites. When the mud dries, it becomes hard, and when combined with the straw this forms a composite stronger than either of the individual components alone. In the twelfth century, the Mongols used tendons from animals, glue from tree sap, bamboo, and sheets of horn to create a more complex composite material to make bows. These 800-year-old bows have been tested recently and they were found to have about 80% of the strength of modern-day composite bows—at 800 years of age. Likewise, the first boat built with WEST SYSTEM Epoxy (ADAGIO) still sails every week during the summer months here in Bay City, Michigan. She is approaching her 44th summer of sailing, far less than 800 years old, but still quite impressive for a sailboat on the Great Lakes.
This age-defying quality is what fascinates me about composites, and one of the reasons my degree is in composite materials engineering. The concept of taking two or more components and combining them to make something that is stronger and will last longer than each of the individual components is impressive. The definition of “composite” is similar to the definition of “synergy.”
The merit badge does not require the use of epoxy in creating a composite, but as resins go it’s a good choice, especially for someone who is new to composites. Epoxy has a low odor, low volatile organic compound content, and very high strength. From a safety standpoint, it’s much easier to control for skin contact than for air quality. While epoxy is safer than many other resins from a vapor standpoint, like other resins it is a skin sensitizer and should always be handled with gloves and safety glasses.
To earn the composites merit badge, a Scout must:
A. Demonstrate his knowledge of the composites industry to the counselor.
B. Complete two projects with composites, at least one of which must come from the Composite Materials merit badge pamphlet. The second project may come from the pamphlet or maybe one the Scout selects with the approval of his counselor.
C. Find an appropriate site where the projects can be safely completed under the counselor’s supervision and/or the supervision of an adult knowledgeable about composites and approved by the counselor.
D. With the counselor, determine how the finished projects will be evaluated.
The projects listed in the Composites Merit Badge pamphlet are: model airplane, birdhouse, walking stick, model boat, skateboard, snowshoes, repair of a wooden tool handle, patrol kitchen box, camp signage, or fire bucket
I will describe in order of increasing difficulty several projects that can be completed to fulfill at least one of the two badge requirements. These projects would be good for anyone who wants to learn more about composites.
These projects should only be attempted with adult supervision and gloves. Remember that epoxy is a skin sensitizer and can cause rashes to occur so it is very important to keep this off your skin. When leading projects such as these it is important to keep in mind the age and maturity level of those learning and choose a project accordingly.
Sandwich Composite
Required materials:
Instructions:
Optional Increased Difficulty
In addition to showing Scouts how to make a simple composite part, this project demonstrates that stiffness is driven by thickness. If these two layers of fabric were used without a core material between them, they would not hold nearly as much weight. In my brief testing of this concept, my 1.5” foam was able to support 60 pounds. When an extra 20 pounds was added, the sandwich composite bent so much that it slipped off of my supports- without breaking.
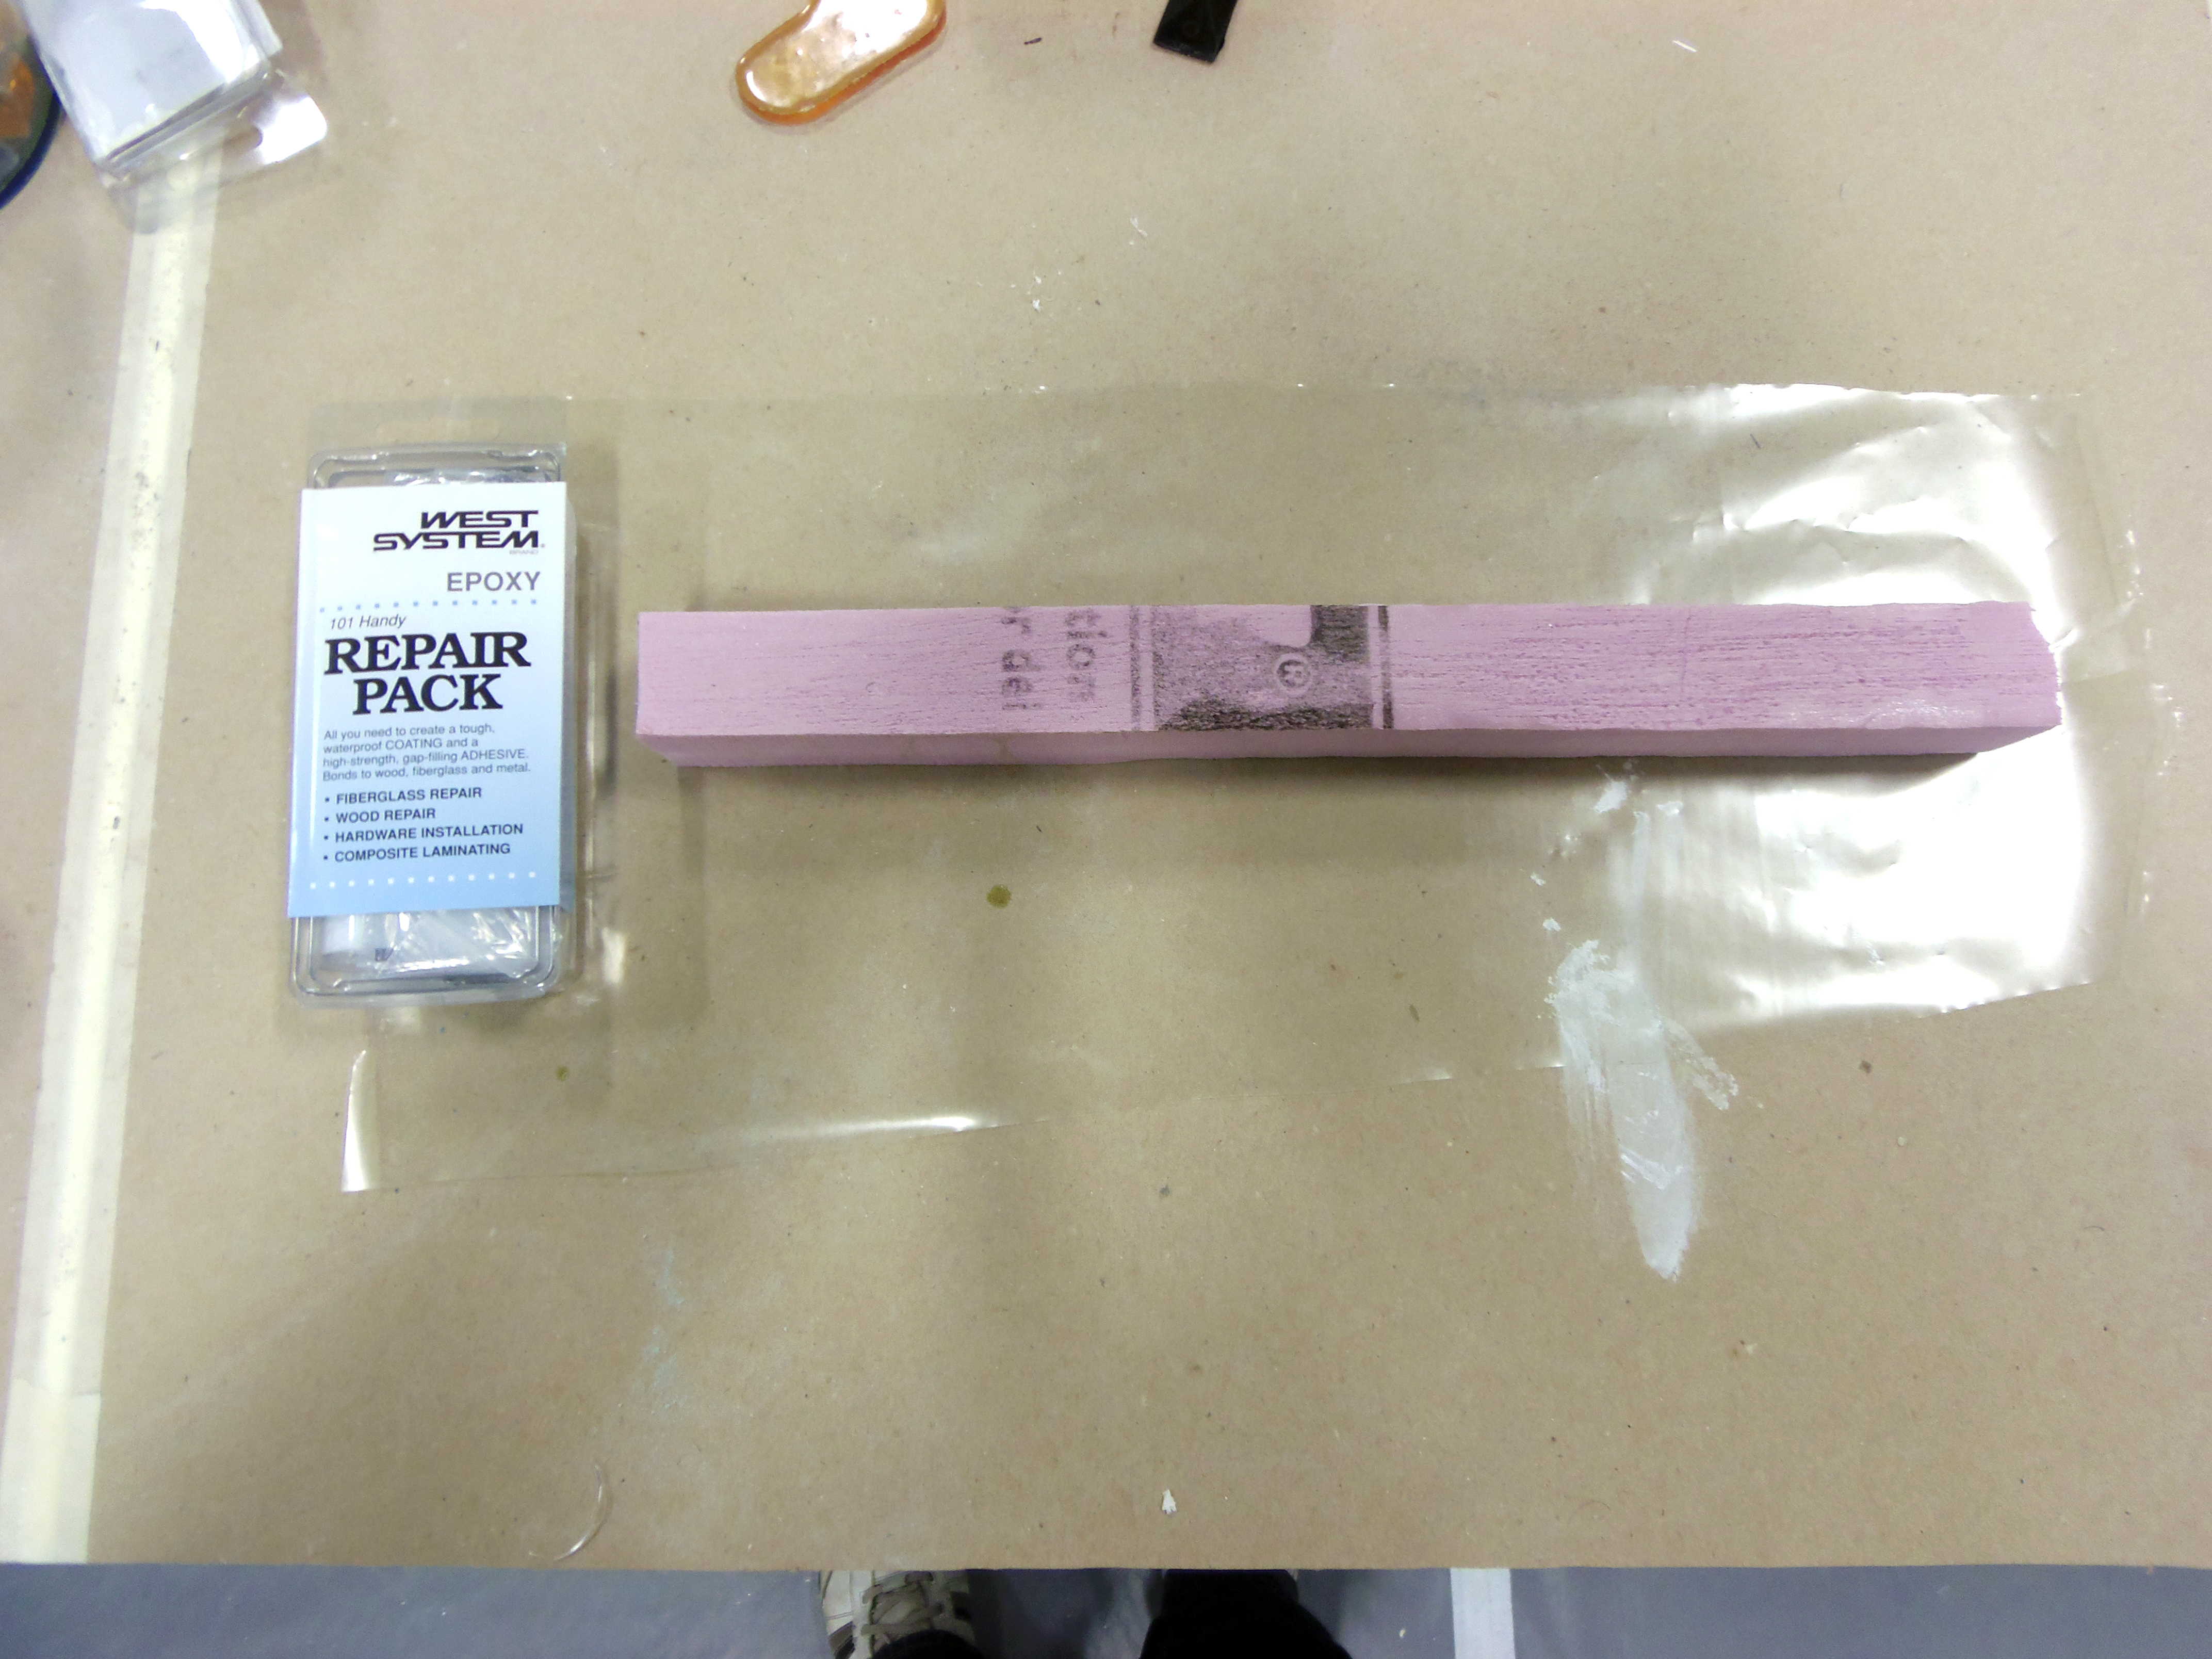
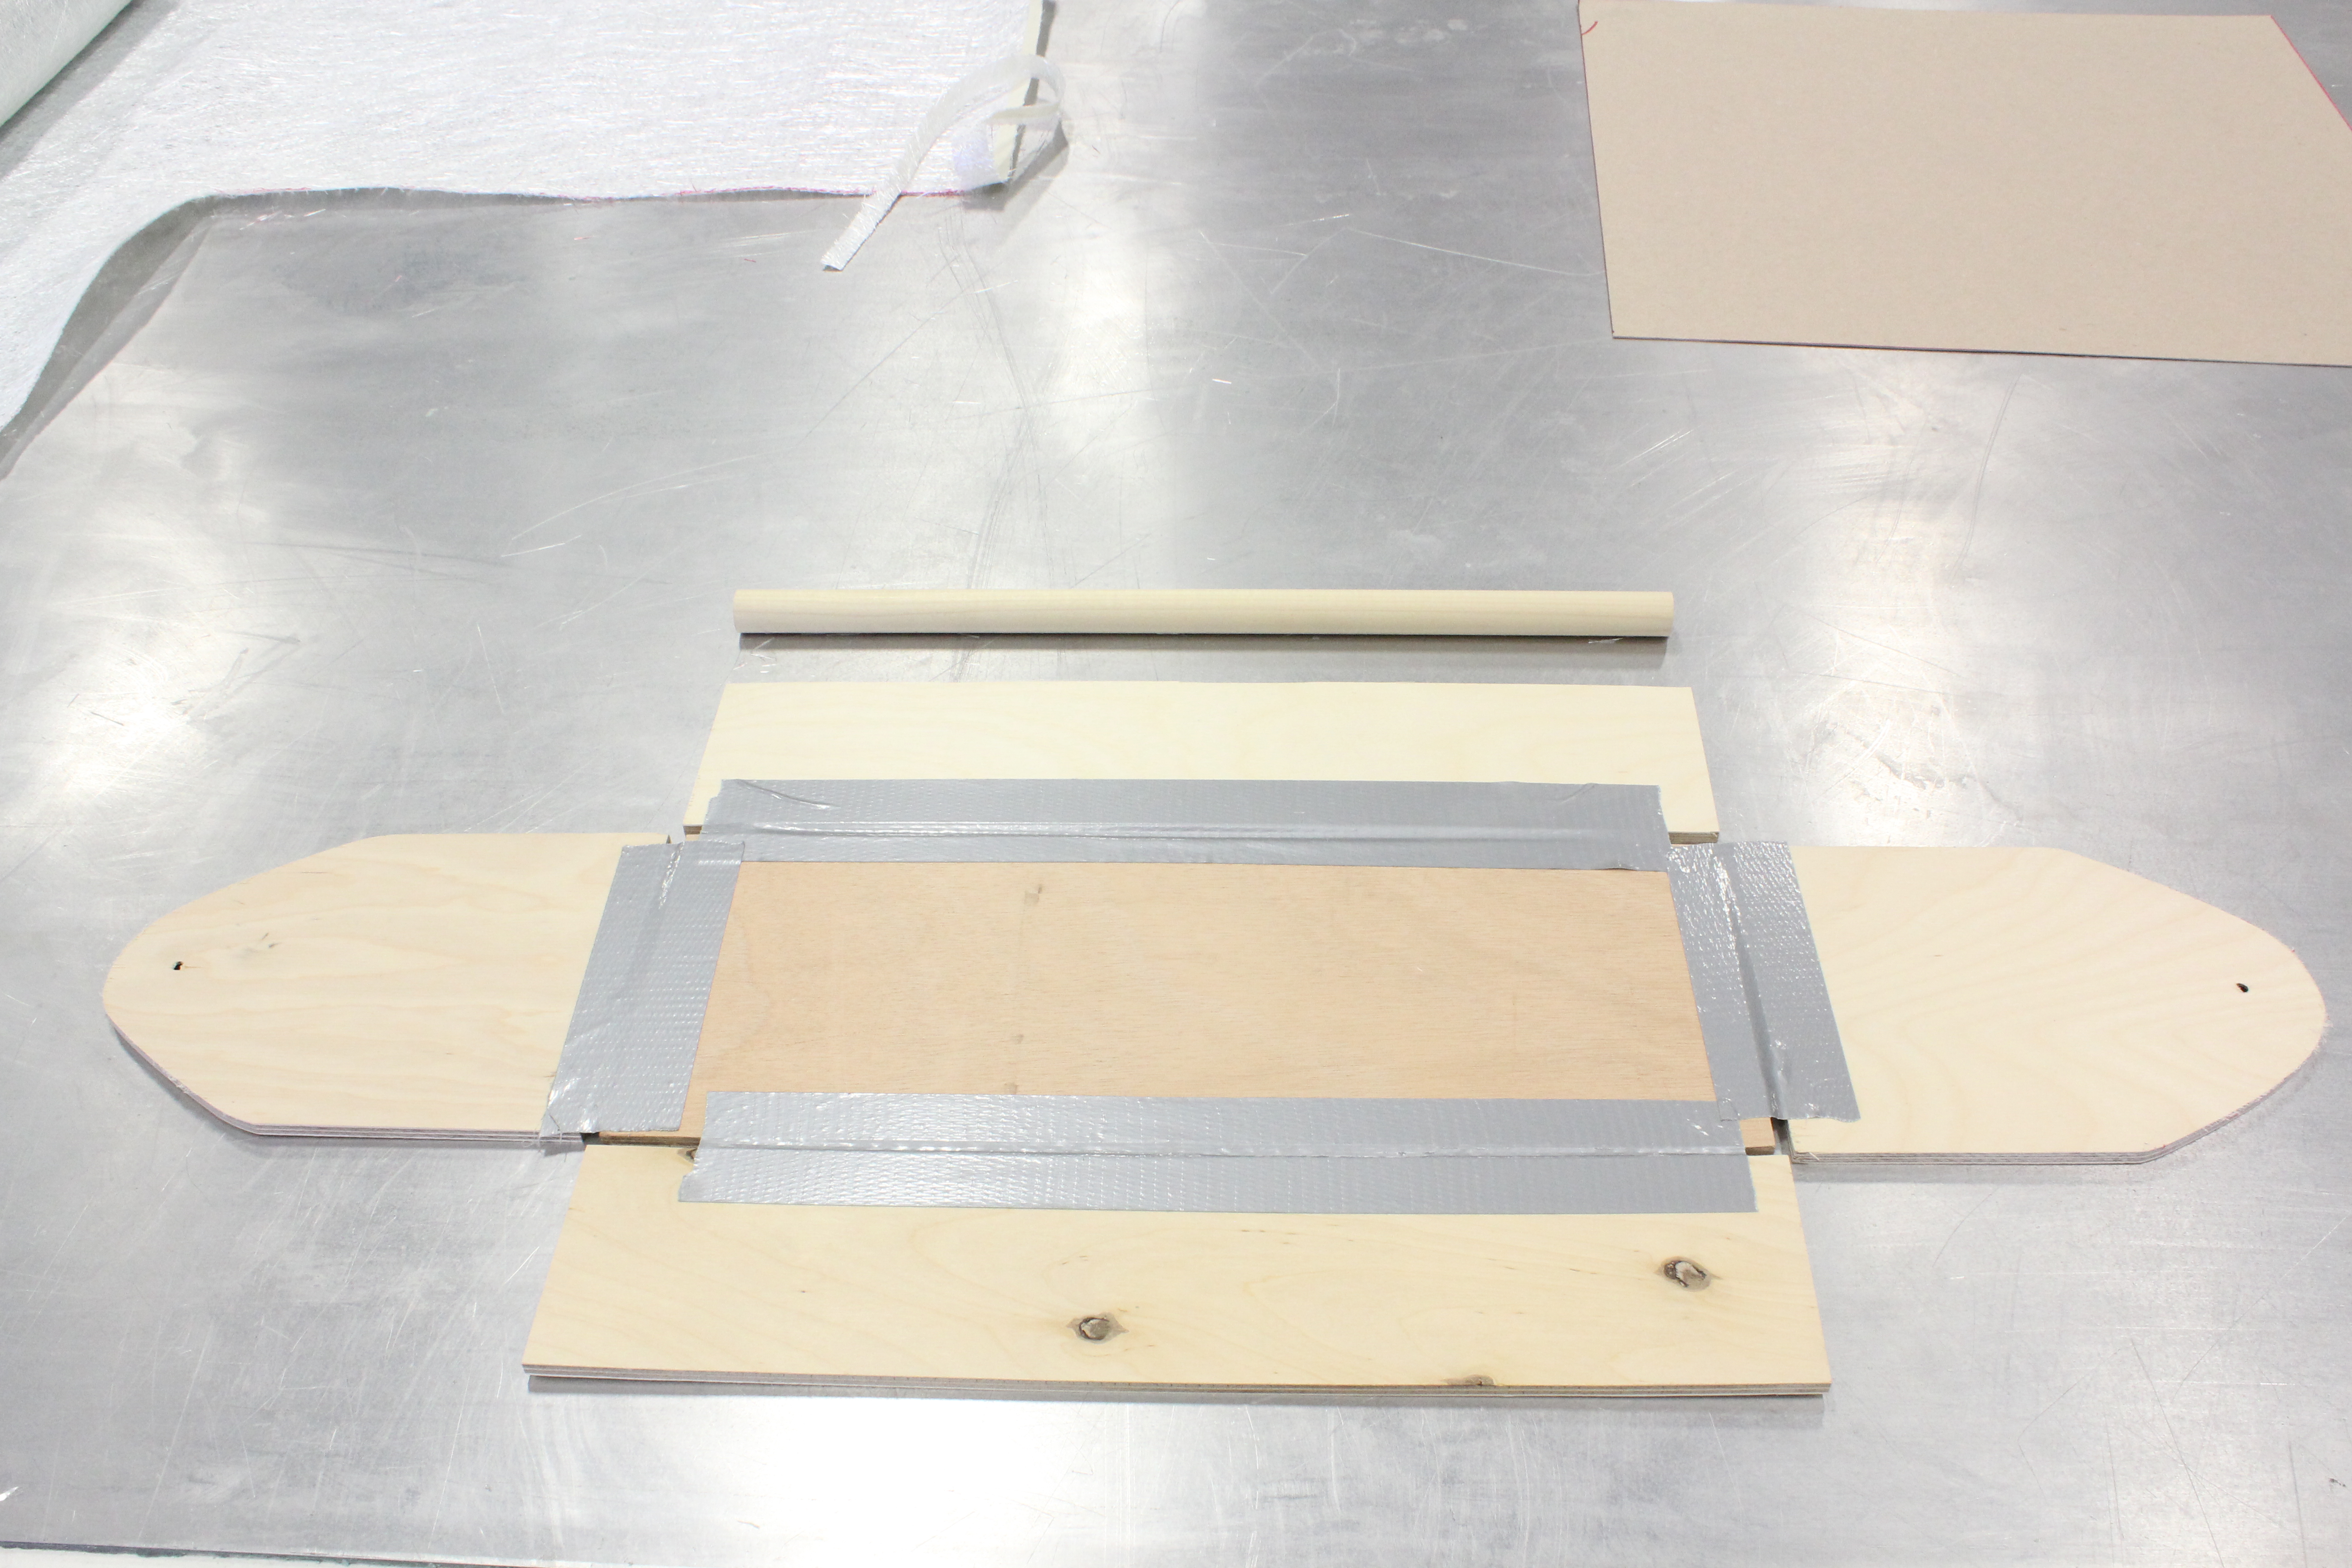
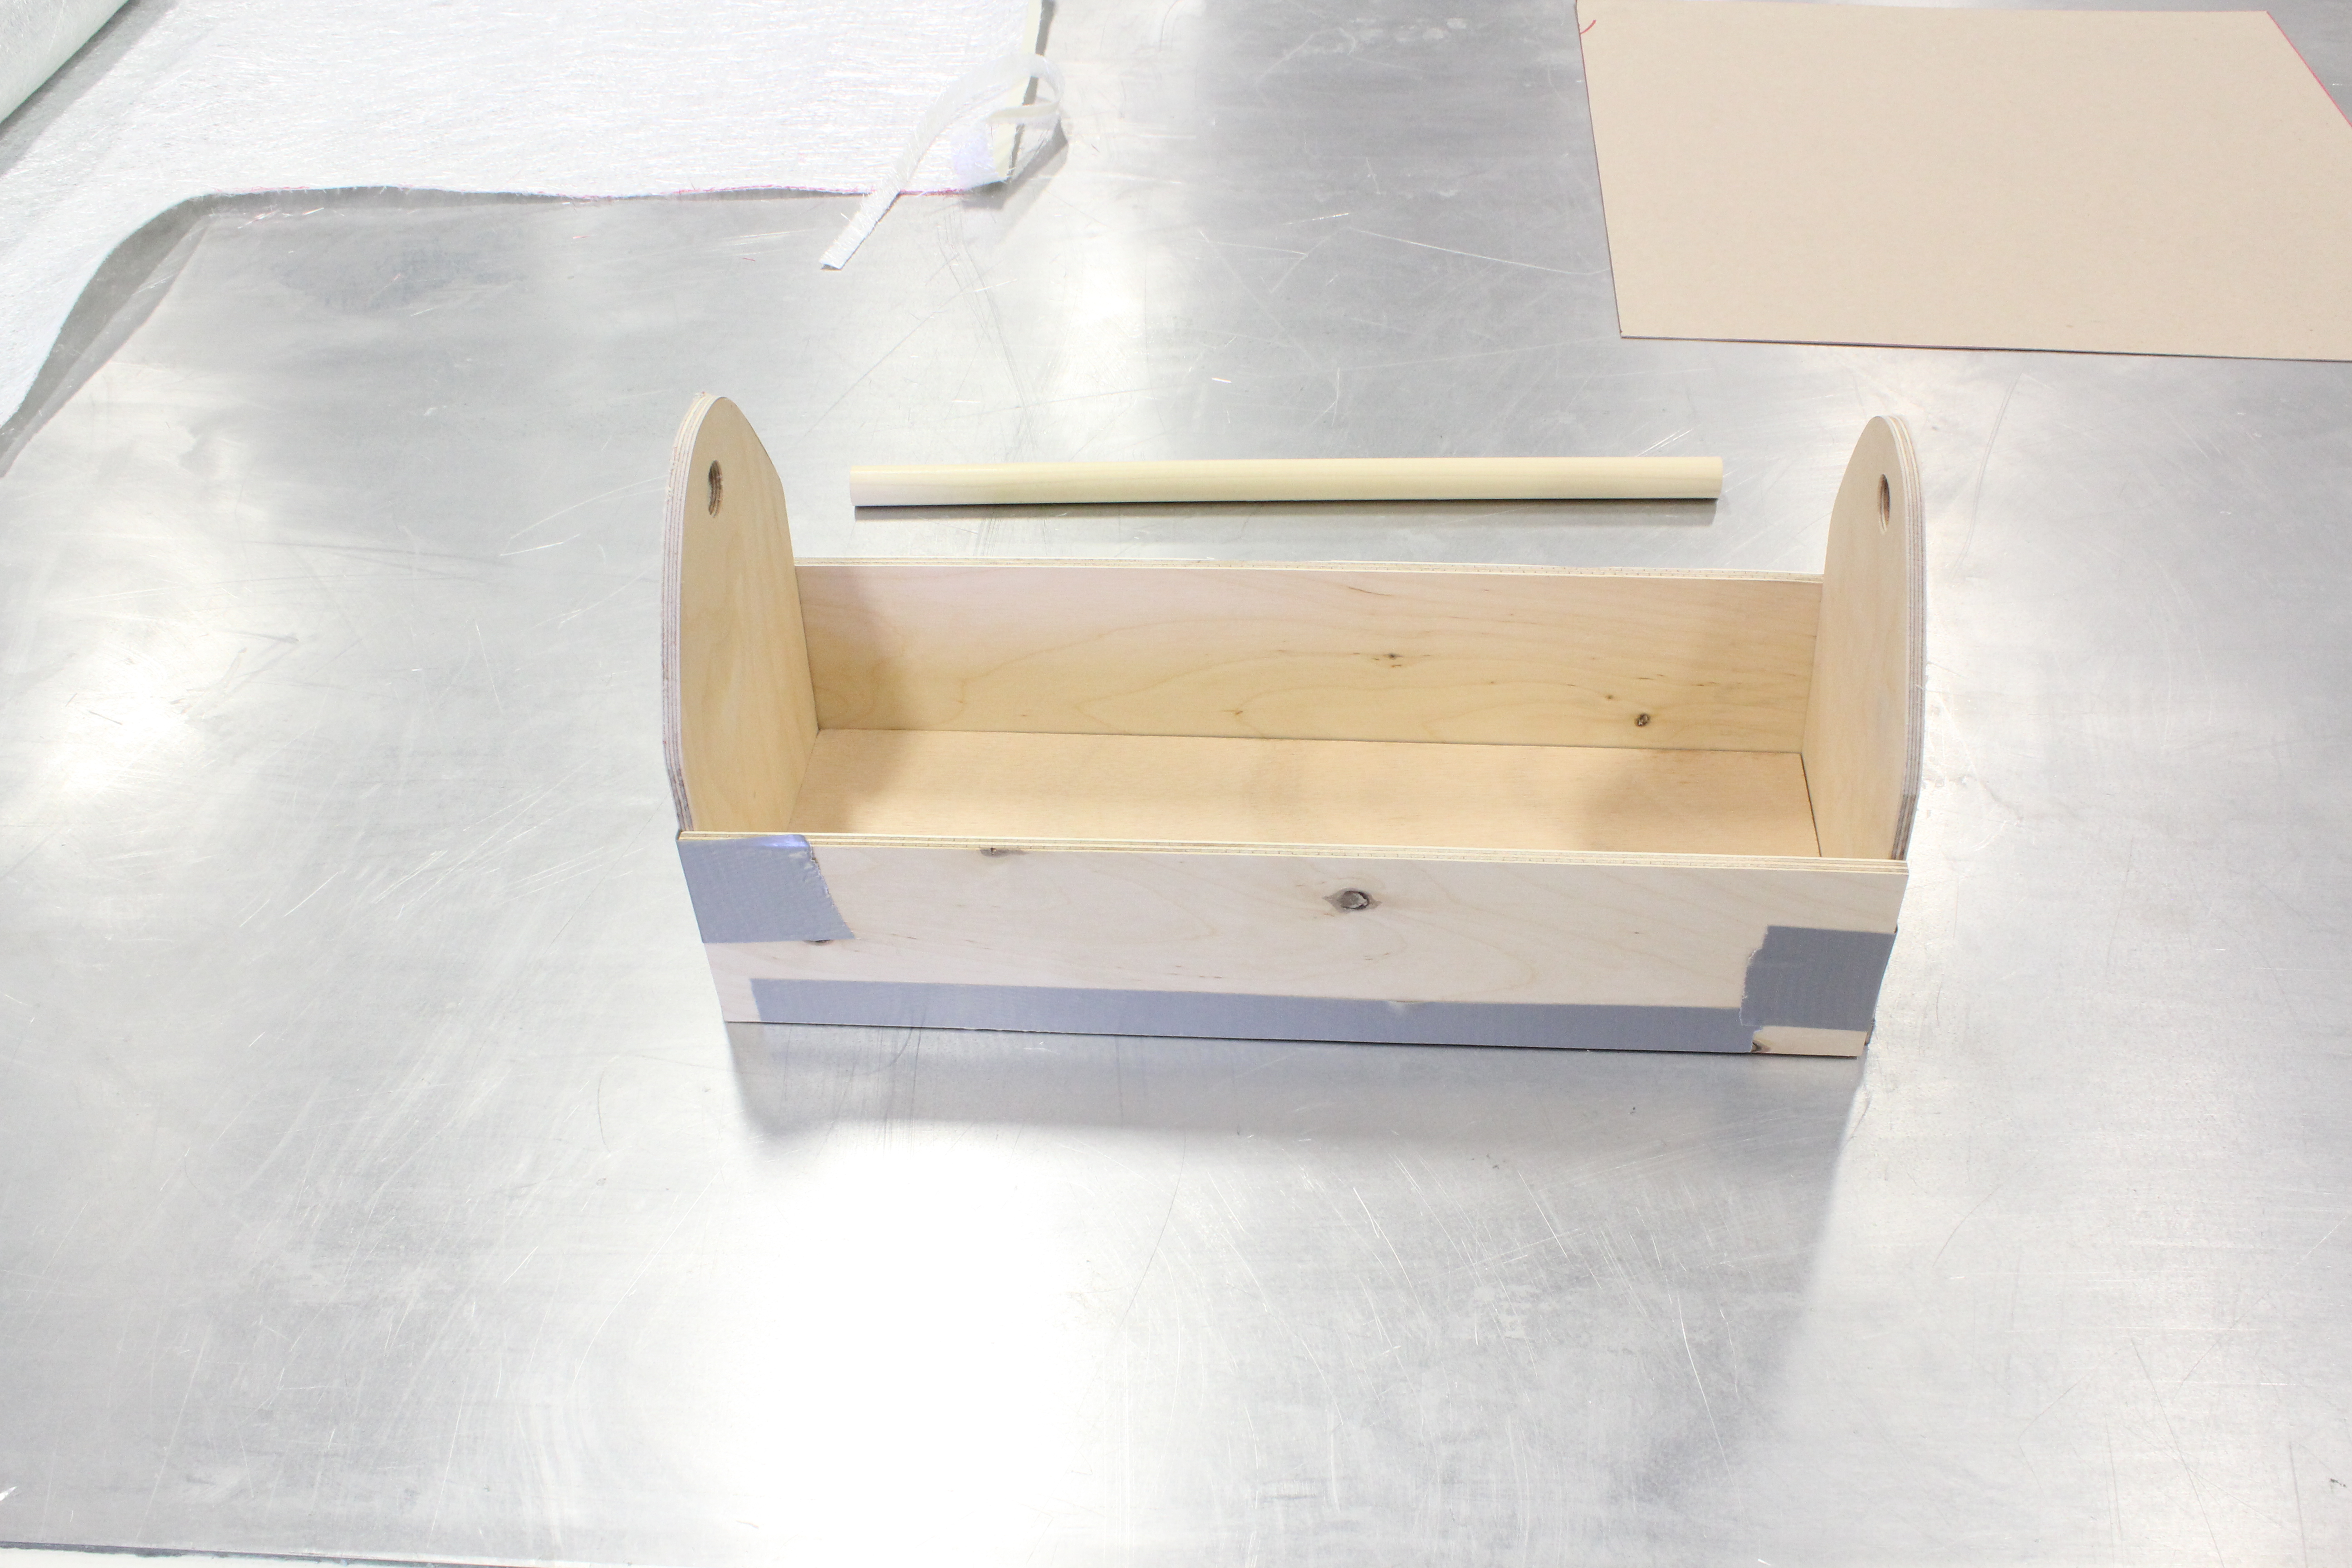
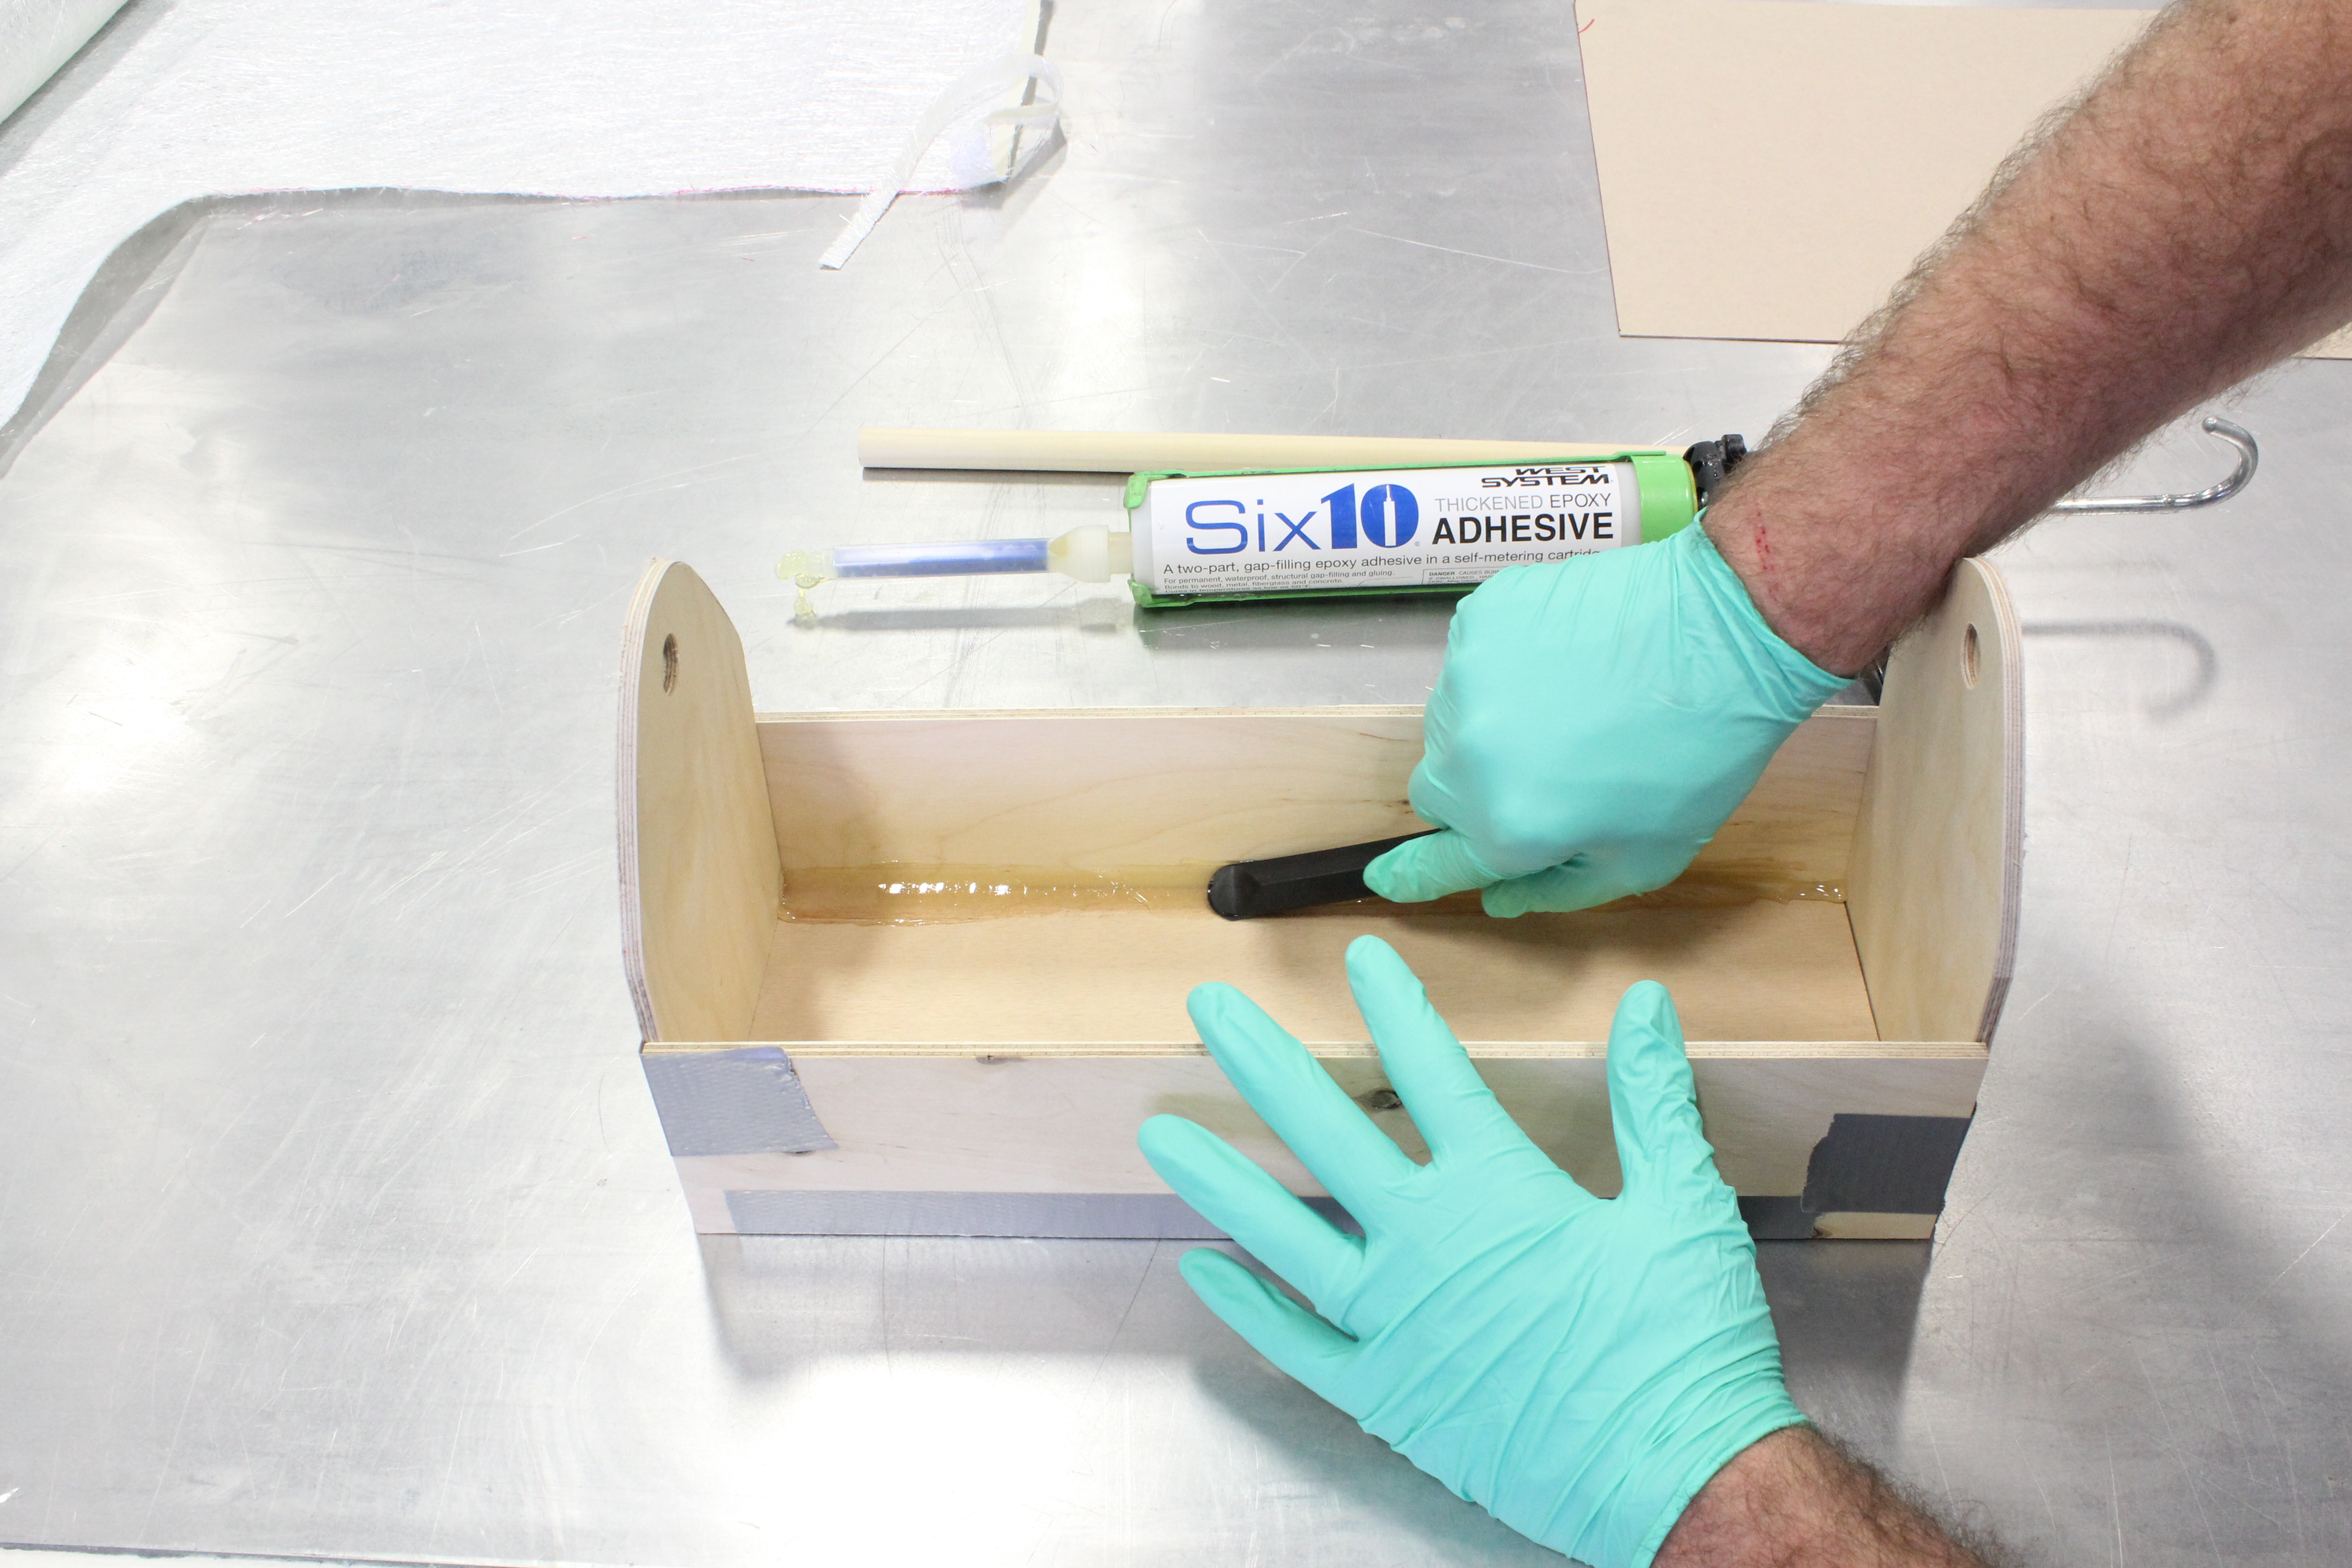
Tool Box
Required materials:
Instructions:
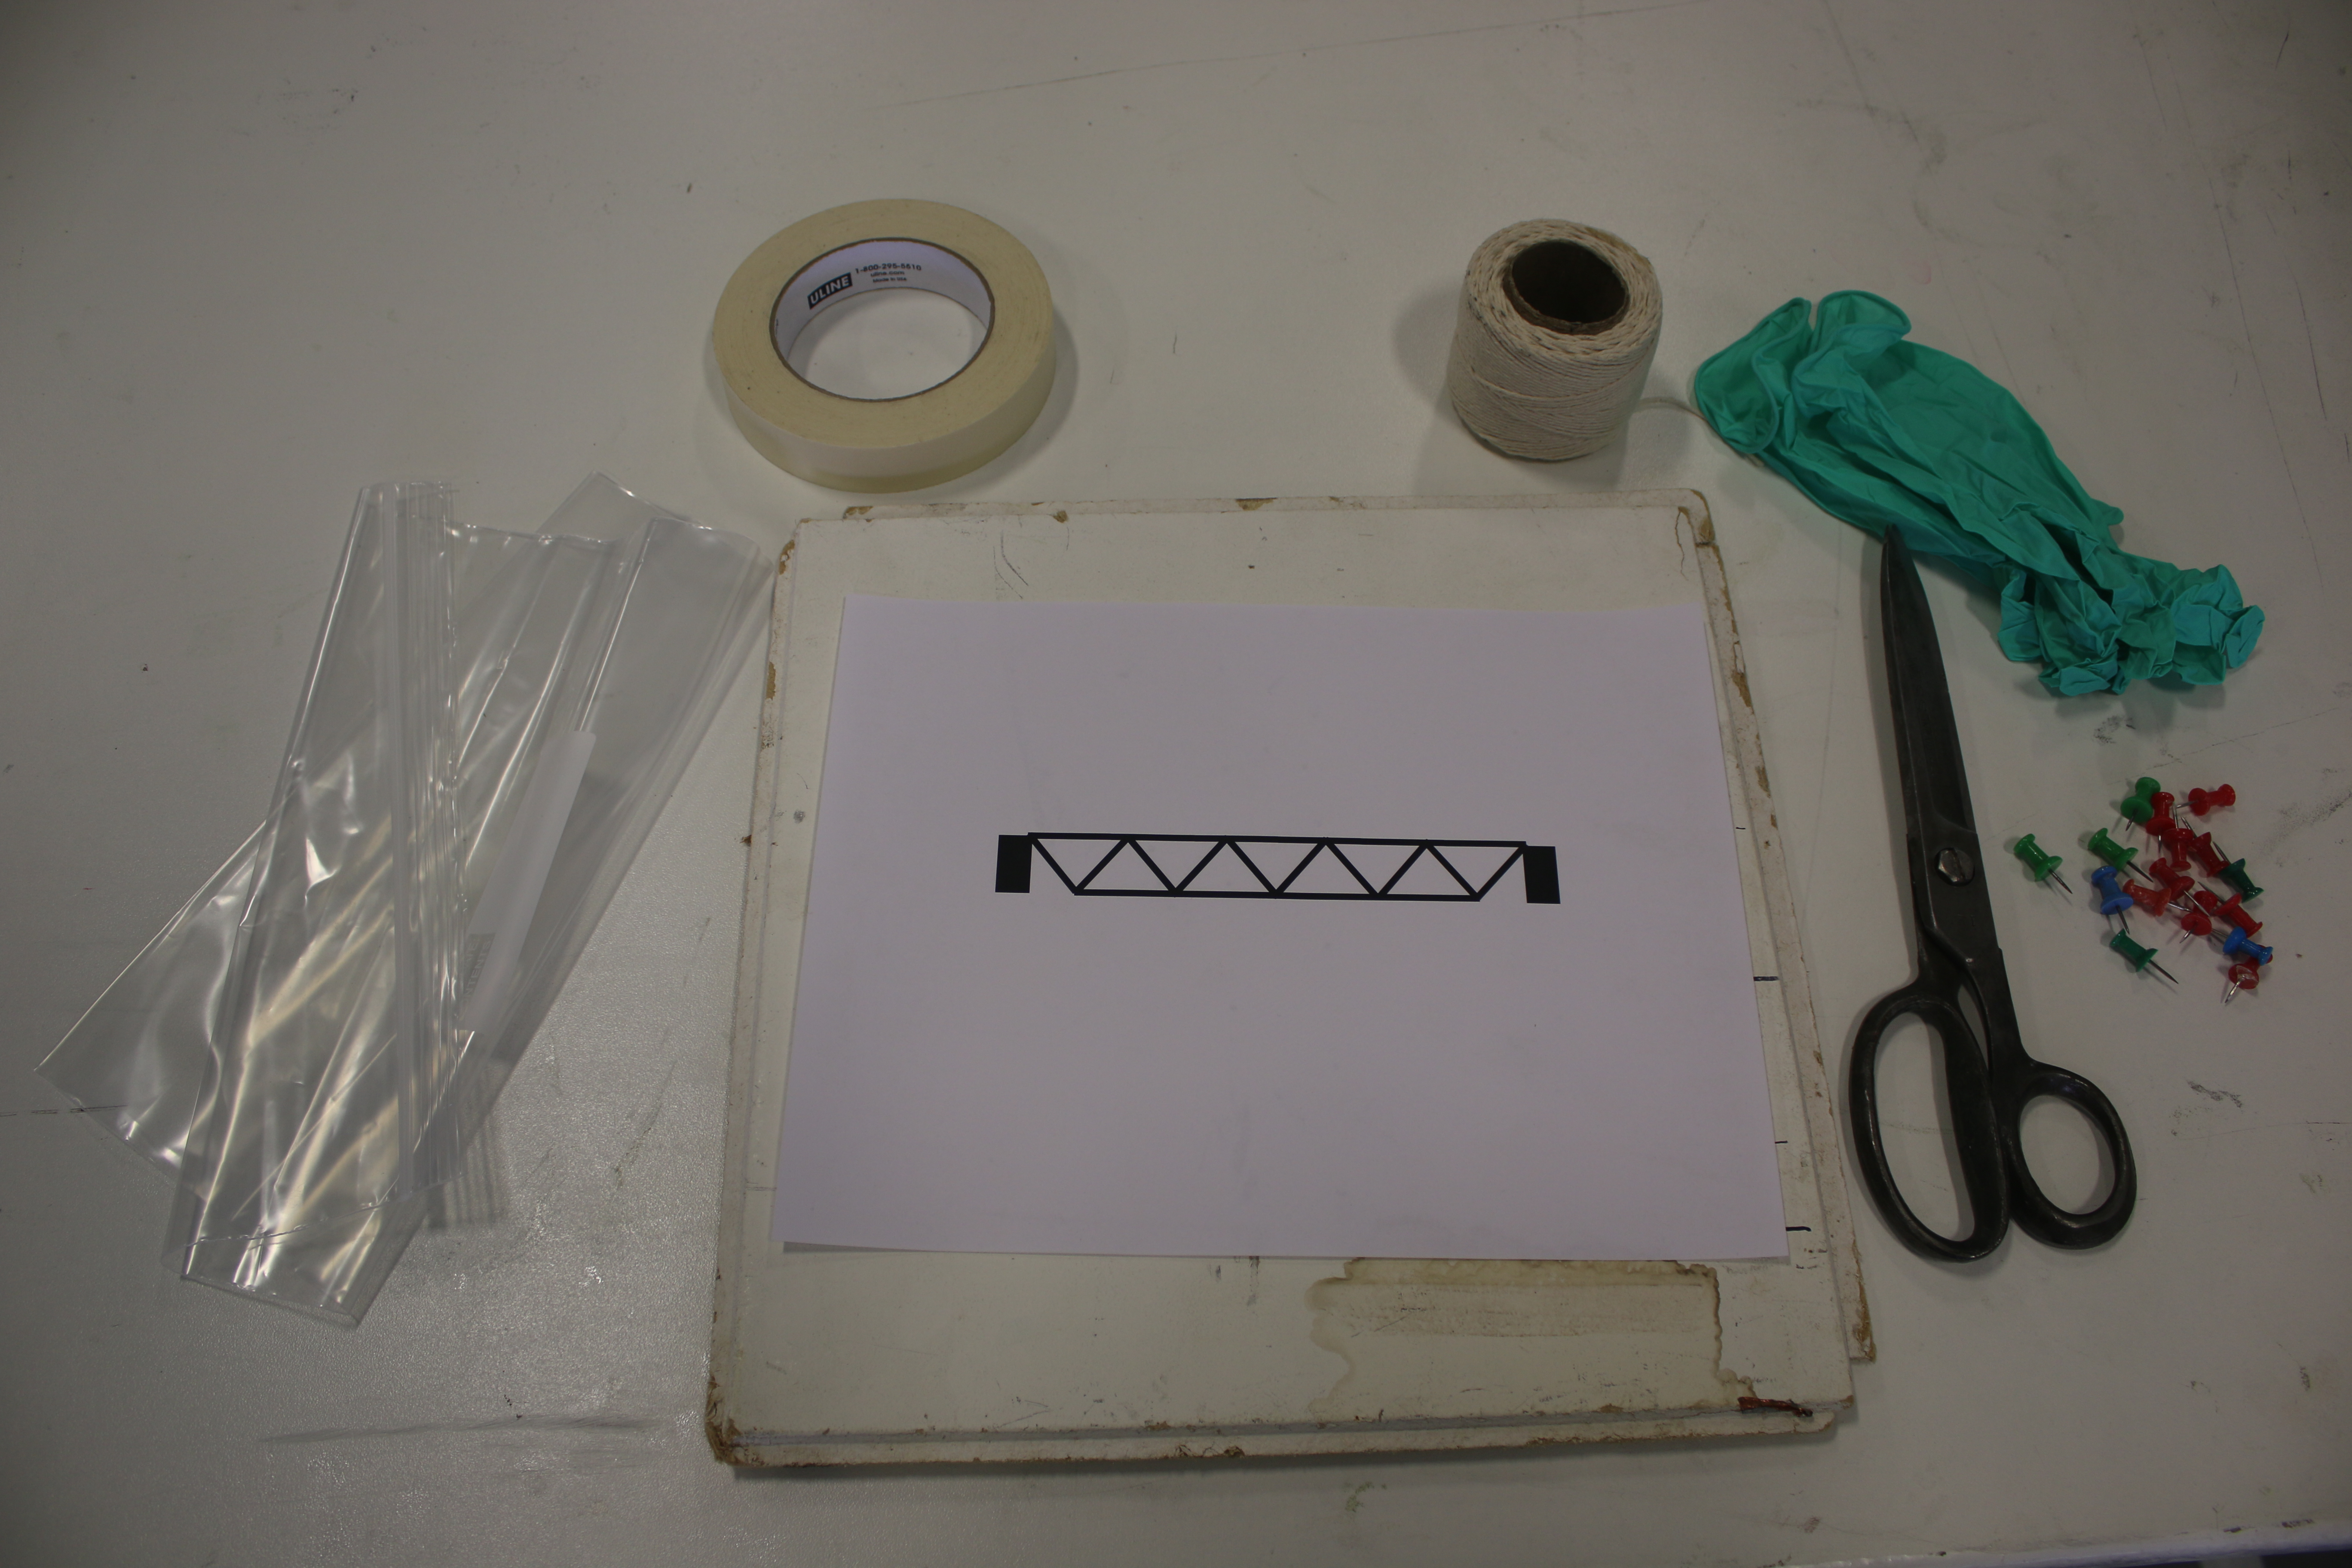
Required Materials
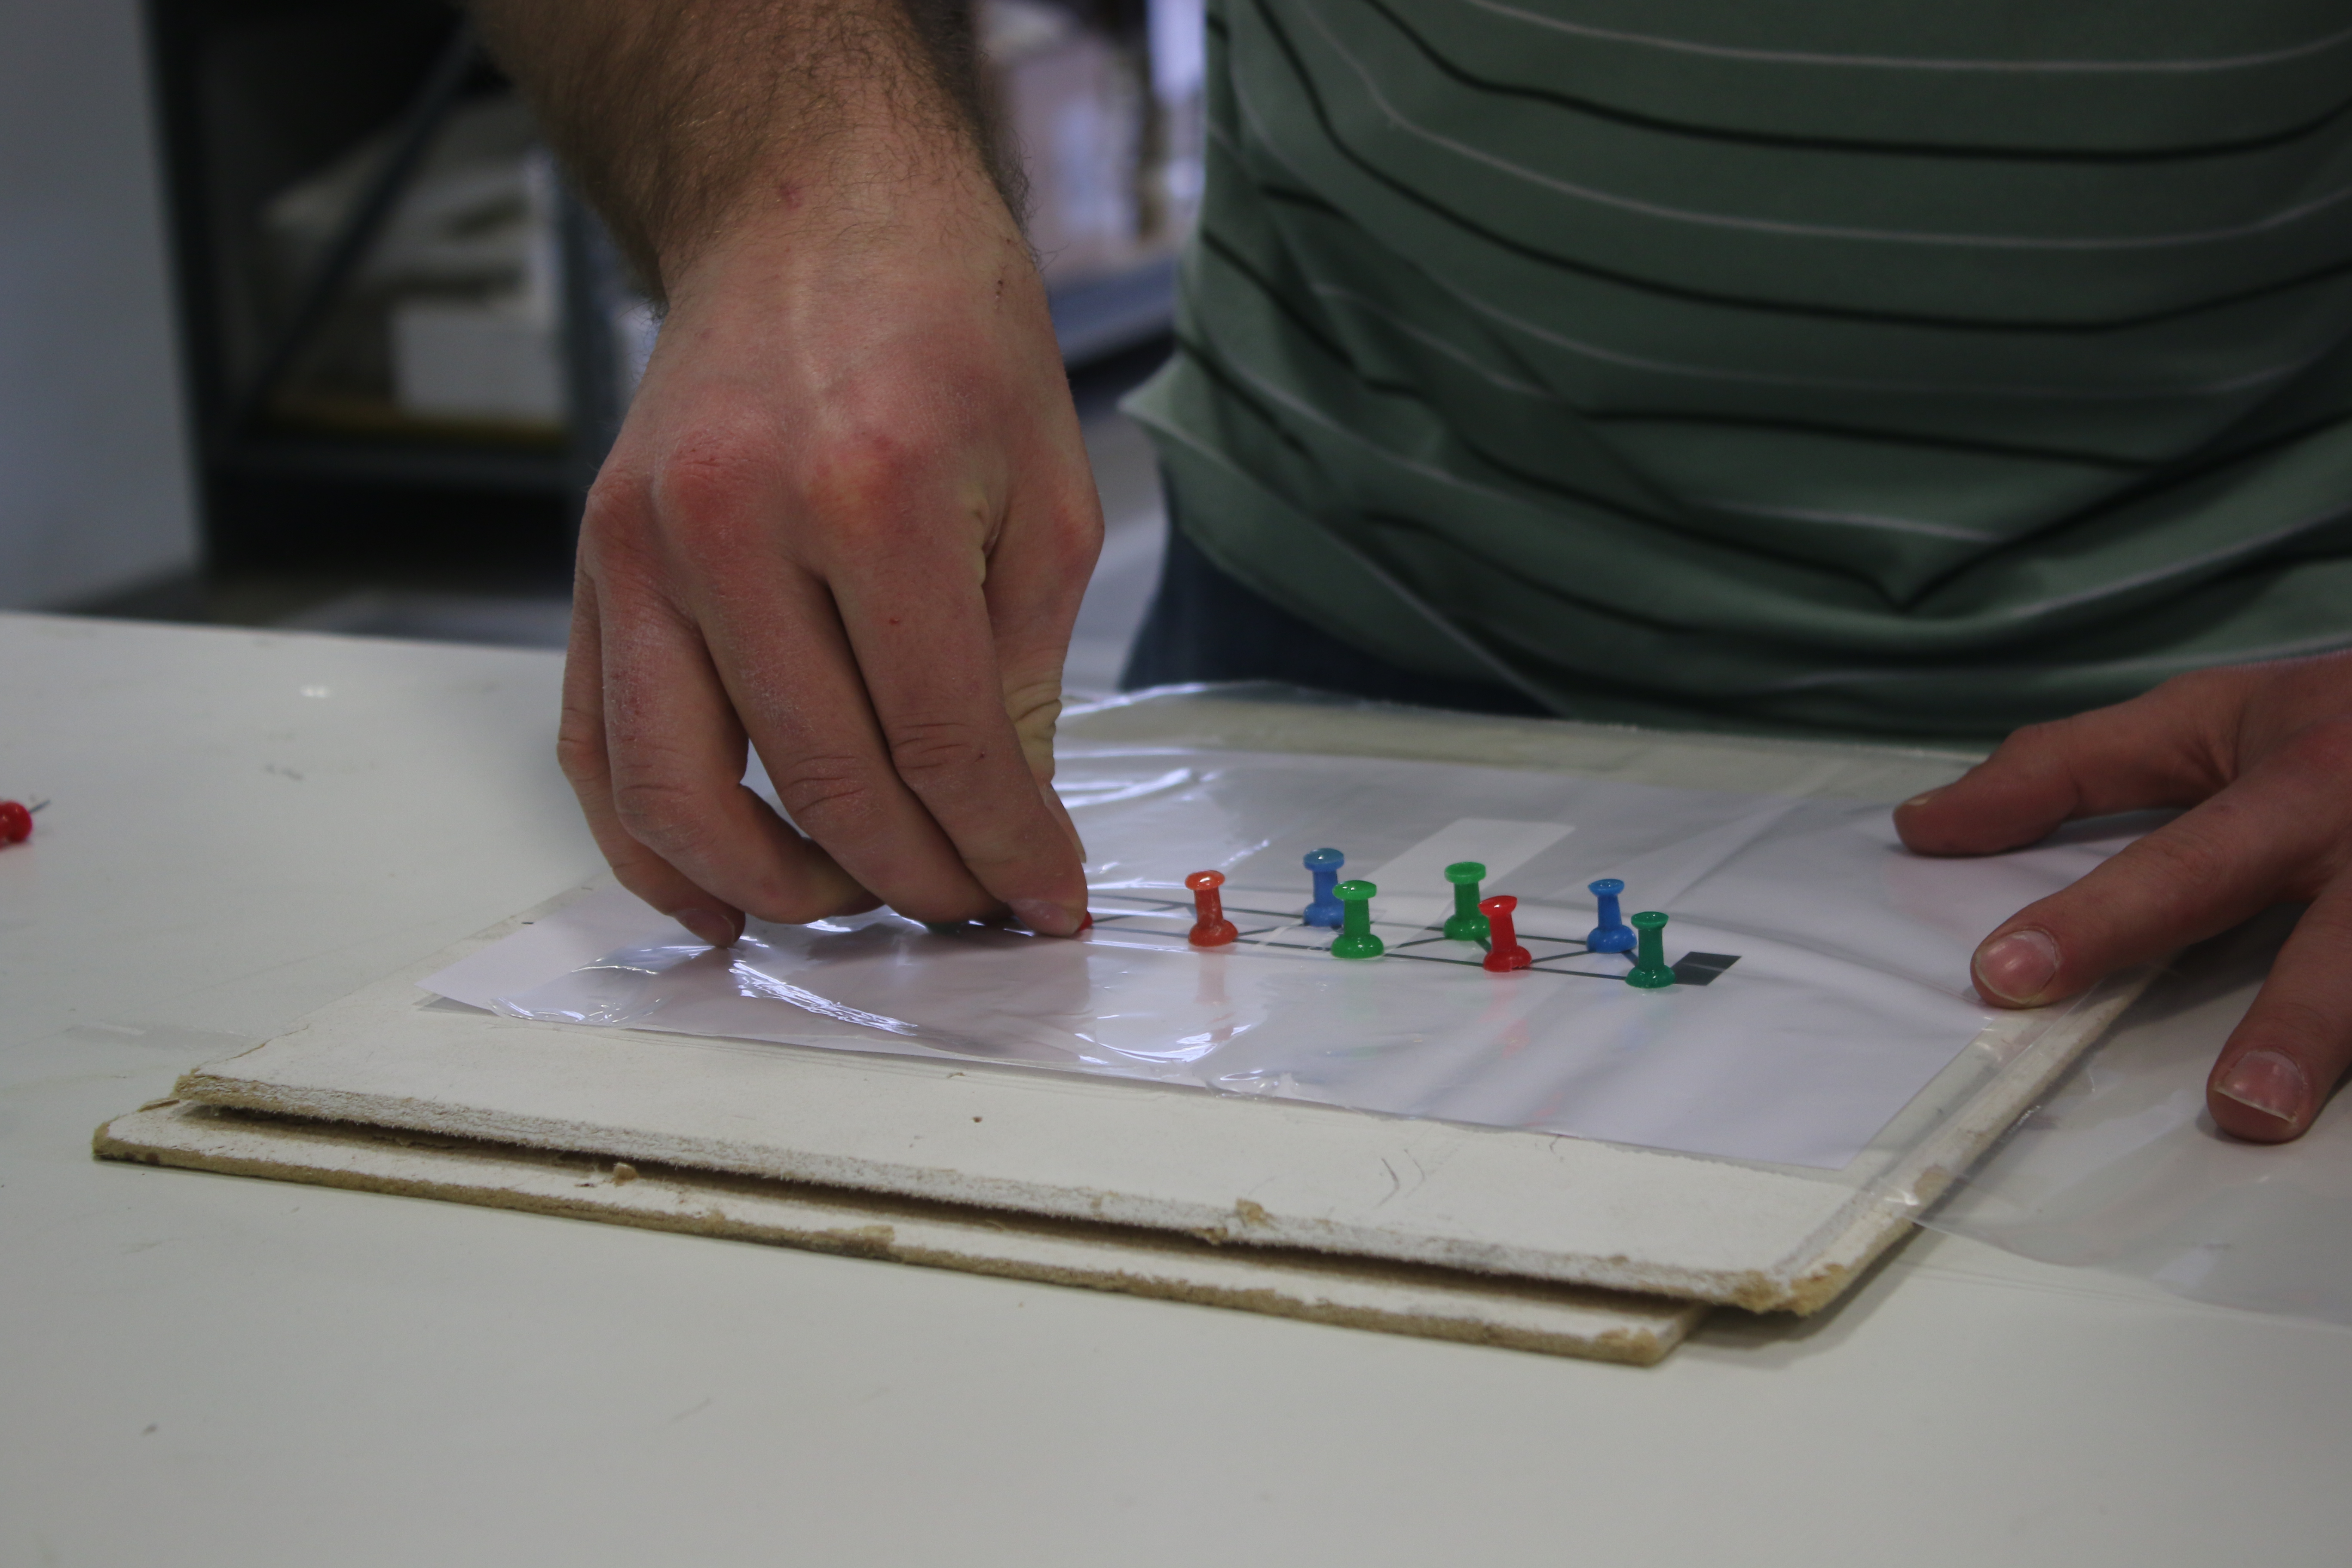
Instructions:
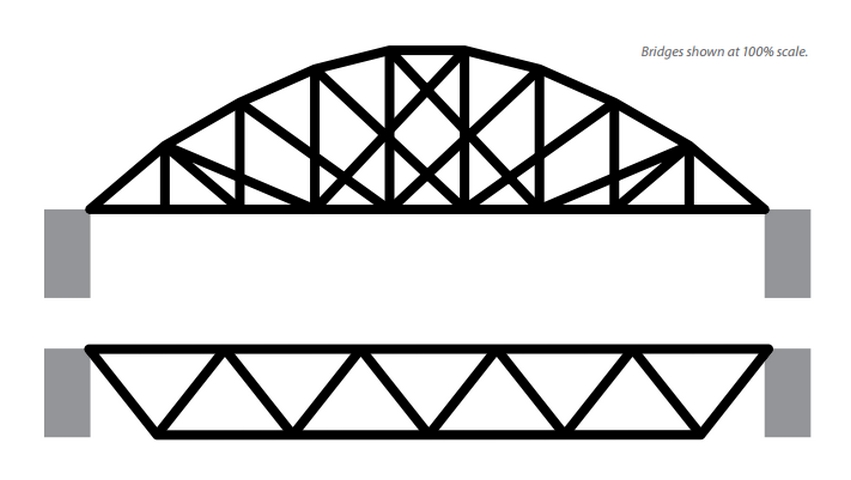
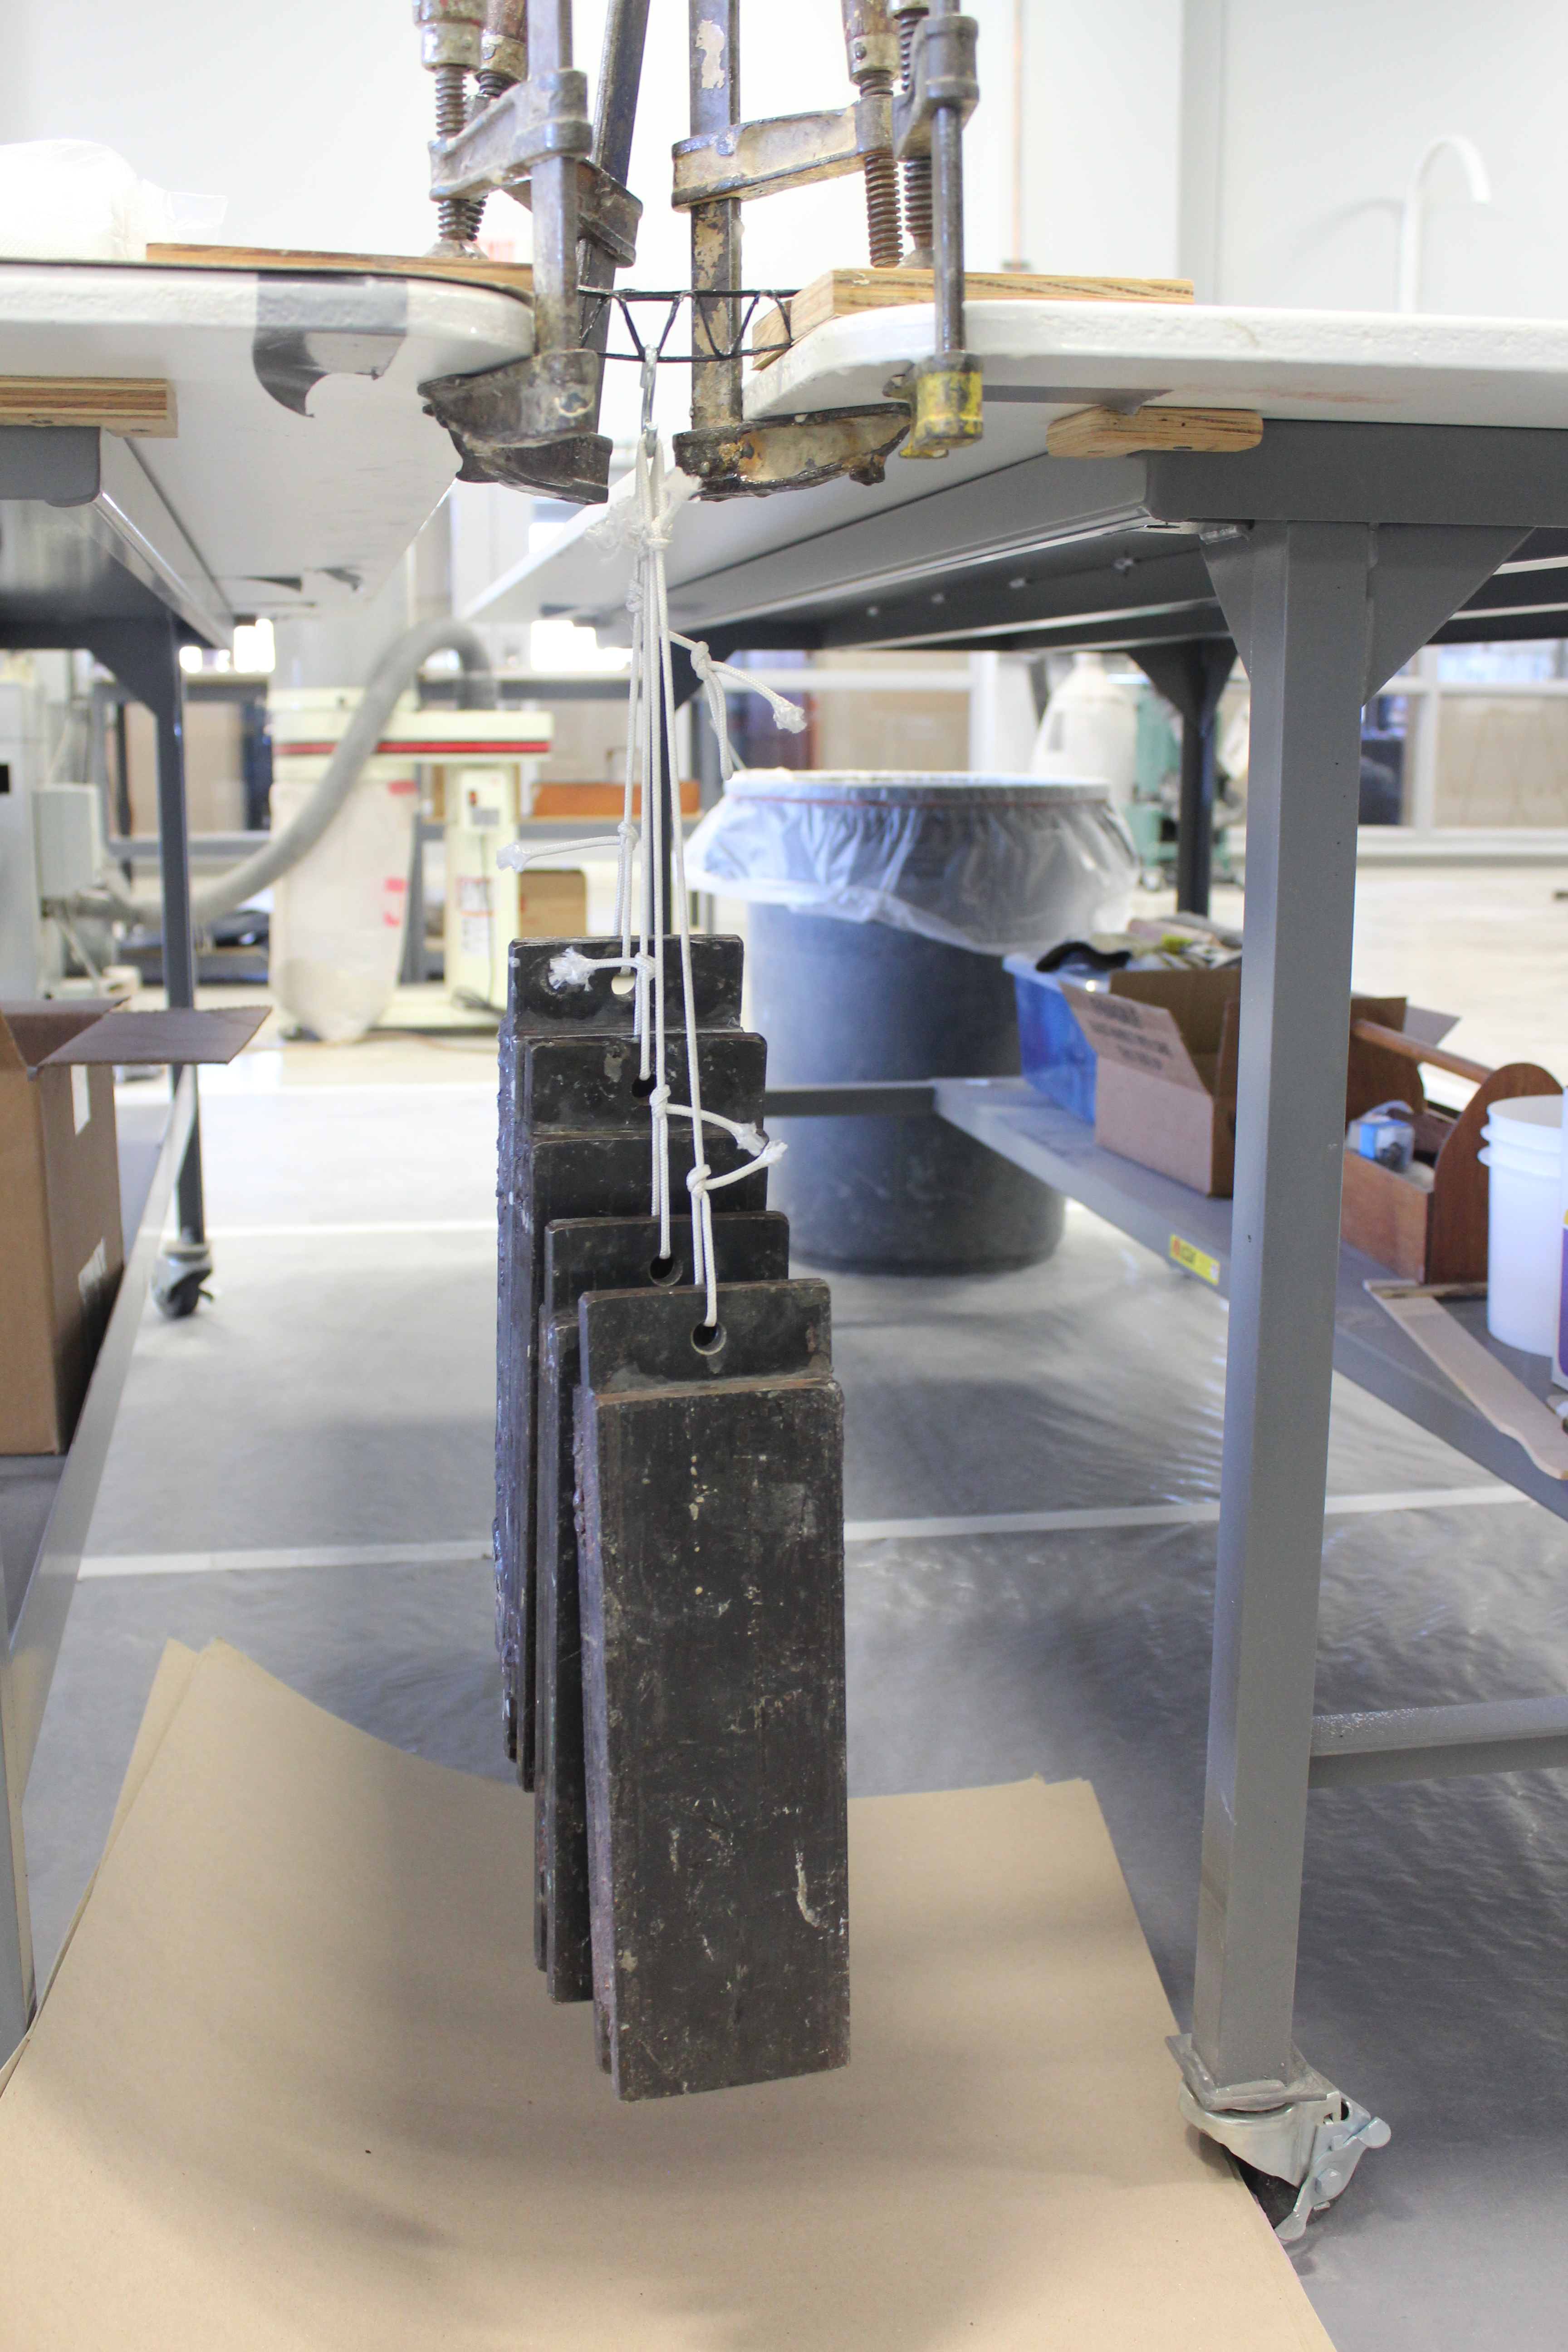
You can determine which composite bridge structure has the highest strength-to-weight ratio by supporting the bridges vertically over a gap between two tables, and dividing the weight it can support by the weight of the structure.

| Cotton String | Carbon Fiber | |
|---|---|---|
| Bridge Weight (Grams) | 22.7 | 4.8 |
| Force to Break (Pounds) | 120 | 80 |
| Design | ||
| Strength-to-Weight Ratio | 2,398 | 7,560 |
While working on this project, I tried some things that did not work so well. I used a lower density foam and the pushpins moved too much to hold while I wound the string around them. I also tried using nails in the wood, but the nails ripped my gloves and the fibers were not as condensed as I wanted them.
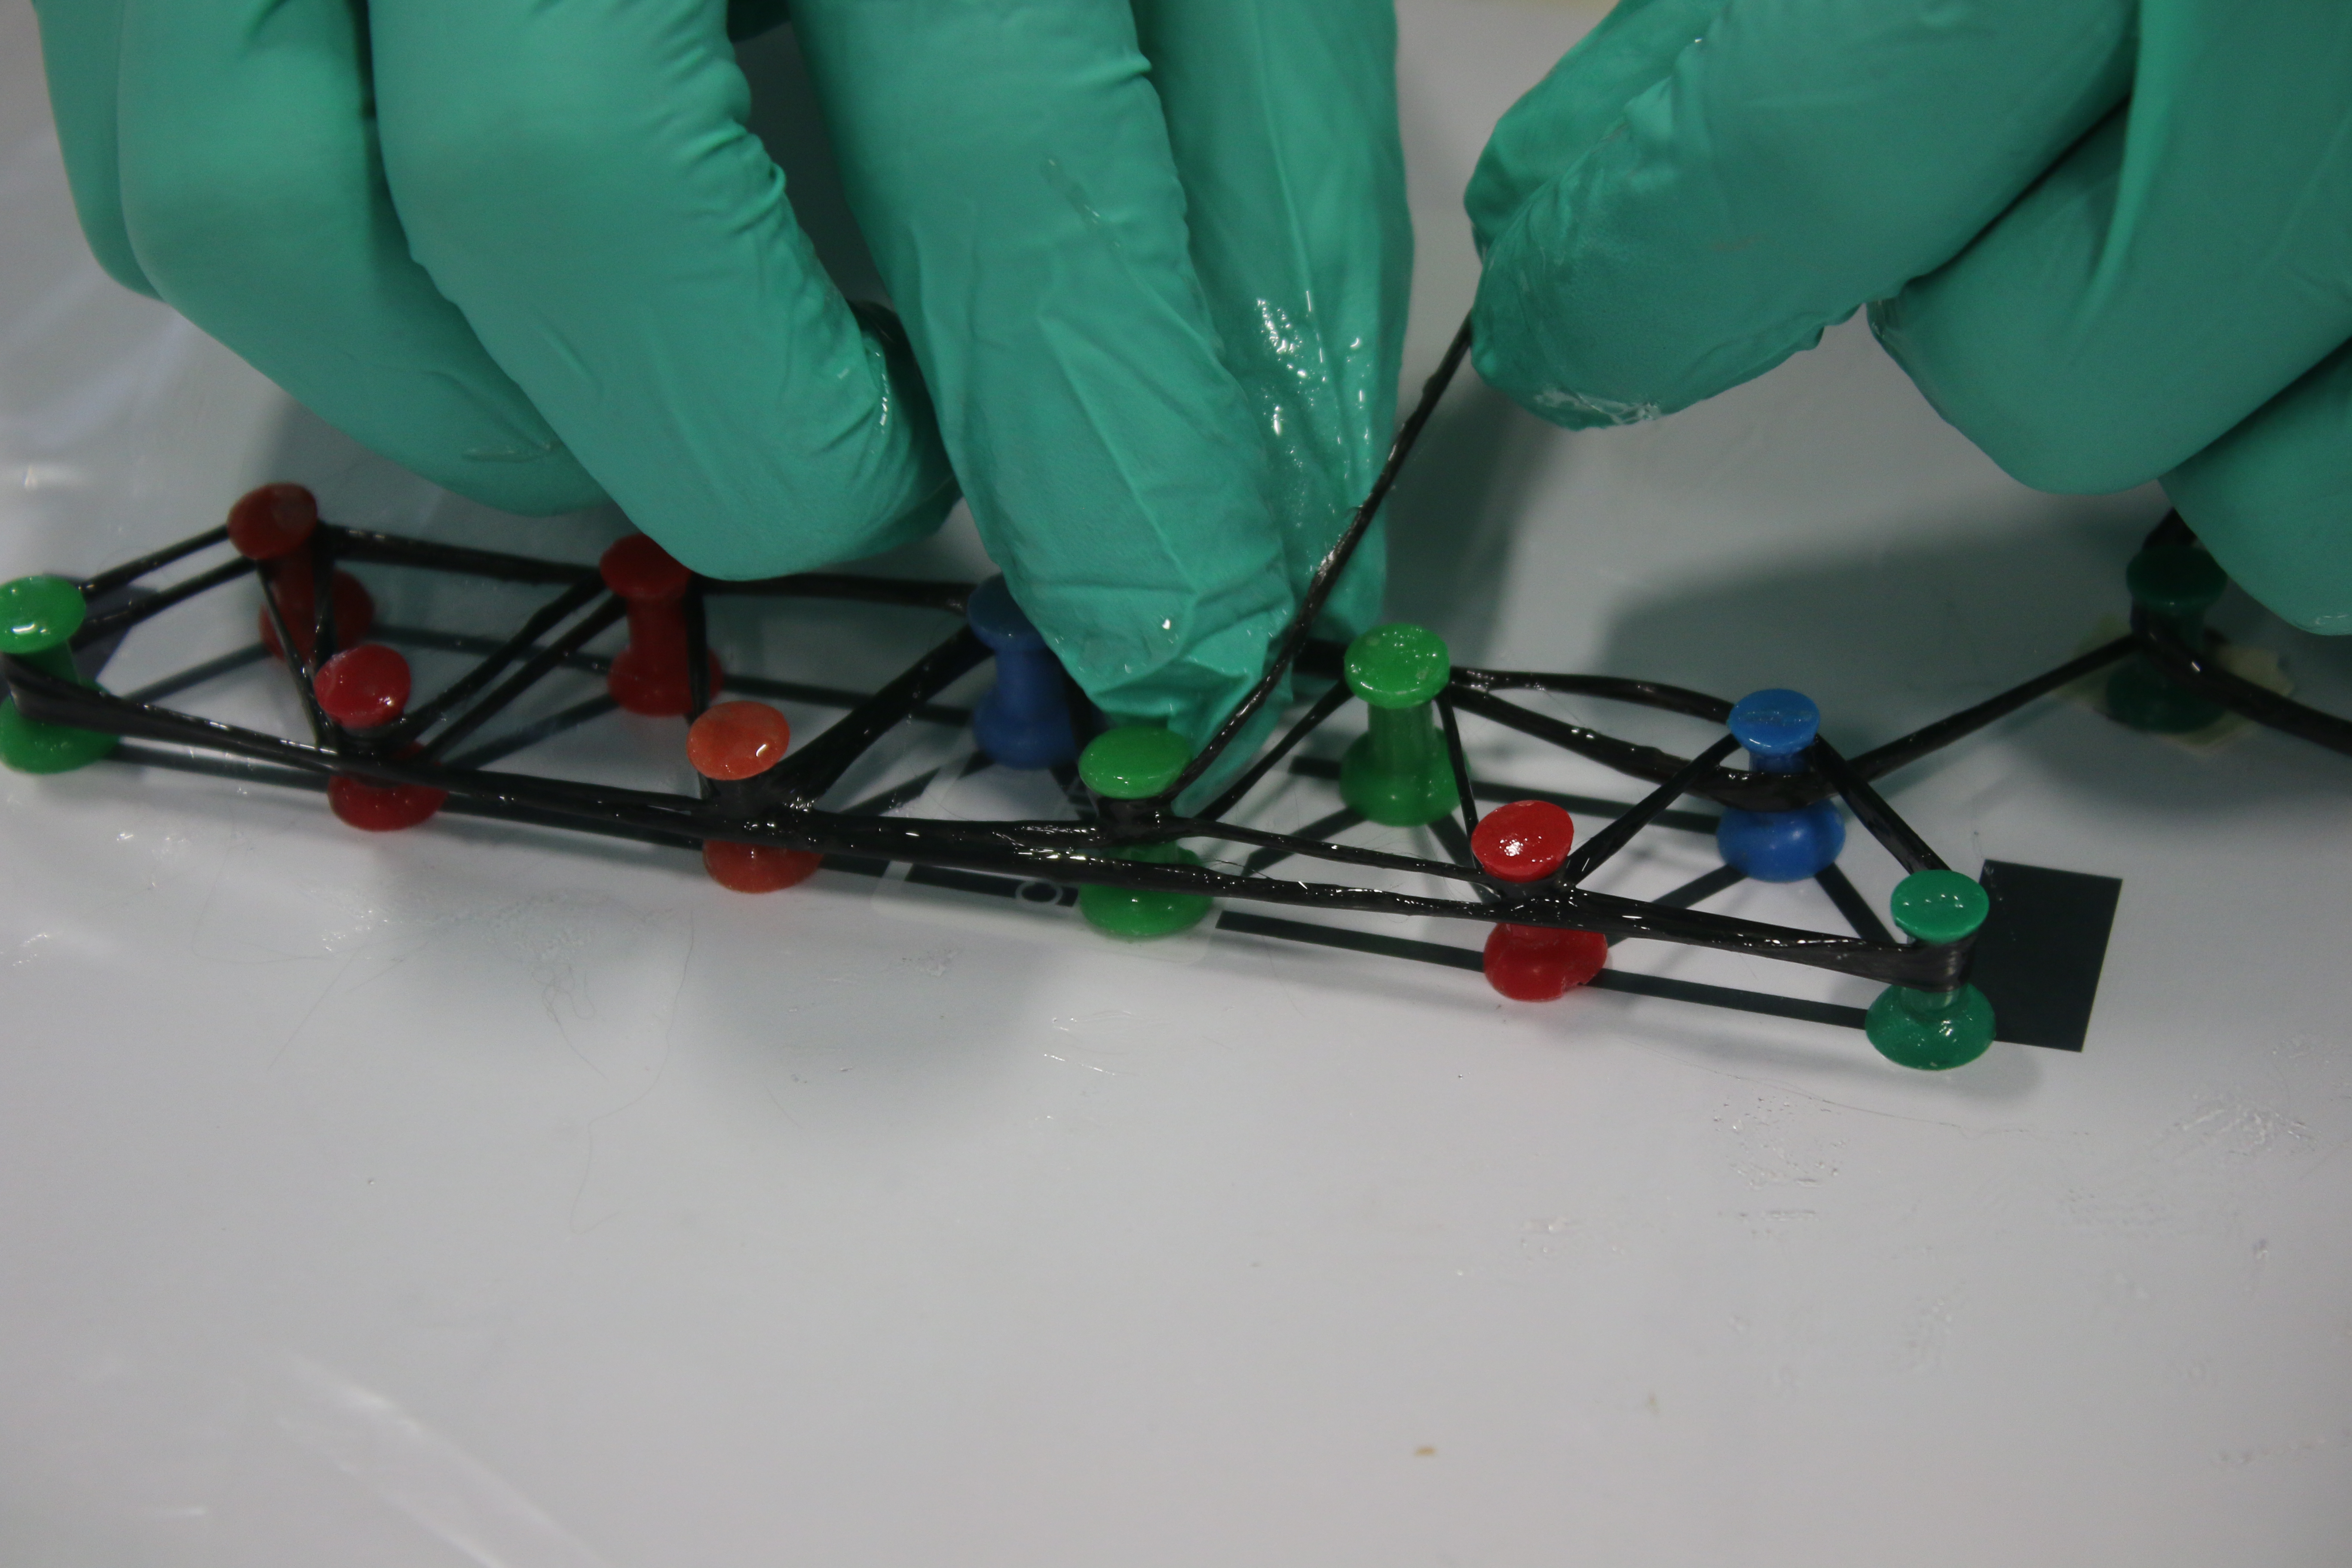
The curvature of the pushpins really helps to bring the strands together, and because they had plastic heads, the 105 Resin-based epoxy didn’t adhere strongly, allowing them to be easily pulled off after the epoxy cured.
Another difficulty was in wetting out the string or fiber rovings. I cut the cotton string to length and stirred it into the mixed epoxy. This worked for shorter lengths of string, but the longer lengths got tangled and very messy.
I made a miniature impregnator for the string that consisted of a cup, a mixing stick cut to the same length as the diameter of the cup, and a small weight that could be placed on the cup. I drilled two holes on opposite sides of the cup, fed the string through them, and jammed the mixing cut stick into the bottom of the cup. With the cup filled with epoxy to just above the mixing sticks level, I pulled the string through the holes. The theory was that I could saturate the string by pulling it through the epoxy. It didn’t work because I pulled the string too fast, not giving the epoxy enough time to fully wet out the fibers. If you try this method, be sure to pull the string slowly.
Another method I tried was clamping the string to a table covered with a plastic sheet and using a brush to wet the string with mixed epoxy.
During all of this testing, I used several different methods to construct the bridges, including taking different routes when stringing them. This played a huge role in the resulting strength-to-weight ratios. Using just two different bridge designs and two different string materials (cotton twine and carbon fiber), the strength to weight ratios that I achieved ranged from 600:1 up to 7,500:1. The larger of these ratios would be the equivalent of a 200 pounds person supporting 1,500,000 pounds. Had I been more consistent and smarter on how I laid the string down, I am confident these values would be much larger. Also, these numbers were generated by supporting weight from a single point in the middle of the bridge, and would be higher had the loads been evenly distributed throughout the entire length of the bridge. Still, my 4.8-gram bridge (1/10 the weight of Tom Pawlak’s bike fender in this issue) was able to support 80 pounds. Biologists say that ants can carry 10-50 times their weight; that is nothing compared to these bridges.
I hope these projects can help others learn about composites; either as a fun project or as a tool in earning the composites merit badge. Contact your local BSA council if you are a Boy Scout interested in earning the composites merit badge or if you are an adult looking to become a composites merit badge counselor.


