Cockpit Sole Repair
Spring 2016

GET STARTED
FREE PRINT & DIGITAL EDITIONS
Spring 2016
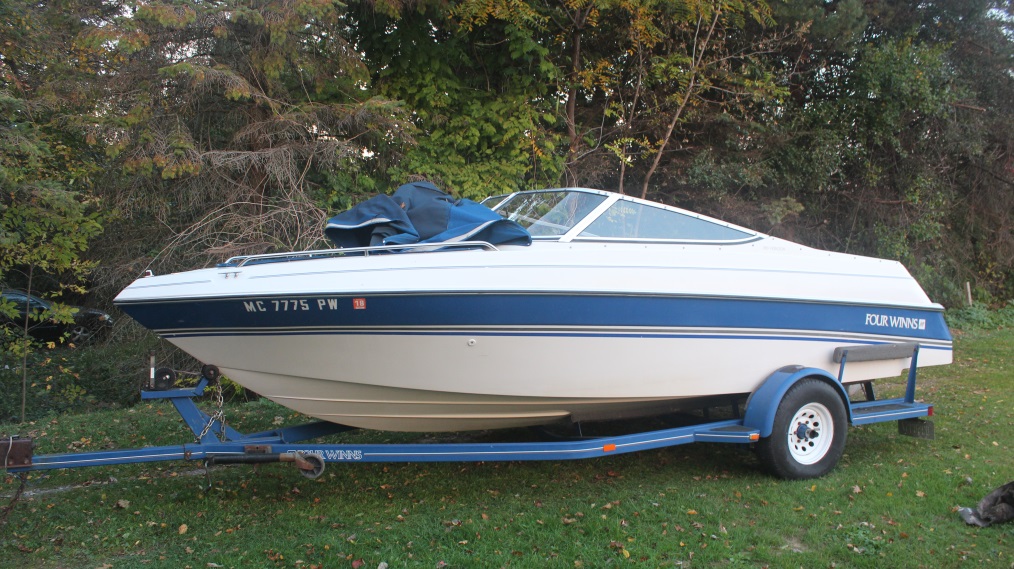
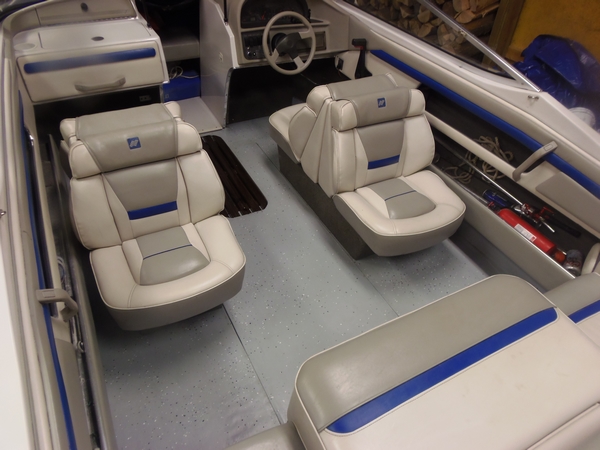
As a technical advisor, part of my job is to guide our customers to the correct product selection and discuss proper repair procedures. Sometimes it’s a fun challenge to take on my own projects to stay busy, and it helps me learn what my customers are up against when they do similar projects. This project was repairing the cockpit sole (floor) of a 1994 Four Winns 190 Horizon. The pictures will help tell the story.
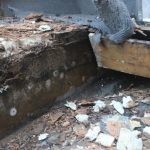
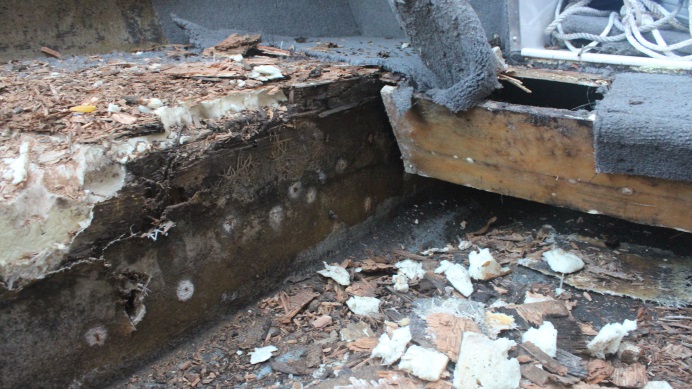
The fasteners that held the seats in place likely provided the main entry point for the water which eventually rotted the plywood in many different areas. Removing the rotted wood was a dirty, time-consuming task and the hardest part of the repair. To remove the damaged wood I used a powered multi-tool, circular saw, pry bar, and hammer. The pry bar and hammer were what worked best for me.

Because a majority of the wood had not fully rotted away, a lot of plywood came off the flotation foam in small sections, taking pieces of foam with it. When I had all the rotted wood removed, I could see that the remaining flotation foam was dry and in good condition.
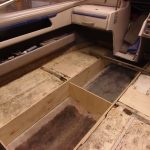
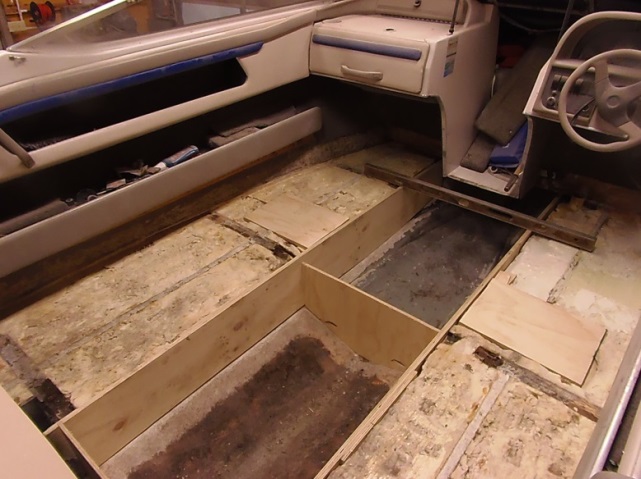
The boat was built with 4 longitudinal stringers. The two inboard stringers next to the fuel tank and the bulkhead between them had mostly rotted away and needed to be removed. The outboard stringers were surrounded by flotation foam and in good shape, so there was no reason to remove them.
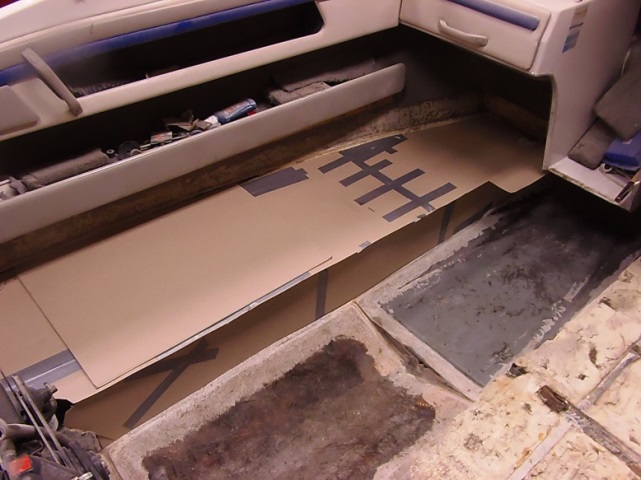
Using pieces of cardboard, I created templates for the two stringers I had to replace and the bulkhead. The templates were my guide as I cut the replacement stringers and bulkhead out of ½” marine-grade plywood. I paid special attention to ensure the end grain of the plywood was well sealed with WEST SYSTEM 105 Resin and 205 Fast Hardener. Using an angle grinder with a carbide wheel, I prepared the fiberglass hull for good adhesion.
I mixed 105/205, then thickened it with 403 Microfibers to a mayonnaise-like consistency and used this to glue the stringers to the hull. Thickening the epoxy ensured there would be enough material to prevent a glue-starved joint.
With the replacement stringers in place, I then installed the bulkhead. I applied a layer of WEST SYSTEM 727 (17 oz.) biaxial fiberglass tape to the stringer/bulkhead hull joint, like the existing tabbing, for added reinforcement.
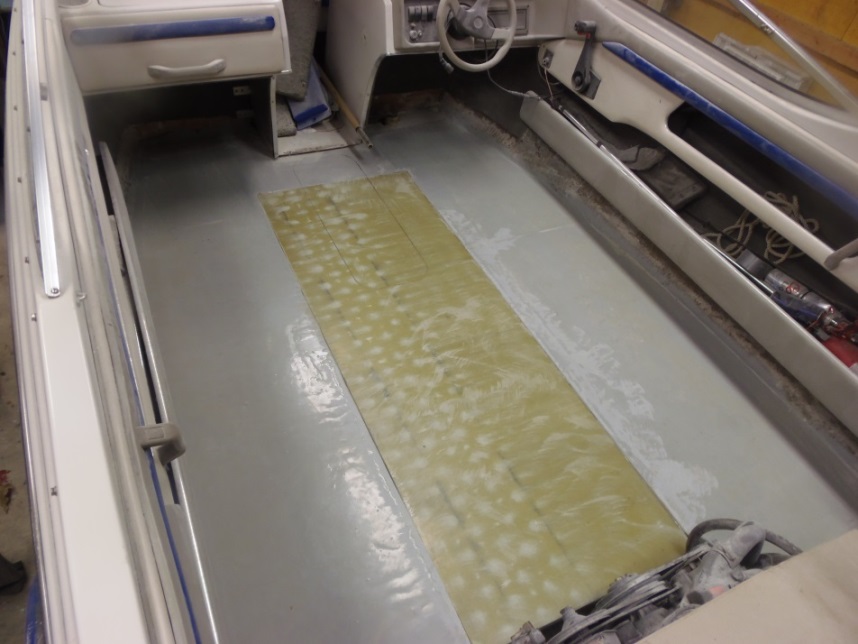
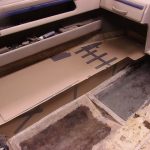
After the bulkhead was installed, I placed pieces of cardboard over the exposed flotation foam to create the template for cutting out the new plywood sole. I pieced the plywood in three sections with the same veneer orientation. To create a backer panel for the butted plywood seam, I set a small section of plywood into the foam. I then used a little two-part, pourable flotation foam to level the surface of the original flotation foam (which I’d inadvertently removed with the rotted plywood). I mixed 105/205/403 to a mayonnaise consistency again and applied it to the bottom side of the plywood sole and the surface of the flotation foam to ensure a good bond when installing the sole.
Once the epoxy had cured, I applied a layer of WEST SYSTEM 742 (6 oz.) fiberglass cloth to the bare wood to provide additional wear resistance and prevent the wood from checking or splitting over time. I tabbed all of the edges that met the hull by applying a layer of 727 (17 oz.) biaxial fiberglass tape for added reinforcement.
I coated the plywood sole with 105/205 tinted with 503 Gray Pigment and sprinkled it with paint color flakes for a nice cosmetic finish. UV degradation doesn’t concern me because the owner will only be using this boat a handful of times throughout the year.
To replace the old wooden center sole panel, which provides access to the fuel tank, I repurposed a composite panel made from 1″-thick high-density foam and thin fiberglass skins. This was a leftover test panel from Gougeon Brothers. If that hadn’t been available, I would have made the replacement panel from wood like the original sole panel. The composite panel is very strong and stiff and does not deflect when walked on. Recycling it this way was actually an upgrade to the original construction. After reinstalling the fuel tank, I finished this panel to match the rest of the cockpit sole, then fastened it in place.
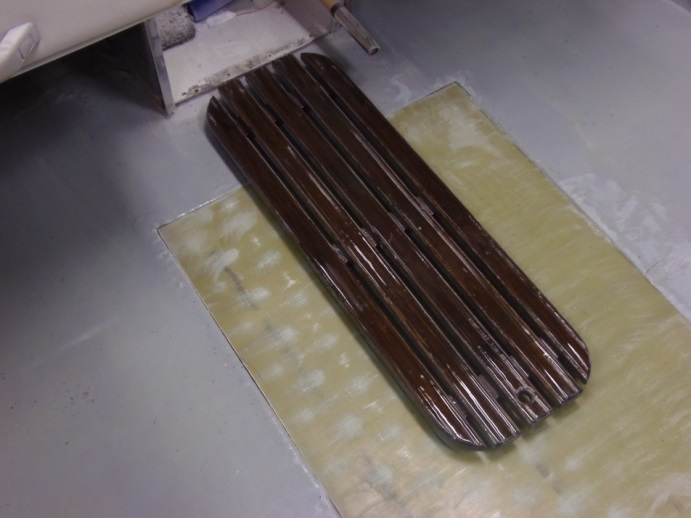
I coated the original removable wood hatch for the storage compartment with 105 Resin/207 Special Clear Hardener to prevent water damage. I installed this hatch into the composite panel to provide additional access to the storage just forward of the bulkhead and fuel tank.

The project overall was a fun challenge and turned out well.
For detailed information on how to repair a cockpit sole, see our Fiberglass Boat Repair & Maintenance manual.