- Bonding
- Boat Building & Repair
- Boat Construction
- Boat Modifications
- Boat Repair
- EpoxyWorks #57
- Wooden Boat Repair


GET STARTED
FREE PRINT & DIGITAL EDITIONS
By Russell Brown
I was recently asked for help in choosing adhesives for a large spar-building project. This led to much thought and discussion with the wonderful WEST SYSTEM® Technical Advisors. The choices we made won’t surprise anyone, but the reasons we made those choices are worth explanation.
The Materials
We chose WEST SYSTEM 105 Epoxy Resin® with 205 Fast Hardener® (and 206 Slow Hardener® when we needed a little extra working time). We chose this route over pre-thickened adhesives for two important reasons:
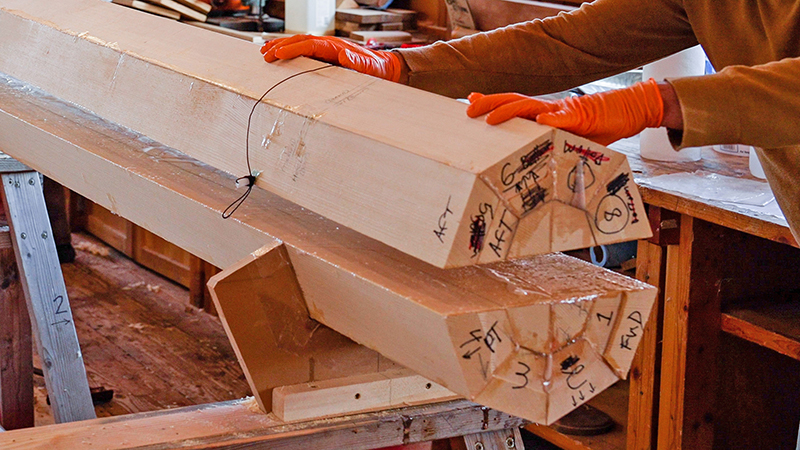
The spars (a 53′ mast, 30′ top mast, 34″ boom, and a 26″ gaff) are all built from Sitka spruce and are all built from eight staves (eight sided) before being shaped round. The individual staves for the mast needed scarf joints to make them long enough.
The scarf joints are critical to the strength of the mast. Doing them right can be somewhat challenging because the end grain of a scarf joint can draw epoxy into the wood after the joint has been clamped. This leaves a dry, or starved joint, with a high filler to epoxy ratio. While fillers are essential for bonding wood, Gougeon Brothers’ lab testing shows that a casting of epoxy with fillers is not as strong as a casting of neat epoxy.
Before selecting our fillers, we determined our approach to make the scarf joints as strong as possible:
the 205 Fast Hardener is that the shorter cure time reduced the possibility of epoxy being drawn into the end grain, leaving a dry joint.
The fillers we chose were the 406 Colloidal Silica and 403 Microfibers. The 406 Colloidal Silica is an excellent thixotrope, meaning that it takes less filler to reach your desired consistency than using one of the other WEST SYSTEM Fillers. The wood was primed with unthickened epoxy immediately before applying the thickened epoxy. This allowed the epoxy to penetrate further into the end grain, without drawing it out of the thickened epoxy. The Microfibers were used because the thickness of the fibers helps keep all of the epoxy from being squeezed out of the joint when clamping, also helping to prevent a dry joint.
The Build Process
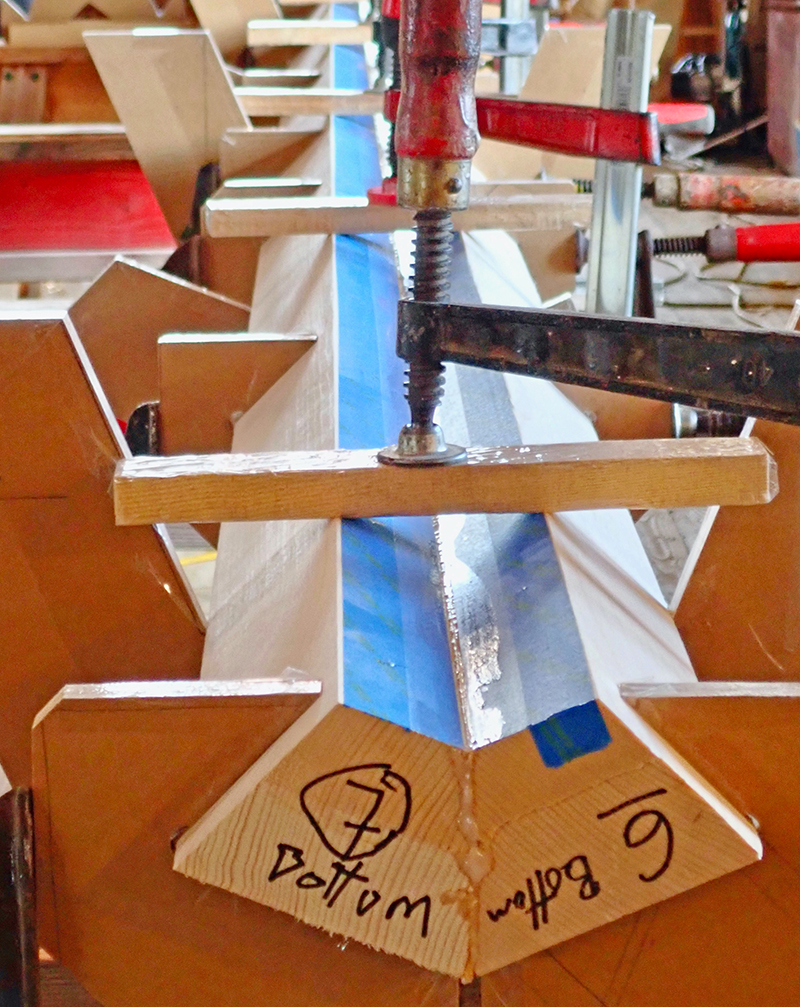
Speed was essential while epoxying the staves together. We had multiple joints that were very long, and clamping was quite complicated, making the process time-consuming.
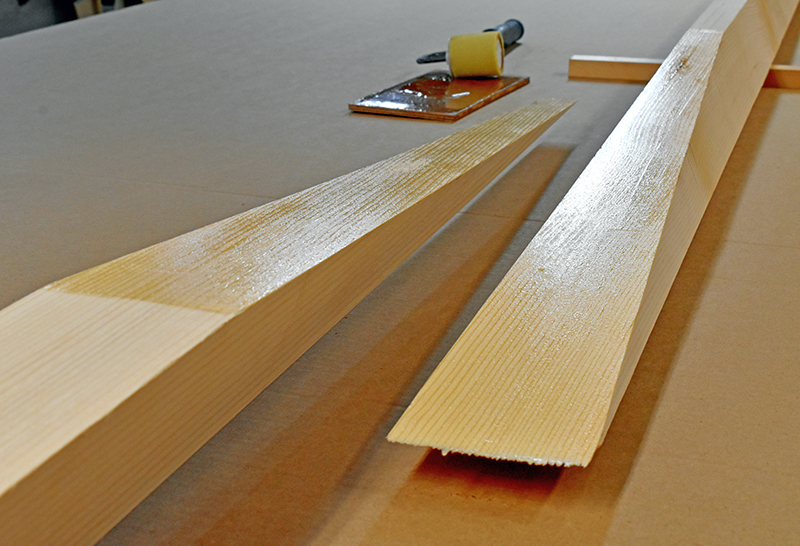
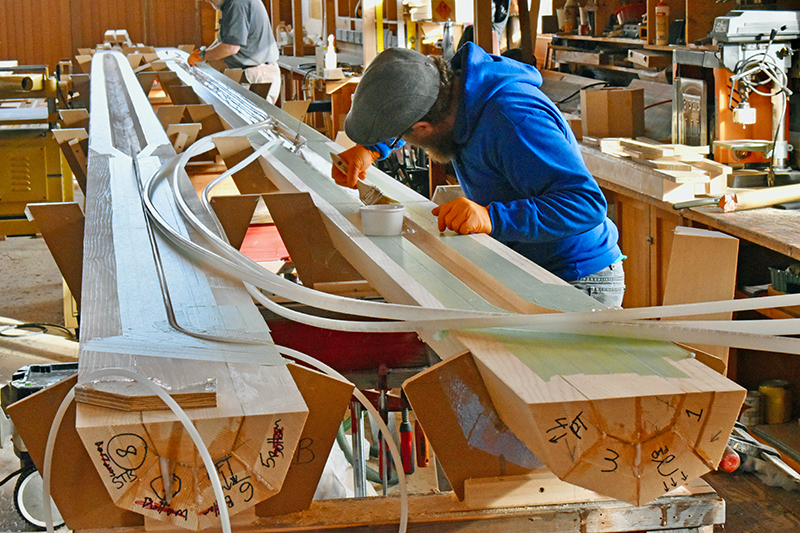
We started by liberally priming the staves with unthickened epoxy. Once the epoxy was fully mixed, we worked quickly to get the epoxy out of the roller pan and onto the staves with a 3″ long foam roller. Once it was spread out, we returned to even out the coating. Epoxy left in mass cures much more quickly than when it’s in a thin film. By spreading out the epoxy, it gave us more time to work.
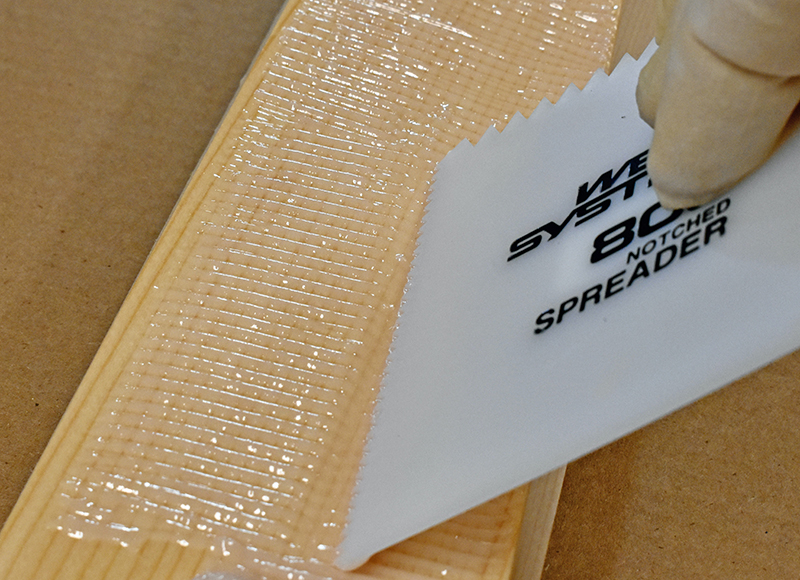
For the thickened epoxy, we mixed less than a quart at a time. The mixed epoxy was poured onto a stave in a long bead before being spread with a 809 Notched Spreader. This type of spreader allowed us to meter the epoxy so we had a consistent thickness coverage over the whole bonding surface. Because of the limited clamping pressure, we were generous with our thickened epoxy. Our ample squeeze-out told us that we had sufficient epoxy in our bond lines.

These spars are for a century-old cutter named Tally Ho, which won the Fastnet Race in 1927. The rebuilding of Tally Ho is being documented with a fantastic series of videos, which you can find at the Sampson Boat Co. channel on YouTube. Future videos will surely show these spars in action!
Watch the video!
See Russell build the Tally Ho mast.


