By Neil Musgrave
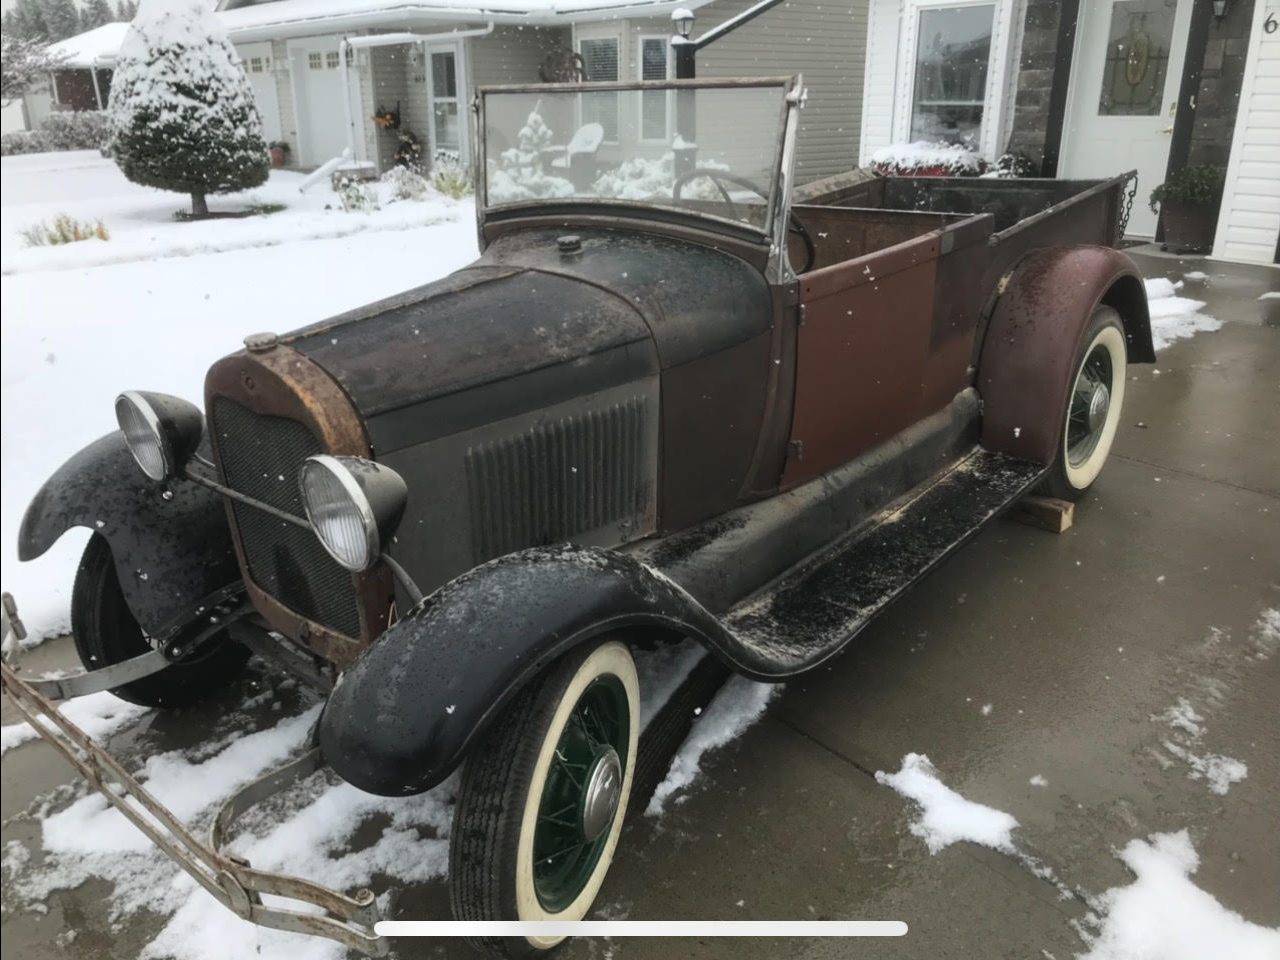
I’m a Red Seal Journeyman Cabinetmaker with many hobbies, including restoring old vehicles. I combined both the love of my craft and my hobbies to build a running/driving, cherry strip, 1928 Ford® Roadster Pickup.
To begin my wood truck project, I purchased a 1928 Ford Roadster pickup truck. My first task was to disassemble it, so I could reuse the chassis, motor, and transmission as the base for the wood truck. With the help of my friends, we rebuilt the motor, and rewired the truck, so that it runs and drives just as well as when it came off the assembly line.
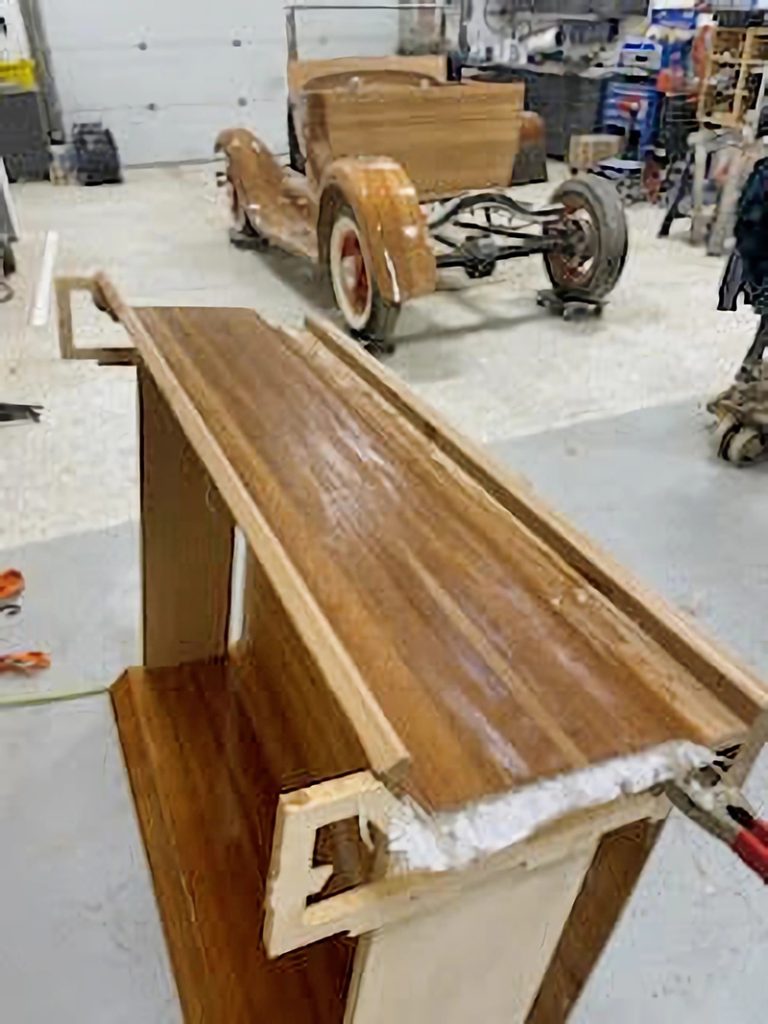
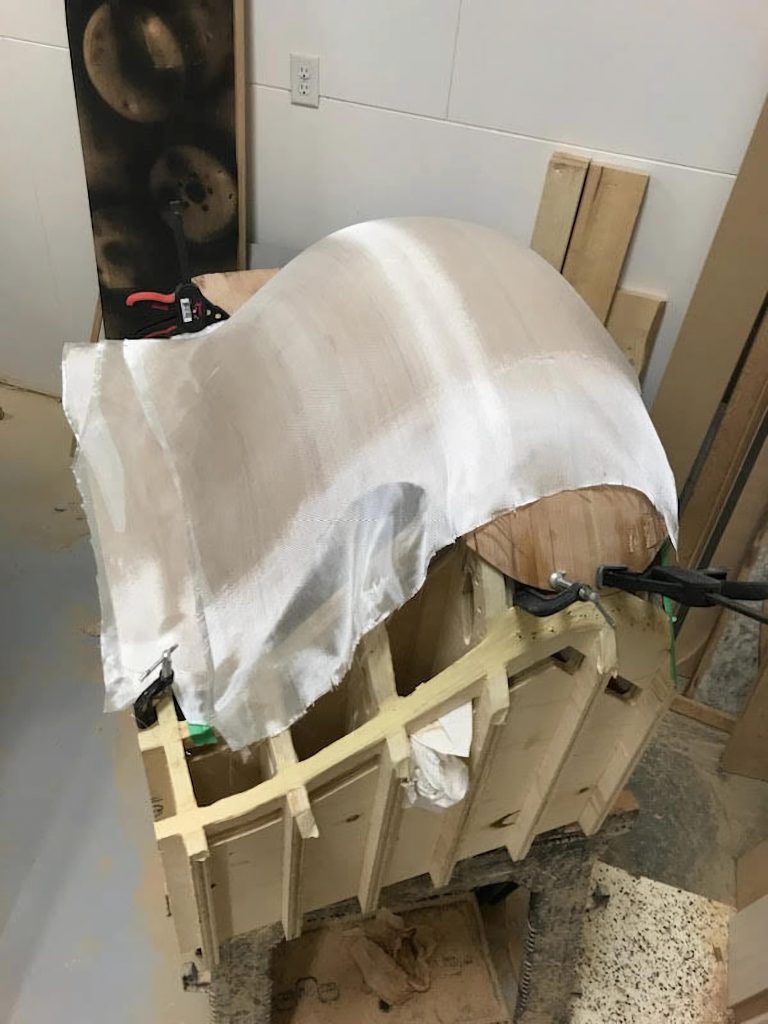
The rest of the truck body became templates to recreate the fenders, box, and cab in cherry wood strips. With the help of my CNC programmer friend, we created forms for the fenders. This process involved taking many photos and measurements due to the complex curves. Once satisfied, I cut out the forms on my CNC router. I also used my CNC to cut the form for the hood.
The Ford logo on the tailgate was programmed by the same friend that helped with the fenders. It was cut out of solid walnut using 1/8″ round over bit and took over two hours to cut on the CNC.
The process of steaming, bending, clamping and gluing the strips was time consuming. I would put a piece of wood in to steam, build some cabinets or make a countertop, then take the strip out to bend and glue on the form. Then I would add another piece in to steam and repeat.
Building with these forms gave me final fenders and a hood that are identical to the metal originals. I only ended up making one extra fender, as I was not happy with my first attempt. The hood fits the chromed radiator and fan shroud just as good as the original metal one.
The straight part, like the box and the tailgate, were easier and faster to do. I built the cab as one piece then cut the doors out after so the grain match stayed intact. I also used the same process to match the grain on the hood. The dash is a solid piece of cherry that has been sanded and formed for the windshield supports and the instrument cluster.
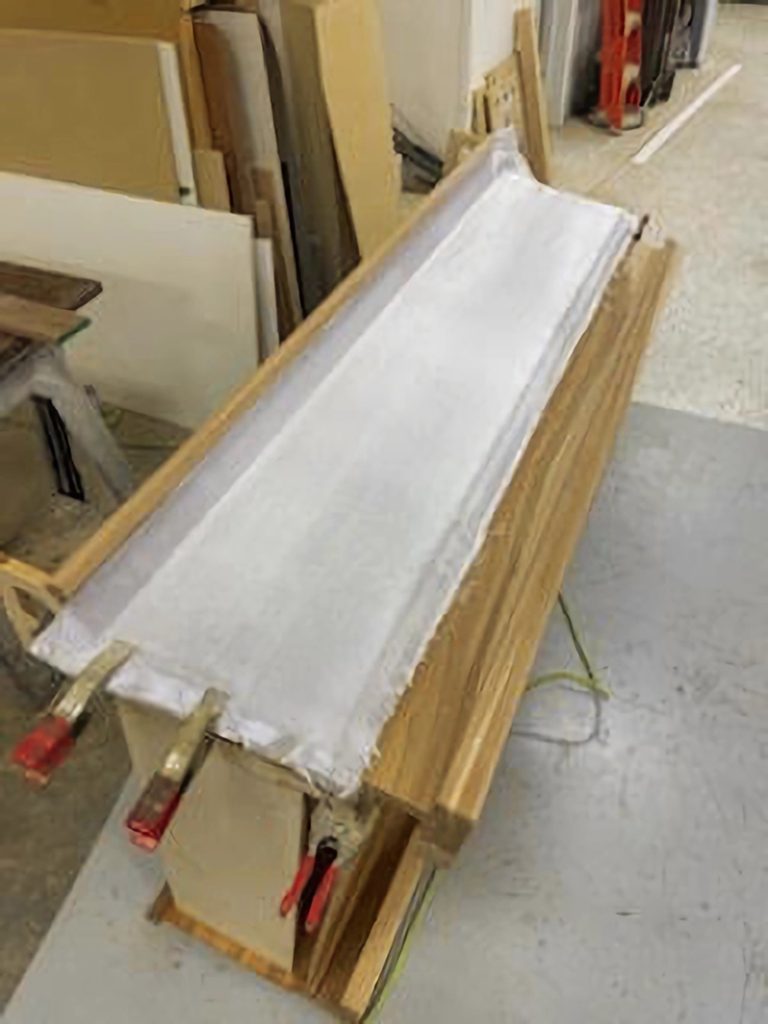
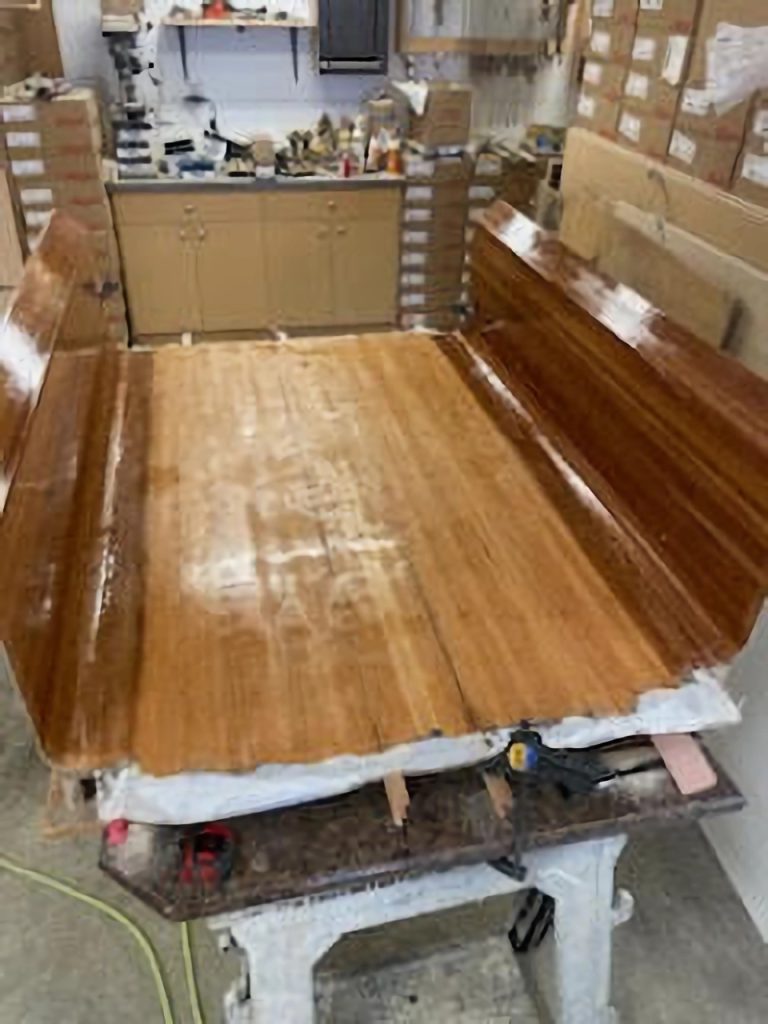
After all the pieces were removed from the forms, I sanded the cherry with my random orbital sander to prepare for the fiberglassing process. I knew, in order to have the structural integrity I needed to be able to drive this truck around, that fiberglass and epoxy were the answer. Before beginning my build, I had visited a kayak store in Edmonton that used WEST SYSTEM® Epoxy, and I was impressed with their final product. I chose WEST SYSTEM for my project because of the quality they were able to achieve with their kayaks, and because it was straightforward to use.

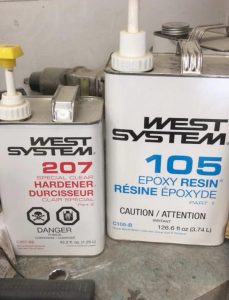
I cut the fiberglass to the size and shape needed, then laid it out in place. I saturated the fiberglass with the WEST SYSTEM 105 Epoxy Resin® mixed with WEST SYSTEM 207 Special Clear Hardener®. After it cured, I gave it a light sand to scuff the surface, then I applied another layer of fiberglass and epoxy. Both sides of the Roadster panels were fiberglassed, sanded, and sprayed with a protective coat of satin sheen polyurethane, to an ultra-smooth finish.
The pieces not made of cherry were sent away for chroming or purchased through a store that specializes in Model A Ford parts. I upholstered the interior, the door panels, and wrap around the cab myself. Plus, I sewed the seat cover after making the seat out of plywood and glued foam to it.
It took three and a half years, but I finally got it done. It’s been one of the most challenging things I’ve ever done, but it’s very satisfying seeing the finished project.
- Over 4 gallons (15 m) of WEST SYSTEM 105 Epoxy Resin
- 16 yards (15 m) of fiberglass
- 2 gallons (8 L) of polyurethane
- .8 gallons (3 L) of wood glue
- 3,960 linear feet of cherry
- Approximately 2,500 hours (over the course of three and a half years)
Neil Musgrave is the owner of Musgrave Millwork & Cabinetry Ltd. located in Two Hills, Alberta, CA.
Watch the video!


