Installing a floating Shelf
by Brian Knight—GBI Technical Advisor
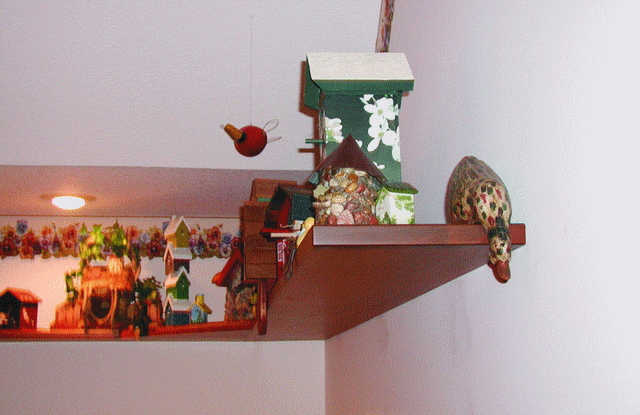
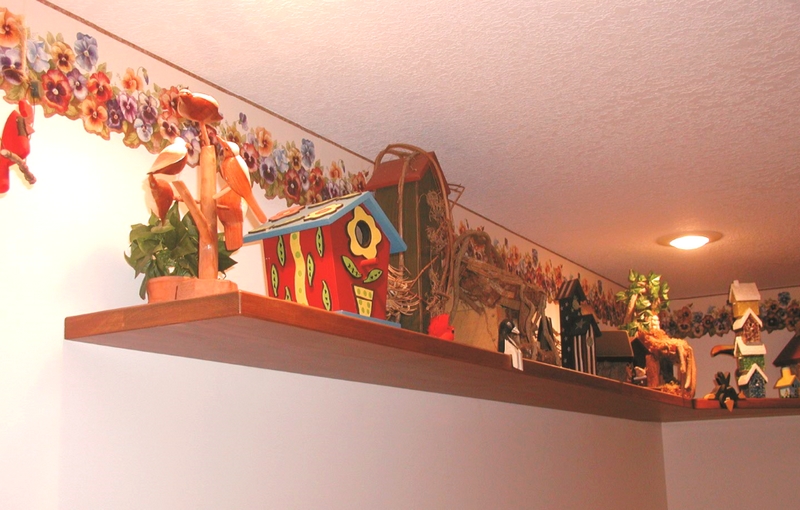
Above: The completed floating shelf, installed in Brian’s sister’s home and decorated with her colorful collection of birdhouses.
It was only after I said, “No problem” to my sister’s request for a shelf installed on the wall of her new house that she dropped the other shoe. She wanted a floating shelf that would be cantilevered from the wall with nothing visible holding it up. “Simple,” I said out loud, but I was thinking, “how the heck am I going to do this?” I decided to use hardware bonding to install the shelf. Even though the shelf only had to hold up Lori’s birdhouse collection, I figured that someday some little kid would want to do chin-ups on it, so I installed it to last. Simply put, I drilled oversized holes into the 2″×4″ wall studs and matching holes into the shelf stock. Then I glued the threaded rod into the wall with WEST SYSTEM® Epoxy so it protruded from the wall. When this epoxy cured, I glued the shelf onto the protruding portion of the rod. This type of floating shelf installation is not easily reversible so I warned my sister that if she ever changed her mind, there would be a major drywall repair job to do.
Hardware bonding to install a floating shelf
I began by locating the wood studs and marked the wall with a chalk line where the top edge of the shelf would go. The holes in the wall had to be perpendicular to the wall surface or the protruding part of the threaded rod would be out of alignment. I built a simple jig to help me guide the drill motor so the hole was drilled perpendicular to the wall. I wrapped tape on the drill bit to remind me that I had to stop before I drilled completely through the wall.
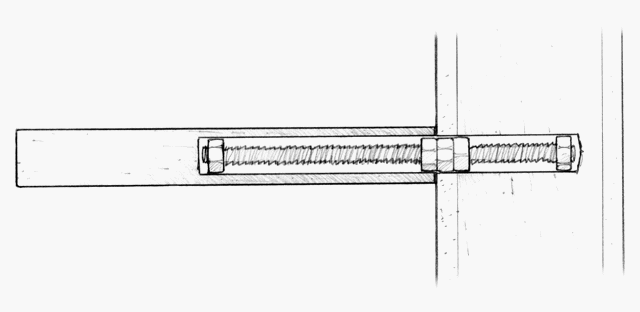
The 6/4 (1-3/8″) pine stock I chose for the floatnig shelf determined the threaded rod diameter. I used 1/2″ rod with nuts installed on it so the diameter of the hole had to be equal the distance across the points of the nut (13/16″). Three nuts were installed on the portion of the threaded rod bonded into the wall and two nuts were installed on the part of the rod bonded into the shelf. The nuts center the threaded rod in the hole and also create more frontal area at the point of highest stress-the place where the threaded rod exits the wall (Figure 1).

Once the holes were drilled in the studs, I dry-fit the rods by pushing them into the hole. Next, I set the shelf on top of the protruding rods and scribed the shelves to the wall. Once the shelves fit the gentle curves of the wall, I set them on top of the threaded rods and marked the location of the rods on the bottom surface of the shelf.
Installing the threaded rod
At this point, I was ready to permanently install the threaded rod into the holes in the wall. I applied some vinyl electrical tape around each hole as masking. I used WEST SYSTEM 105 Resin/206 Hardener and thickened this mixture with 404 High-Density Filler. Then, I injected the mixture into the hole in each stud using an 810 Fillable Caulking Tube, applied some of the same mixture to the threads of the rod, and pushed the rods/nuts into the wet epoxy.
The important part of this operation was getting the nuts located properly. One nut was located at the end of the threaded rod to center it at the bottom of the hole. Because the wallboard has little or no ability to resist the shear load of the floating shelf, I located three nuts back to back to back-jammed against each other-where the rod exits the wall. The inner nut is able to bear against the wood stud for support while the middle nut acts as a spacer to transfer load across the weak wallboard. The outermost nut is bonded in the hole in the shelf. This stack of nuts transfers the load from the shelf to the inner nut in the wall stud.
While the epoxy in the wall hardened, I took the shelves back to my shop and used a drill press to drill the holes to receive the threaded rod. I stained and varnished the shelves before permanently installing them. Before gluing in the threaded rod, I dry-fit the shelves to be sure they fit where they belonged. If it had been necessary, I could have enlarged the holes in the shelf to allow some adjustment room. The epoxy would fill any gaps between the hole and the threaded rod.
I injected epoxy into the hole in the shelf and slid it over the threaded rod/nut assembly as I had done previously in the wall. I temporarily braced the shelf with shims and scrap plywood legs. I also toenailed a few finish nails in the top of the shelf into the stud to keep the wall edge of the shelf where it belonged. The next day, I removed the braces, and my sister loaded up her new floating shelf.


