Building a Planter Box
Spring 2006

GET STARTED
FREE PRINT & DIGITAL EDITIONS
Spring 2006
My wife gave me the basic guidelines for a planter box she wanted me to build. First, keep it cheap. Second, she wanted an “L” shape. Third, she provided some rough dimensions. The design was up to me. Logic seems to abandon me when I design something, and this project was no exception. A nice, straightforward box with square corners should have been the default. But after some doodling on paper, I decided to build a planter with flared sides and rounded corners.
I looked around my shop and found a scrap of ¾” treated plywood that was left over from another project. This made a good bottom for the planter. I found enough ¼” lauan plywood to make the sides, and I made the molds for the curved corners from an empty cardboard shipping tube. As for the design, I decided on a flare of 15° for the sides and a radius of 2 5/8″ (the radius of the shipping tube) for the corners.
On the sheet of ¾” treated plywood, I drew the “L” shape, using the dimensions specified by my wife. For the round corners, I used the cardboard shipping tube to lay out the curve. The edges of the plywood base have a 15° bevel to provide the flare for the sides. I cut all the straight-line sections on my table saw and sawed the round corners with a saber saw set at a 15° angle.
I ripped the ¼” lauan plywood into pieces about 15″ wide (tall) to make the sides of the planter. Because the sides are leaning out 15°, the plywood sides are wider at the top and narrower at the bottom. I set the miter gauge on my saw to 75° to cut the ends of the lauan pieces. These pieces were glued to the 15° bevel previously cut on the bottom piece with a uniform gap left at the corners. The sides were also filleted to the bottom to provide additional surface area for the glue joint.
The gap at all the corners would be filled with laminated fiberglass; however, I needed a temporary mold to bridge the gap between the plywood sides and give the proper curved shape to the corners. I sawed sections of the shipping tube long enough to be used as male molds. I applied packaging tape to the cardboard for mold release, but cooking parchment paper or waxed paper would have worked just as well. I cut the bottom of the tubes to approximately 23°, so they rest on the bottom piece. Masking tape secured the sections of tubing at the top and one drywall screw in the bottom (Photo 1).
I applied a thick mixture of WEST SYSTEM® Epoxy/410 Microlight® Fairing Filler to the taped surface and applied 6″ fiberglass tape to the wet mixture. I smoothed the fiberglass with my hands to distribute the epoxy/410 evenly below the cloth and applied neat epoxy to finish wetting the cloth. After allowing the coated fiberglass to cure, I feathered the edges of the tape and applied one layer of 6 oz cloth to the entire outside of the planter, followed by several coats of neat epoxy to fill the weave of the cloth. This layer of cloth ties the entire box together. When the epoxy cured, I faired the outside of the planter with lots of sanding. I drilled several ¾” drain holes in the bottom and later glued on wood pads so the planter would have a little air circulating under it.
At the top edge of the planter, I trimmed the excess fiberglass and ground the corner pieces even with the plywood edge. To prevent moisture from attacking the plywood, I coated the inside surfaces with a couple of coats of epoxy.
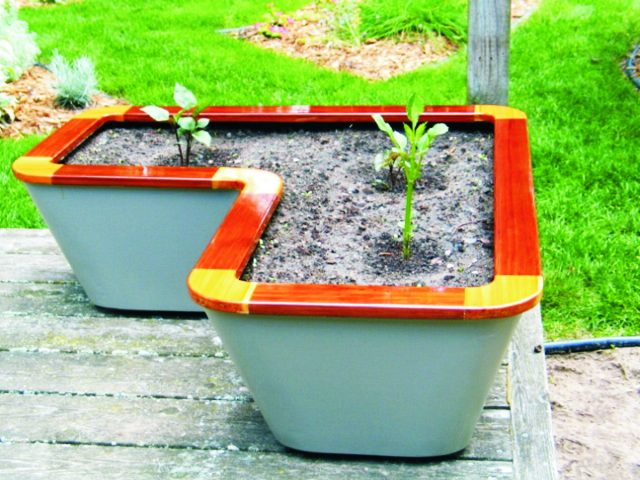
Next, I fabricated and installed the top trim that covered the raw edges of the plywood and fiberglass. It was made from redwood with cedar corners for contrast (this was the one area where I departed from my wife’s original specification of “cheap”). To rough out the trim ring, I cut square corner blocks and fastened them to the end of the redwood strips with biscuits. The square blocks made installing the biscuits much easier than trying to work with rounded corners. The blocks were later rounded with a saber saw and the edges of the entire trim assembly were eased with a ¼” radius round-over bit. Epoxy fillets fastened this assembly to the planter sides. I coated the top of the planter with WEST SYSTEM 105/207 and then varnished it with three coats of Captain’s™ 1015 Spar Varnish. The sides were painted with the house paint I use on the trim of my house.
Building a custom planter box.
The planter box began as sheets of ¼” lauan plywood temporarily connected by sections of 5¼” diameter cardboard shipping tube at the corners. The shipping tube held the plywood sides in position while acting as a mold for laying up permanent fiberglass corners.
The ¼” gap at the edge of the plywood sides was filled with thickened epoxy. A layer of glass tape was laid over the corner and smoothed into the thickened epoxy. The glass was then wet out with epoxy and the edges were sanded smooth when cured.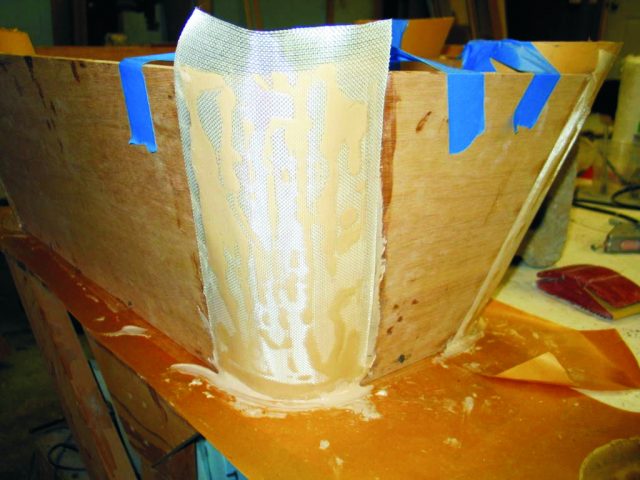
After the mold/tubes were removed, a layer of 6 oz cloth was applied to the exterior. Holes were drilled in the bottom for drainage.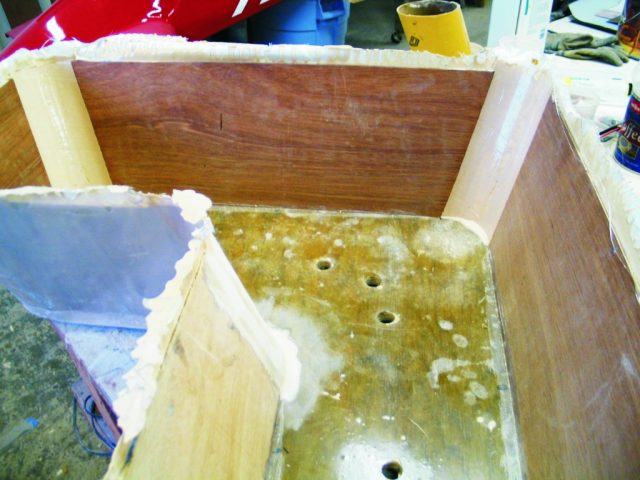
The excess glass was trimmed flush with the edge of the plywood, and the interior was given a couple of coats of epoxy.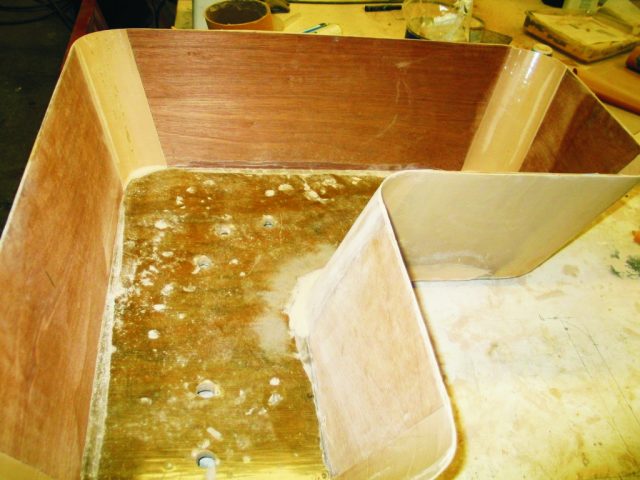
The top trim was made from redwood with cedar corners. The square cedar corner blocks were fastened to the end of the redwood strips with biscuits. The blocks were later trimmed to shape and the edges of the entire trim assembly were eased with a round-over bit.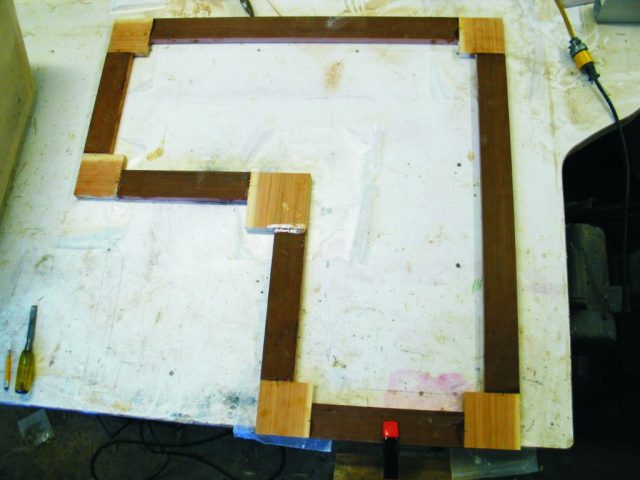
Blocks were glued to the bottom for air circulation and the sides were glued to the trim.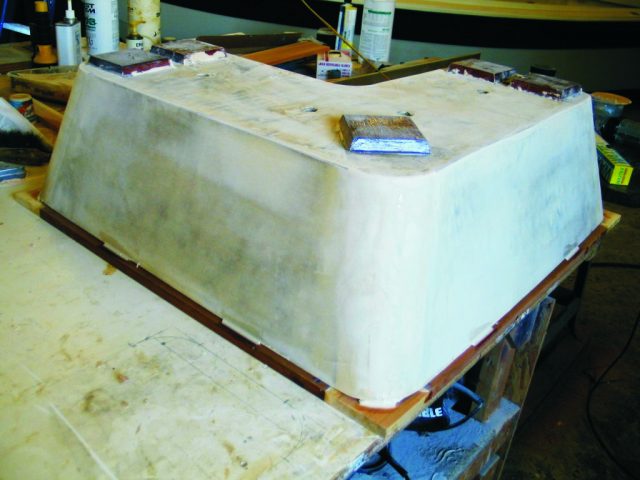
When the planter box was properly positioned, the sides were attached to the trim with short fillets.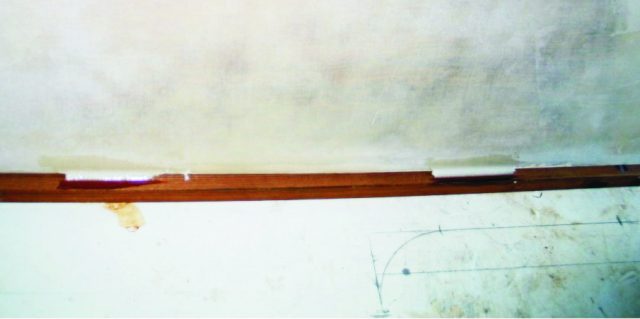
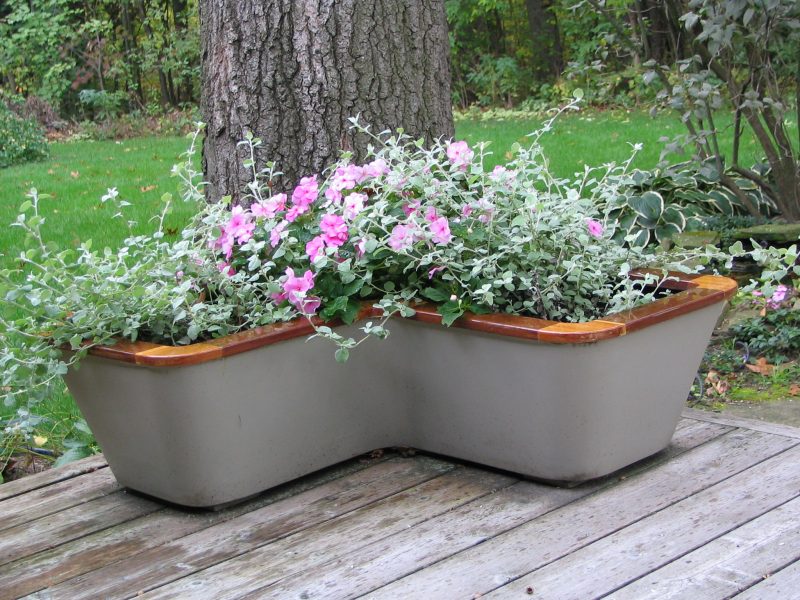
The finished planter. The trim was coated with 105/207 epoxy and finished with spar varnish.