Building a Custom Stained Glass Lampshade Mold
Spring 2012

GET STARTED
FREE PRINT & DIGITAL EDITIONS
Spring 2012
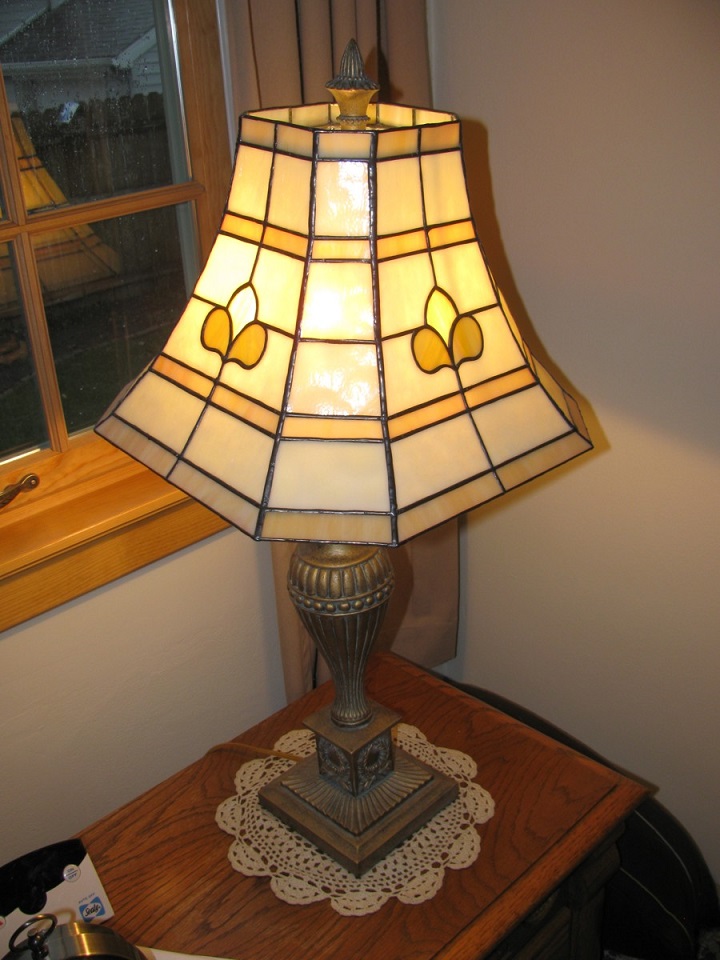
A few years back Mary, my better half, suggested I make a custom stained glass lampshade for our den at home. There are molds commercially available for making glass lampshades. They hold glass pieces in position in the desired curved shape until the soldering process is complete. Unfortunately, the shape I wanted was not available. I wanted something similar in size and shape to the fabric-covered lamp shade in the den. In the end, I decided to make a custom mold.
The original lampshade had eight sides so I would do the same on Mary’s stained glass lampshade. I started by making thin cardboard templates of the curved shape (side view) of the original lampshade. This template would be used to make mold frames to support the mold surface. Another thin cardboard template was made of the straight-on viewed surfaces. The lampshade had alternating panels that switched from straight-edged panels to curved-edged panels when viewed from above. So a template of each was needed. All the panels had curvature to them when viewed from the side.
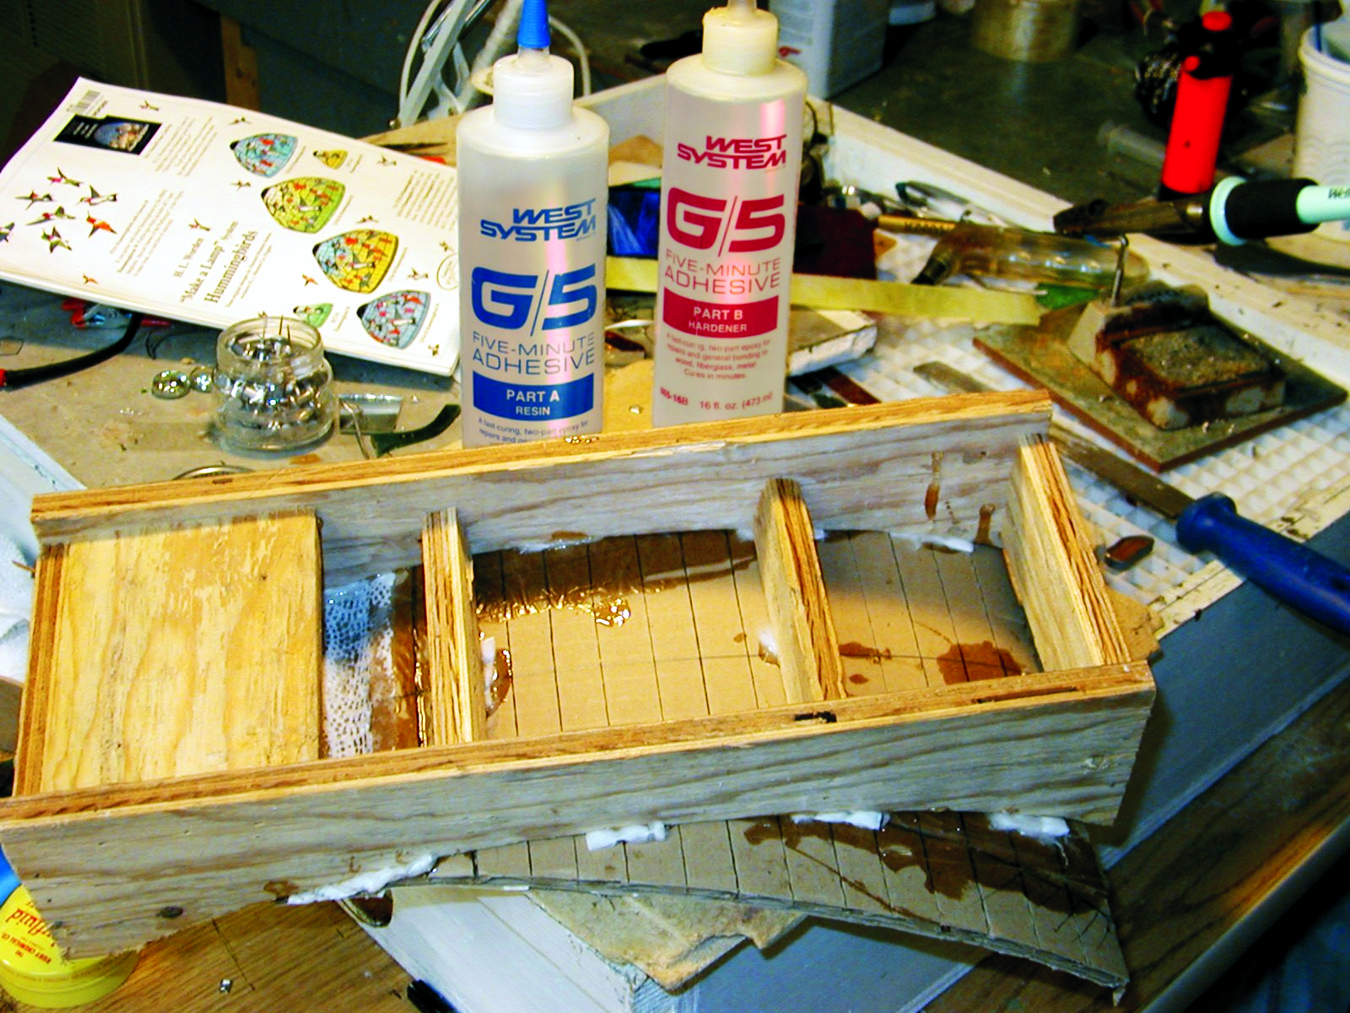
Ideally, the mold surface is made of something soft enough to allow a push pin to be easily pressed into it, yet rigid enough to support the glass pieces. I chose 3/8″ thick corrugated cardboard because it would handle the heat from the soldering process better than my second choice—Styrofoam™.
The cardboard was too rigid to conform to the curved wood frames, so I scored the backside with ¼”-deep cuts every ¾” or so across the width of the piece with a utility knife. This depth of cut did not damage the face of the cardboard and allowed it to easily bend to the shape of the mold frames.
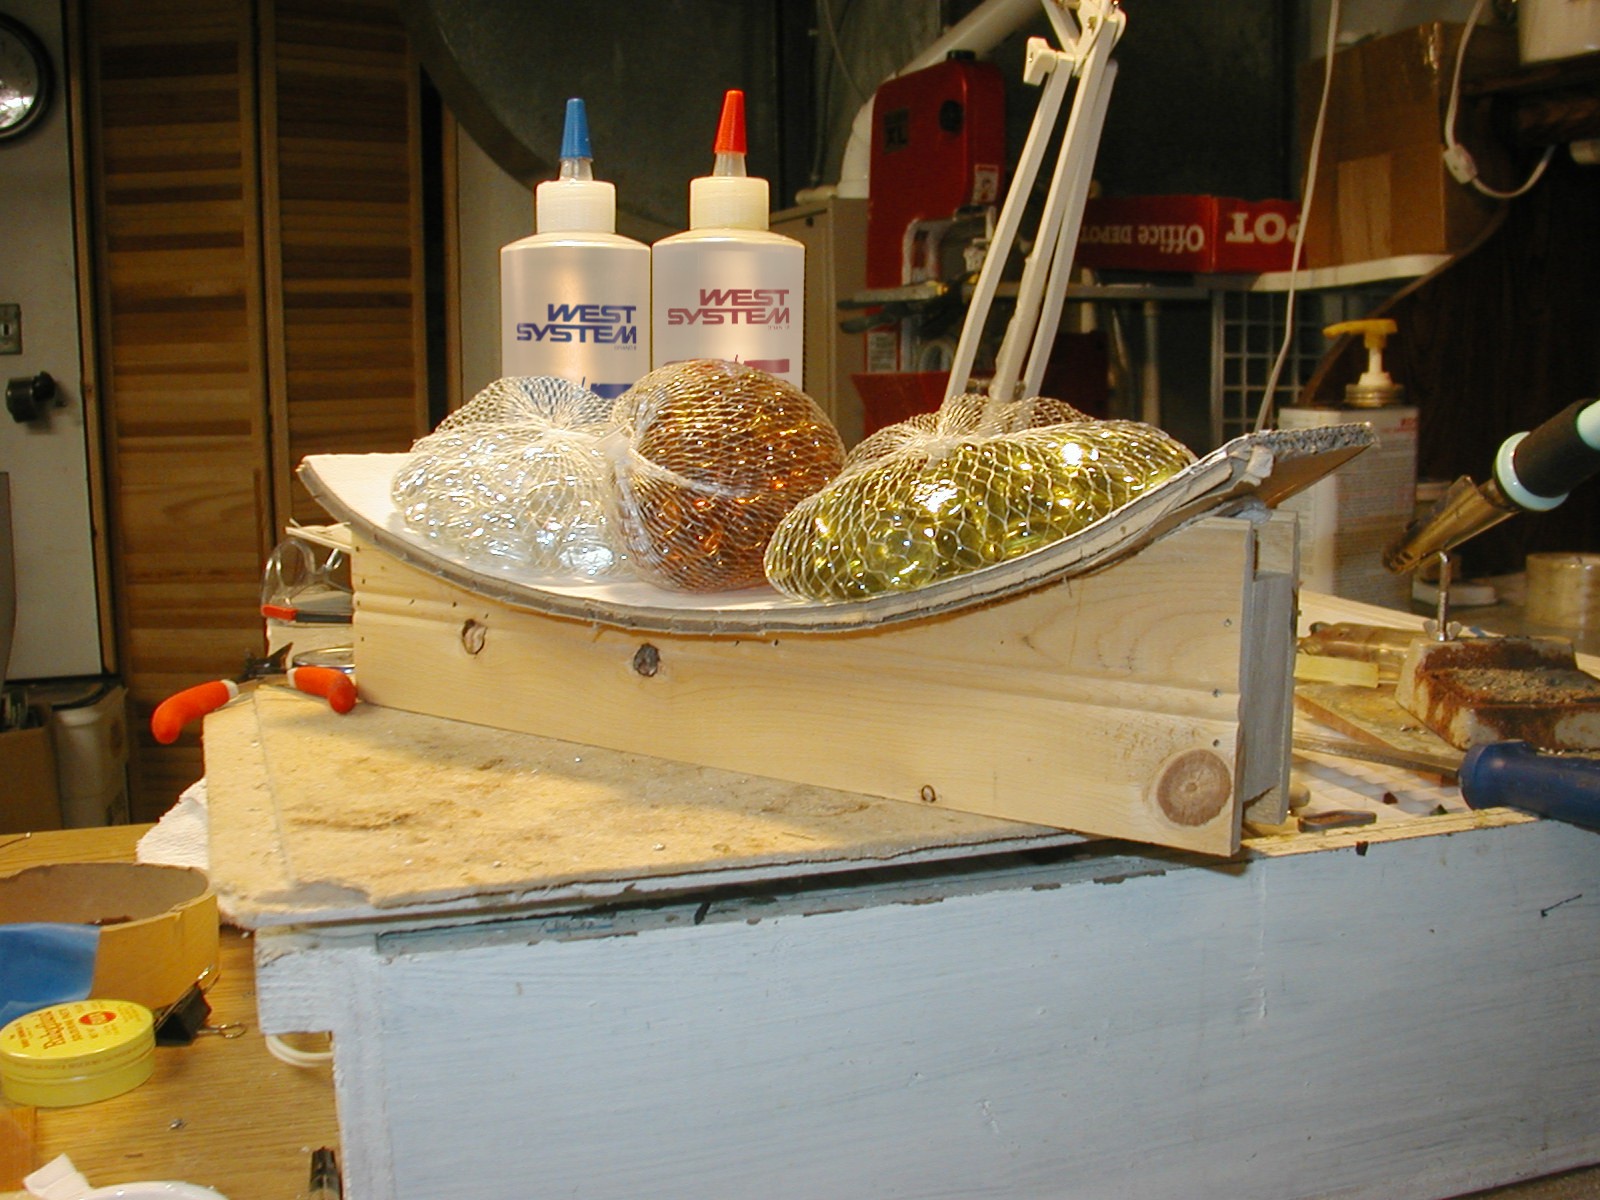
I weighed the cardboard down against the mold frames with a few sacks of glass beads while the epoxy cured. Minutes later I was ready to assemble my first glass panel and solder it together. To secure the cardboard to the mold frames I applied G/5® Five-Minute Adhesive thickened with 403 Microfibers along each frame.
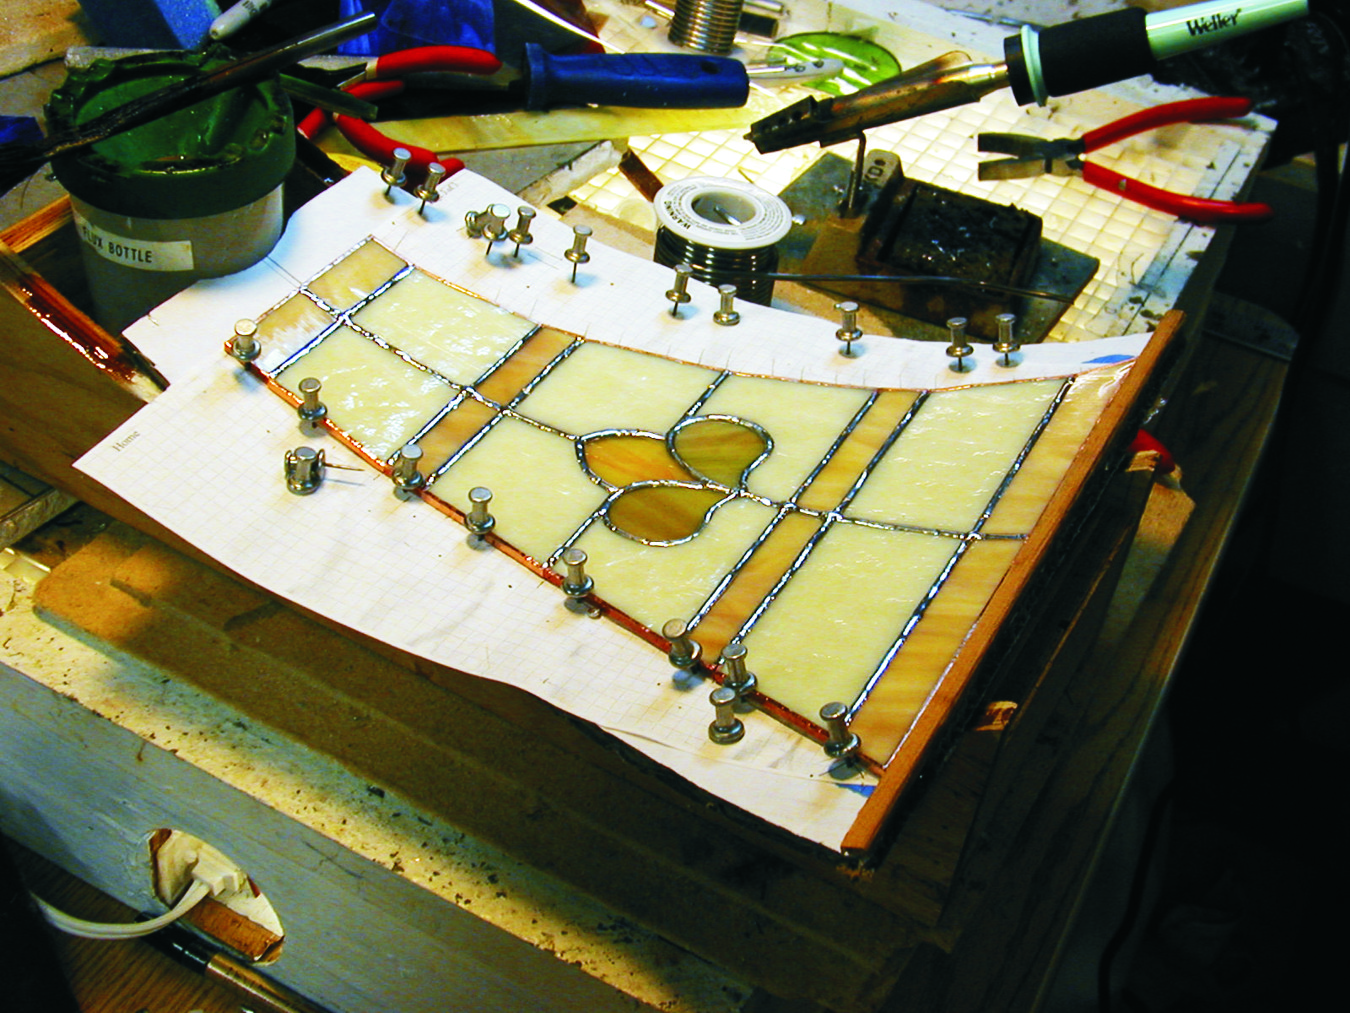
To make the stained glass panels I used a foil and solder technique where the edges of the individual glass pieces are covered with an adhesive-backed copper foil tape. The pieces were assembled like a puzzle onto a pattern held in place with push pins and eventually soldered along the seams to secure them to one another.
After the individual panels were assembled and soldered, they were assembled onto the mounting ring and soldered to one another.
In the end, G/5 Five-Minute Epoxy played a small but critical role in the fabrication of this custom lampshade mold.