Building a Barbecue Grill Table
Spring 2012 Fall 2006

GET STARTED
FREE PRINT & DIGITAL EDITIONS
Spring 2012 Fall 2006
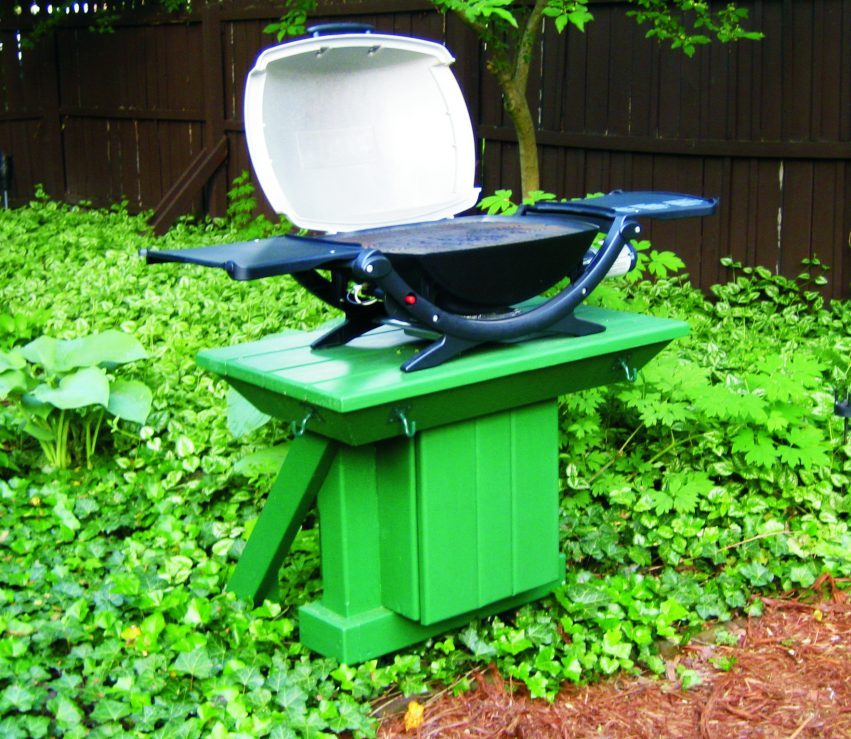
In midwinter, Grant purchased a portable barbecue and would, by summer, need some kind of weather-resistant grill table to support it. The table was to be located in an old English garden setting. I agreed to build Grant as an example of high-quality, all-weather construction using treated lumber and WEST SYSTEM® Epoxy.
I finished the table later that spring. Afterward, Grant added screened vent holes and applied three coats of paint, then placed the table on duty in his garden, confident of many years of service. True to its design, this table remains in service decades later.
The wood selected for this project was pressure treated 4″×4″, 2″×4″, 5 4″×6″, and ½” Medium Density Overlay (MDO) plywood. The solid wood was Copper Azol treated lumber—one of the lumber treatments approved as a replacement for CCA which was banned recently. MDO plywood has a phenolic paper applied to both surfaces of fir plywood. It is used for surfaces that will be painted, such as signs. The phenolic covering provides a nice, flat, stable surface for paint. Epoxy adheres very well to the phenolic covering without any surface preparation, so glue joints are easy.
I let the treated wood dry in my heated shop for a week or so before beginning work on the project. Treated wood is usually very wet when purchased, and I wanted to get the moisture content down to a manageable level. The problem with trying to glue up wet wood is not so much the adhesion of the glue, but the shrinkage that occurs as the wood dries. The 4″×4″ lumber was left over from another project and had been in my shop for a year or so. It was pretty dry, but it had split a little as it dried. I filled the splits with thickened epoxy and sanded each surface and rounded the edges before using them in the box assembly.
Assembling the Wooden Flat Panels
The necessary 5/4″ wood pieces that would make up the flat panels of the box were cut slightly oversize and trimmed to the exact size after gluing them together. I examined growth rings at the ends of each board and organized them so that when the panel was glued together, the growth rings alternated—one up and the next one down, etc. This helped to keep the
panel flat.
A combination of plate joining biscuits and epoxy was used to assemble the panels on the grill table. All the 5/4″×6″ lumber panels were glued using biscuits, which were located about 4″ apart. To glue the biscuits in place, I used a lightly thickened mixture of WEST SYSTEM epoxy and 406 Colloidal Silica Filler. The wood biscuits don’t swell when using epoxy so the clamps have to remain in place longer than with water-based glue. While this slows the construction process somewhat, the completed product will hold up to exterior use much better.
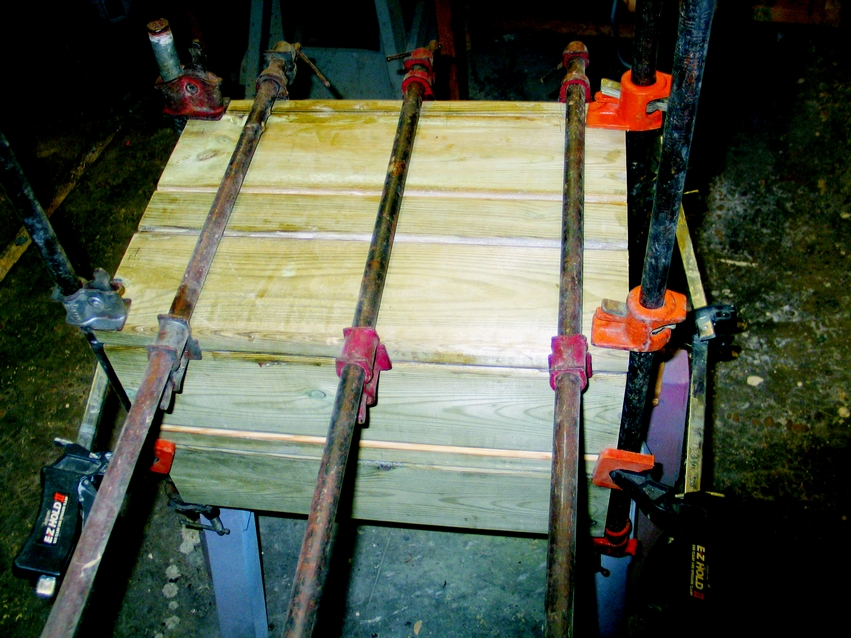
When clamping these panels, I alternated the bar clamps with one on top of the panel, the next below the panel, and so on (Figure 1). Also, note the clamps at the end of each panel. These were used to clamp a straight scrap of wood to the bottom of each panel. This scrap held the panel flat while the epoxy cured. The scraps of wood had poly plastic stapled to them so they wouldn’t stick to the bottom of the panel.

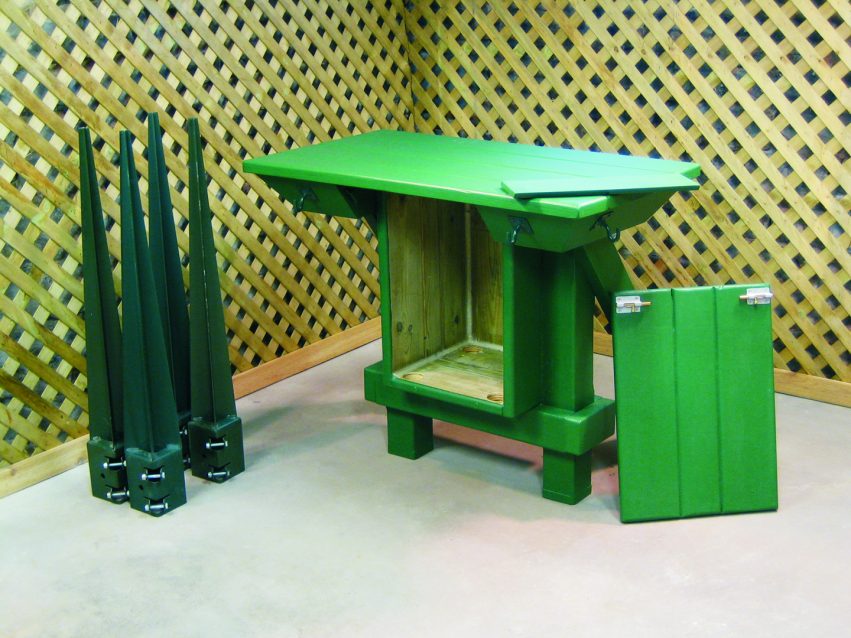
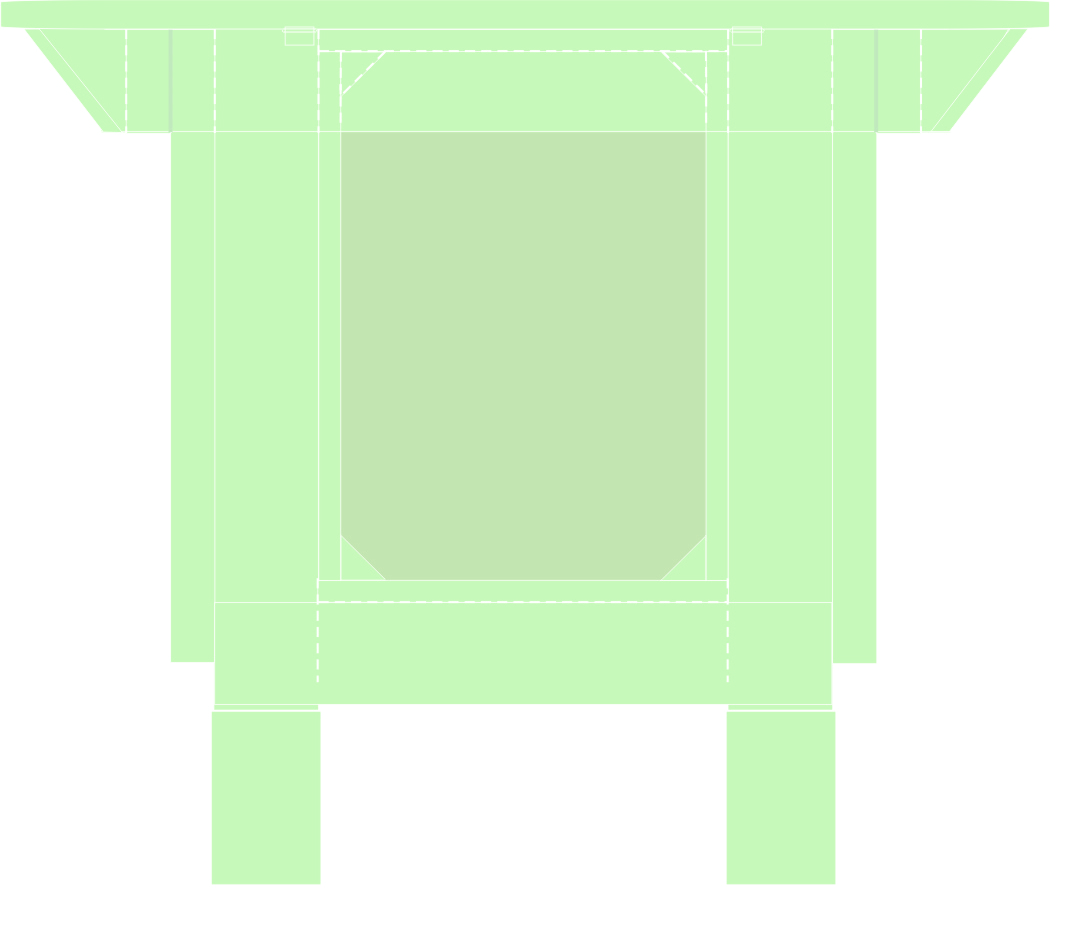
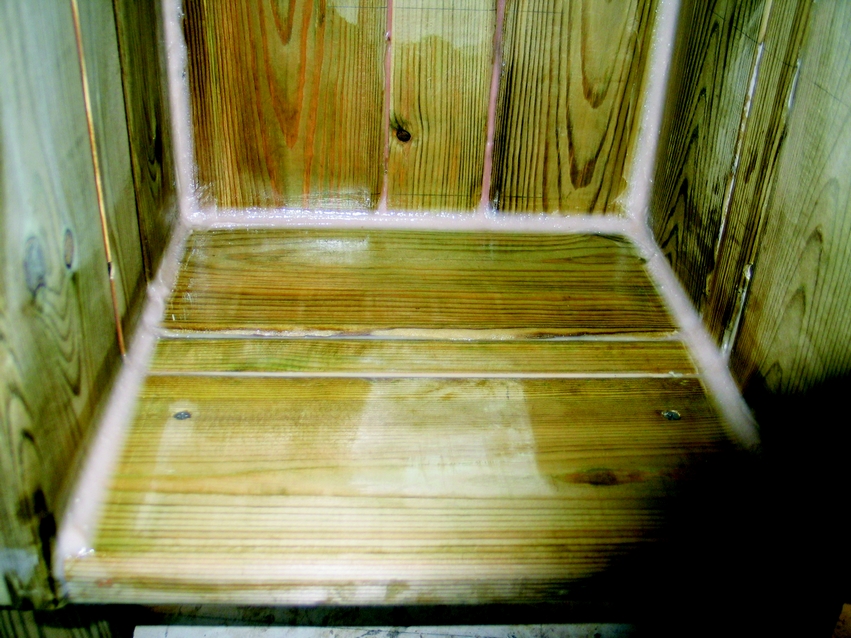
When all the flat panels were complete, I assemble them to make the box that would hold the LPG tank (Figure 2). Fillets on the inside corners added extra surface area to each joint (Figure 3). The fillet material was WEST SYSTEM 105/205 thickened with 406 Colloidal Silica to peanut butter consistency. This combination produces a high-strength fillet.
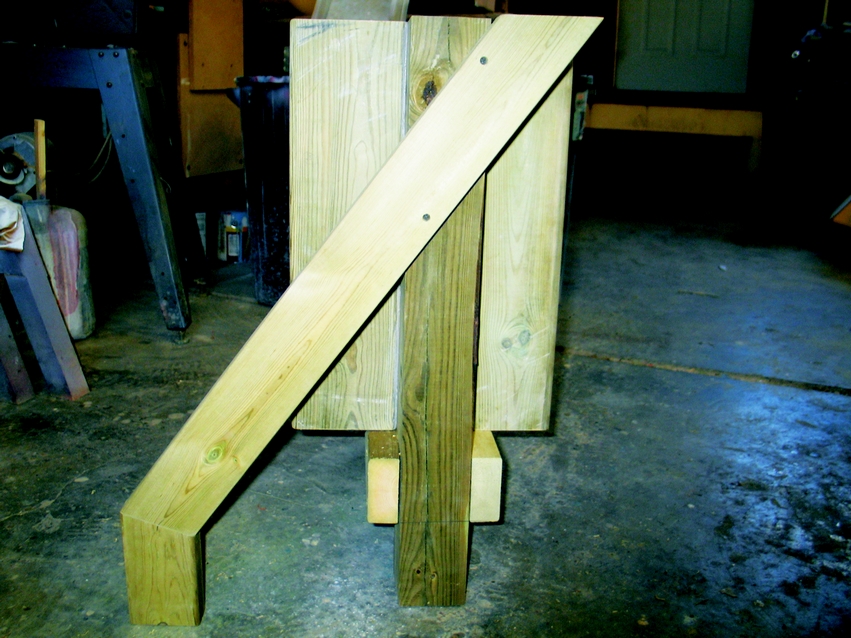
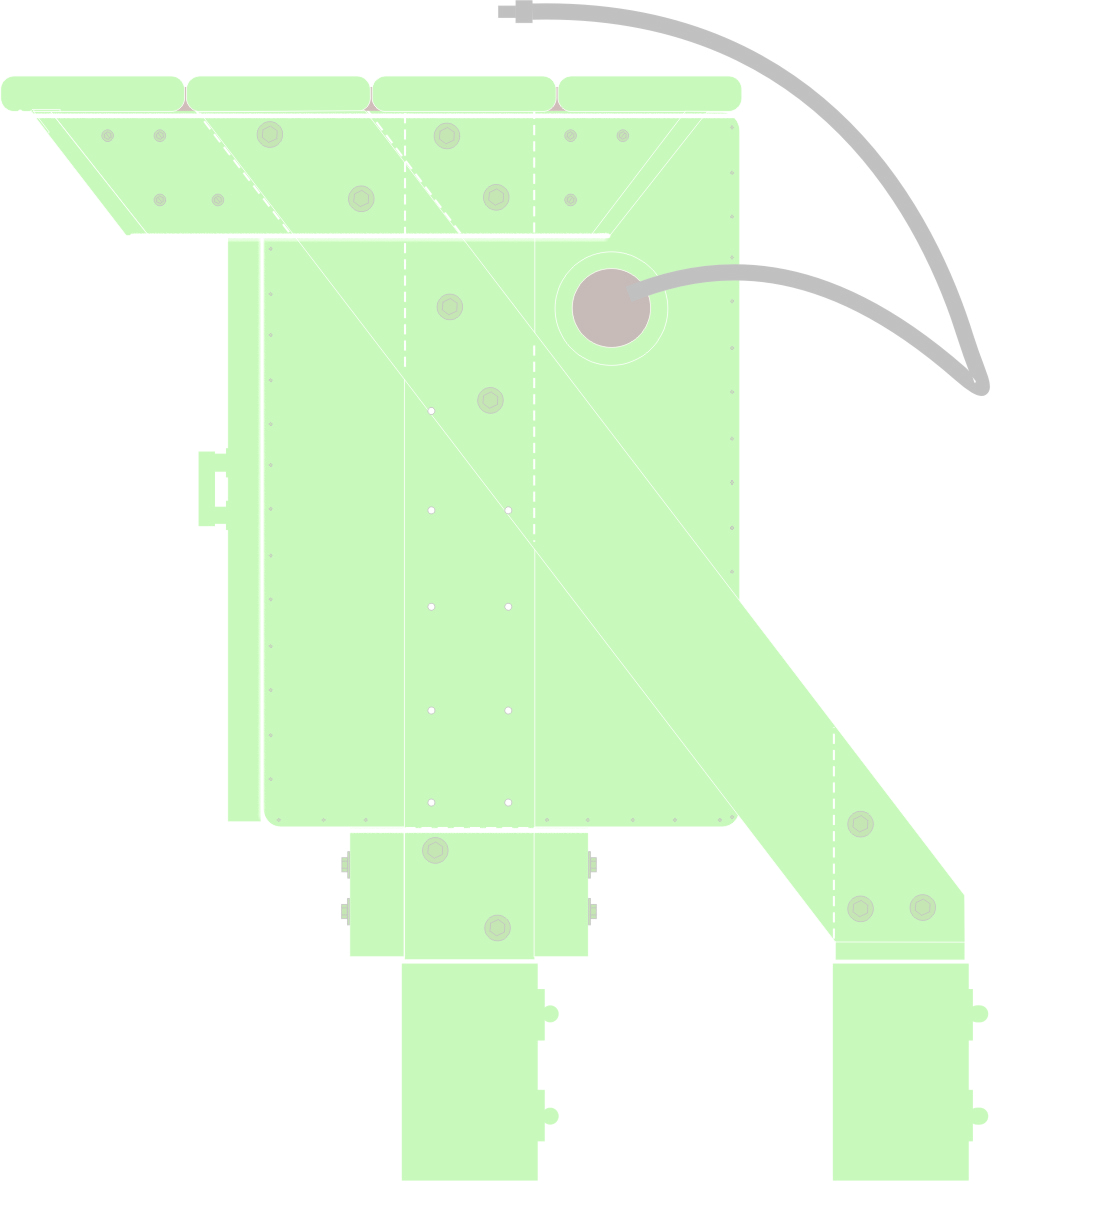
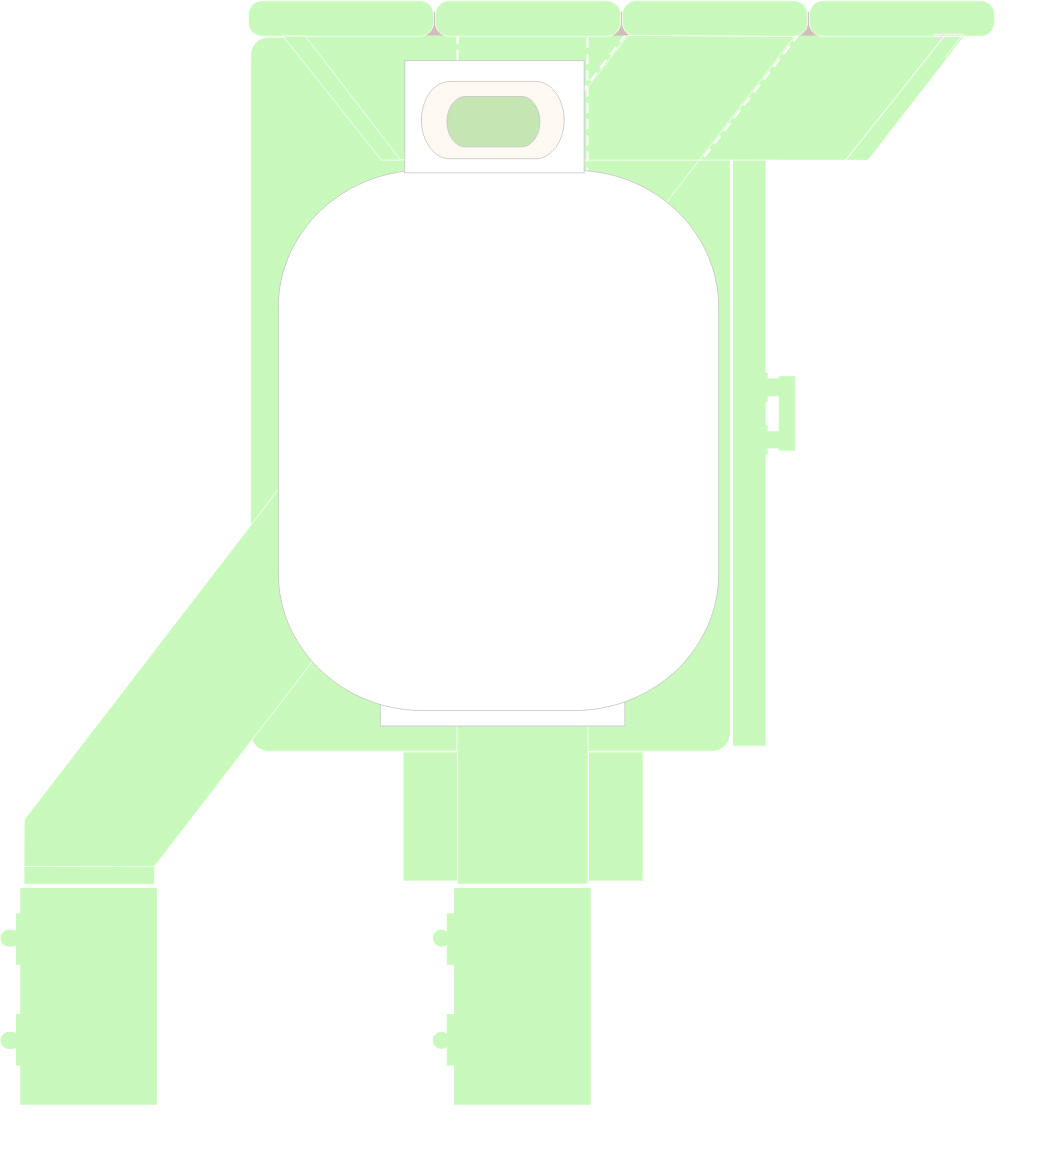
The plywood apron The print showed an apron with sides sloped at 37° (Figure 4). To make this assembly, the wood strips making up the apron had to have a compound miter. The blade tilt was set to 34° and the miter gauge was set to an angle of 31.5°. The corner joints were tacked together using a few brads and each inside corner was filleted.