


By Chris Maples
Editor’s note: this article was written in 2000, years before we formulated G/Flex 655 epoxy which has superior performance with plastics. The basic plastic boat bonding methods described here still represent best practices, but for optimal results use these methods with G/flex 655 epoxy on plastics.
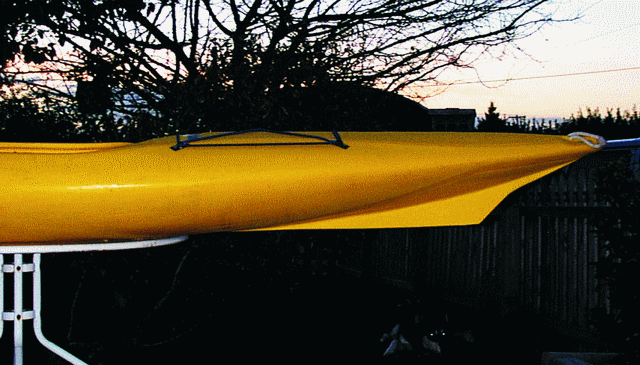
The hull shape of a white water kayak is not designed for tracking well in open water. Since I do most of my kayaking on open water and flatter rivers, I decided to mount a skeg on the hull to make it track better. This is pretty simple if you own a wood or fiberglass boat, but can be more challenging on a polyethylene kayak.
This is the situation I was faced with. Low energy surfaces such as polyethylene can be difficult to bond to with epoxy. However, using the proper techniques can ensure successful bonding. These are the steps that I used to bond a skeg to my boat, beginning with good surface preparation.
- I first sanded the polyethylene surface. Using coarse sandpaper, such as 80-grit, keys the surface and allows for good mechanical bonding. I allowed for plenty of bonding surface. Although my skeg is only an inch wide and 18″ long, I prepared a bonding area several inches wide on either side of the skeg.
- I then flame treated the polyethylene surface after sanding. To flame treat a plastic surface, hold a propane torch flame about 4″ to 6″ from the plastic (with the tip of the flame just above the surface) and move it across the surface at a rate of 2 or 3 inches per second overlapping the previous pass slightly. Keep the torch moving and only allow the exhaust gases to hit the surface. If done correctly, the surface will not discolor or burn in any obvious way. This technique oxidizes the surface and improves adhesion. For best adhesion, bond to the surface within 30 minutes of treatment.
- I cut the shape of my skeg out of Styrofoam™ to match the aft end of the hull. The bottom shape of the skeg can be adjusted after it is bonded in place. The shape is designed to provide good tracking without being too deep.
- I bonded the foam skeg to the prepared hull surface with thickened epoxy and ran fillets the length of the skeg on either side.
- I used staggered layers of fiberglass cloth to build the foam-cored skeg. One layer of fiberglass covered the foam skeg and the entire bonding surface. The next layer of cloth covered the skeg and extended over the fillets. The final layer of cloth simply covered the bottom of the skeg to improve abrasion resistance. This staggered arrangement of the fiberglass allows for some flexibility of the mounted skeg.
The kayak has been used on a few rivers in Michigan and the skeg has seen its share of abuse. Scraping against rocks and running over fallen trees has not affected the adhesion of the skeg to the polyethylene hull.


