

By Tom Pawlak — GBI Technical Advisor
My neighbor Rollie is always coming up with these unbelievable deals along the highway between his home in Bay City, Michigan, and his cabin a couple hours north. The latest super deal was a big red garden tractor that was mechanically in near perfect working order—except the previous owner ran it into something and busted up the grille. He brought it over and asked if it could be fixed. Here’s how we repaired the broken grille on “Big Red.”
Some of these injection molded plastics are difficult to get a reliable bond to, so I told Rollie there were no guarantees on the broken grille repair. I was reasonably confident the repair could be done though because I have had some success repairing injection-molded hoods on different brands of riding tractors in the past. We could have approached this repair by riveting metal straps to the backside of the broken grille as reinforcement, but with all of the molded details and the multiple broken pieces that needed to be connected, I felt that the fiberglass buildup/overlay made more sense and would likely end up being a stronger repair.
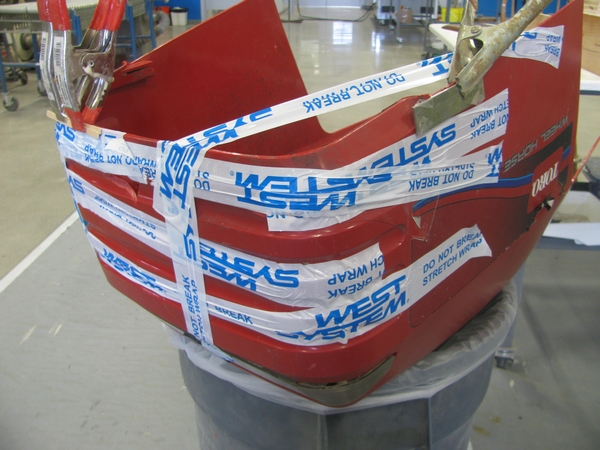
My plan was to reassemble the broken pieces by stretching plastic tape across the deformed pieces and hold stubborn spots with spring clamps and temporary supports. The tightly pulled tape acted like rubber bands that helped draw everything together.
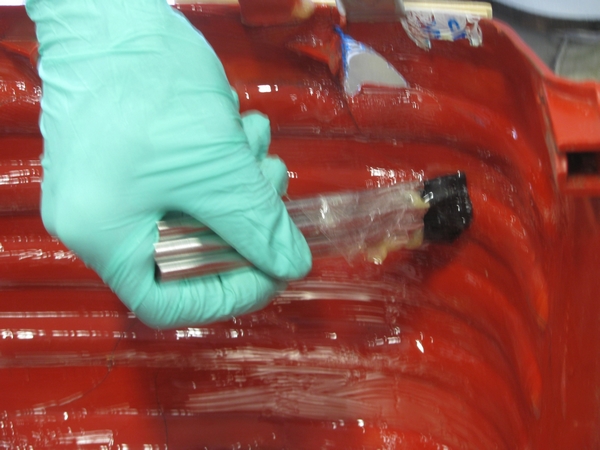
The structural part of the repair was done from the backside by cleaning the plastic, sanding aggressively with 40 to 60-grit sandpaper, and flame treating the plastic (blue part of the flame from a propane torch touches the plastic with it moving at about 12″ per second across the surface to enhance the bond) just before applying a coat of WEST SYSTEM® G/flex 650 Epoxy. While this coat of epoxy was still wet, I laid in a single layer of 6-ounce fiberglass cloth.
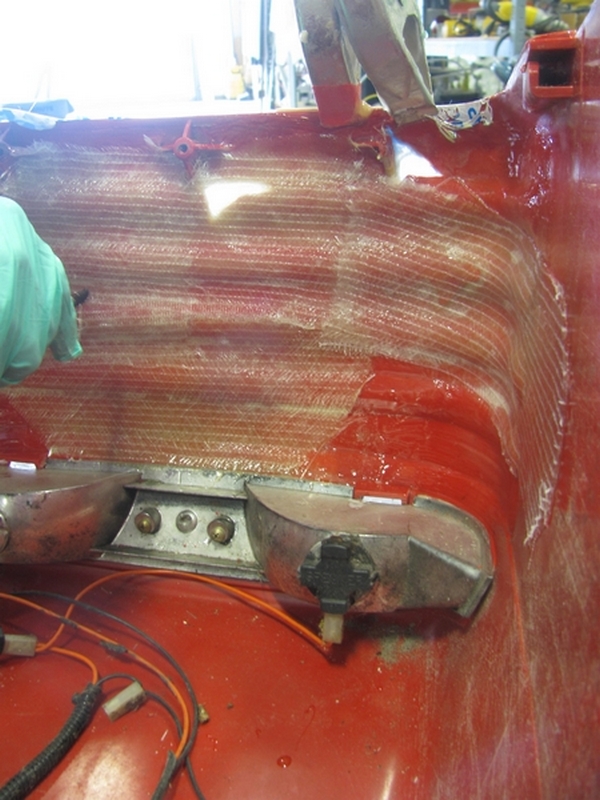
G/flex Epoxy is best for bonding to plastics; however, it is not optimized for wetting out heavier fiberglass fabrics. I opted to switch to 105 Resin and 206 Slow Hardener (while the G/flex Epoxy was still uncured) to more quickly wet-out the layers of 17-ounce biaxial fiberglass cloth used for the rest of the reinforcement.
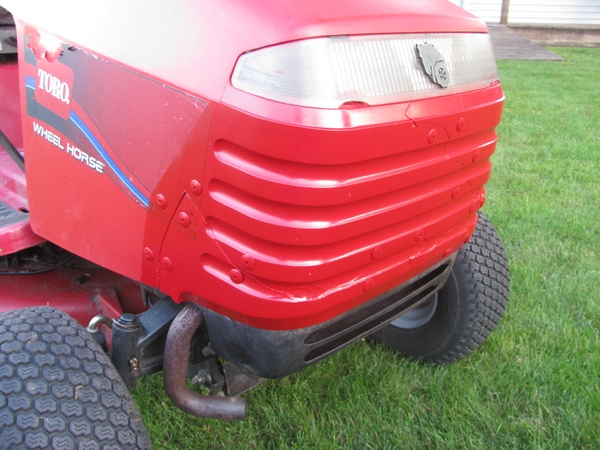
For this repair, I did not grind bevels like we would recommend on a fiberglass laminate repair because I wanted to keep the repair simple. For additional strength, Rollie installed large pop rivets along each side of the major breaks after the fiberglass reinforcement on the back had cured solid. I think the large rivets give Big Red a “don’t mess with me” look—sort of like Scarface in the mobster movies of old… All that mattered in the end though was that Rollie was very happy.
For more on gluing plastics and instruction on flame treating plastics for best adhesion see the article Gluing Plastic with G/flex in Epoxyworks 26.


