

And epoxy/fiberglass roof was the solution for Bill Wendt. He called and described how his flat roof had been leaking. He said he was also putting an addition on the house, and wanted to use the same flat roof design so the addition would blend in with the rest of the house. But first, he wanted to eliminate the roof leak.
Being a boater, Bill was aware that many boat decks are built with glass fabric reinforcement and epoxy over plywood. He realized that an epoxy/fiberglass roof could be a solution for his problem, and called to ask if epoxy and glass fabric over the roof plywood would make the roof waterproof and durable. Although I hadn’t heard of epoxy being put to this use before, I felt it could work quite well.
He was concerned about covering some older, rotten plywood, so I recommended he replace any bad roof sheathing first.
Bill did not want to undertake this entire epoxy/fiberglass roof project on his own, so I directed him to Paul Wise, a friend and customer of ours from the Chicago area. Paul has long been building, repairing, and restoring boats and turned out to be perfect for the job.
Paul looked at the house, then called me for help in calculating the amount of material necessary to complete the job. At first, it seemed there was some mistake in determining the roof area at 3500 ft2. But Paul assured me that this large figure was correct, as it included multiple sections of roof, as well as the parapets and areas where the laminate is extended up the walls and under the siding. Until then, I hadn’t quite understood just how big this project was really going to be.
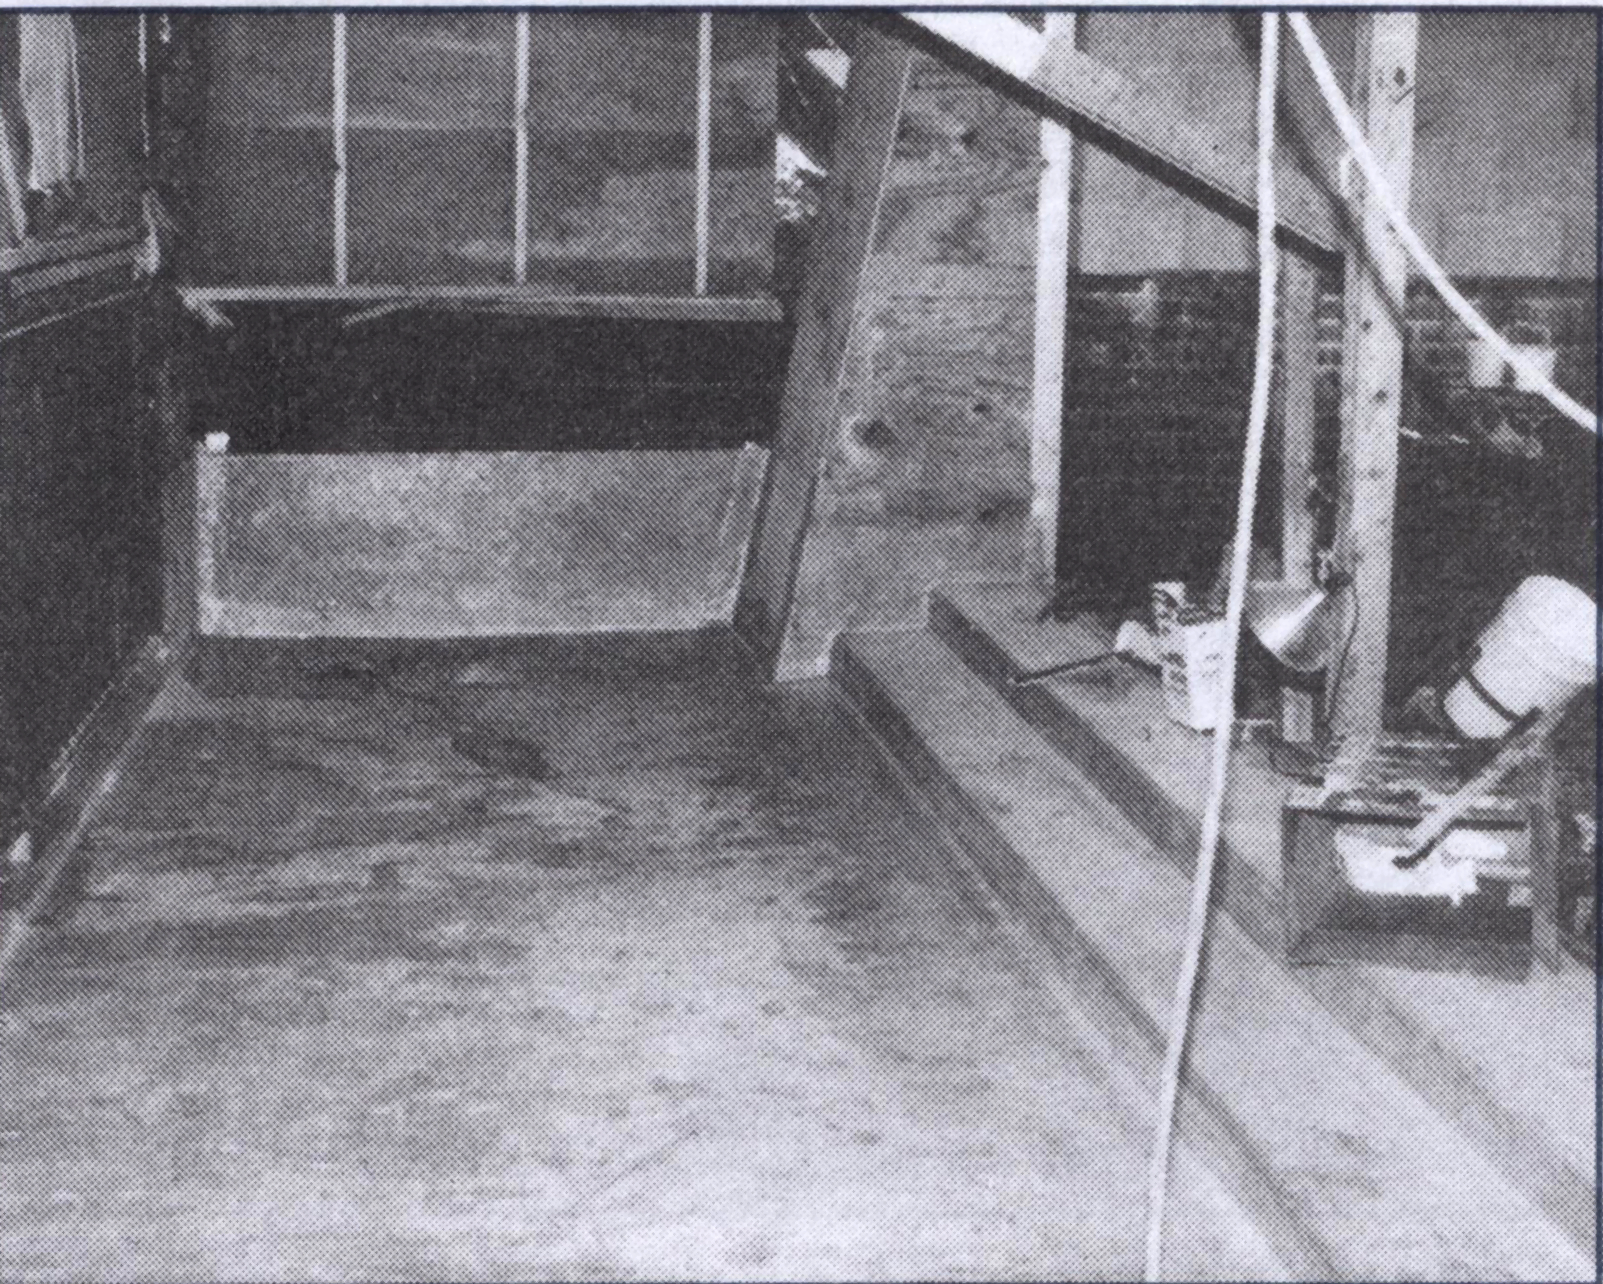
The house is on the south shore of Lake Michigan in Chicago, and Paul began the project in November. In order to protect the project from fierce weather, all of the work areas were covered in shrink-wrap plastic.
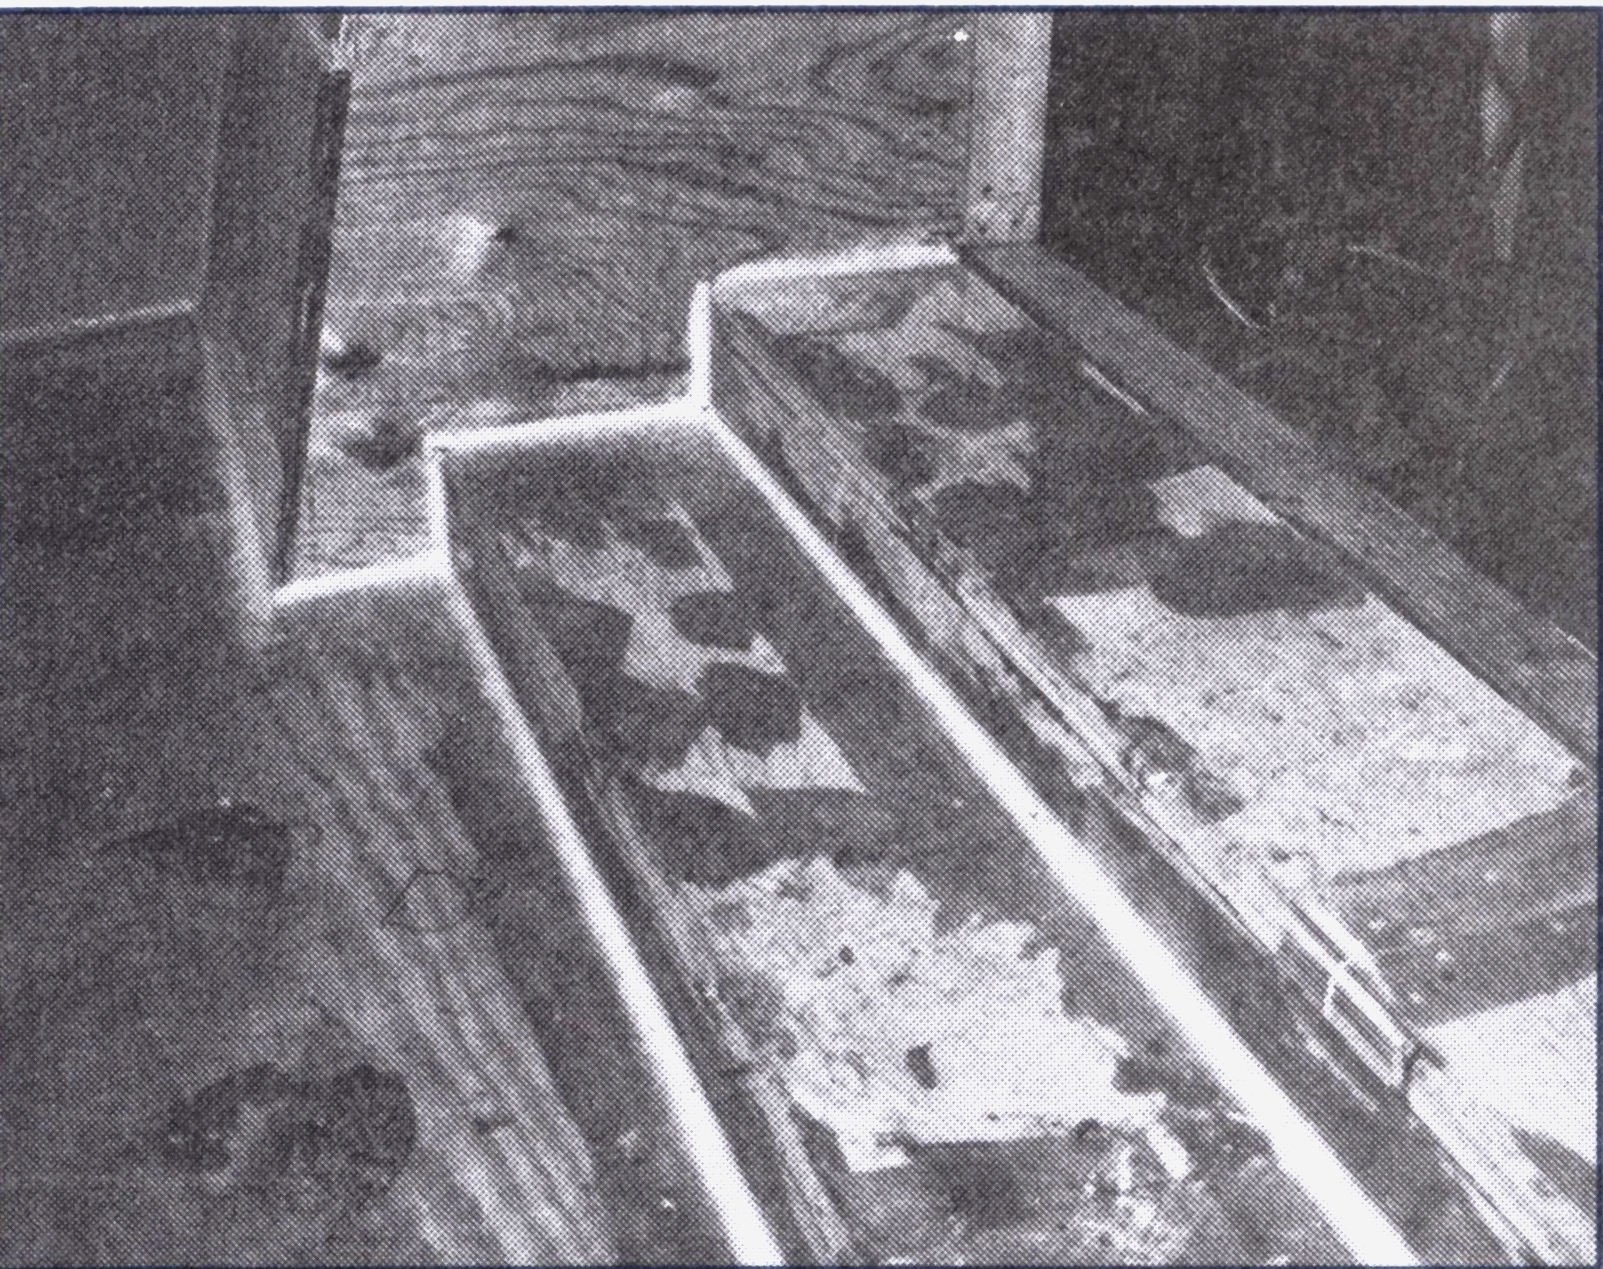
Bill wanted the new sections of the epoxy/fiberglass roof to be completed first, where he was adding a conservatory and exercise room above the existing house. He was including a new deck on each side of the addition, two steps down from the floor level of the addition. The decks feature access from both sides of the addition. The remaining roof sections were scheduled to be refinished in the summer of 1993.
On the job site, Paul’s crew from Wise Marine had to work in extreme weather conditions. The epoxy resin and hardener were kept inside the house so they would be at room temperature when mixed. Even though the area was protected with the shrink wrap cover, and heated with a duct from the heating system, the temperatures under the enclosure got as low as 45ºF on cold days. Then, the following summer, when the rest of the house was re-roofed, the temperatures got as high as 98ºF on the roof. This heat presented a whole new set of problems, but Paul and his employees took it all in stride.
The first layer of plywood was already down when Paul and his crew arrived at the job site. They coated the second layer of plywood on the backside so it would be completely encapsulated once the glass was in place. All fasteners for the top layer of plywood were dipped in epoxy, to prevent condensation on the fasteners from damaging the plywood substrate.
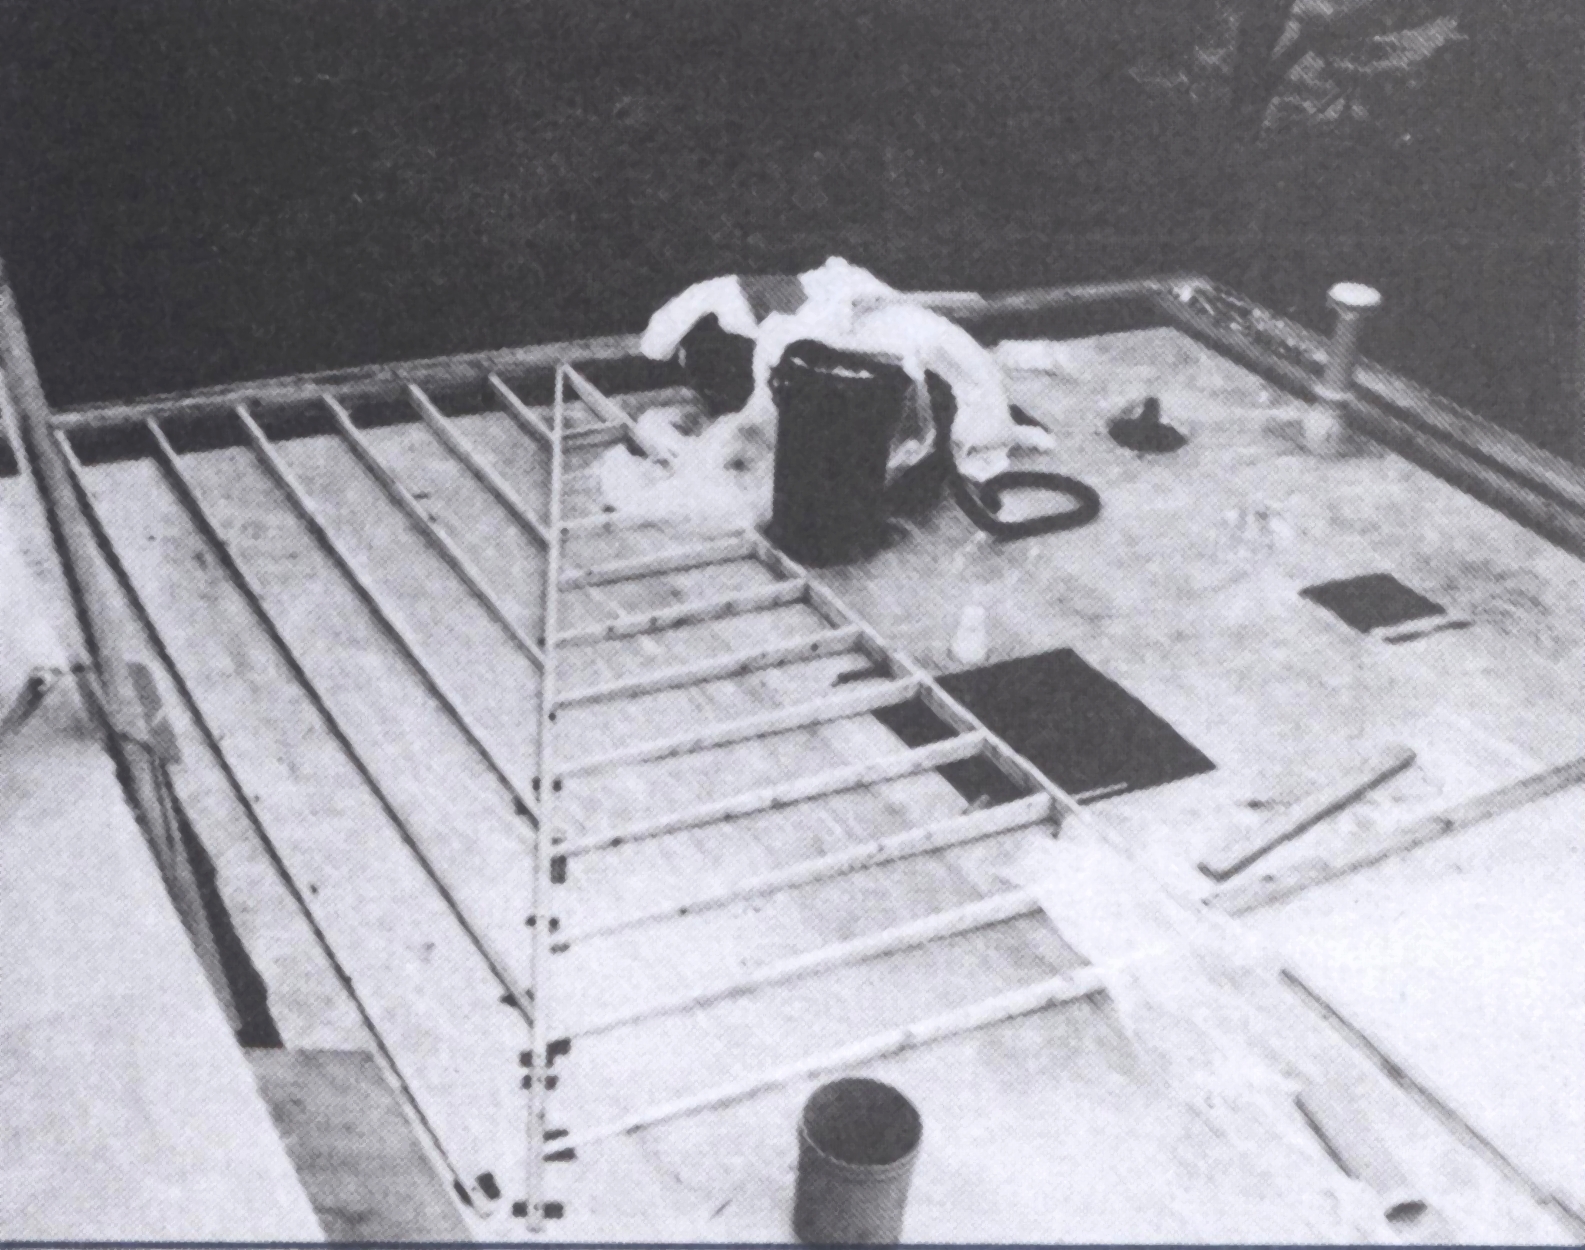
They dished out the joints in the top layer of plywood to prepare for a layer of glass tape. After taping the joints, they filleted all of the corners with epoxy and 406 Colloidal Silica. These fillets allowed a nice smooth transition from the horizontal surfaces to the vertical surfaces and made it easier to run the glass fabric around the corners. The fillets were applied with a Hyde 5-in-1 tool with an edge rounded off to a 1″ radius. This tool is a plastic rectangle about 6″ x 11″ with a handle mounted diagonally. They remain easy to grip, even with gloves that are smeared with epoxy putty.
The next step was applying two layers of 738 Biaxial fiberglass fabric over the entire roof area, and up onto the sides of the parapet, walls, and railing around the roof’s edges. When the shingles were applied to the parapet, and the siding was applied to the walls, they came down over the fiberglass and epoxy coating. The steps were laminated as well, so all of the exposed surfaces are completely sealed and glassed.
The fiberglass fabric was pre-cut into 25″ x 8′ strips to make it more manageable. Paul also cut some 12½” wide strips to set up a stagger for the joints of the fiberglass fabric. This allowed Paul and his workers to apply both layers of glass in one continuous operation as they worked across the roof. That way, they did not need to sand between the layers and did not have to reach over more than 37″ of wet epoxy.
After mixing the epoxy, the crew poured it onto the plywood surface to wet out a 25″ wide area along one long edge. Then they laid a 25″ glass strip into the wet epoxy, mat-side down. They squeegeed the glass and rolled over it with a bubble buster roller, adding more epoxy as necessary to complete the wet-out operation. The second strip, 12½” wide, was applied on top of the first strip, aligned with the outside edge. Next, they wet out another 25″ section of plywood and applied a 25″ glass strip to the plywood, butting up to the first 25″ bottom strip. The fourth strip was applied on top of the two bottom strips with one edge butting the 12½” strip. The remaining strips were applied in the same alternating pattern across the roof with each joint in the top layer falling over the middle of a bottom strip.
After all of the glass had gelled, they troweled on a coat of slightly thickened epoxy to fill the fabric pattern and fair the surface.

Paul used a large bucket with a mark on the inside which equaled five lbs. of WEST SYSTEM® 105 Resin for mixing. He would weigh out 1 lb. of 205 Fast Hardener and add that to the resin in the bucket. Mixing was accomplished with a 3″ diameter paint mixer on a ½” drill. After mixing for a few minutes, and scraping the sides of the container with a large mixing stick, the mixture was quickly applied or thickened with fillers. See Big Batch Mixing Methods for details on how to do this.
When filler materials were added to make an epoxy putty, the resin/hardener combination was measured and mixed first. Then the mixed epoxy was poured into a plaster bucket mixer, which is a machine that spins a five-gallon pail while holding a scraper paddle against the side of the pail. The filler was added, and the bucket mixer was left to run for a few more minutes. The sides of the five-gallon bucket were scraped with a canoe paddle. As soon as the thickened mixture was taken out of the mixer, it was spread on a palette, to avoid heat build-up and extend working time.
For mixing large amounts of epoxy and fillers, a bucket mixer is a great contraption. They are generally used by masonry contractors to mix wet plaster or mortar.
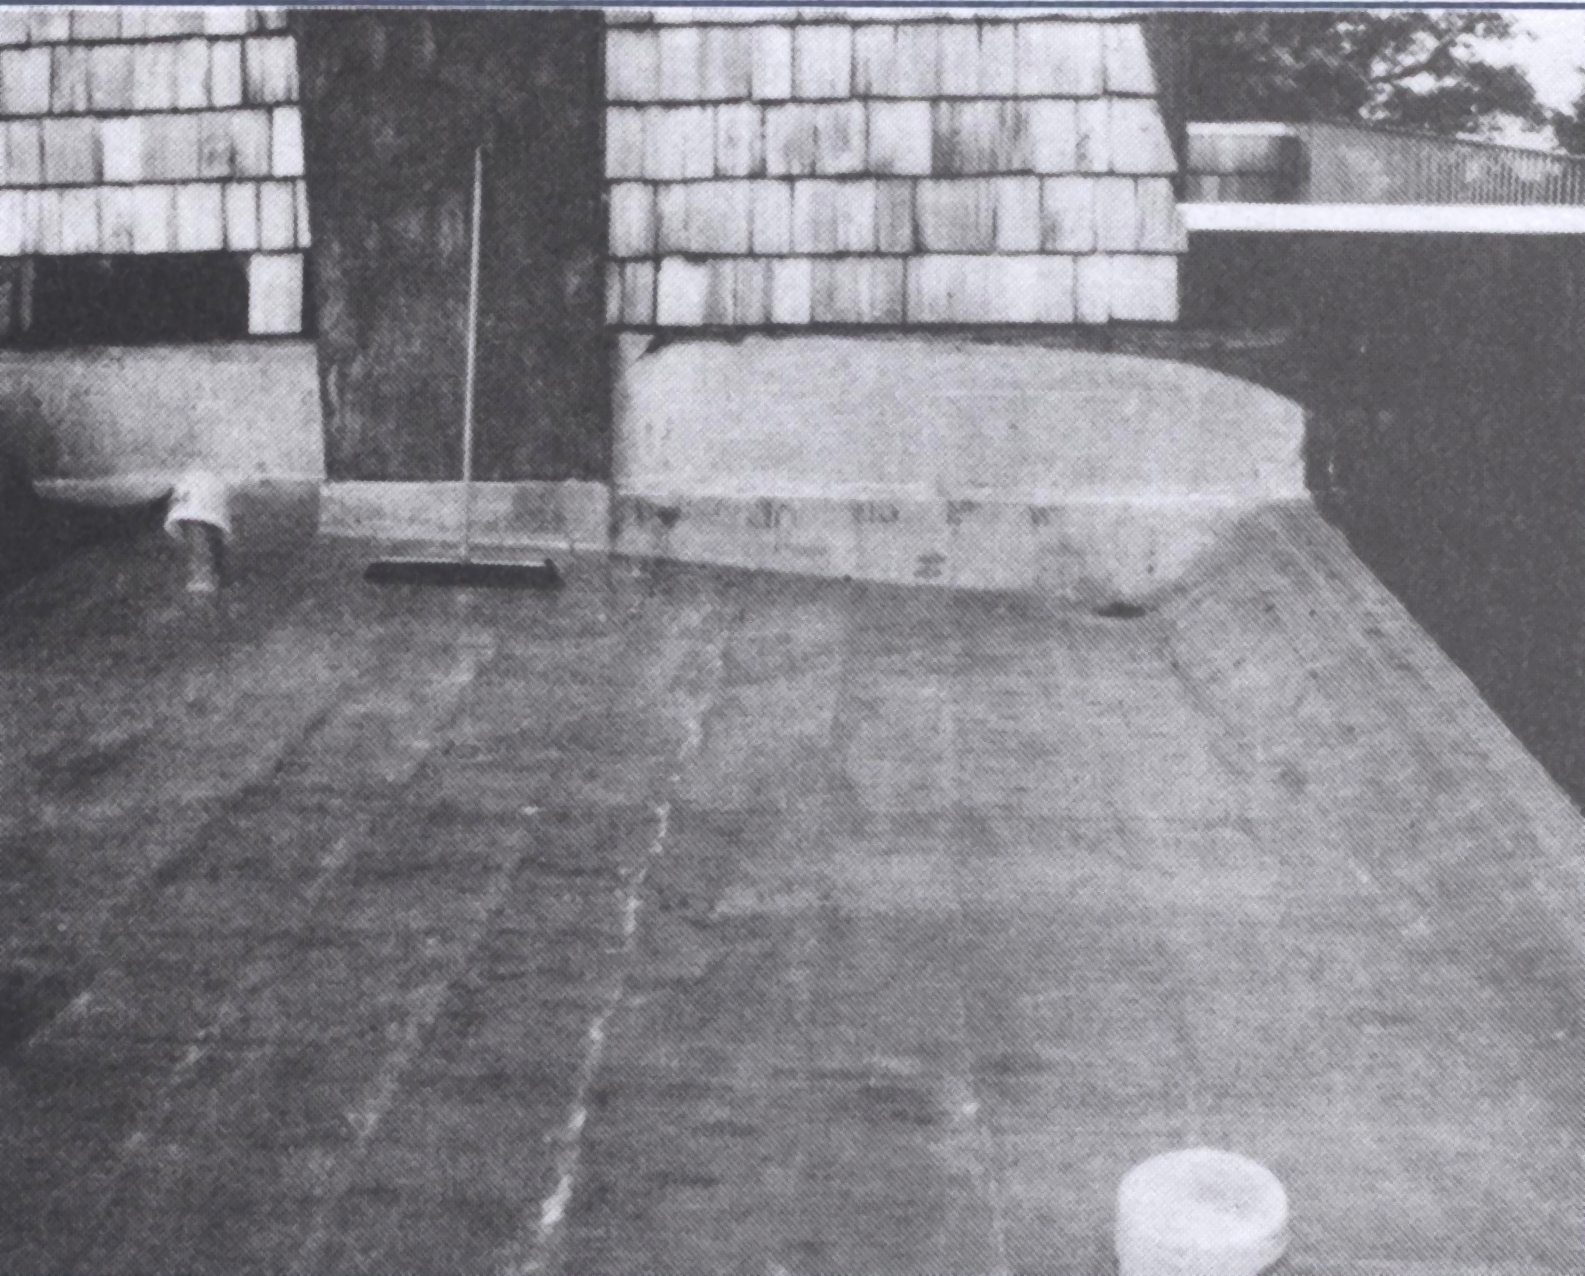
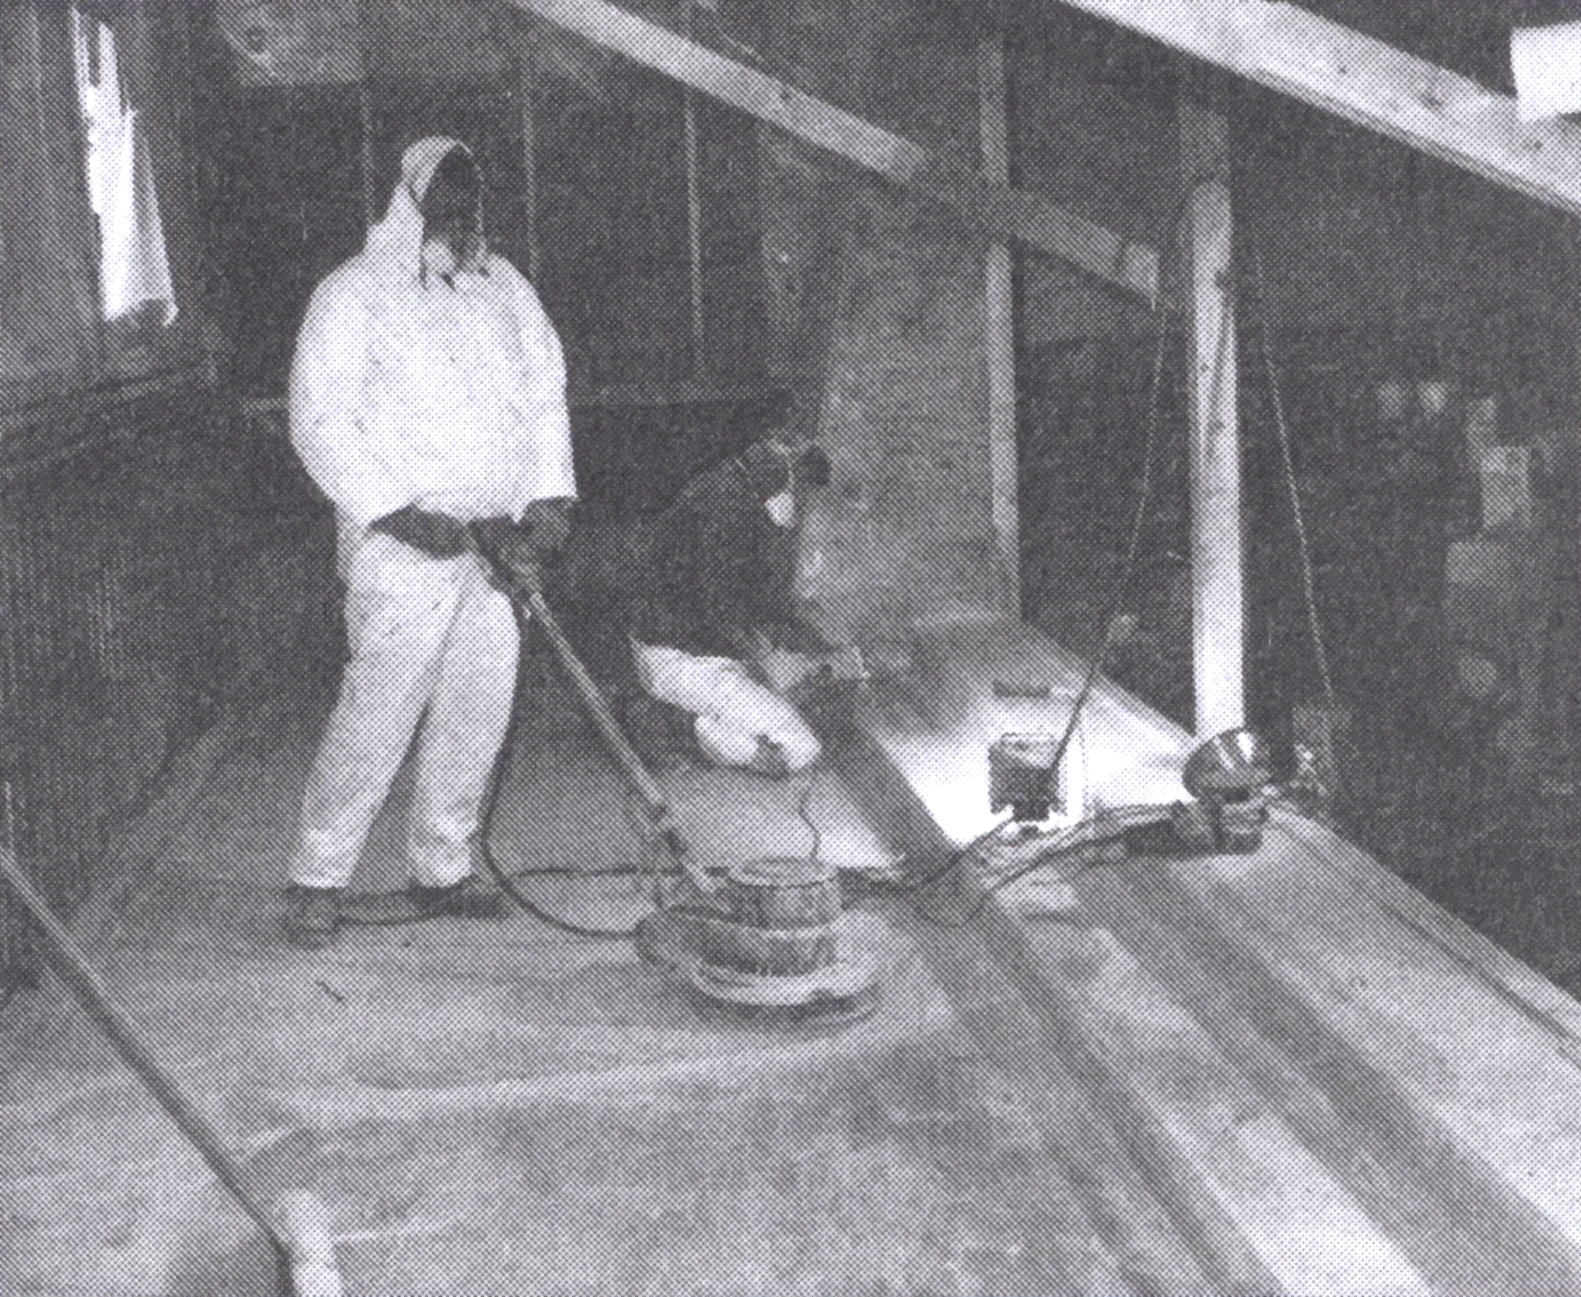
After applying all the fiberglass, and fairing, they sanded the surface with a floor sander. Then they applied a coat of epoxy and a fire retardant additive. This was to help prevent a wayward ember from the fireplace chimney igniting the roof.
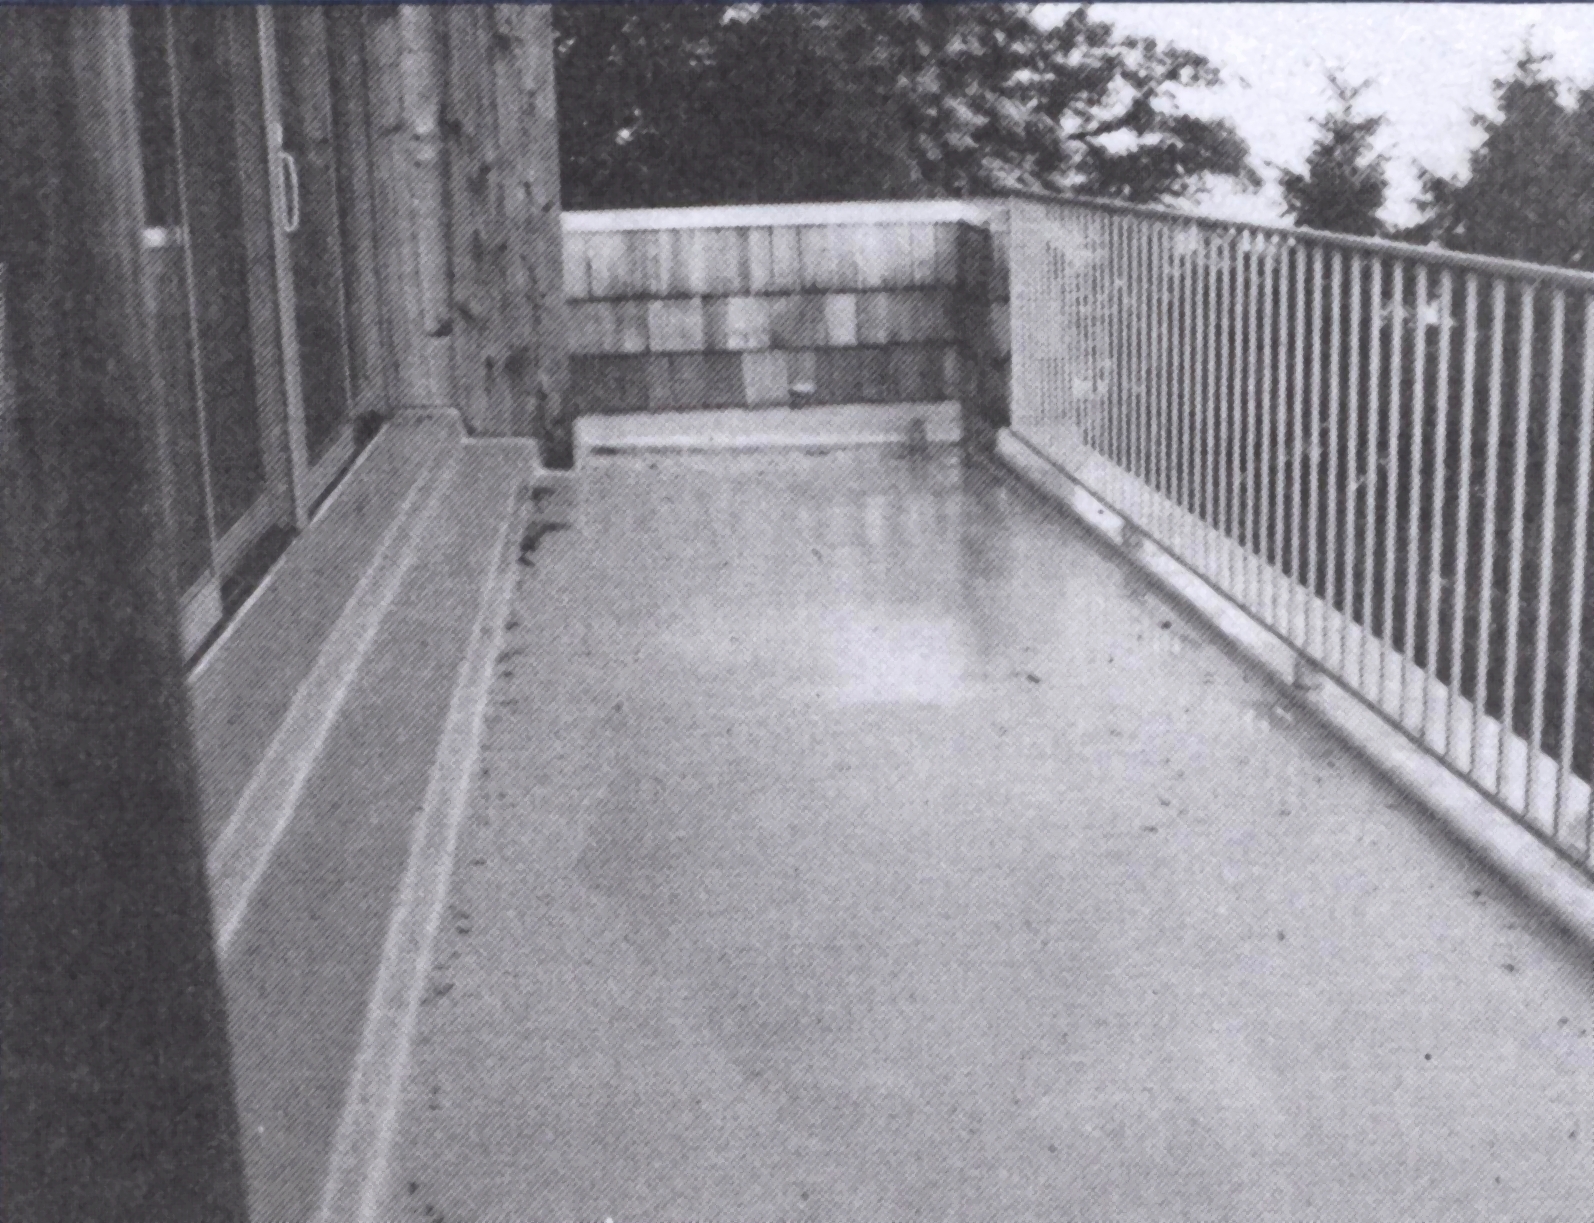
Using the floor sander, they sanded the surface a second time and applied a two-part polyurethane paint. The roof sections and decks appear smooth and neat with the pale gray, high gloss paint over the fiberglass surface.
The result of all the effort by Paul and his Wise Marine crew is a very durable, watertight, nice-looking epoxy/fiberglass roof on Bill Wendt’s attractive home.


