Aluminum Boat Repairs
Spring 2018

GET STARTED
FREE PRINT & DIGITAL EDITIONS
Spring 2018
After developing the Aluminum Boat Repair Kit we have had calls from customers saying they have a larger boat and cannot easily turn it over as recommended to work on the seams and rivets. They ask “will this kit still work on my boat?” The answer is, yes, it will. It will be a little messier but will work the same way upside down or right side up.
Start by identifying and marking where the leaks are. If possible, do the aluminum boat repairs from the inside of the boat so gravity helps draw the epoxy through the leaking area. Working upside-down from the outside is possible, but be careful to prevent drips onto yourself or surfaces you don’t want exposed to epoxy. Abrade the marked leaks until you get down to shiny, clean aluminum before starting.
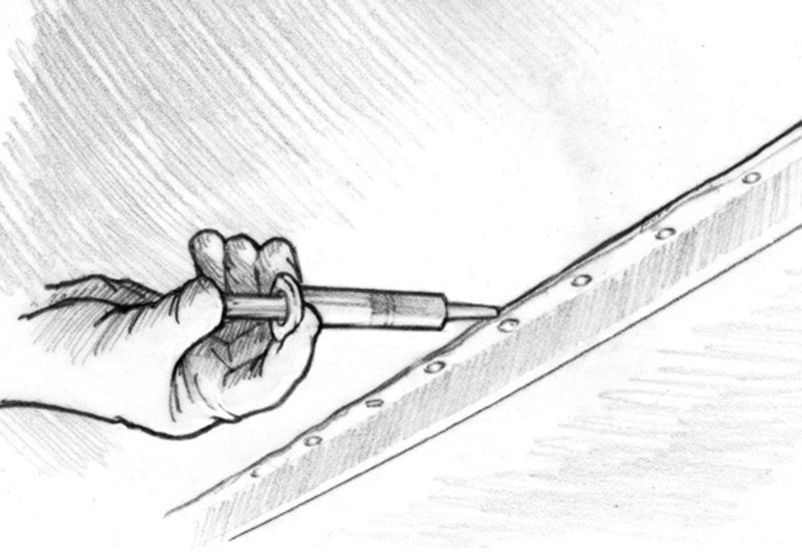
Using G/flex 650, mix equal parts of resin and hardener then load it into an 807 Syringe. Warm the rivets and the seam using a heat gun or a propane torch for a 12″ to 18″ long section. Apply a continuous bead of G/flex along the seam and around the rivet heads. A second heat from the heat gun or propane torch might be needed to thin the epoxy allowing it to move along the seam and penetrate deeper into the seam and under the rivets. You should see the epoxy wick between the pieces of metal.
Remember, the heat will shorten the working time and cause the epoxy to cure quicker. Be careful to not heat the epoxy to the point where it discolors or begins to smoke.
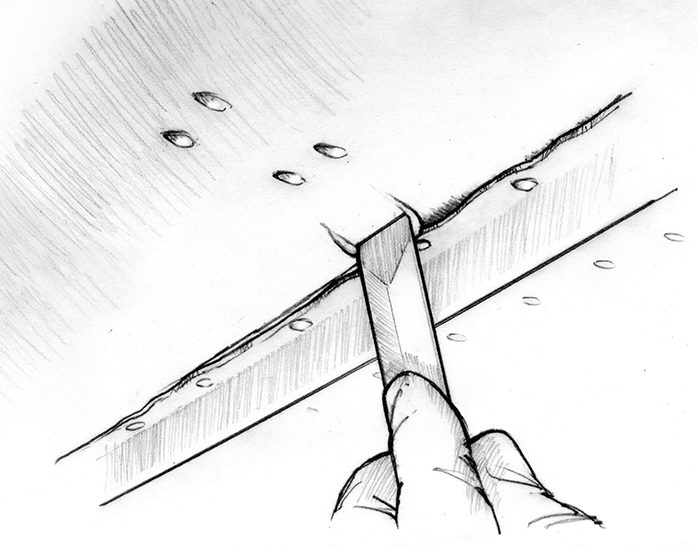
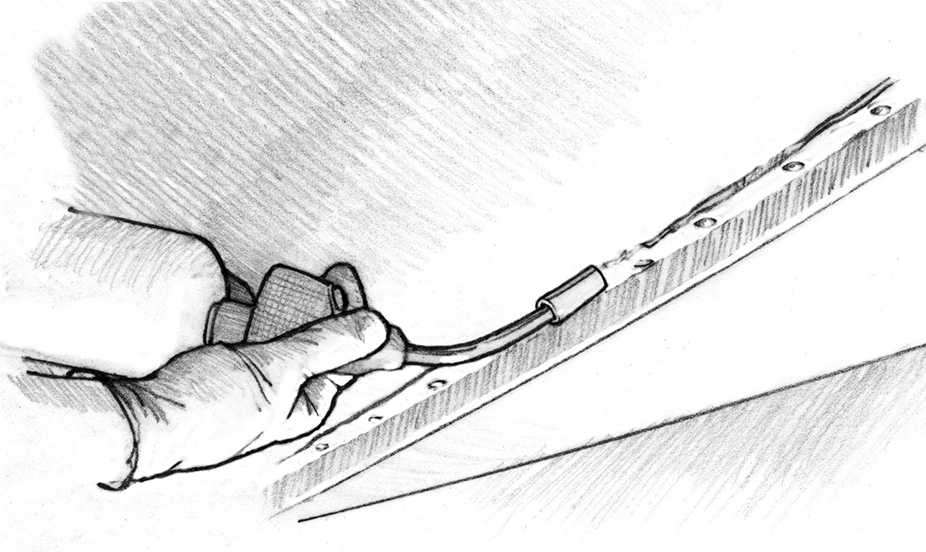
For larger gaps and loose rivets G/flex 650 can be thickened with 406 Adhesive Filler to a mayonnaise consistency, and then forced into gaps with a mixing stick or putty knife. A syringe filled with this thicker mixture can also be used to help force the mixture all the way to the back of gaps. When using a syringe for thickened epoxy it will be necessary to trim the tip back creating a larger opening.
Keep forcing the mixture into the gaps or seams until the epoxy is forced out the other side of the seam or gap. Thickened epoxy bridges gaps and won’t drain out of seams while it cures. Wipe the uncured excess epoxy from both sides with paper towels. If needed use a solvent (lacquer thinner or acetone) sparingly to remove stubborn epoxy. Be careful to not wipe the epoxy out of the gaps.
Allow the epoxy to cure overnight at 65˚F or warmer before using the boat. You can speed curing by applying moderate heat. Apply a spray paint like Rustoleum® All Finishes to match the aluminum or the existing paint color if desired.
Featured Image (top)—For thicker gaps, use G/flex 650 Epoxy thickened with 406 Adhesive Filler.


