A Quick Architectural Fix
Spring 2002

GET STARTED
FREE PRINT & DIGITAL EDITIONS
Spring 2002
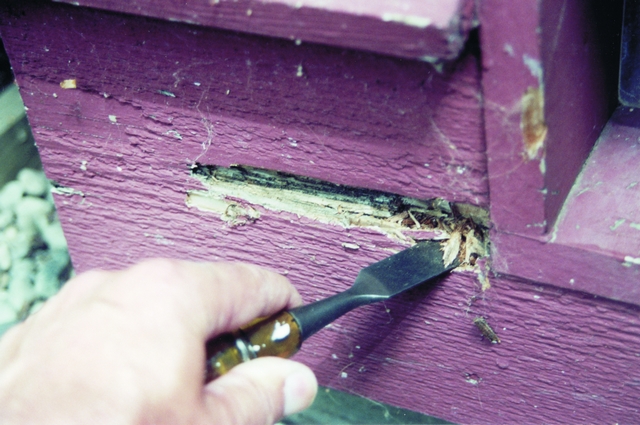
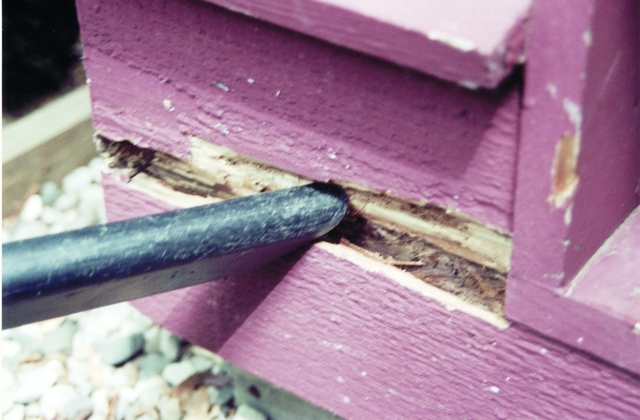
Last summer I used WEST SYSTEM® Epoxy to repair a small section of rot in a rough sawn cedar trim board on my house. Before gutter was installed, the trim board was wet frequently, but well ventilated. Only a narrow center section of the #2 grade, 1″×12″ board seemed to be vulnerable.
Replacing the board would have involved running to the lumber yard, making cuts to match a mitered corner and fit the piece around a small cat door. The fresh wood would also have to be primed before painting it. An epoxy solution, in this case, seemed the easy way out, and it made a good experiment. I’d had success applying latex paint over partially cured epoxy on previous projects, so I was confident this repair could be made quickly and last a while.
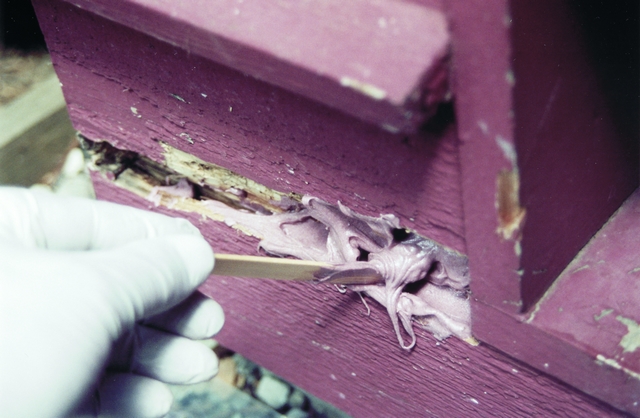
I filled the cavity with WEST SYSTEM 105 Resin and 205 Fast Hardener, thickened with 407 Low-Density Filler and 406 Colloidal Silica Filler. I worked the epoxy mixture into all of the voids and filled it slightly higher than the wood surface.
Several factors helped make this wood trim repair project “quick.” The gutter I put up a year earlier apparently helped stop the rot and dry out the board, saving drying time.
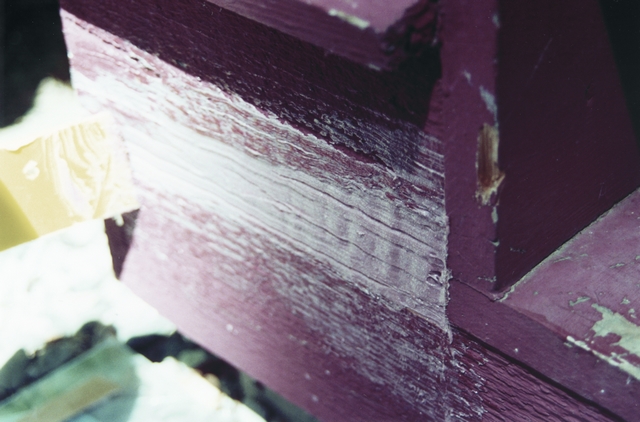
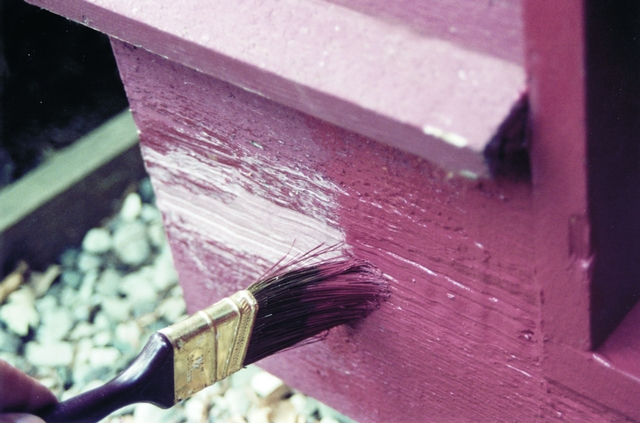
The board being rough sawn saved finishing time. I scuffed up the edge of a plastic spreader with a hacksaw and used it to level and texture the thickened epoxy. After several passes with the spreader, it looked close enough to the rough texture of the wood. The same repair on a smooth surface may have required waiting for the epoxy to cure fully, then sanding or smoothing with a sharp scraper before painting. (See Tom Pawlak’s article Scrapers—Versatile Tools for Working with Epoxy.)
Being able to use latex paint allowed the wood trim repair to be coated before the epoxy was fully cured saved me time and prep work. Most other types of paint must be applied over fully cured epoxy.
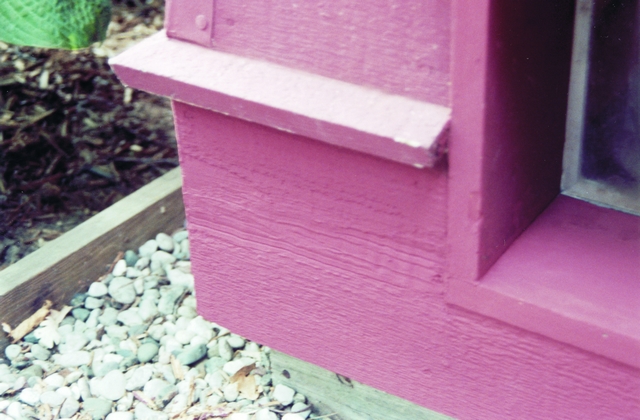
The trim wood repair has held up well for a year—no sign of shrinking, cracking or paint adhesion problems.