Epoxy Fairing Basics
Spring 2015

GET STARTED
FREE PRINT & DIGITAL EDITIONS
Spring 2015
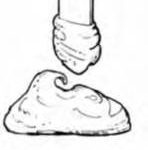
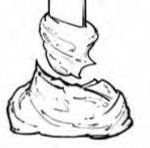
An epoxy fairing compound should be of a consistency that can be troweled onto a surface without sagging. Add 407 Low Density or 410 Microlight filler to mixed epoxy, checking the consistency as you stir in the filler to determine if the mixture has the correct viscosity for your application.

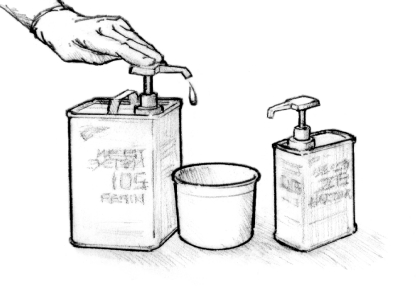
When selecting your hardener to create an epoxy fairing compound, consider the required working time, the ambient temperature, amount of epoxy that will be mixed, and desired cure speed.
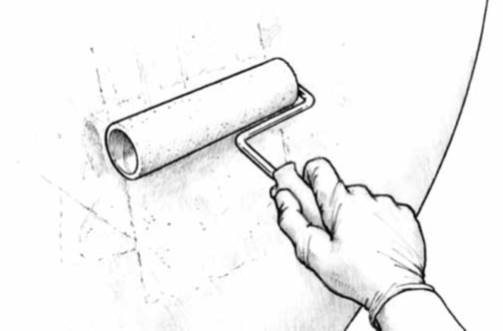
Highly thickened epoxy fairing compound mixtures will have very little epoxy available to wet the surface of the hull and may be an issue on porous surfaces such as wood. To ensure good adhesion with highly thickened mixtures, apply a thin coat of unthickened epoxy to the surface before troweling on the fairing compound. The fairing compound can be applied right after you apply the unthickened coat, but you may want to wait until the unthickened coat becomes tacky so a thick application of fairing compound does not slide on the surface.

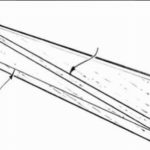
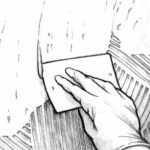
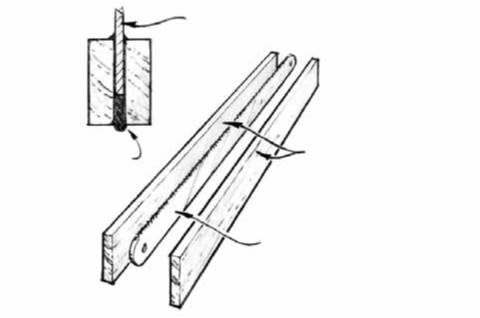
Use chalk and a batten (a long, flat, strip of metal, plastic, or knot-free wood) to find the low and high spots on the surface, then decide whether to proceed by filling in low spots or removing high spots.
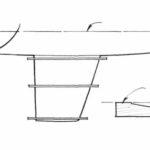
After marking the low spots, use a spreader with a notch to create a “guide.” After a strip of fairing compound is applied, the batten can be wrapped in release fabric and placed into the fairing compound. After these strips cure, a fairing compound can be applied between them to fair in the entire surface.
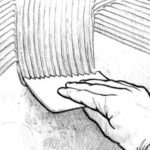
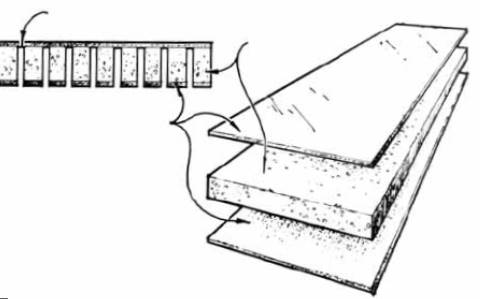
Reduce sanding by applying the first layer of epoxy fairing compound with a notched trowel. Only the top of the ridges formed by the trowel will be cut by the sandpaper. A second application will fill in the valleys.
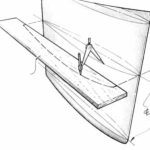
Templates are very useful when fairing foils and can be created from a drawing or a surface. Tracing the shape onto a board gives you a rough shape and then a batten can be used to make it a fair curve. The template can be used to form guides to assist in the application of epoxy fairing compound on the rest of the foil’s surface.
When removing material it is very important to use a “longboard” which you may have to make yourself. The sanding board must be flexible enough to bend, but stiff enough that it will maintain a fair curved when it does flex. In many cases, automotive-type bodywork tools will be too short and dual-action rotary sanders should be used only for creating a profile on the surface.
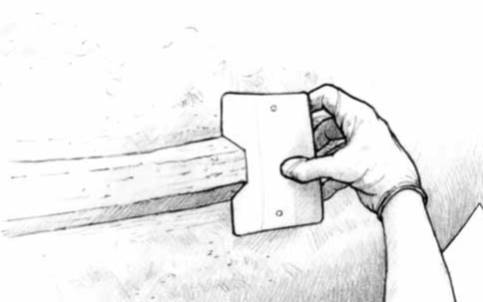
Scrapers are a great tool for removing drips, runs, and ridges because they will cut away only the protruding surface defect. They can be purchased, or made from hacksaw blades.
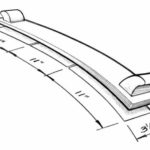
Custom sanding tools may be required for gunwales, toe rails, and style lines. This example shows a tool that flexes only in one direction and could be used on the chine of a round bilge hull.

When all the epoxy fairing is completed the surface often consists of a combination of fiberglass laminate, fairing compound, and old paint or gel coat. By applying a coat of thickened epoxy to the entire surface, a more uniform and stable surface will be created ensuring an excellent surface for the final finish.


