One Rotted Antique Door | Pt. 4
Four Common Repairs

GET STARTED
FREE PRINT & DIGITAL EDITIONS
Four Common Repairs
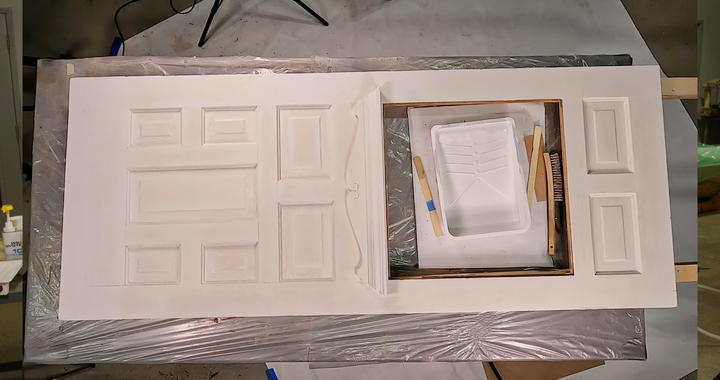
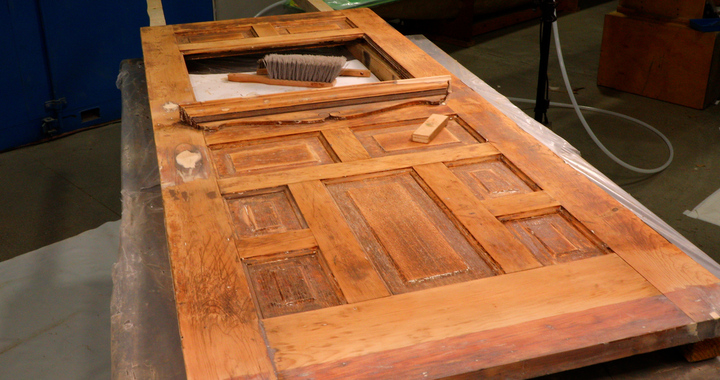
The window ledge, with its detail work, is one of the main character elements of the door, but it was in rough shape. One end of the ledge had been broken off and the top plate had split halfway across.
Removing the ledge would be detrimental to the character of the door, so I needed to repair it. My approach was to make a splash mold on the good end of the ledge to rebuild the missing end.
I removed the paint from a section of the ledge with the least amount of damage. I covered the area where I would build my mold using clear plastic packing tape. I made the mold as big as I could in my undamaged area. I had to keep the tape smooth and tuck it tightly into all my corners to get the most accurate shape possible. Since the tape was thin and flexible, it easily conformed to the surface’s contours. The smooth plastic surface makes a great release surface.
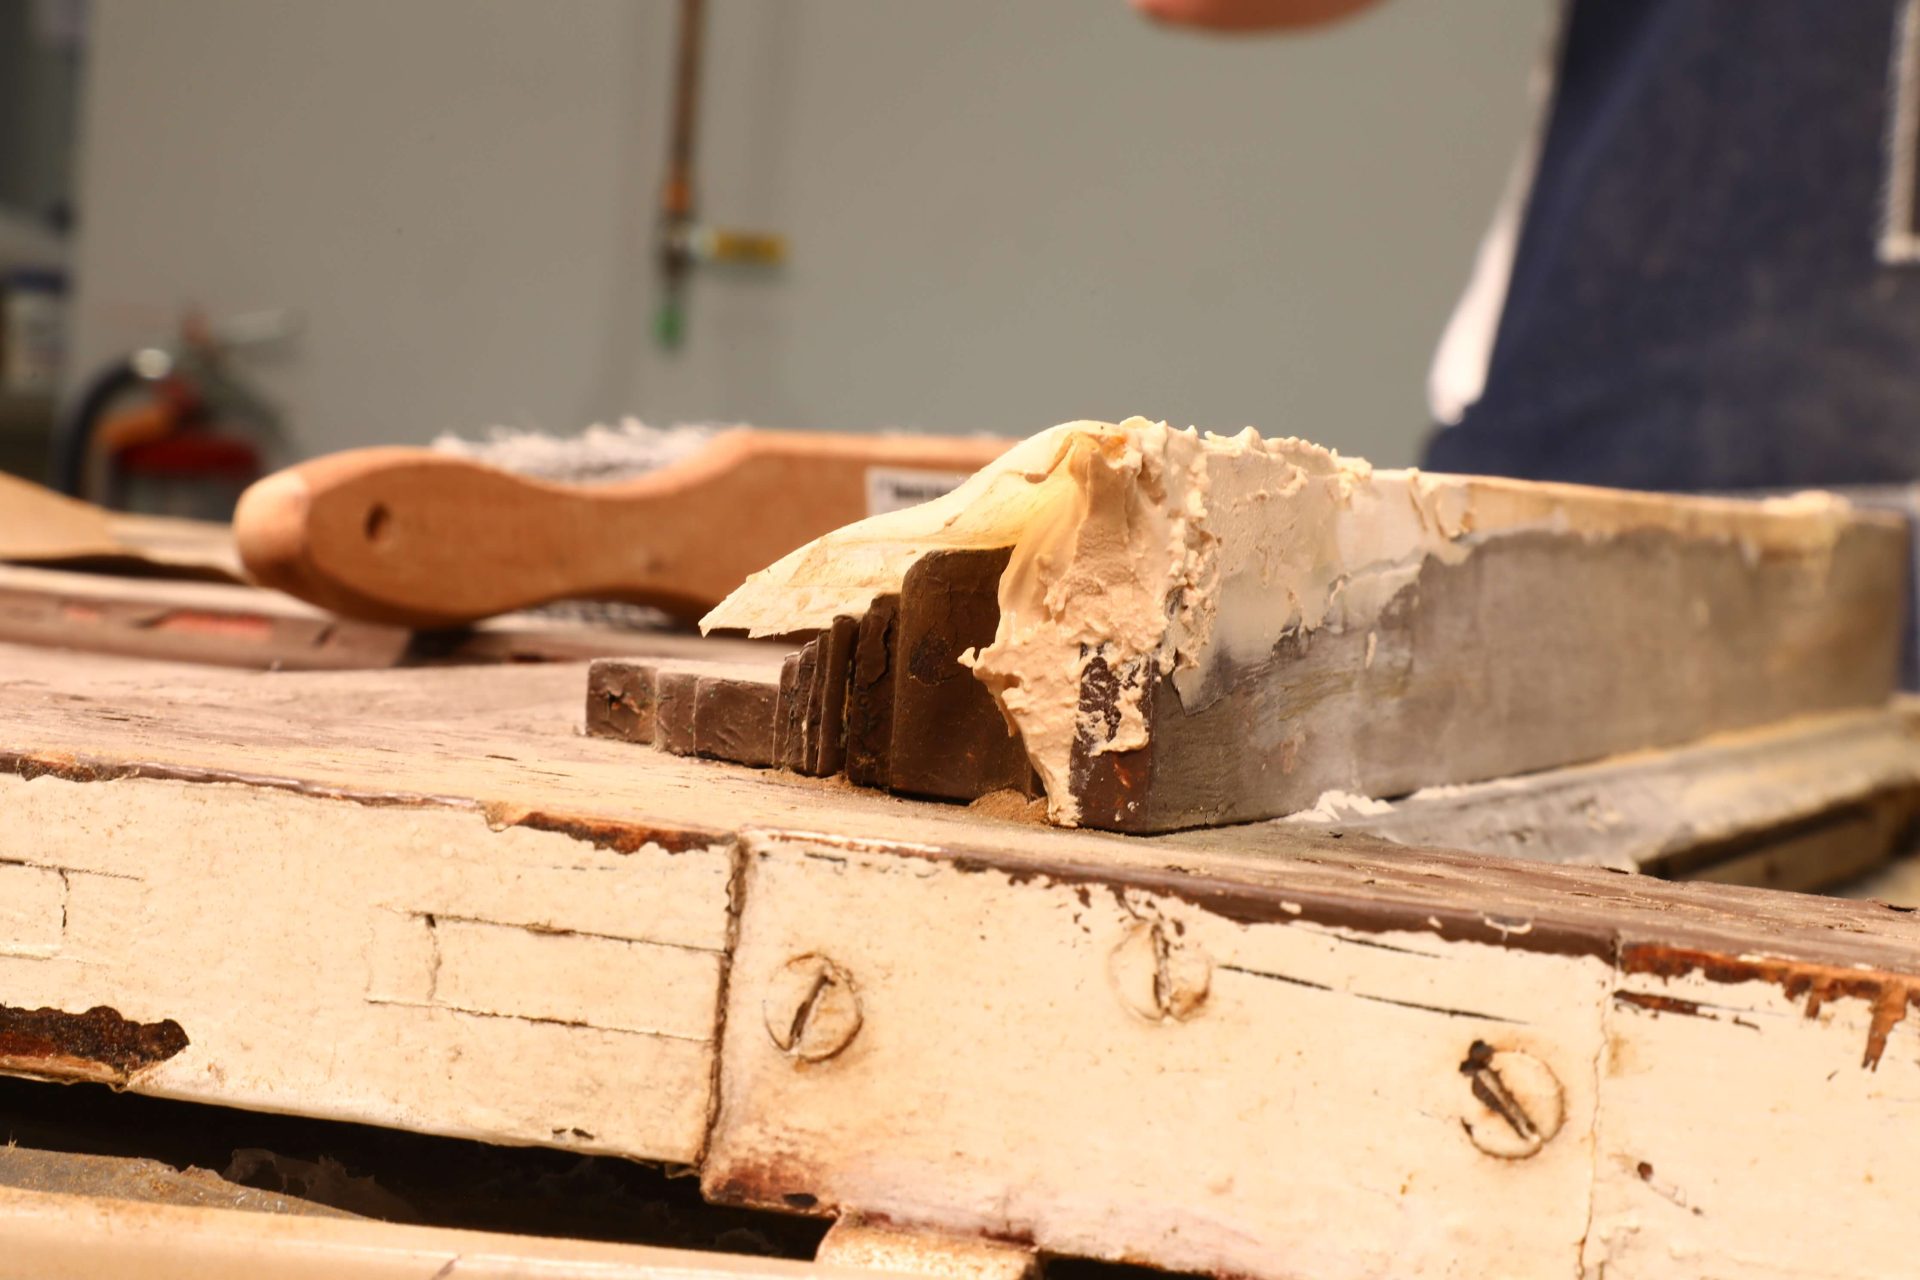
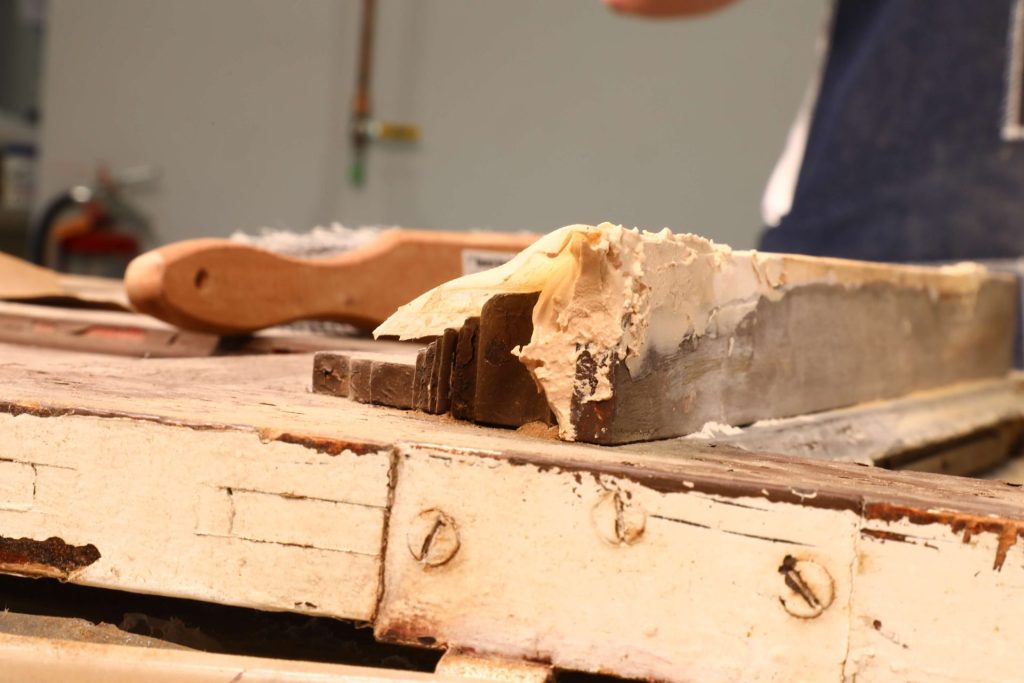
Once the undamaged area was taped, I mixed a batch of 105 Epoxy Resin and 205 Fast Hardener with 406 Colloidal Silica until it reached a peanut butter consistency. I used the 406 Colloidal Silica because I wanted the mold surface to be fairly hard and dent-resistant. This way, I could ensure the mold maintained its shape throughout the project while rebuilding the opposite end of the ledge.
I applied the thickened epoxy to my packing tape, paying special attention to working the epoxy into the corners of the profile and removing all the air pockets. I applied enough epoxy to fill all the lows in the profile, which left a nice flat angle to apply my fiberglass reinforcement. The fiberglass stiffened the mold, making it much easier to work with and helping maintain the proper shape.
Using some scraps of 6 oz. fiberglass, I laid the first piece dry on top of my thickened epoxy. It was time to mix up a batch of neat 105 / 205. I brushed this on the fiberglass until it turned transparent, signifying it had been thoroughly wet out. Repeating this process, I ended up with three layers of 6 oz. fiberglass.
Since I had a little epoxy left over, I used it to bond the split part of the ledge back together. I brushed the neat epoxy onto the mating surfaces, then used masking tape to hold the split together snugly while it cured.
After an overnight cure, the splash mold easily popped off the surface. I did a quick trim on the mold to get nice, clean edges. Then I removed any paint and bad wood from the rest of the ledge to prepare the surface for rebuilding.
Since our mold was made with epoxy, and epoxy bonds to epoxy, I also needed to prepare my mold surface. Using the packing tape again, I taped the mold surface so I could keep the smooth surface, and it would release easily. Another option would have been to wax the surface, but since the packing tape is so simple (and works perfectly for the shape of this mold), I decided to stick with it.
I applied a coat of 105 Epoxy Resin with 205 Fast Hardener to saturate the exposed wood surface where I would begin my build-up. Then, I added 410 Microlight to my epoxy mixture until it reached a peanut butter consistency. I built up the surface by dabbing the thickened epoxy onto it. Then, by placing the splash mold over the thickened epoxy, I could mold the details of the ledge into the epoxy. I started from the end, overlapping the existing profile, and gently pressed the mold down snugly as I worked toward the missing section. The excess epoxy that was squeezed out was spread to fill any voids under the mold.
Once the epoxy cured, I removed the splash mold. The surface needed a little sanding to square up the edges and remove any imperfections. Since my mold was too short to do the entire section with just one casting, I needed to be sure the mold would reseat snugly into the profile for the second round of filling. I repeated the process a second time to extend the profile to the end of the ledge. Then, it was on to the final shaping.
Almost all of the edges outside of the mold were flat and square. A sanding block and a file made cleaning the remaining edges easy. The ledge was now ready for primer and paint application.
I sanded and scraped the peeling paint from the rest of the door and inspected it for any significant damage I had missed. I didn’t fill every ding and dent, but instead left them for the character of being a 100+ year old door. The last step for me was to prime the door. I chose a white primer for a clean, even base. I applied two coats of primer to the door. From here, the rest is up to my friend. His sad, beat-up antique store find is now a functional piece of character he can proudly add to his home. This project ran the gamut of filling voids, making molds, crafting missing parts, sealing against moisture, and consolidating/bonding wood. The versatility of the WEST SYSTEM product line enabled me to tackle these diverse repairs and give this antique door a new life.