
Including interior and exterior door repairs
By Bruce Niederer — GBI Technical Advisor
I often get calls from a customer asking if his leftover epoxy can be used for some small project around the house. The answer is yes, of course! Here are three projects, including a couple of different door repairs, that are perfect examples of what you can do with those partial cans of WEST SYSTEM® resin and hardener.
Interior Door Repair
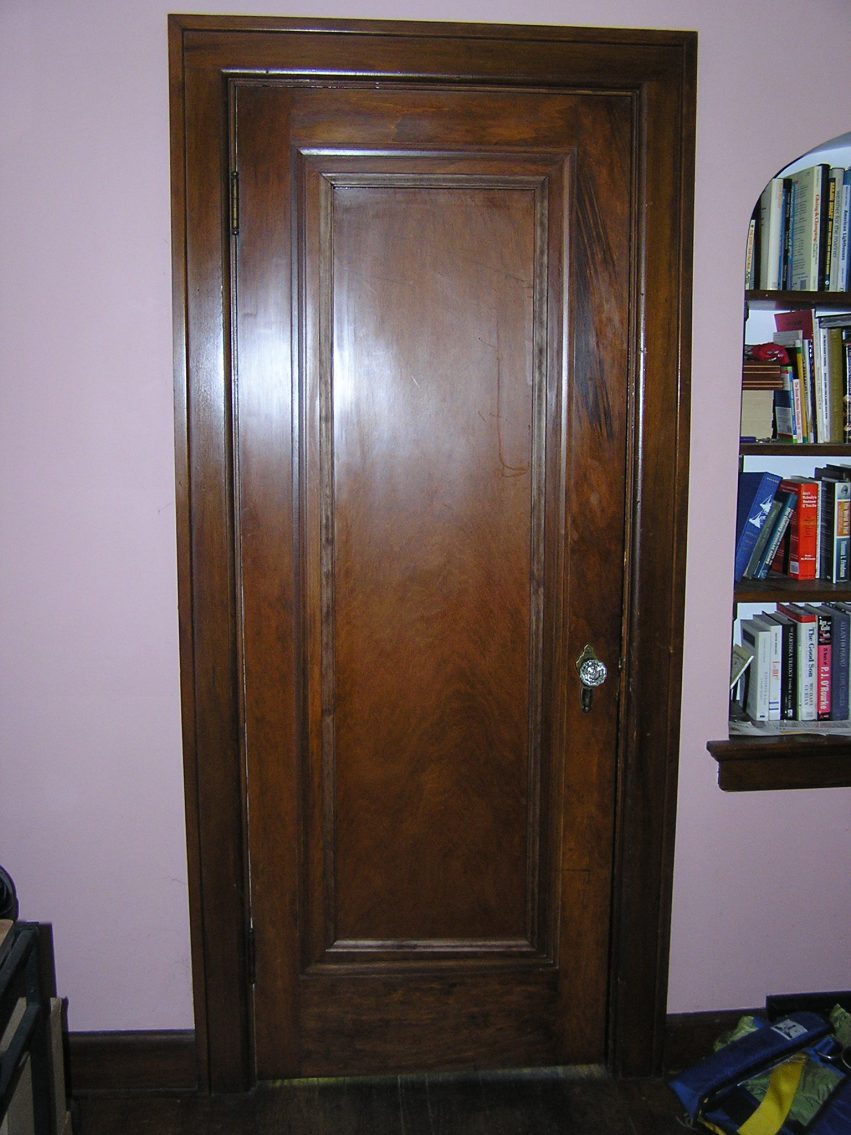
I live in a house built in the ’40s located in the historic district of Bay City, Michigan. The inside is filled with great custom woodwork – trim, floorboards, and doors. One of my doors got damaged (don’t ask how – kids!) and it had to be repaired since there is no way to replace it.
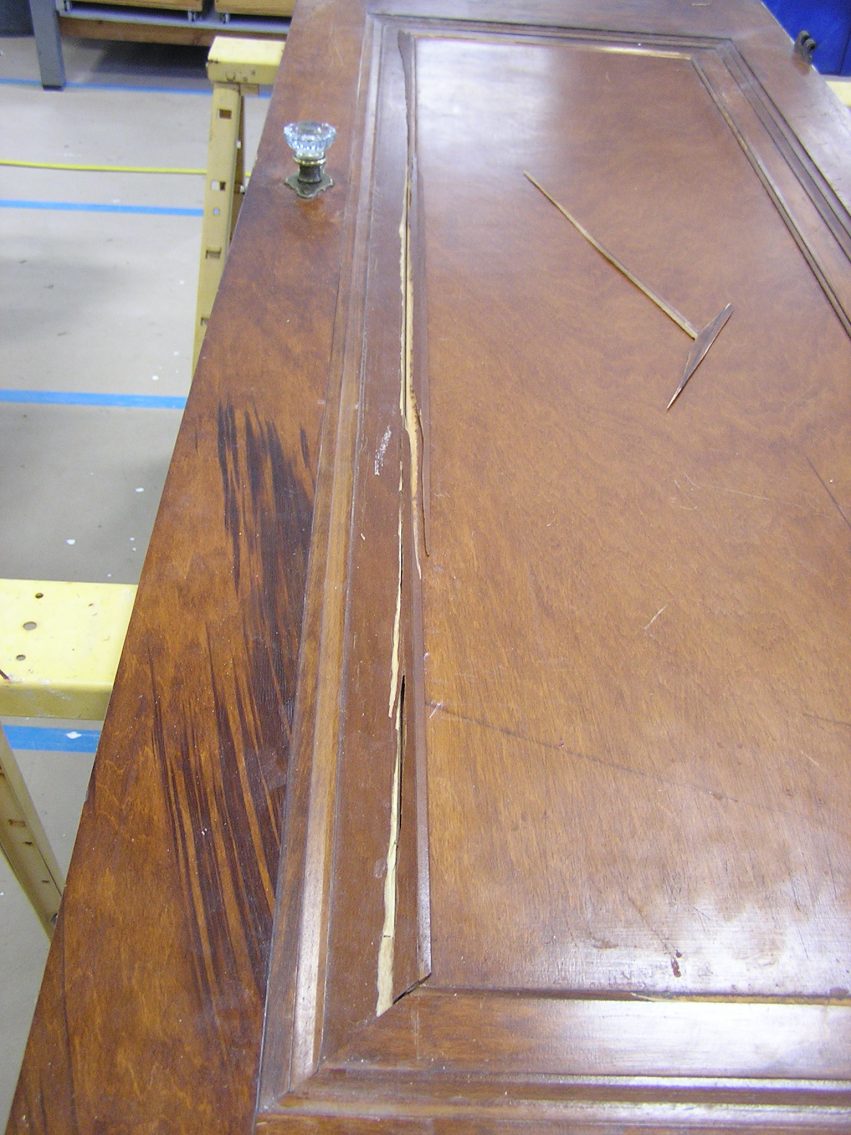
It has a floating center panel and custom trim which. As you can see in photo 1, much of the trim holding the center panel was destroyed beyond saving. Attempting to reassemble the shards of wood like a puzzle just couldn’t be done and still look good. I’ve tried that (again—kids!), so I had to come up with another scheme.
The problem was that only about half the trim that holds the floating panel was intact which meant getting the door panel to fit back in flat wouldn’t work as it was.
I decided to cut enough of the intact trim with a razor knife to allow the panel to fit in place properly and flat. Then I purchased some trim molding I found at a home improvement store, which I used to hide all the damage. After cutting the trim pieces to fit and staining them with Minwax®English Chestnut stain, I ran a bead of WEST SYSTEM Six10® around the panel with enough excess to glue the trim pieces in place. Using the Six10 cartridge really made this easy.
I used small finish nails to hold the freshly glued pieces in place on the door while the Six10 cured.
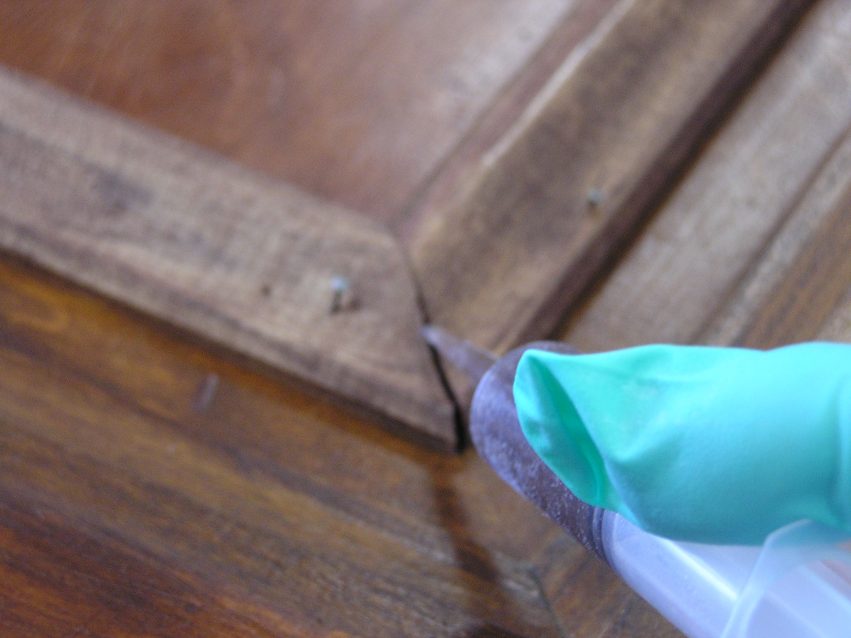
I had to use a little finesse to arrange the four pieces of trim so that all the damaged area was hidden and still maintained the square shape and parallel lines. As you can see in the photo, this threw the fit of my corner joints off a bit. I used a little 105 Resin/205 Fast Hardener filled with our brown 405 Filleting Blend filler to fill the gap and the nail holes after they were removed.
I am very pleased with the results and satisfied with myself for saving the door and not losing a piece of the history of my house.
Exterior Door Repair
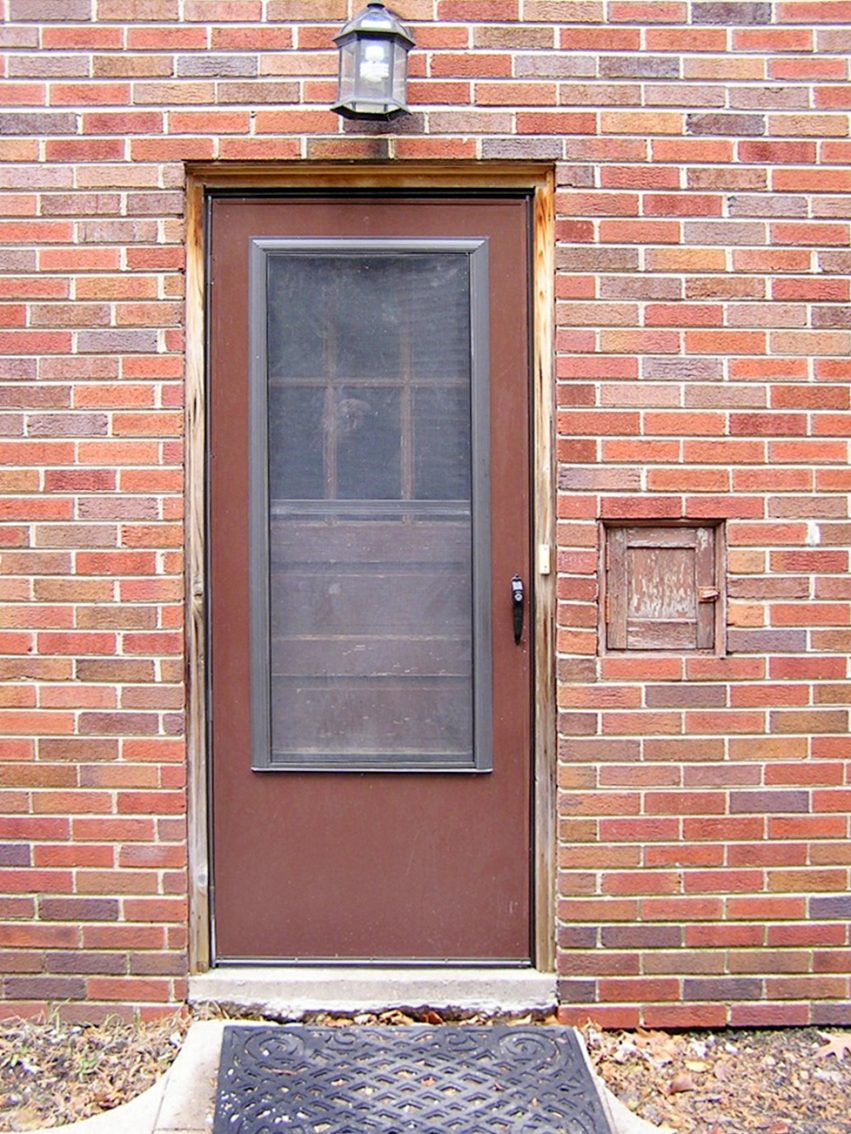
My side door, which is off the driveway and is the door used daily to go in and out, had become water damaged. The house did not have eaves troughs but needed a new roof which had to happen before installing eaves. As a result, a few years of water dripping and soaking into the pressboard core had ruined the core and corroded the aluminum facing.
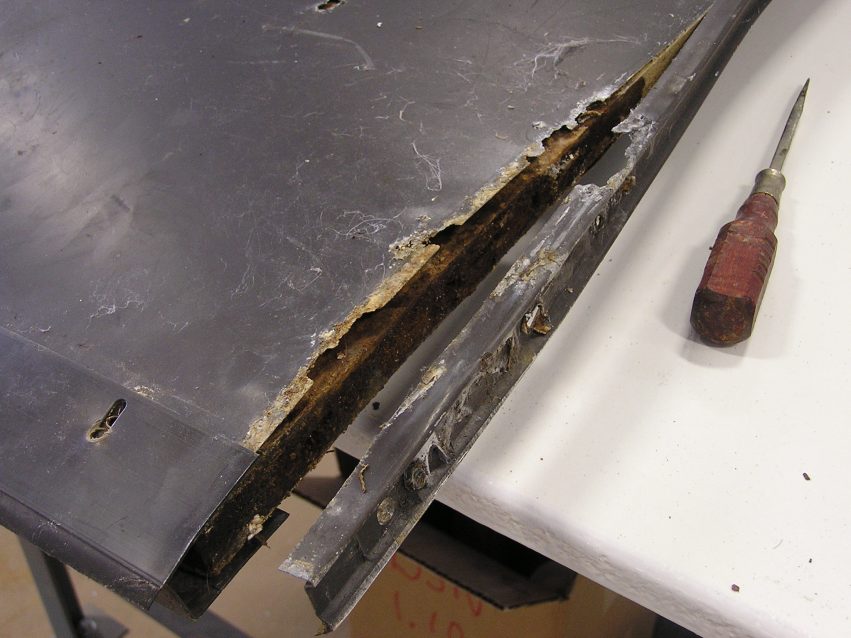
I peeled one side of the aluminum facing to use as a template and then cut off the bottom at a strategic point above the damage. Utilizing some plywood cabinet doors salvaged from our move into the new Gougeon Technical building, I fashioned a new bottom piece.
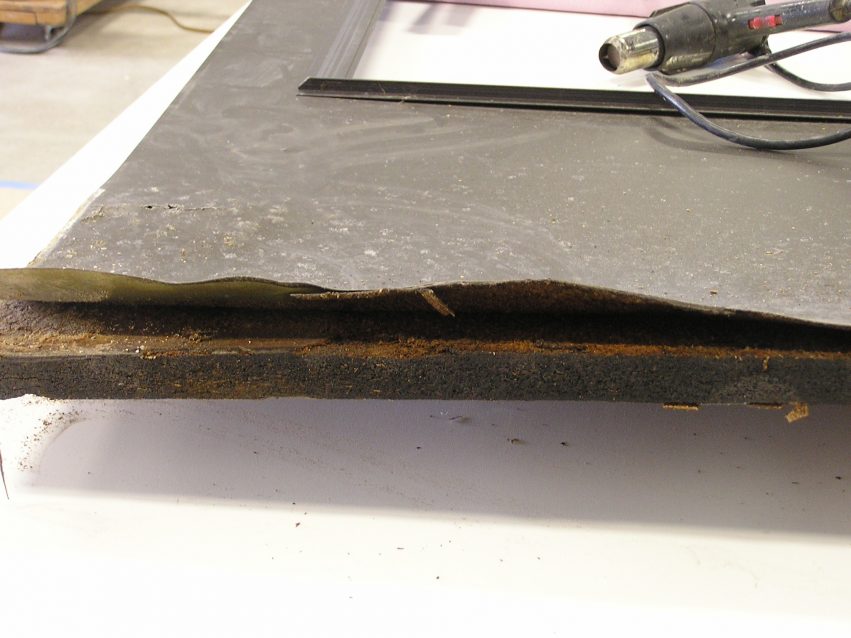
I made a witness mark on both sides and glued the replacement piece to the door.
I then coated all the sides and edges liberally with WEST SYSTEM 105 Resin/207 Special Clear Hardener and laminated a short length of 4” 732 glass tape® over the butt joint on both sides of the door. Next, I sanded everything and began fairing with a mixture of 105/207 and 410 Microlight® low-density filler.
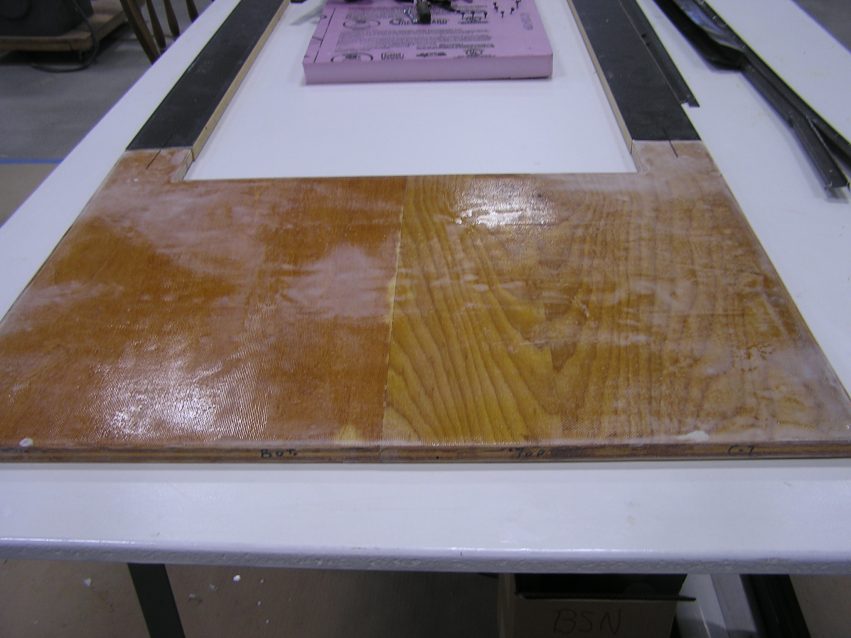
Once the fairing process was completed and the panels were smooth and flat I primed the freshly sanded surfaces on both sides of the door.
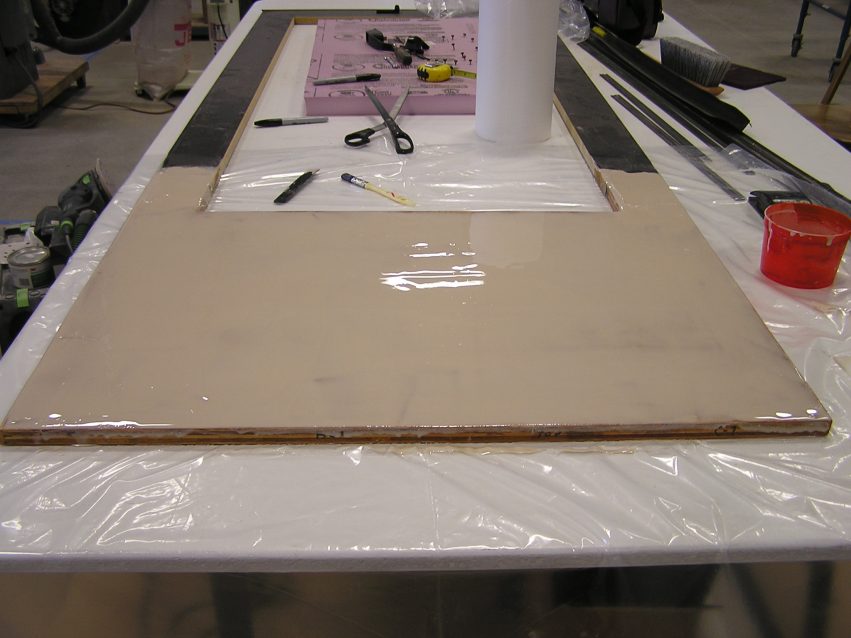
Finally, I found an appropriately colored paint (Saddle Brown) from my local Ace Hardware and painted the entire door with the exception of the window insert. The result is a two-tone look that I’ll decide whether or not to keep once I re-install it at home.
Canoe Brackets
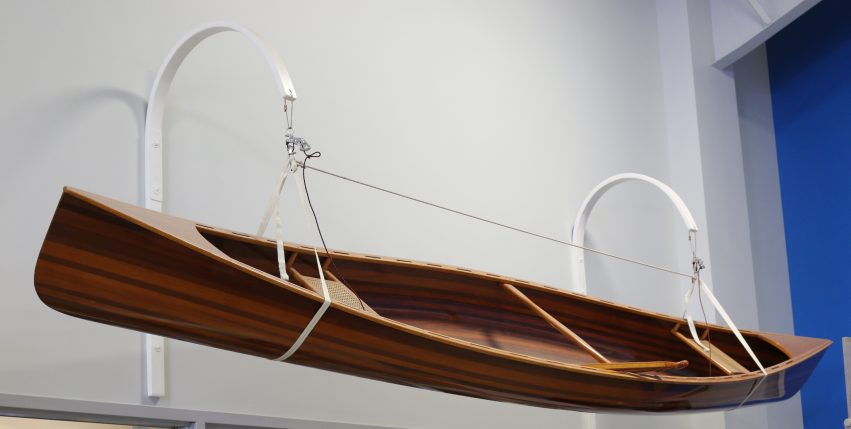
My last project is a new build of some hanging brackets for the company Sassafras canoe—a CLC kit boat—and Tom Pawlak’s beautiful stripper canoe. The goal of the design was to make something we could easily rig to lift and hang the canoe so it would be out of our way when not in use. We also wanted something that would look kind of cool, in keeping with other stuff built here at GBI.
I found some Douglas fir veneer left over from our wind blade building era with the grain running lengthwise. The wheels in my head started turning and the seed of an idea formed. As often as not, that can be a dangerous situation, but this time I think I came up with a good plan. I would build a jig, laminate the brackets, install them on the wall, figure out how to rig it with a single line and stand back and collect all my attaboys!
You would think I’d know better by now.
First I had to build the jig. Again using the cabinet door plywood we salvaged from our move, I created a base and the braces I would clamp the laminate to when building the parts. I marked the shape I wanted with a magic marker and glued the L-shaped braces as shown in the photo. No fasteners were necessary.
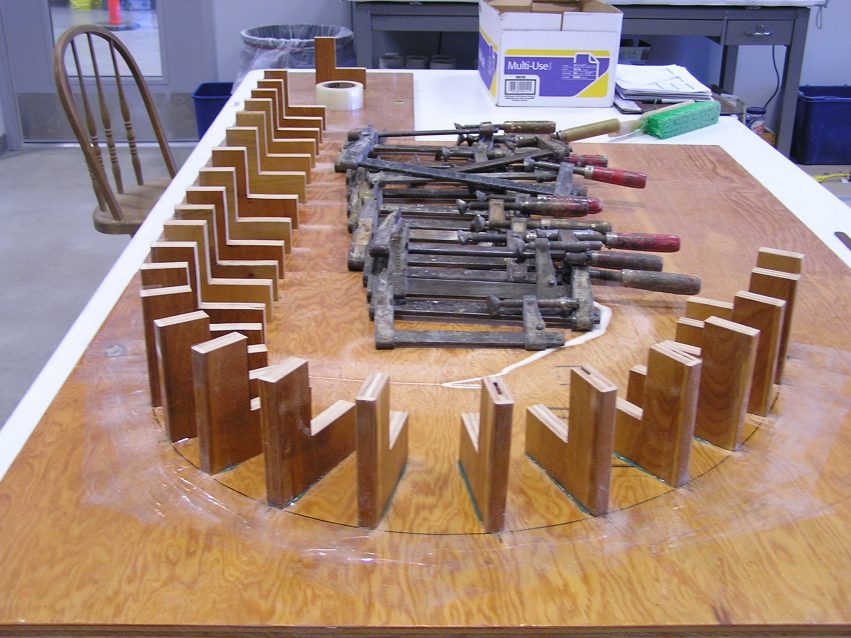
I initially used cellophane packaging tape to act as my release surface. That didn’t work like I planned so I switched and wrapped the laminate stack in polyethylene sheet plastic, then clamped it in place.
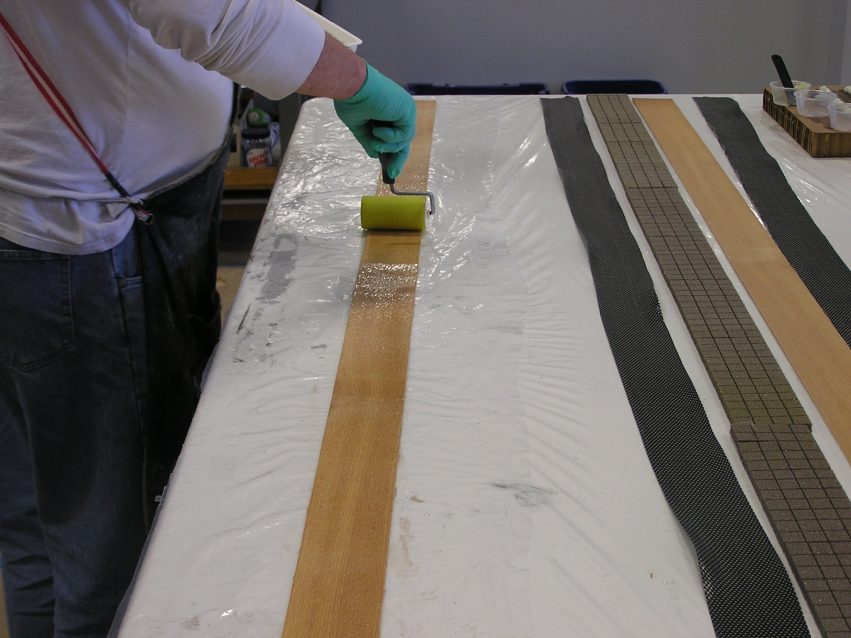
I planned on making four of these brackets using six layers of veneer with a layer of fiberglass tape inside both outer veneers. After consulting Tom Pawlak, my fellow Tech Advisor, I built each one a little different. One was as I just described, a second was similar but I used unidirectional carbon instead of glass, a third laminate used a 3/8” balsa core with unidirectional carbon on each side followed by a single layer of veneer, and the fourth used foam core instead of balsa.
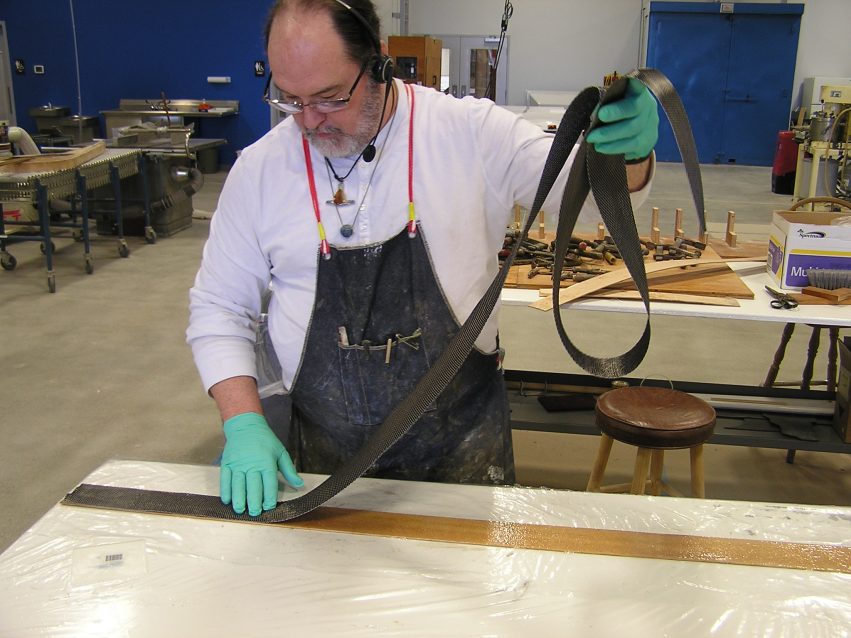
My fellow Techies covered my behind on this one while I was at the Port Townsend Wooden Boat Festival. Don “Gootz” Gutzmer modified the brackets seen here by doing the following: after loading the brackets back onto the jig one at a time, he added alternating layers of veneer and biaxial glass (three veneer/two glass) then two layers of carbon unidirectional fibers to each. This added significant stiffness and thickness. He also fashioned backing plate or caul using ¼” HDPE stock to remount the brackets to the wall bolted through the aluminum wall studs.
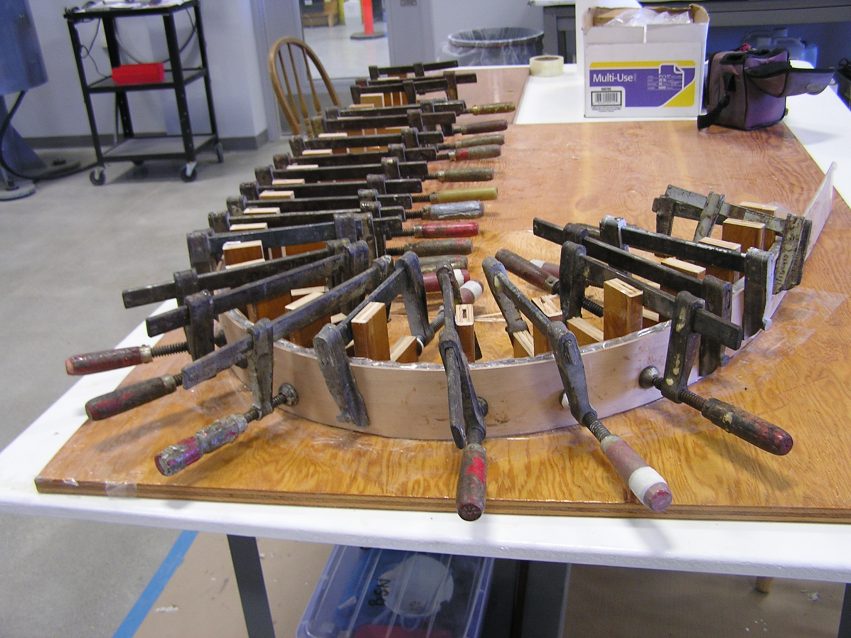
Tom Pawlak tackled the second set and his plan was slightly different than Don’s but equally adequate. Tom loaded the brackets to the jig one at a time the same as Don, but he added the following: one layer of biaxial glass, three layers of veneer, the second layer of biaxial glass, the fourth layer of veneer, and a single layer of unidirectional carbon fiber. Once the beefed-up bracket was removed from the jig, Tom added a single layer of unidirectional carbon to the inside surface of the bracket.


