

By Jim Ensminger
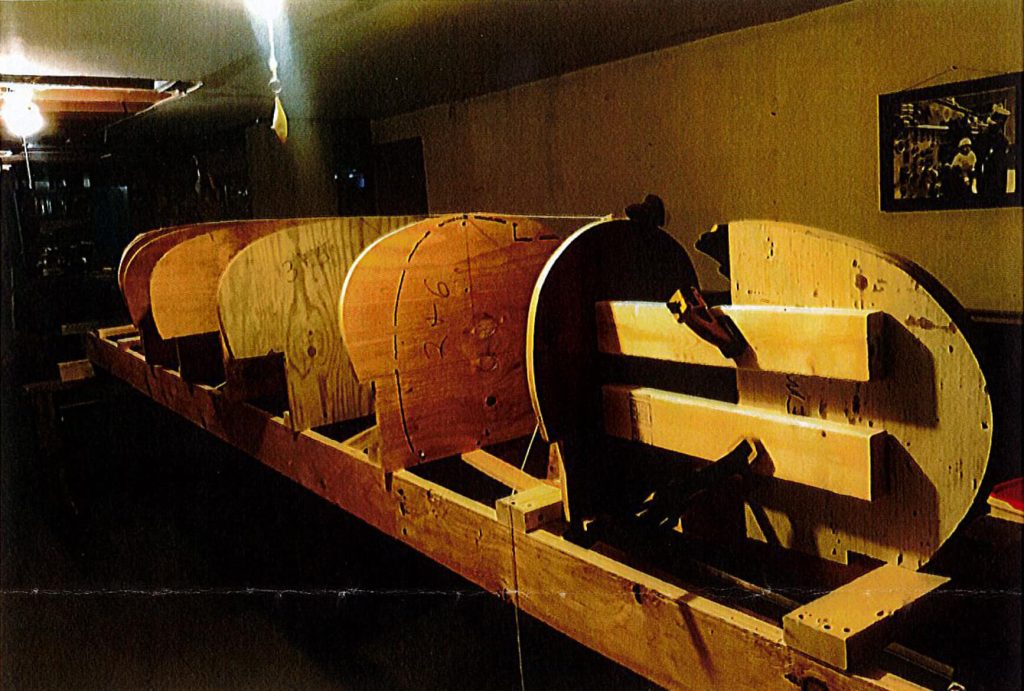
I purchased the material to build the strong back (the frame for building the cedar strips around). Building the strong back was much more involved and time-consuming than I expected. I chose 7/8″ by 12′ cedar for the hull itself. I could not buy anything locally, and the directions stated that splices were common and not a problem. My first step was to plane the boards down to 3/4″. The next step was to rip all strips to ¼”. I don’t know how many strips it was, but many had to be discarded because of knots.
Adding a 2° bevel on one edge to every strip was the most tedious job. This was needed to prevent gapping as the strips rounded towards the top of the canoe. I cut the ends of the ¾” strips at a 45° and epoxied them together for a finished length of about 16′. These would be cut to length later. It would have been much easier if I could have bought 16′ boards to begin with. No question—next time I will.
Then, it was on to the stems. I applied tape on the top of the mold for the stems so the epoxy would not stick to them. Then, I could epoxy, clamp, and staple the cedar strips to the stem mold.
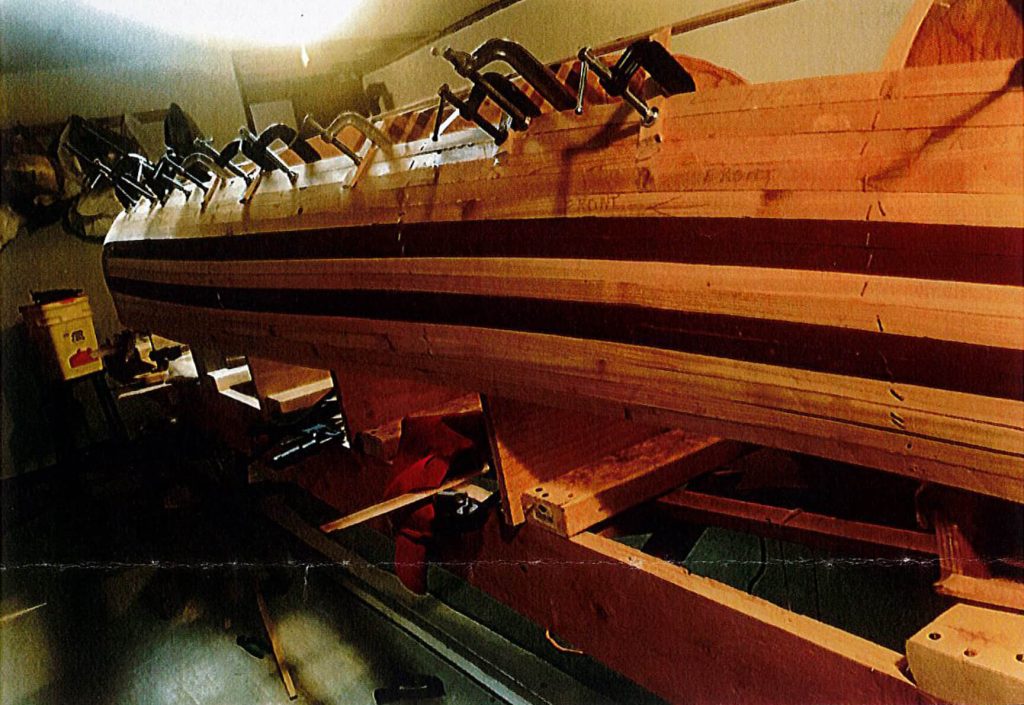
For the hull, the first strip is stapled in place. Every strip after must be epoxied, clamped, and then stapled. I can only epoxy, clamp, and staple about four strips on each side every day. It is very difficult to bend many of the strips in two directions at the same time. Once all the strips were in place, it was time for many hours of hand sanding.
Time for epoxy. I chose the WEST SYSTEM 105 Epoxy Resin® and 207 Special Clear Hardener®. My only other epoxy experience was in 2016 when I built an 8′ Portuguese-style dinghy fishing boat for my grandson’s 12th birthday. Though it turned out very well, my epoxy work was not the most professional-looking. This time, I was much more careful. I did the inside, let it set for a day, then lightly sanded it with 220-grit sandpaper. Then, I applied the second coat, saturating the fiberglass. A third coat became necessary because I had to cut out and sand away some bubbles.
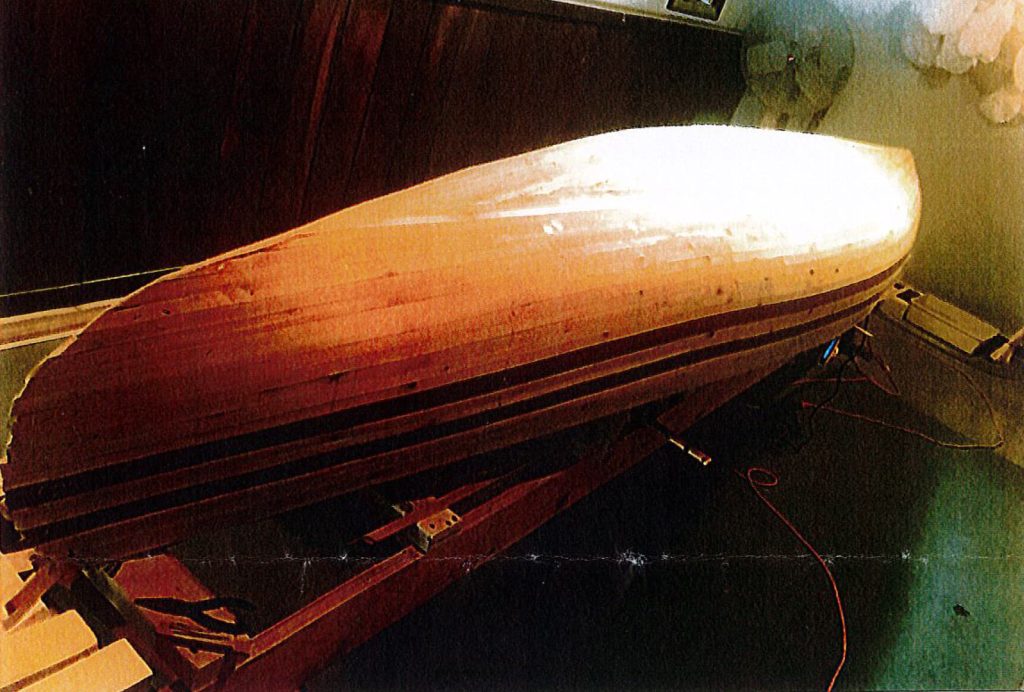
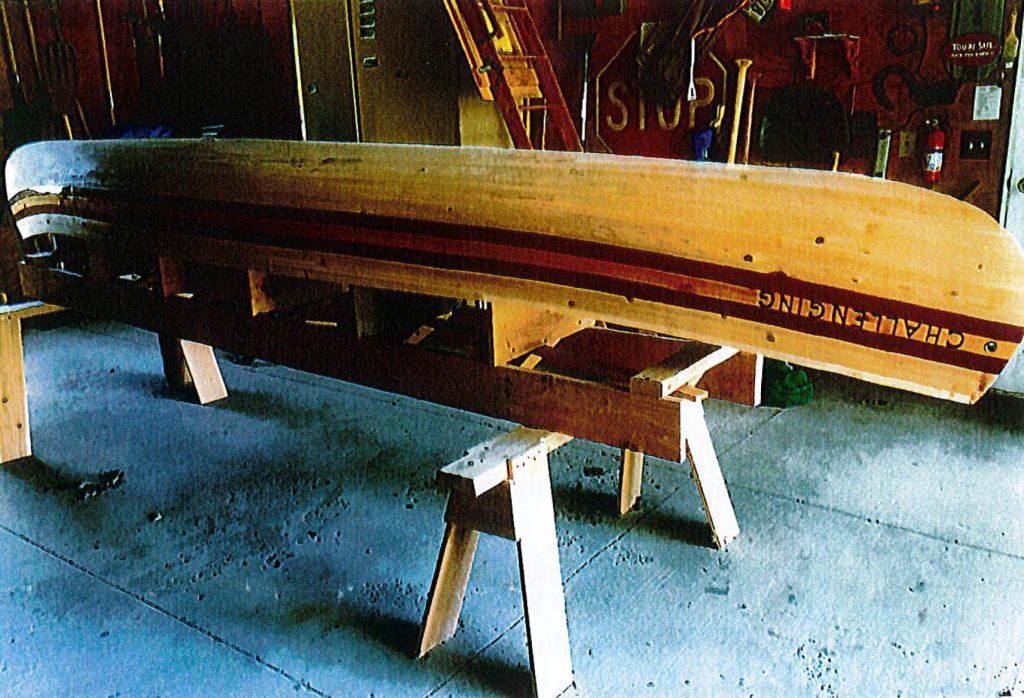
With the boat turned over, it was time to tackle the outside. Every boat and canoe must have a name. It didn’t take much thought to come up with the name Challenging. I got out my wood-burning kit, and Challenging appeared on the bow.
I could not purchase fiberglass cloth large enough to cover the entire canoe at that time, so I had to apply it in three pieces. I knew I needed help with this and had a friend give me a hand. We rolled on one coat of 105 / 207. To avoid sanding, two hours later, we applied the saturated fiberglass. All went well. I can see where the three pieces butt together, but I don’t know if anyone else can.
Building the frame for the seats was easy, but they needed caning—something I’ve never done. Following directions, with only a few take aparts, it was successfully completed in about 8 hours. My 19-year-old granddaughter volunteered to assist me with the second seat, which also turned out well.
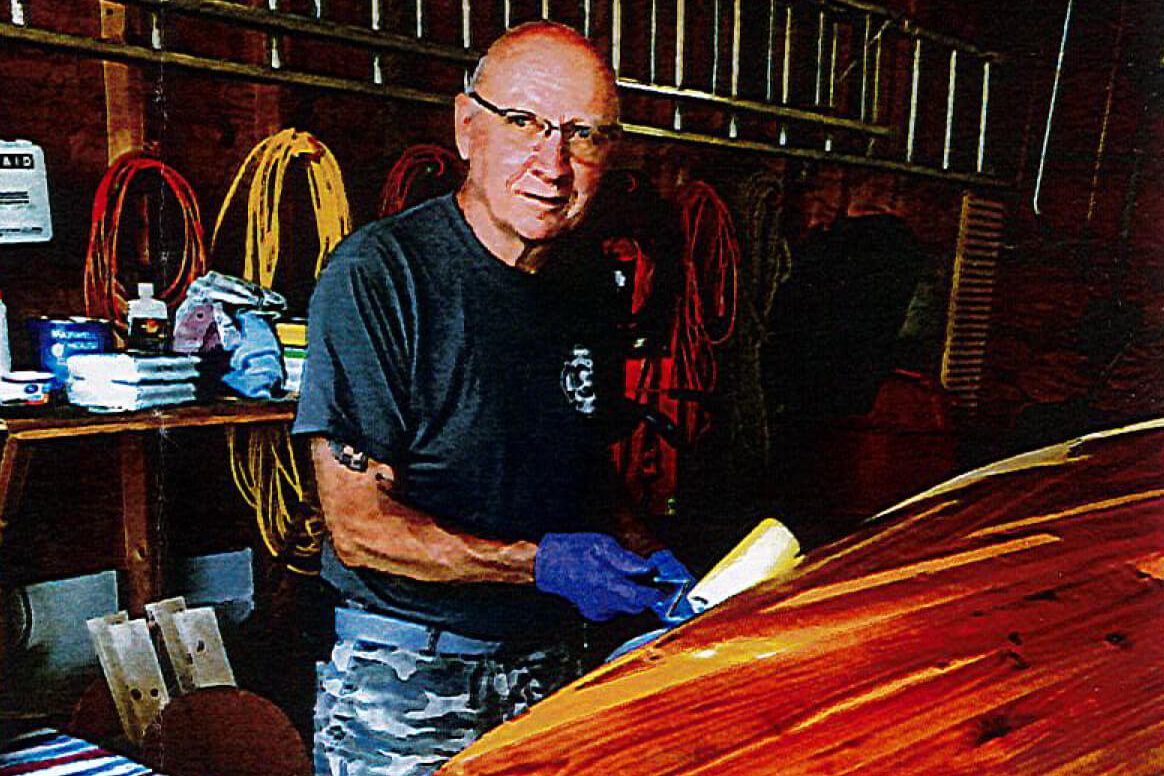
With both seats completed, and installed, it was time for my wife and me to get it wet. We put it in at a boat launch. It floated exactly how it was supposed to. The total building time was 510 hours.


