

By Ben Gougeon and Don Gutzmer
For the past couple of years, Gougeon Brothers Inc. has been involved with the Michigan Industrial and Technology Education Society (MITES). This non-profit organization consists of over 600 members involving both high school teachers and students who believe in the power of hands-on learning. The students build a project throughout the year and compete in the MITES annual regional, state, and national competition.
Ben Gougeon and I were invited to participate in this year’s MITES state competition held at Saginaw Valley State University. We demonstrated one of the processes in manufacturing composites, vacuum bagging. We were excited to participate and decided it would be fun to show the students how to build a carbon fiber skimboard with WEST SYSTEM Epoxy 105 Resin and 207 Special Clear Hardener by vacuum bagging a sandwich composite.
Here are the steps we used to build the carbon fiber skimboard:
First, we needed a mold surface to lay the board on. We used ¼” plywood and glued on a sheet of 1/16” thick G-10.
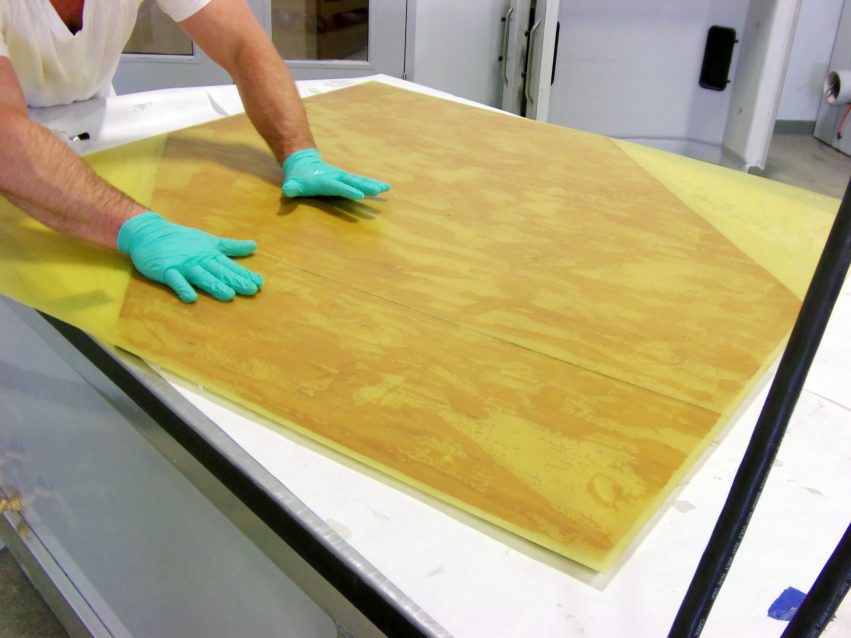
Next, we used another piece of ¼” plywood with weights to evenly distribute enough pressure to make good contact between the G-10 and plywood.
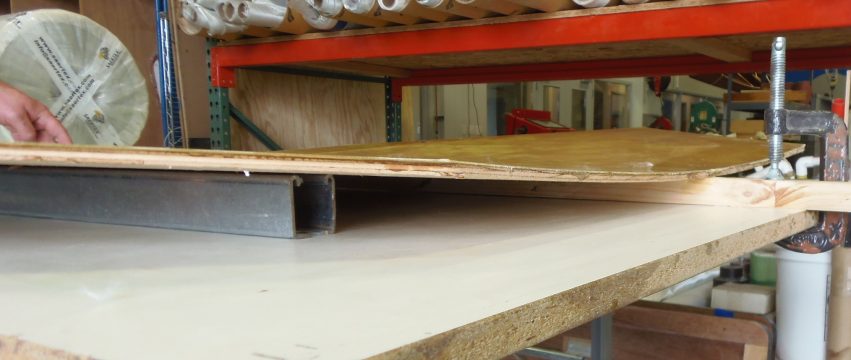
Skimboards have a little rocker to make them perform better, so in order to get this we glued a 1” strip of wood on the bottom center of the mold to make it easy to clamp it on a workbench. The ends were propped with 2” angle iron to get the desired 1” rocker into the board.
Five coats of Partall Paste Wax #2 were applied to the mold surface to provide an adequate release agent. Before applying epoxy we put the 883 Vacuum Bag Sealant around the perimeter of the mold to be sure it would stick well and not risk applying it later when surfaces may be contaminated with epoxy.
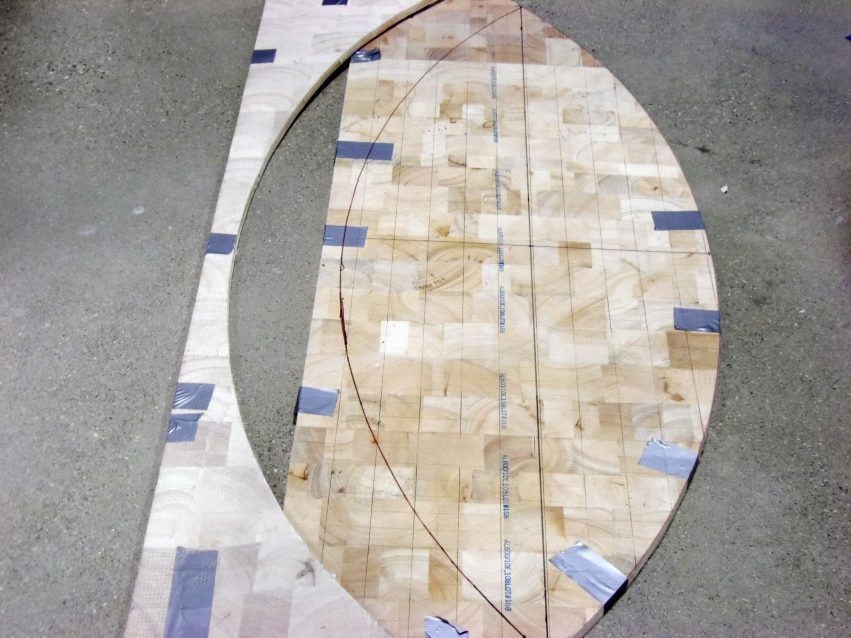
Our core was ½” balsa that was 56” long by 20” wide, and we used a batten to draw a fair curve. We cut the first side and used the excess pattern to make it symmetrical.
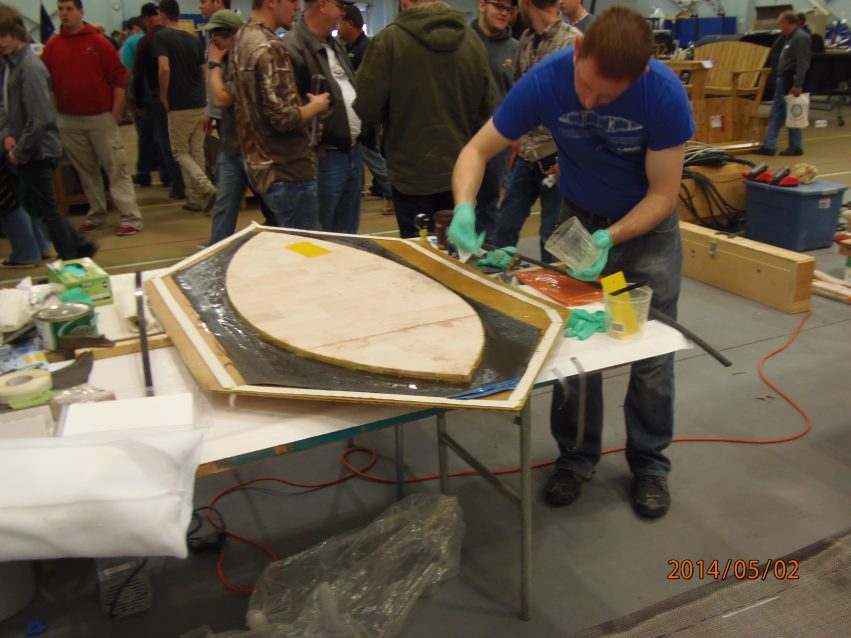
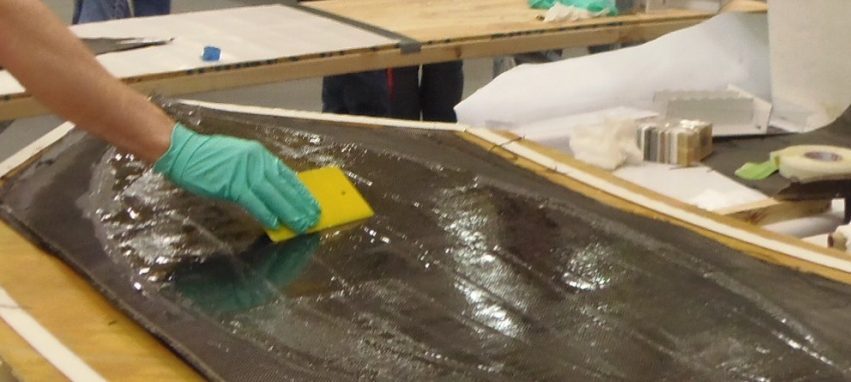
We used one layer of 5.8 oz. 0-90 plain weave carbon fiber cloth on each side of the balsa core. Before applying epoxy we laid the dry fabric down on the mold surface to straighten the fiber bundles. An 808 Plastic Spreader was used at a low angle to apply the epoxy. We decided it would be nice to finish off the edge of the board with a pre-made strip of G/flex-650 and 30% finely ground rubber (¼” wide X ½” thick). We wanted to take advantage of the toughened chemistry of G/flex to have an edge that would hold up. The G/flex strips were glued on during the bagging process.
One layer of 879 Release Fabric was applied over the wet epoxy. The release fabric is a finely woven nylon fabric treated with a release agent. This fabric peels away easily and leaves a smooth textured surface that is ready for bonding. After the release fabric, a perforated film was used to control the amount of epoxy in the laminate. Excess epoxy bleeds through the release fabric and gets absorbed in the 2 layers of 881 Breather Fabric (polyester blanket)we’d also applied. The Breather Fabric provides air passage within the bag while absorbing excess epoxy. Removing excess epoxy improves the strength-to-weight ratio of the finished cored composite. We then applied our 882 Vacuum Bag Film to complete the bagging process.
The bag was pulled down to 25 inches of mercury (12.3 psi) until the epoxy gelled.
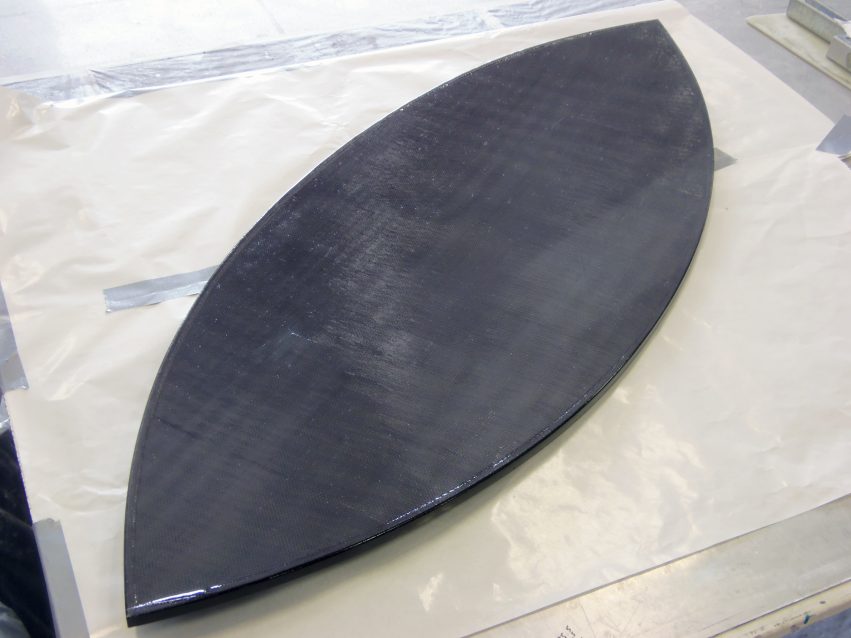
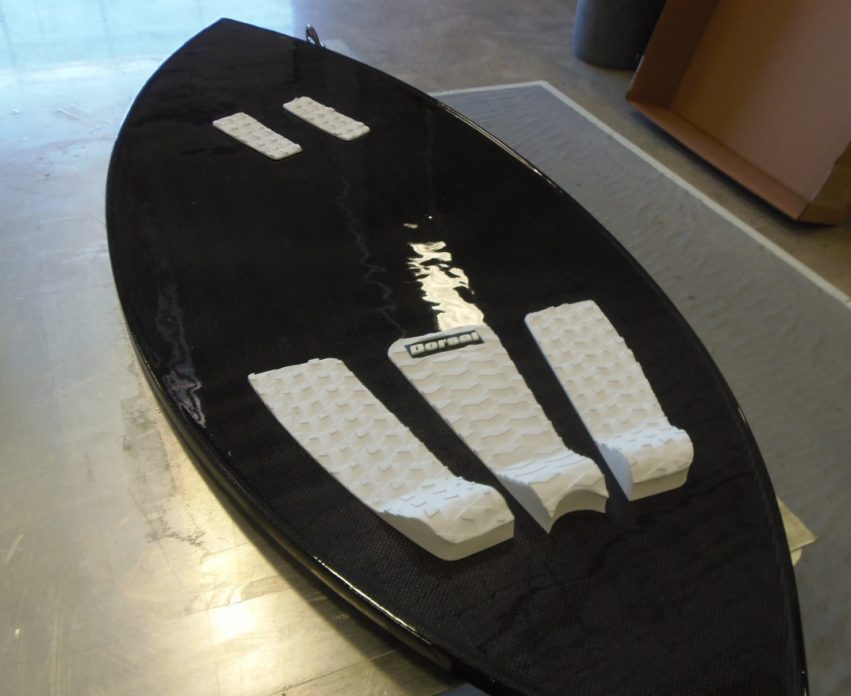
To provide a smooth waterproof coating we applied multiple thin coats of 105/207 epoxy. For the finishing touch, the traction pad was attached. The skimboard turned out pretty nice and is ready for the beach.


