Fairing the Bottom of Adagio
Spring 2014

GET STARTED
FREE PRINT & DIGITAL EDITIONS
Spring 2014
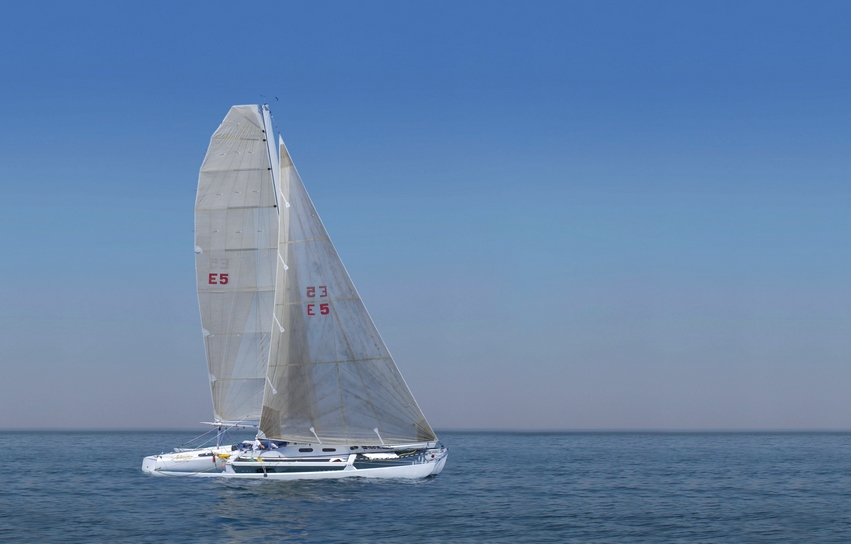
While fairing the bottom of your boat may seem beyond your reach, it is a project that novices and experienced boaters alike can accomplish with a few simple tools and a love of a little manual labor. Most seasoned sailors would agree that a clean bottom leads to faster sailing. Sometimes it may be necessary to do more than scrub away the algae and zebra mussels, though. In the case of Adagio, 44 years of sailing was starting to ripple the bottom of the boat. Simply put, it was time to fair the bottom.
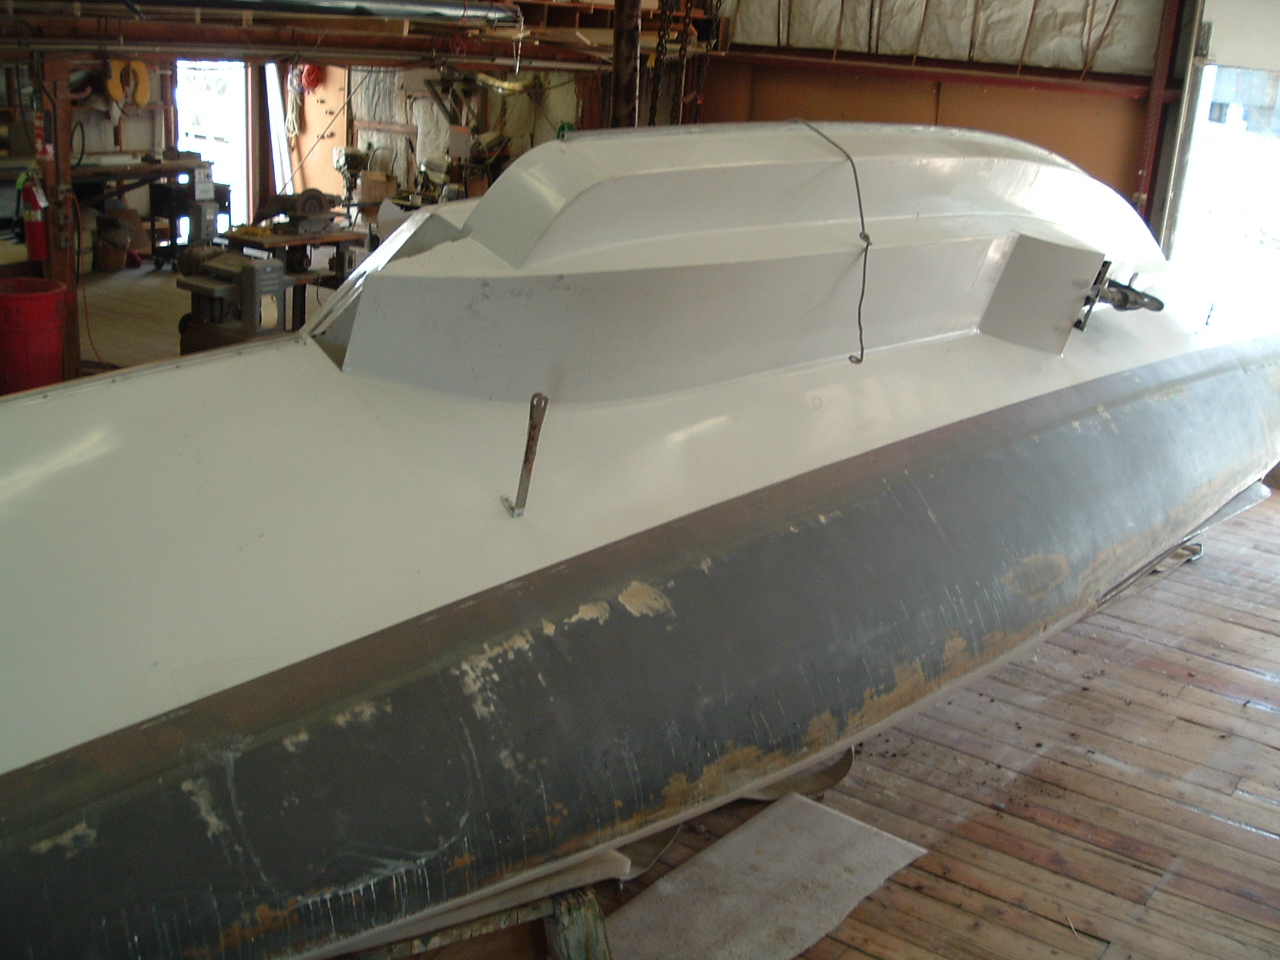
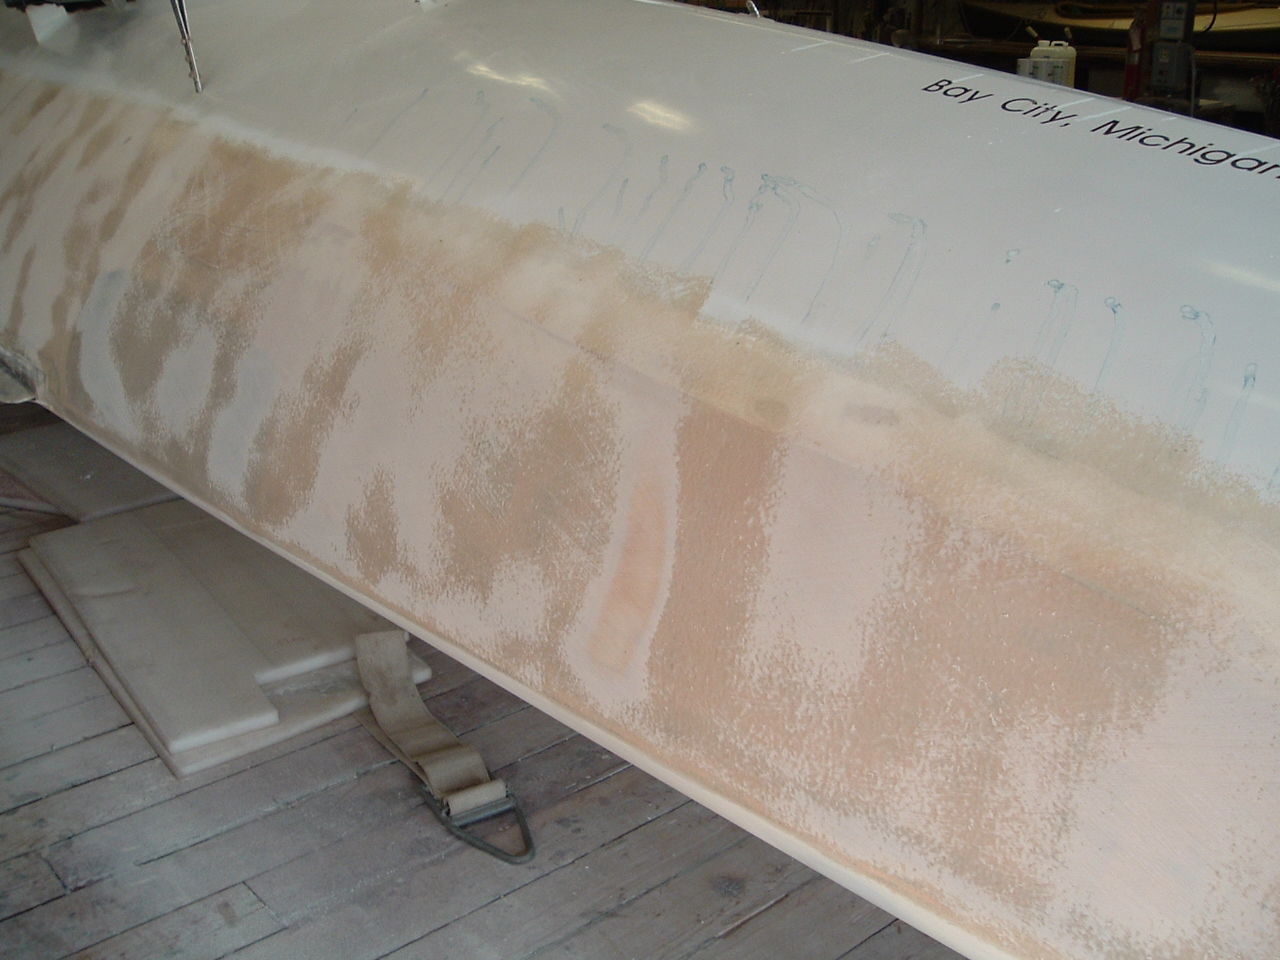
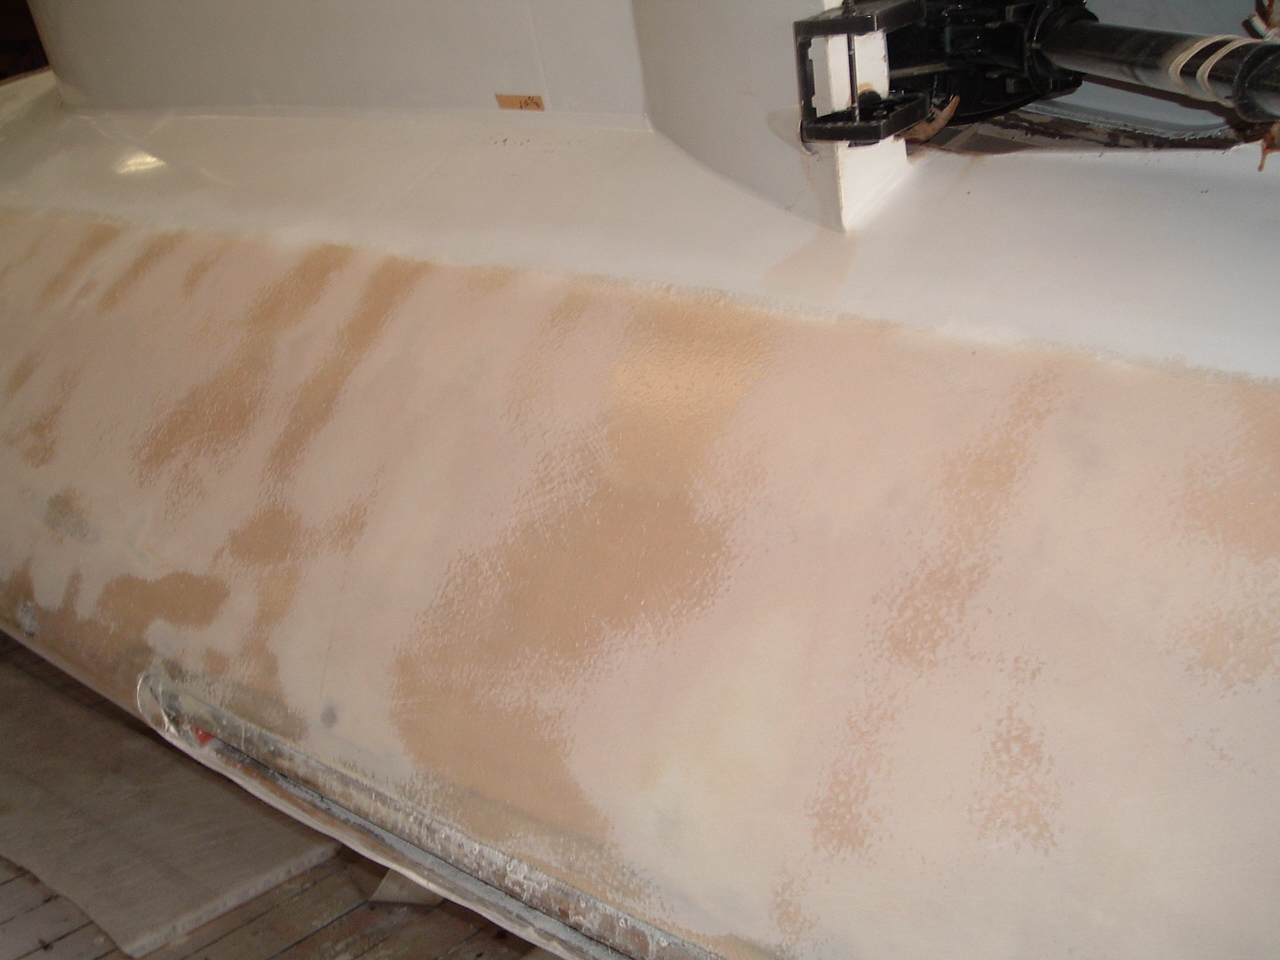
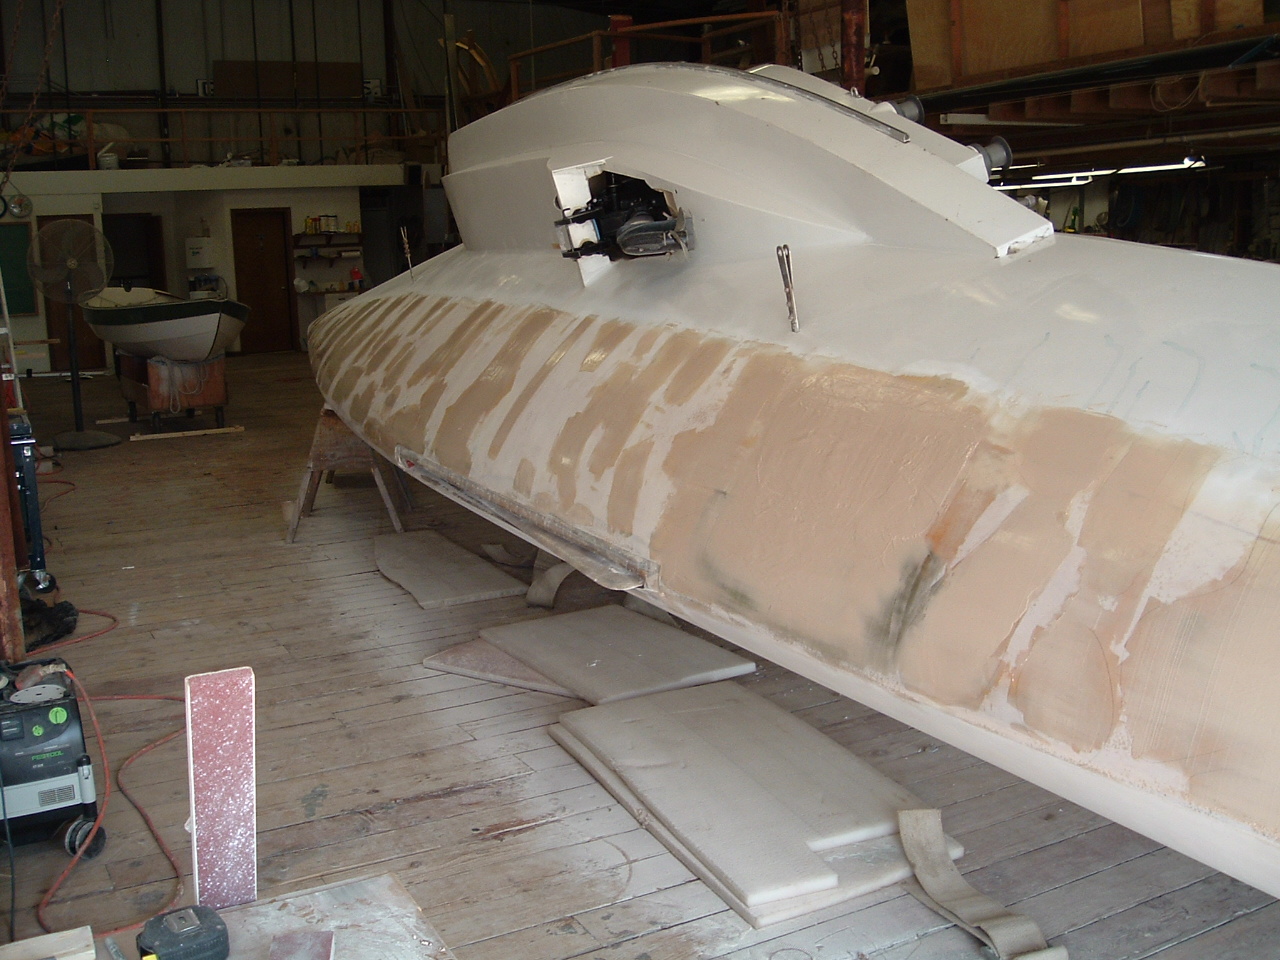
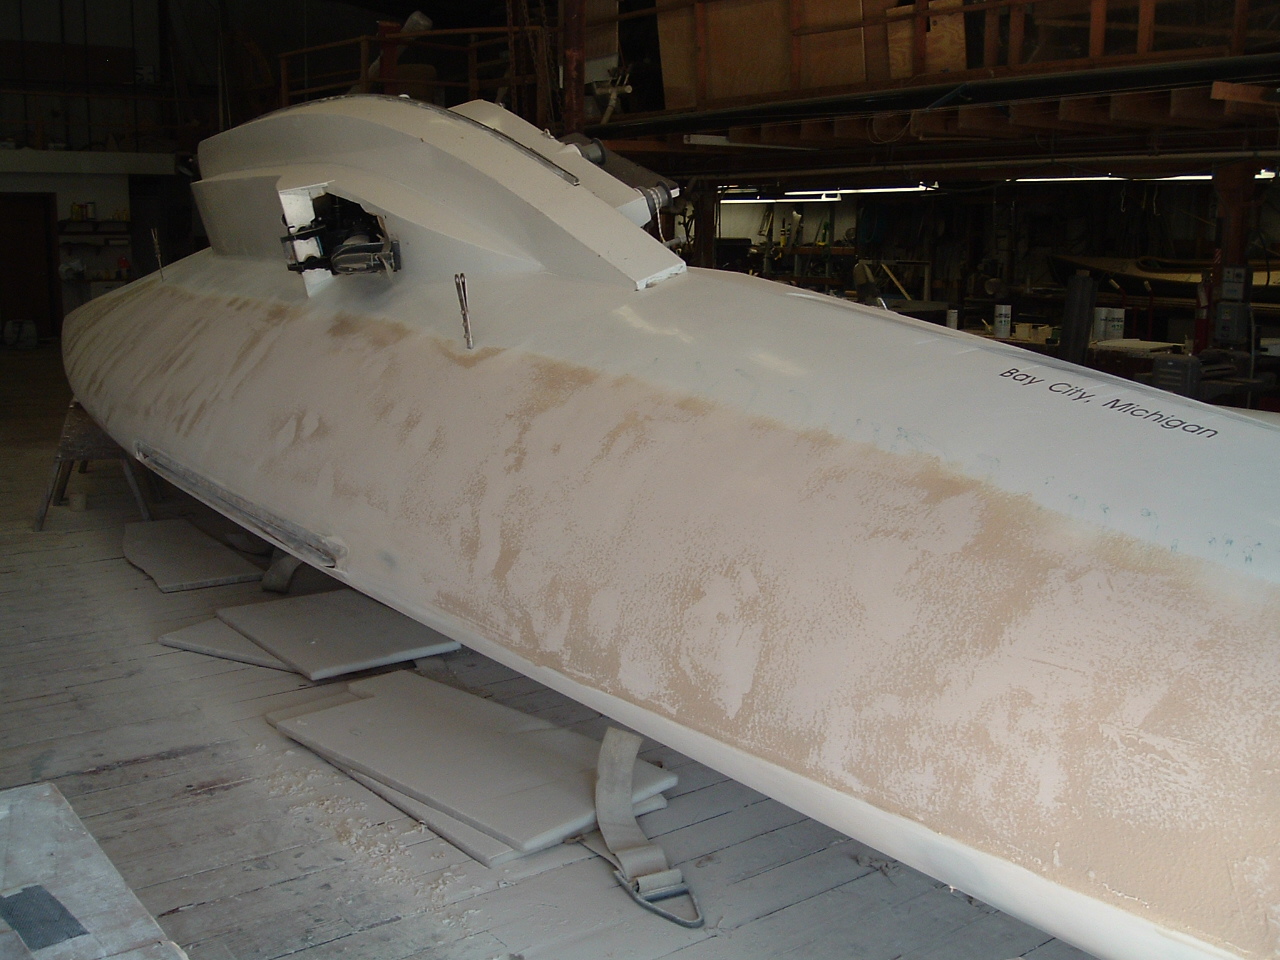
The first step that I took to fair the bottom of Adagio was to get the main hull tipped up at an angle to make working on it easier (Photo A). On most boats 35 ft. or longer, sanding is done above your head with dust falling into your face. This is not that fun to do, and it is better if you have a group of people to help with the sanding. With the hull tipped up and supported, I easily sanded off all the VC17 bottom paint with a dual-action sander and
With the hull tipped up and supported, I easily sanded off all the VC17 bottom paint with a dual-action sander and 80-grit sandpaper (Photos B & C). I used a vacuum to get the dust off the surface and then rolled three coats of thickened epoxy with 410 Microlight® mixture with a 3/8” nap roller cover onto the surface. I waited for the epoxy to tack up between coats, just like recoating with WEST SYSTEM® Epoxy. When the 410 mixture is first put on the hull it looks like a textured ceiling in a house, but it will flatten out and looks like dimples on a golf ball. I allowed time for all three coats to dry.
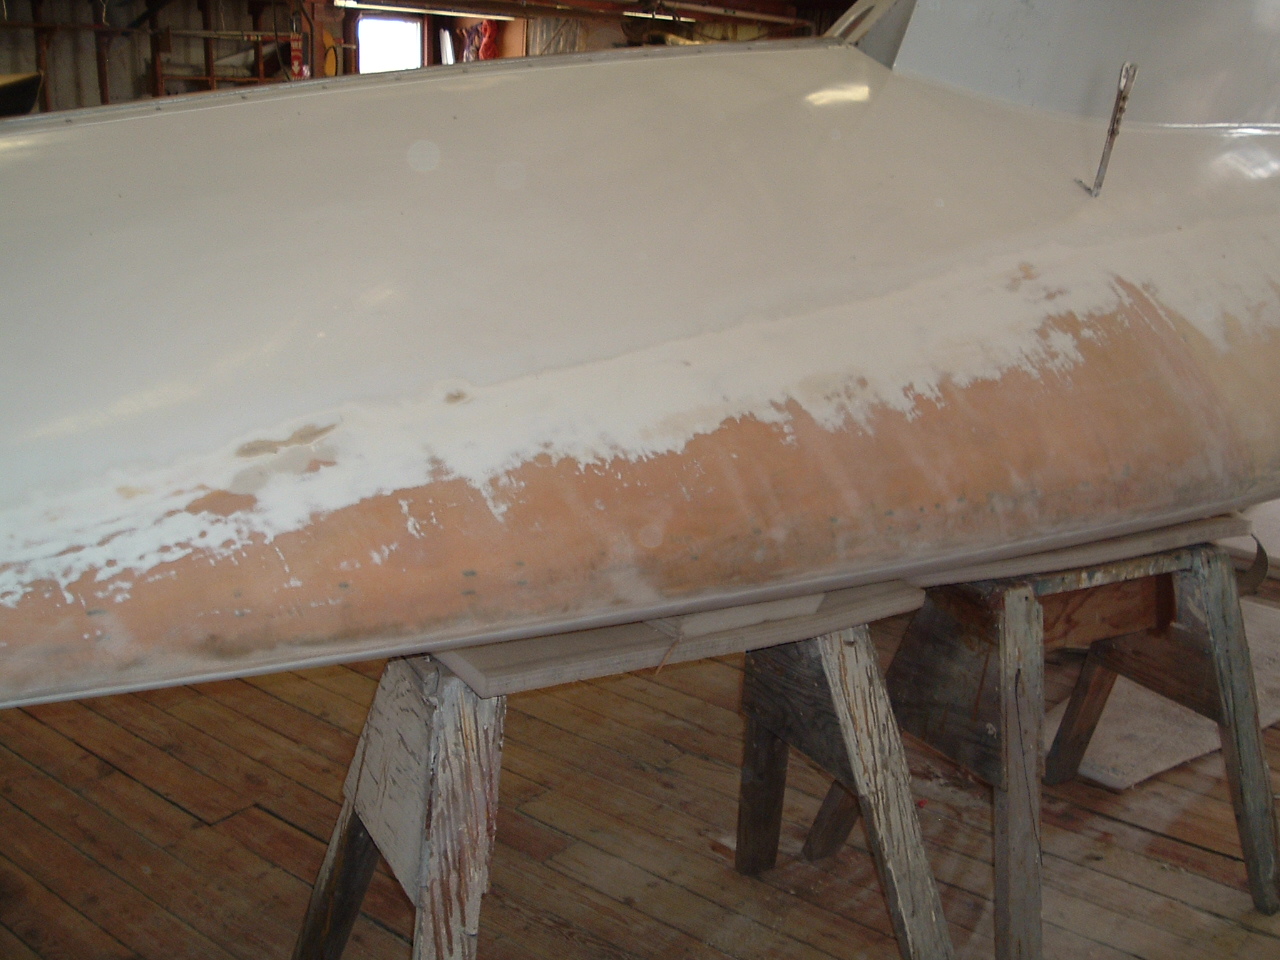
The mixture I used was WEST SYSTEM 105 Resin and 205 Fast Hardener thickened with 410 Microlight; I thickened it to the consistency of honey. I mixed three or four batches per coat depending on the weather. (Epoxy cures faster in warmer temperatures.) After all three coats had cured, I washed the surface with water and a Scotch-Brite™ pad to remove the amine blush and dried it with clean white paper towels. Next, I needed to sand down the high spots of the cured 410 mixture. I started sanding with a 2” wide by 4′ batten with 60-grit sandpaper on it to find the high and low spots. I used the batten to make sure I was sanding the highs off and going over the lows. (Photo D) I sanded until the surface was smooth or until I started to see fiberglass. I did not sand into the glass, though.
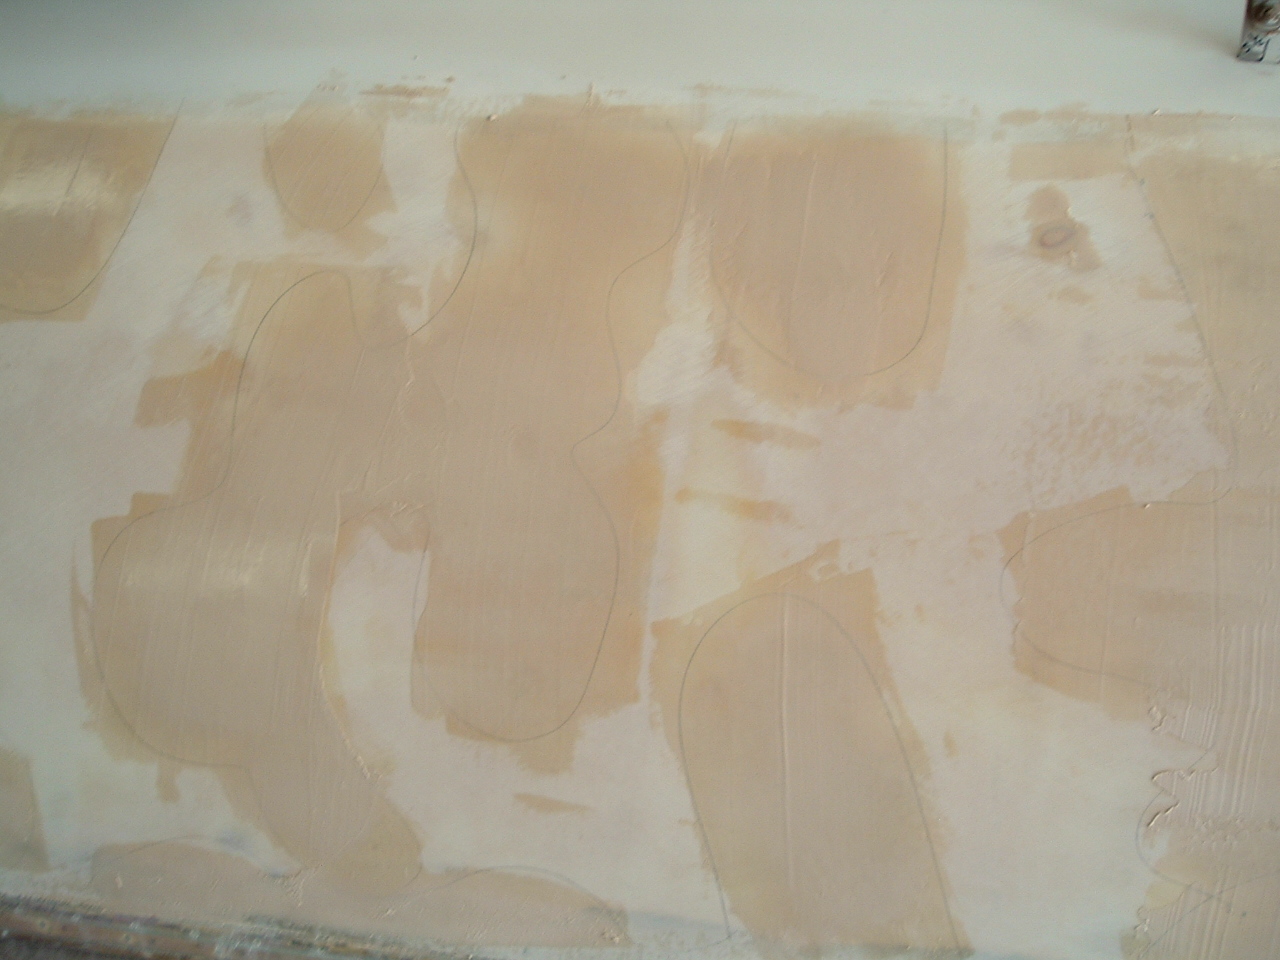
After sanding down the high spots, I filled the low spots, some of which measured two feet square. With a 410 mixture more like peanut butter. (Photo E) I used a squeegee and spread it into the low areas, some of which measured two feet square. (Photos F& G) If time allowed, I would fill the low areas with a mixture the consistency of peanut butter, then roll on a coat or two of Epoxy thickened with 410 Microlight. I rolled the mixture on top to fill the lows and highs that needed to be sanded when dry.
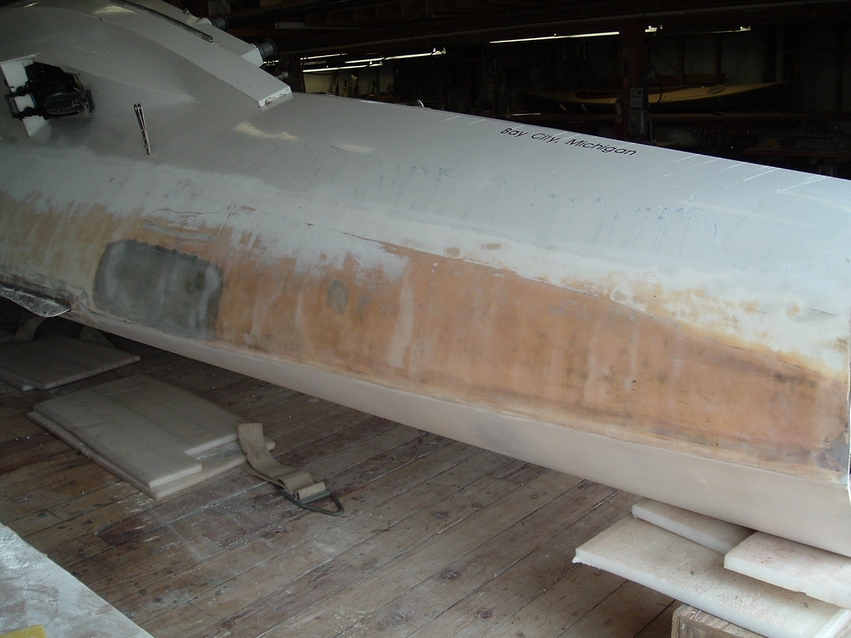
When I saw fiberglass coming through, I stopped sanding and filled the low spots with epoxy thickened with 410 Microlight. I repeated this process four times. When sanding at this stage, I used 60-grit sandpaper for the first two coats. (Photo H) For the next stage of rough sanding, I switched to 80-grit sandpaper. I continued until the sanding board was on the whole surface at one time and I was happy with the results.
At this point, I should mention that it is a good idea to sand 45 degrees off the centerline with the board running the length of the boat. I tried to sand 45s in the same number of times in both directions. It took different length boards to fit around the hull. The longer board is more effective for fairing a larger area at one time. A shorter fairing board will go into the low spots and make them lower instead of fairing them in.
After the sanding, I cleaned off all the dust and applied four coats of 105 Resin and 205 Fast Hardener to the sanded area. I added 501 White Pigment to color the epoxy. I followed the normal process for coating with epoxy: wet on wet. When doing this, I waited until the previous coat had tacked up (or did not come off on my gloved finger when touched). (Photos I & J)
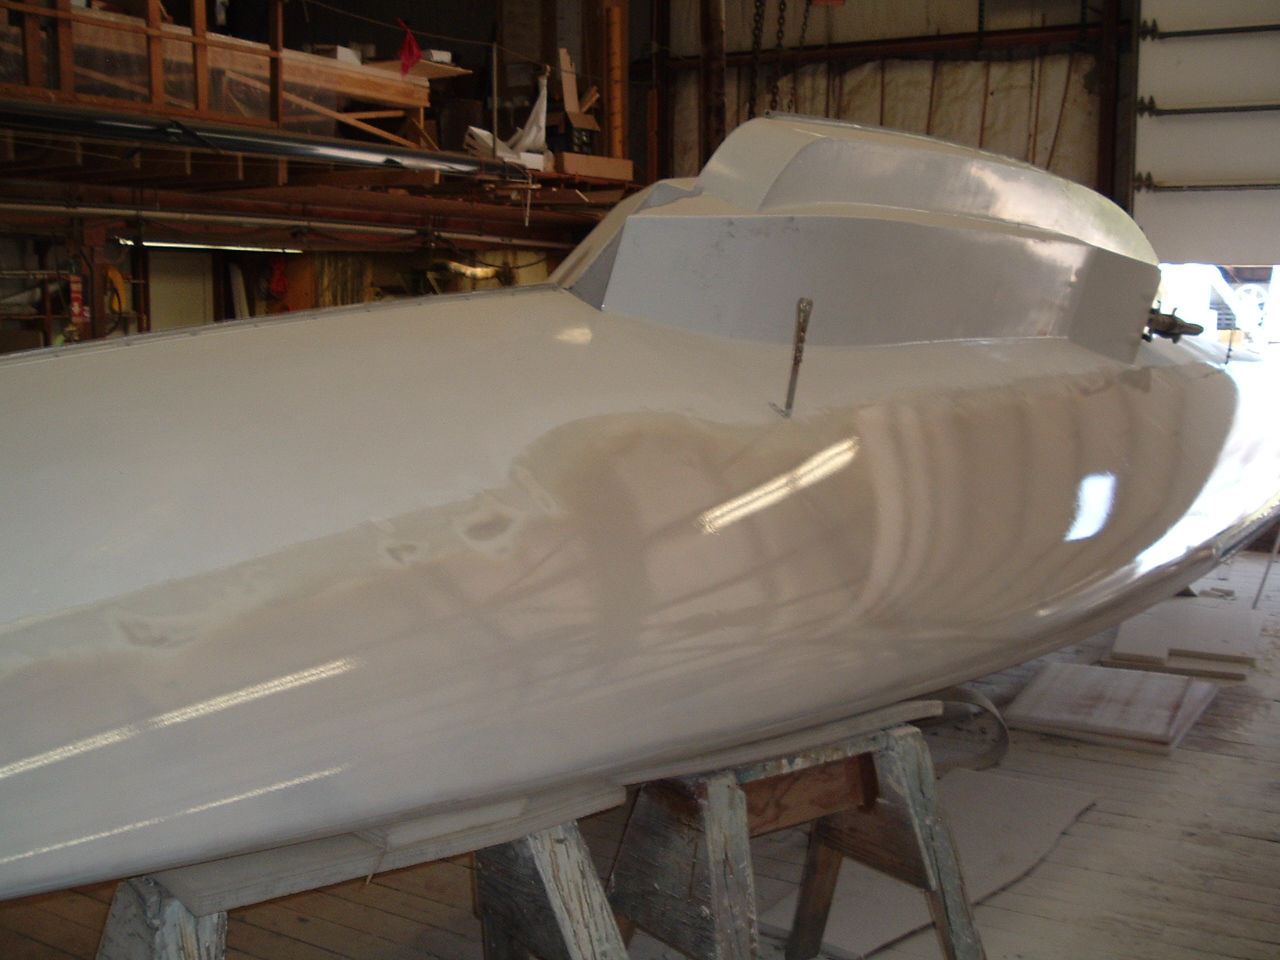

After the epoxy cured, I washed away the blush with water and a Scotch-Brite pad and dried it with white paper towels. I used a dual-action sander with 180-grit then 220-grit paper to sand the surface dull. At this step, I used layout dye mixed with acetone to color the surface. This step let me know when I had sanded all the dimples out of the clear coats of epoxy. When I do not have layout dye, I use pencils and scribble on the surface so I have a gauge to go by. The high spots sand off the pencil marks and in the low spot they remain. This method makes it easier to get all the imperfections out, and, hopefully, it makes for less sanding.
Once I was satisfied with the fairing on the bottom, I taped the water line and reapplied the bottom paint.
The very last step: put in the water and enjoy!
Download a free copy of Final Fairing & Finishing.


