
By John Wojciechowski
I could envision my two young daughters rowing a skiff boat their dad built, but I had to convince my wife. I like to fish and so do my girls, so a good fishing skiff couldn’t hurt. “Think of all the fish fries,” I told my skeptical wife. When I told my brother that I was going to build a boat he asked me, “Why?” I didn’t discover the answer until after the project was completed.
I work in the Operations Department at Gougeon Brothers, Inc. and have been here since 2000 making WEST SYSTEM® products: epoxy resin, hardeners, fillers, packaging fiberglass, etc. But I’d really never used it on a big project. The company has always been involved in boats and boatbuilding, so I figured a boat project of my own would provide me with some ‘how to’ epoxy experience.
One aspect of my job is planning and keeping an eye on costs, skills I could use on this project. I’ll cover the project details that stood out for me, and provide both my estimated and actual work times for the various steps.
I selected a simple stitch and glue skiff design by Glen-L Marine. I was told that full-size plans of a proven design would save time, money and frustration. As I proceeded, I realized just how true this was.
Starting out
I sketched out the layout of the components to be cut from my plywood panels. Then I began with the small parts: breasthook and transom knees.
Estimated time: 1 hour for each. Actual time: 2 hours each.
Panel preparation and coating
The plywood I bought was really good stuff, but printing, decals, scratches, or simply wood grain patterns made one side more favorable than the other. I did the layout on the poor side.
To create mirror image surfaces I joined the sides, good side in, with double-sided carpet tape and a screw at each end to make their final shape identical. I also drilled the stitch holes at matching locations to ensure craft symmetry. The last step for the bottom and side interior was marking guidelines for the fiberglass. I folded the 4″ and 6″ tape in half, then set my combination square to that dimension and struck a line that would aid in the nice, straight application of the fiberglass tape.
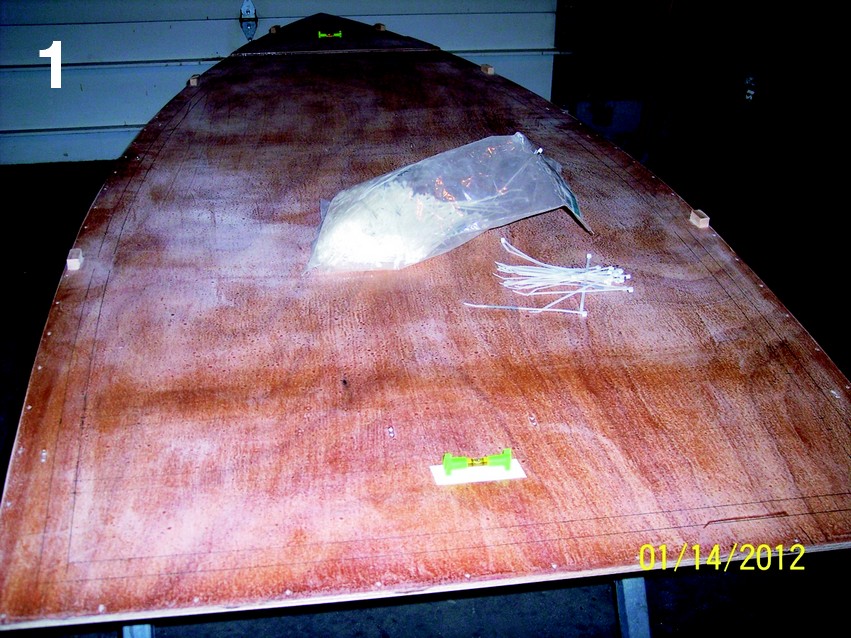
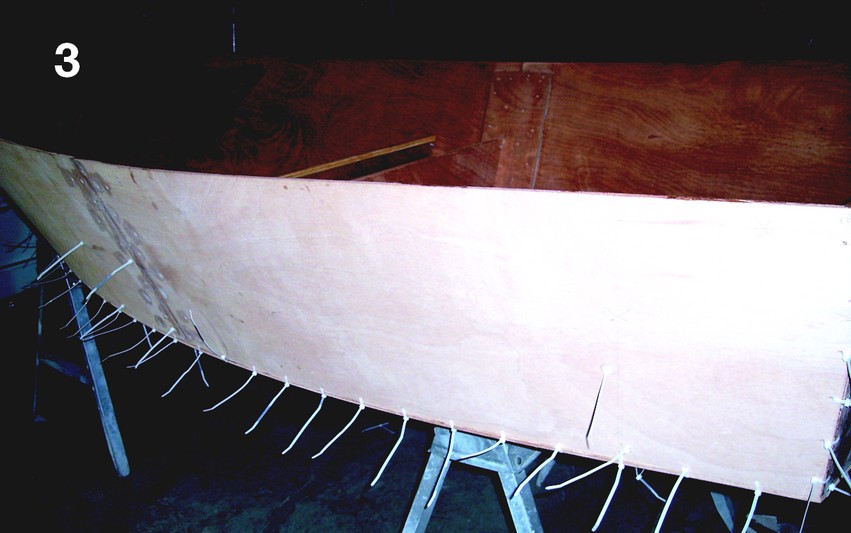
After cutting out the pieces with a saber saw and planning fair, I applied two coats of 105 Epoxy Resin®/207 Special Clear Hardener ® and sanded with 80-grit paper (Photo 1). This made it much easier to complete the finishing assembly. I didn’t coat the outside hull sides and bottom as these remain easy to finish after assembly and would require some shaping. I also coated interior components which hadn’t been coated before installation: seats, seat fronts. knees, breasthook, inwale, and outwale. I rolled on the first coat with an 800 Roller Cover and allowed it to cure. I sanded that with 80-grit paper on a random orbital sander, then rolled and tipped the second coat. Once that was cured, I again used the random orbital sander with 80-grit.
Estimated time: 5 hours. Actual time: 9 hours.
Gunwales
From rough-sawn Sitka Spruce planks, I ripped my gunwales to size but made them 3′ longer to utilize the cut-offs for other skiff components later on. I rounded the bottom corner of the inner and outer gunwales. It was a lot easier done on a bench than it would have been after they were installed in the boat because that corner would be up-side-down. Sanding produced two full buckets of sawdust.
Estimated time: 4 hours. Actual time: 3 hours. Ah, a victory!
Levels
Prior to stitching, I used double-sided carpet tape to adhere two small levels to the bottom panel, on the centerline, at the bow, and at the stern. These would indicate any twist that needed to be addressed as the assembly proceeded.
Stitching and Gluing the Skiff Together
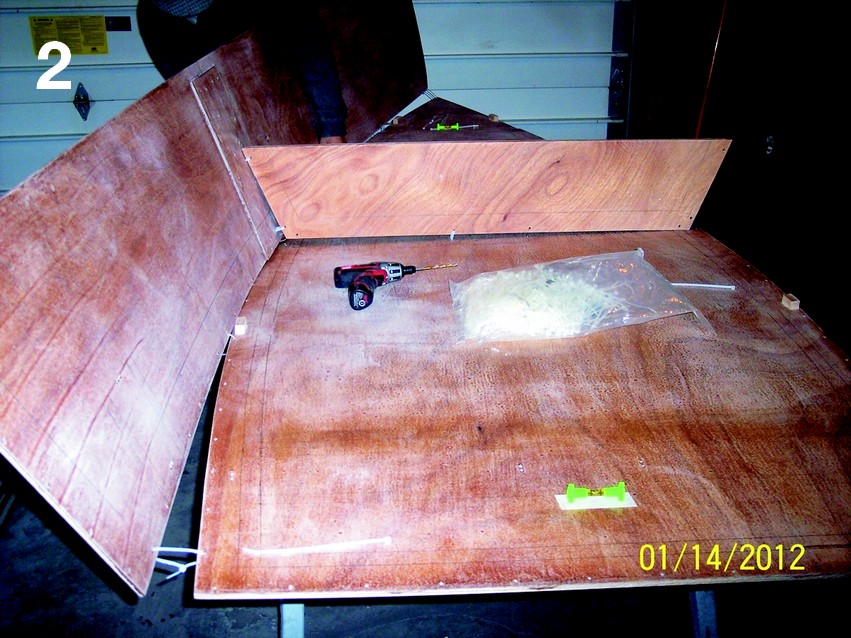
This was probably my only deviation from the Glen-L skiff plans. Instead of copper wire, I used plastic tie wraps (Photos 2-3). They do require a larger diameter hole in the plywood, but they don’t cut the plywood or fatigue the way copper does. Their adjustment is a ratchet arrangement, while copper wires require twisting with pliers (hence the fatiguing). The ratchets allow incremental and even tensioning to draw the panels into shape. The cost difference is a wash. Copper wires can usually be extracted, but when they break it’s a problem. Both tie wraps and copper wire can be cut flush, but copper is harder to plane.
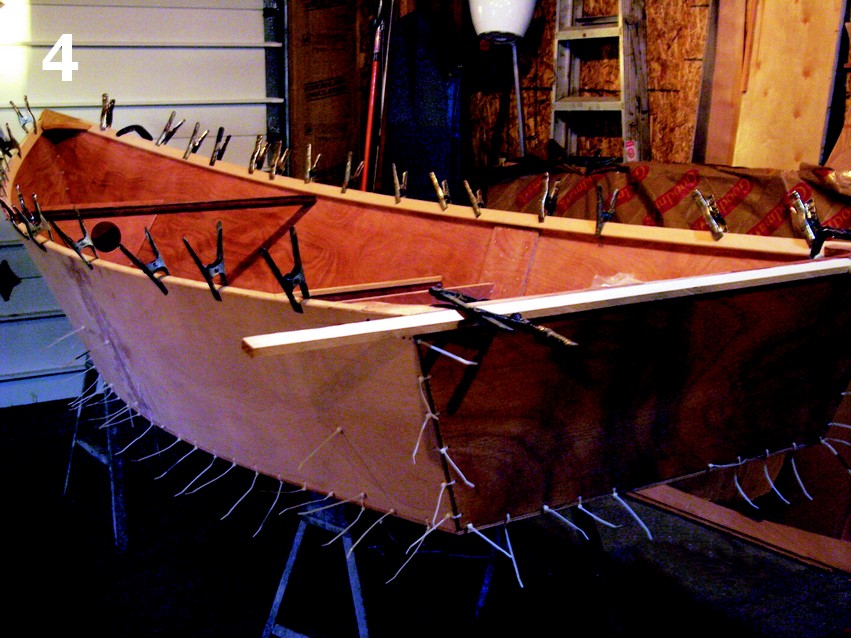
Estimated time: 3 hours. Actual time: 8 hours. (Two men working together 4 hours each—the side panels and bottom were awkward to handle alone.)
Filleting the Skiff’s Interior Chines
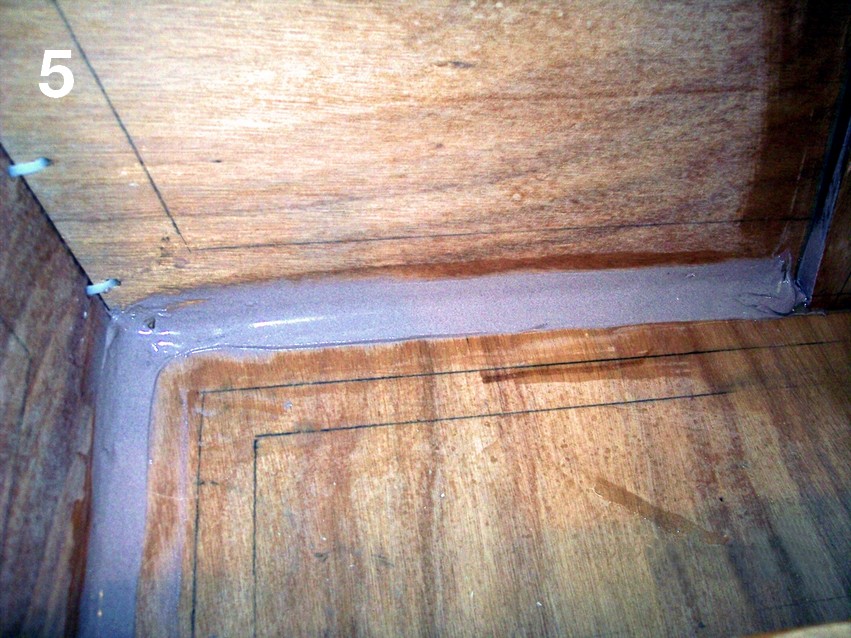
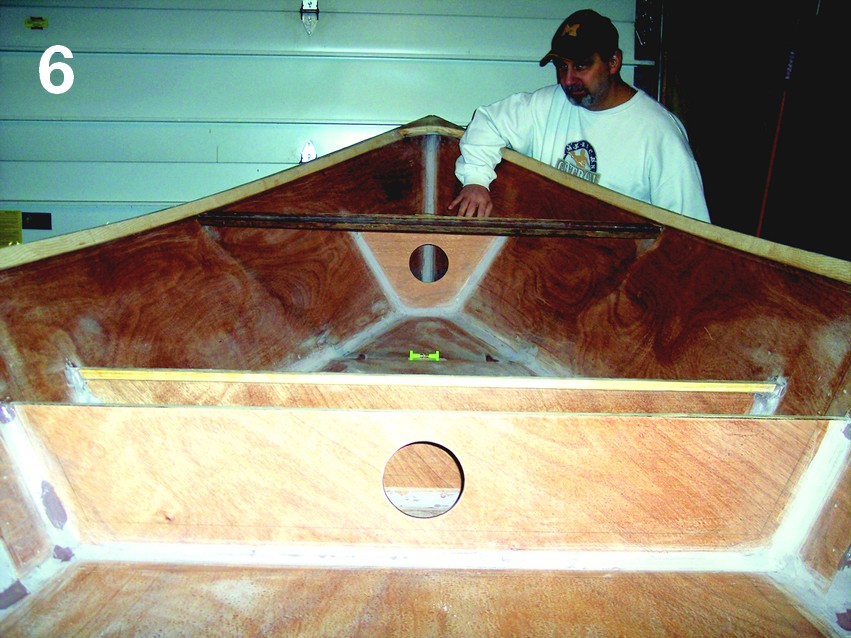
I made a mixture of 105 Resin/206 Slow Hardener® to give me more working time. With a faster epoxy in this application, the mass of the fillets can create an exothermic reaction, possibly resulting in air pockets in the fillets. I added 407 Low-Density filler and 410 Microlight® to the mix, blending them to a non-sag consistency. The resulting mixture was strong enough, sanded nicely, and closely matched the color of my Okoume plywood. I mixed small batches (3 Mini Pump strokes of resin to 3 pump stokes of hardener) so I could take my time.
Despite the ease of sanding, I was careful to sculpt neat, accurate fillets (Photos 5-6). Then I smoothly covered the tie wrap stitching. To apply this mixture, I made a wooden filleting tool the same radius as an 800 Roller Cover. When the epoxy cured, I could use 36-grit sandpaper over a roller cover to smooth it all out.
Estimated time: 4 hours. Actual time: 9 hours.
Glassing the Skiff’s Interior Chines
The most time-consuming step was cutting out all the glass tape. Plus, I made a mistake. I marked my cuts with a felt-tip pen. The ink bled up the tape and showed through when wetted with epoxy.
What worked well was to cut intersecting ends where three tows of fiberglass tape meet with rounded ends. This approach reduced the excessive aggregate build-up of tape layers. My plans called for one layer of 4″-wide and one of 6″-wide for all joints. Once all was cut, I used 105/207 to wet to those guidelines I’d made during the panel layout.
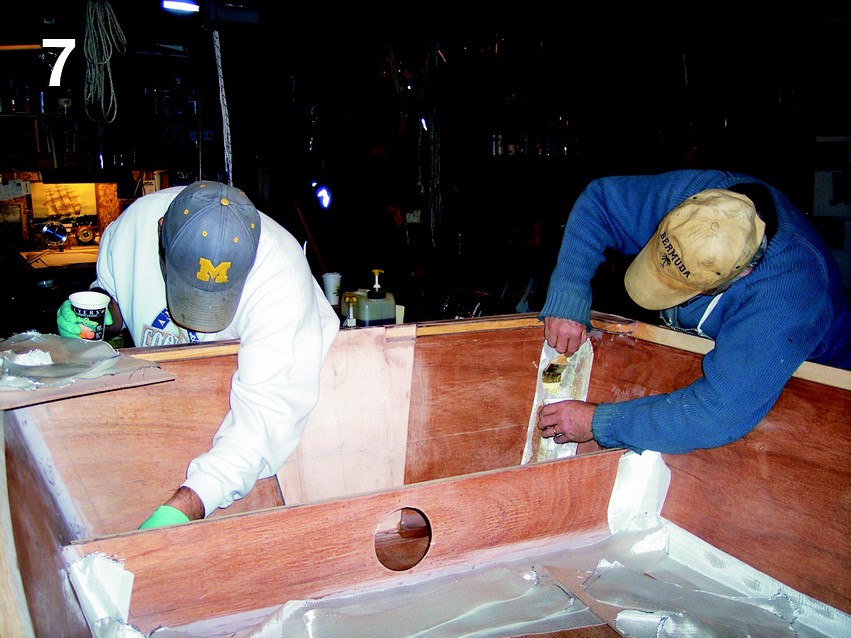
Next, I placed the first layer of dry tape into the wet substrate (Photo 7). The dry tape absorbed the wet epoxy. Where it did not, I brushed a little more on. I then placed the second, 6″-wide layer of tape over that while it was wet (Photo 8). I used a brush because the concave corner of the inner chine really doesn’t allow good use of a spreader or squeegee.

The flat tape does not lay flat because of the skiff’s shape. The resulting wrinkles were removed by snipping a dart with scissors, then pressing down. What worked well was to cover these darts (about 3 per side, per edge) with a square of release fabric which was not removed until all had cured. When the epoxy cured I could definitely feel the “steps” in the layers of fiberglass tape. Hand sanding with 80-grit and a sanding block eased these transitions so the blend was unnoticeable.
Estimate time: 5 hours. Actual time: 12 hours.
Putting release fabric on the whole chine fiberglass laminate would have saved a lot of time on sanding, but not all of it. Release fabric could be applied in overlapping sections, so no darts would be required. But release fabric is expensive, so I opted to use less of it. But as I was sanding, I thought about that a lot.
At this point, the hull was flipped and the tie wraps were cut flush with a sharp offset chisel then countersunk. The chine was rounded. I used a block to first create a flat at about 45°. Then I flattened the resulting two corners so the corner was faceted like a gem. Last, using a sanding block with 60-grit paper I rounded the corner.
Completing the Bottom
I used a mixture of 105 Resin, 205 Fast Hardener®, and 410 Microlight to fill the countersinks where I’d removed the tie wraps and outside chines. After it all was filled and cured, the Microlight filler made it easy to sand to my liking.
I used a square to transfer my guidelines for the 4″ and 6″ glass tape along the outside chines. I then applied a run of 742 12oz glass cloth along the entire bottom (much easier with two people). The exception was where the 4″ and 6″ tape lines would go to prevent wear when pulling the skiff ashore.
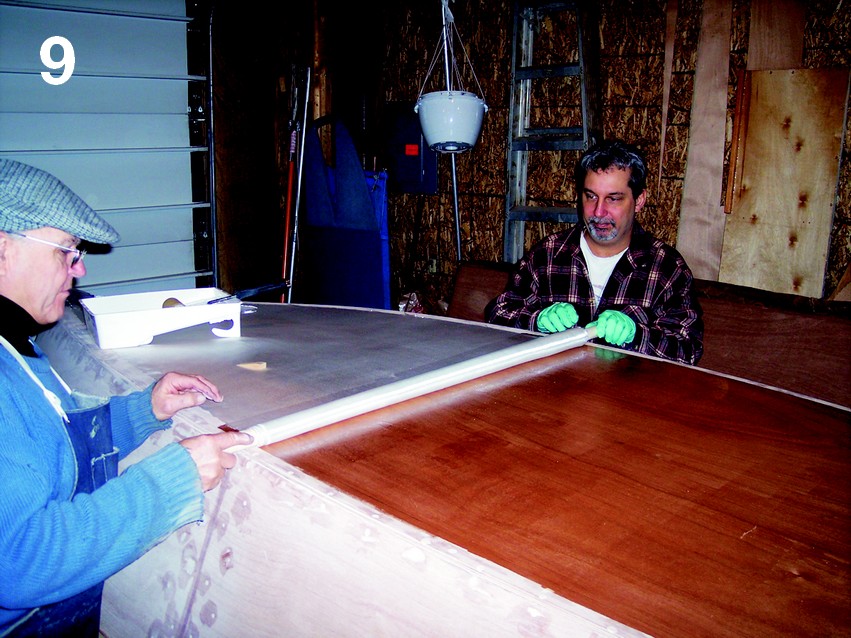
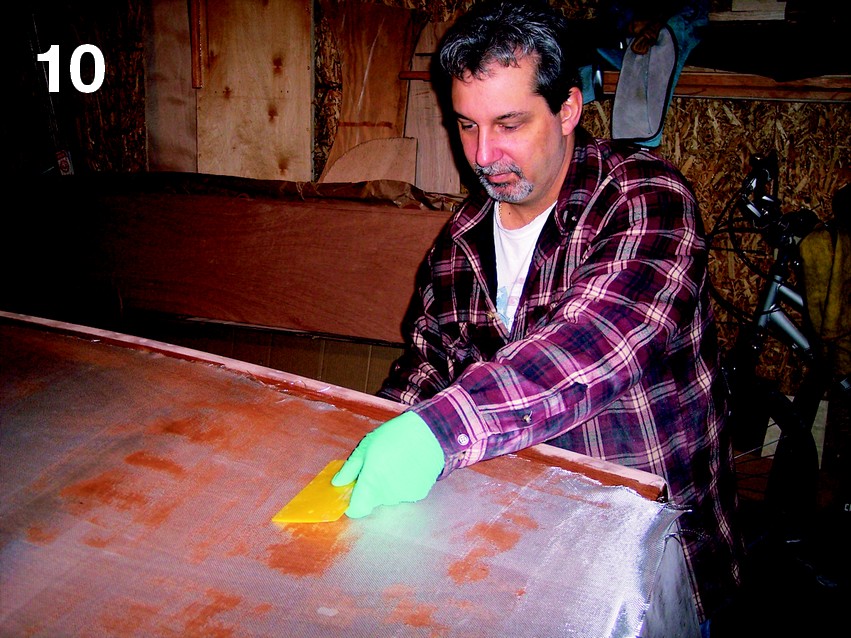
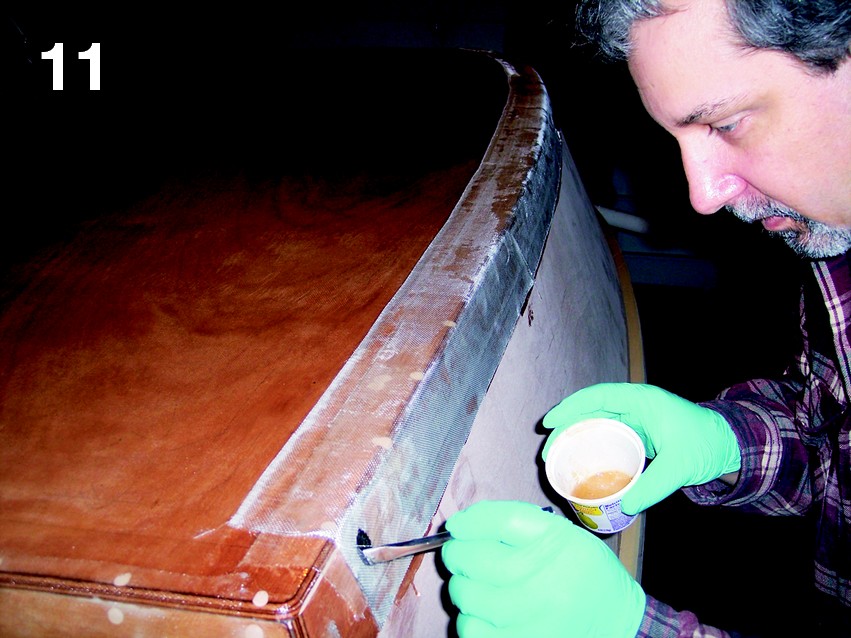
The way to go was to apply the glass cloth by rolling it up halfway, coating the wood, then having two people unroll it over the wet-out epoxy surface (Photo 9). We used an 808 Flexible Spreader to remove air bubbles (Photo 10). After the layer of fiberglass cloth was wet out I moved onto wetting out the glass tape on the chine (Photo 11).
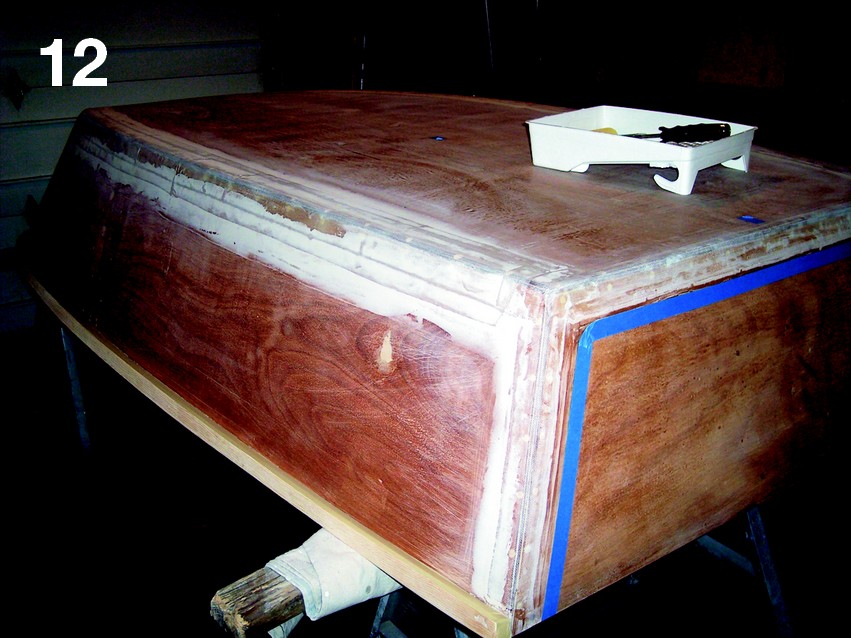
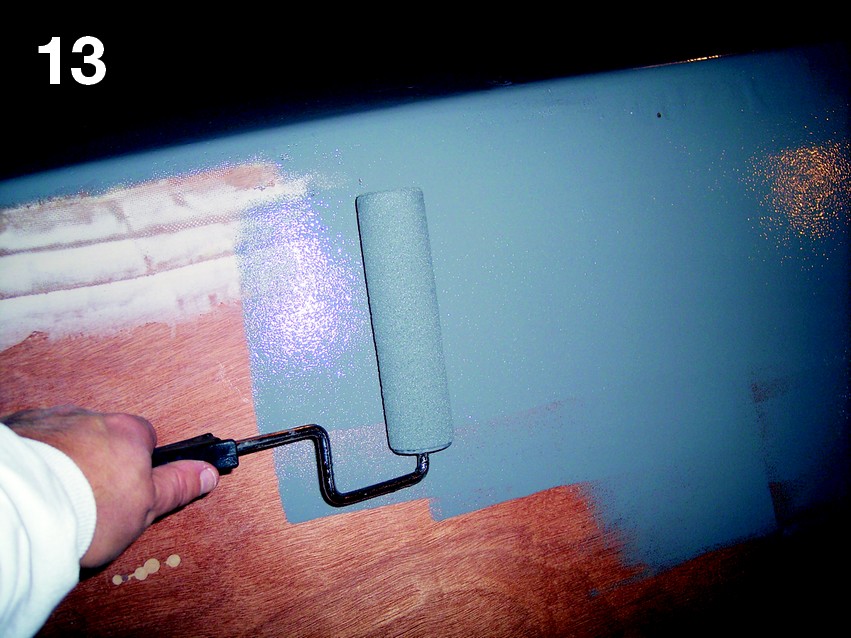
After sanding the chines and fixing minor flaws (Photo 12), it was time to coat the outer hull. I chose to use 105 Resin/207 Special Clear Hardener with West SYSTEM 503 Gray Pigment (Photo 13). I was told that this would really show any flaws I may have missed. Well, it did, but the flaws weren’t bad. I did have to do some minor adjustments. Finally, after it looked like I had it pretty close, it was time to sand again. This time I was able to use the random orbital sander on the majority of the bottom and sides. I hand sanded the hard-to-reach places.
Estimated time: 3 hours. Actual time: 5 hours.
Finishing the Skiff
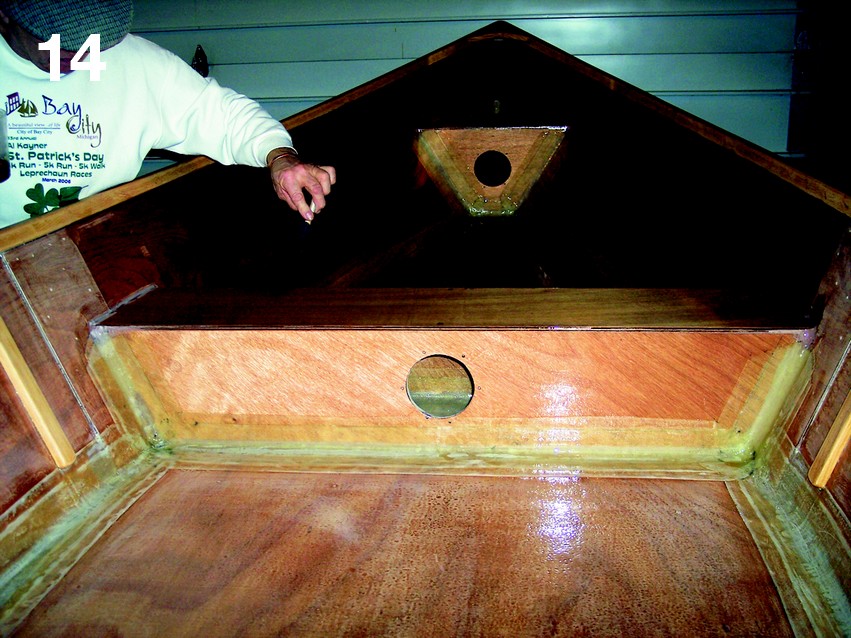
After the assembly, I decided on a natural finish for the skiff’s interior. I applied a coat of 105/207 to the entire interior. Once that cured, I sanded it with 100-grit and applied a coat of Z-Spar® Captain’s Varnish (Photo 14). I had my girls select the paint color for the outer sides and bottom. They chose Largo Blue, with a little help from Dad because otherwise, it would have been a multi-color paint job.
I applied two coats of Interlux® primer and sanded between each coat. I then applied two coats of Interlux paint using a Scotch Brite® pad between the first and second coats.
Estimated time: 3 hours. Actual time: 4 hours.
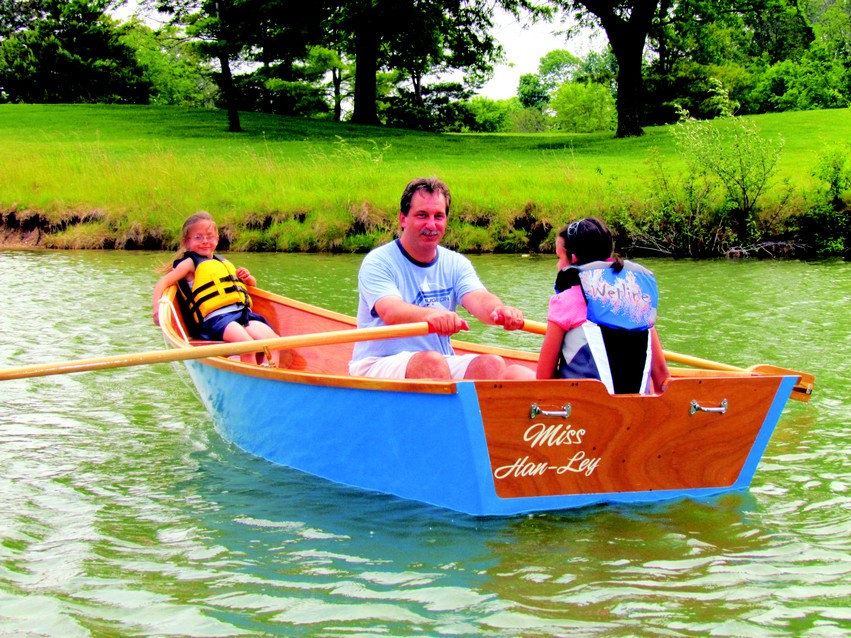
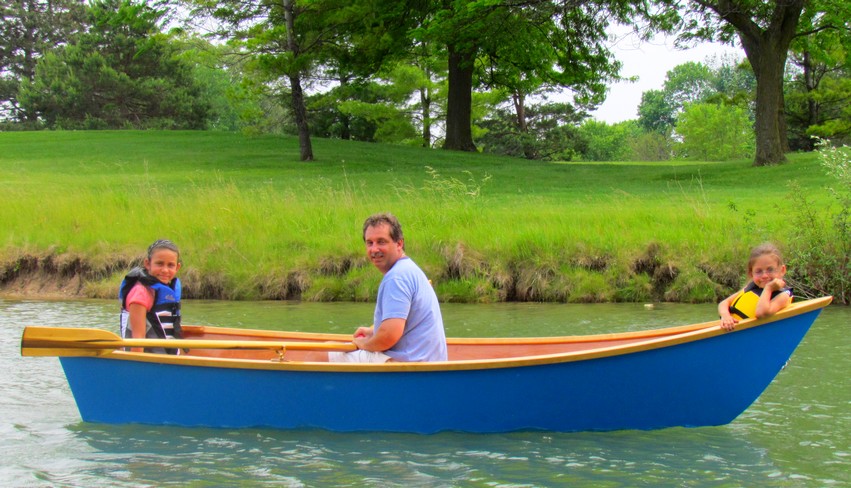
Now that my skiff is complete I realize how much time and money goes into building something that my daughters will be able to enjoy for many years to come. That is the answer to my brother’s question, “Why?” The other reason was that I had a chance to build this boat with a good friend who has been building boats for most of his life. You may know him as Captain J.R. Watson, retired Gougeon Technical Advisor. He offered to assist me on this little project and I figured that it was the perfect opportunity for me to gain some knowledge working with our products, along with some sailor language (I’m not talking dirty).
The project took me a little longer than expected (most of that extra time was spent sanding) and I went over my budget by a couple of hundred dollars (let’s not let the wife know). All in all, I would say if you get the chance to build something with a friend, relative, or child, do it. I think the Gougeon Brothers were nearly as excited as I was when the boat was nearing completion and ready to go in the water.
As for the name, I combined my daughter’s names, Hannah and Hailey, and christened her Miss Han-Ley.