by Chris Jacobson
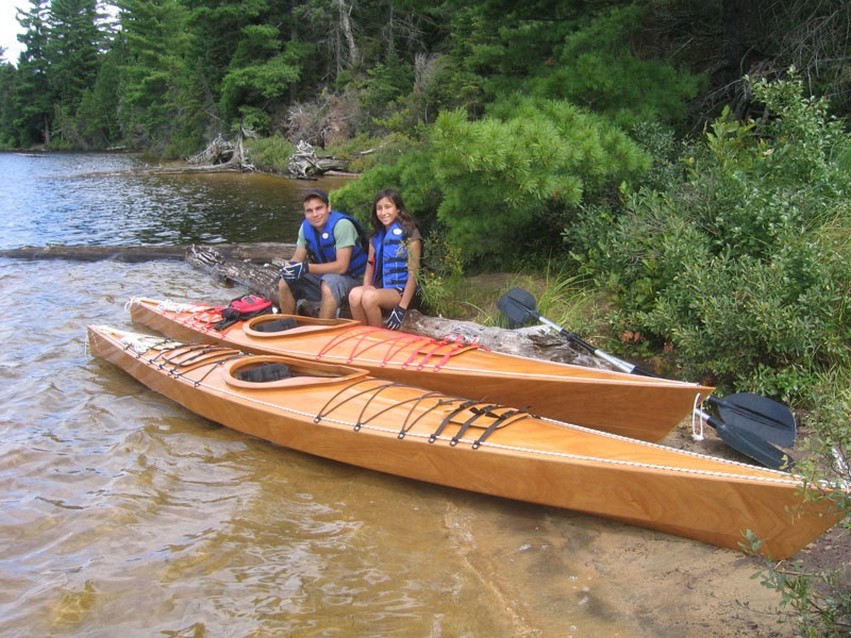
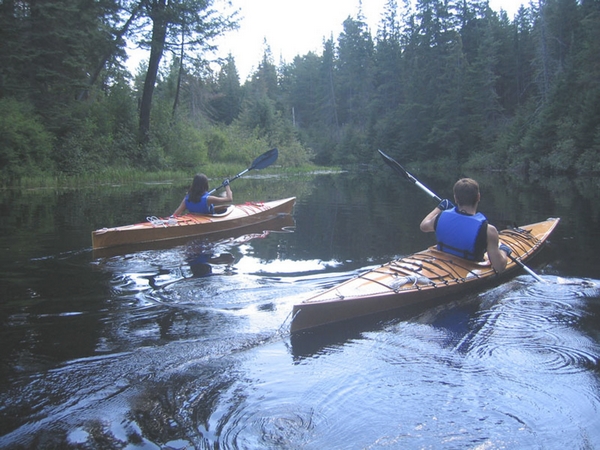
Above: A pair of Chesapeake 16 kayaks built by Chris Jacobson.

It all began when we went camping in Algonquin Park in 2005. We rented a couple of plastic kayaks and the kids loved it. We came home with the intention of buying a couple of kayaks but while on the internet we saw these stitch and glue make’m yourself boats. I purchased the books “The New Kayak Shop” and “Kayaks You Can Build. ”
Both are available at Chapters or Amazon.com. We decided this was something we could do. We also discovered www.clcboats.com which would prove to be a tremendous source of encouragement during the project. We made a day trip to Toronto to purchase plans for Chesapeake 16 Kayak from Chesapeake Light Craft and some marine-grade plywood. The books have some great suggestions for worktables. We made a 17′ one from some ¾” plywood and some stands from scrap 2×4’s from a recent renovation.
What follows is the step-by-step story of the construction of these kayaks—from the basement worktable in September 2005 through launching in July 2006.
1—Scarfing the hull panels
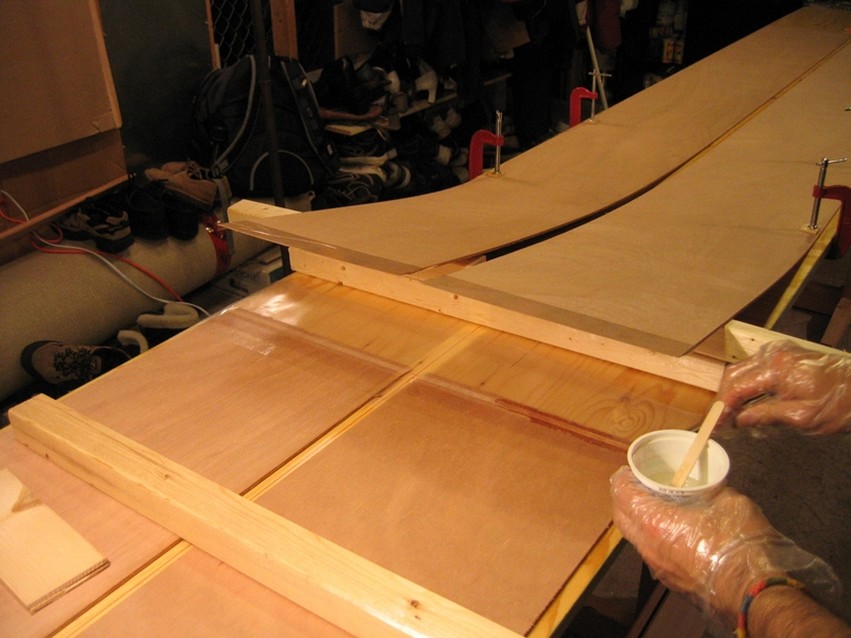
After ripping two 4’×8′ sheets of 4 mm marine plywood into eight 11″ blanks on the table saw, I scarfed the strips together to make full-length panels. I used clear packing tape on both sides of the scarf joints to prevent the epoxy from oozing out onto the panels.
2—Gluing the shear clamp
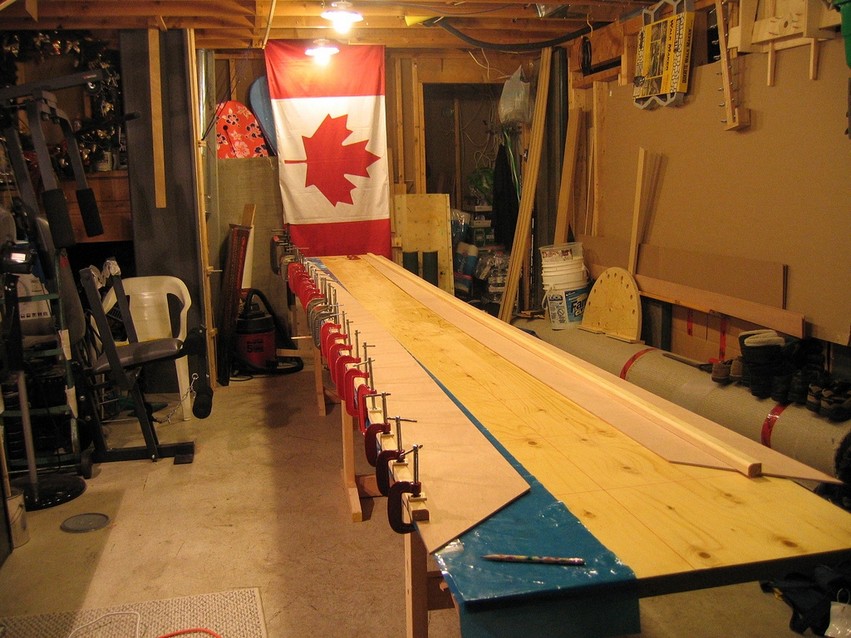
You can’t have too many clamps for this job. We did one side at a time.
3—Stitching the hull
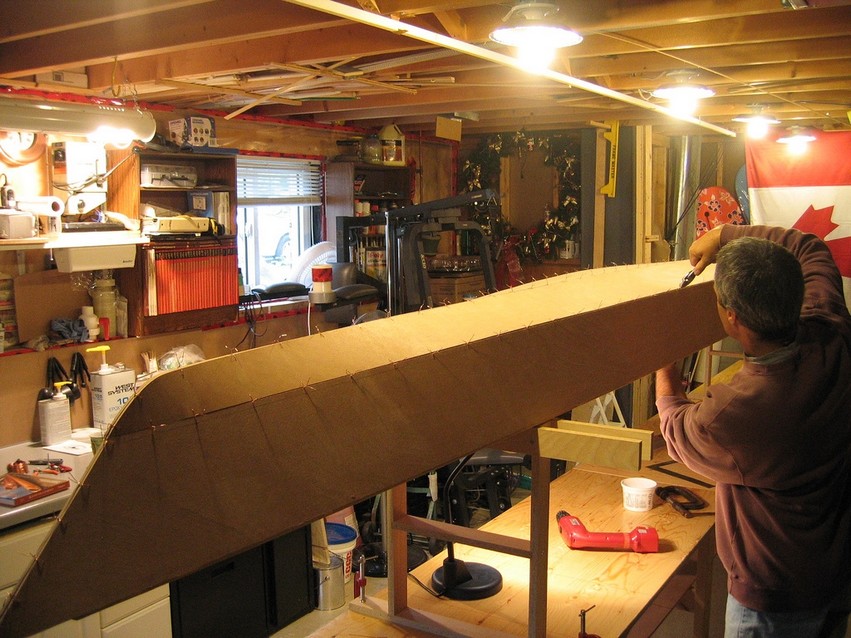
We made up some forms to hold the kayak at a comfortable height. The panels stitched together like a charm. We used 20-gauge copper wire from Home Depot. You can find it in 50-meter rolls in the picture hanging department. The kids cut it into 3″ pieces. We spaced our stitches every 4″.
4—Checking the Chesapeake 16 for twist
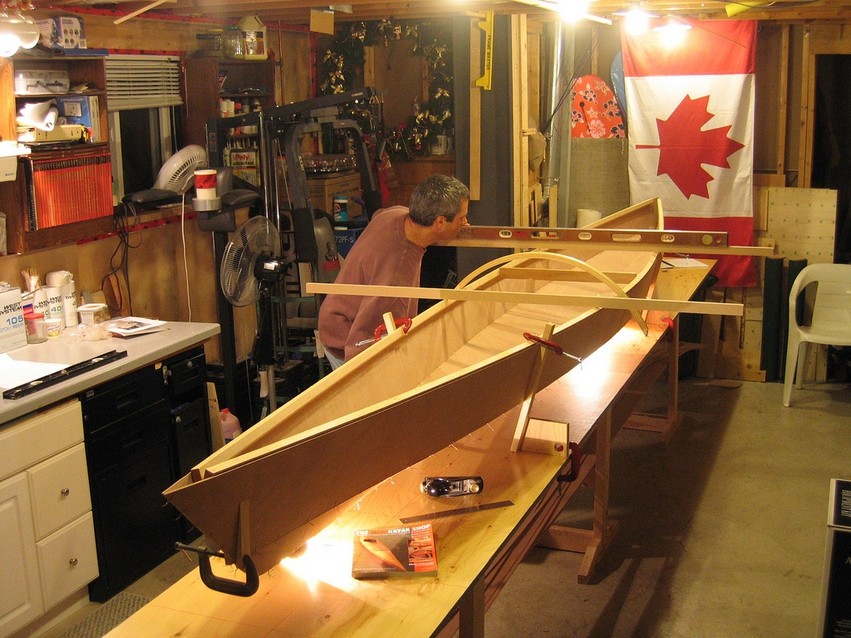
We made up some stands and clamped the kayak to the worktable. We then checked for any twists in the hull.
5—Taping the seams
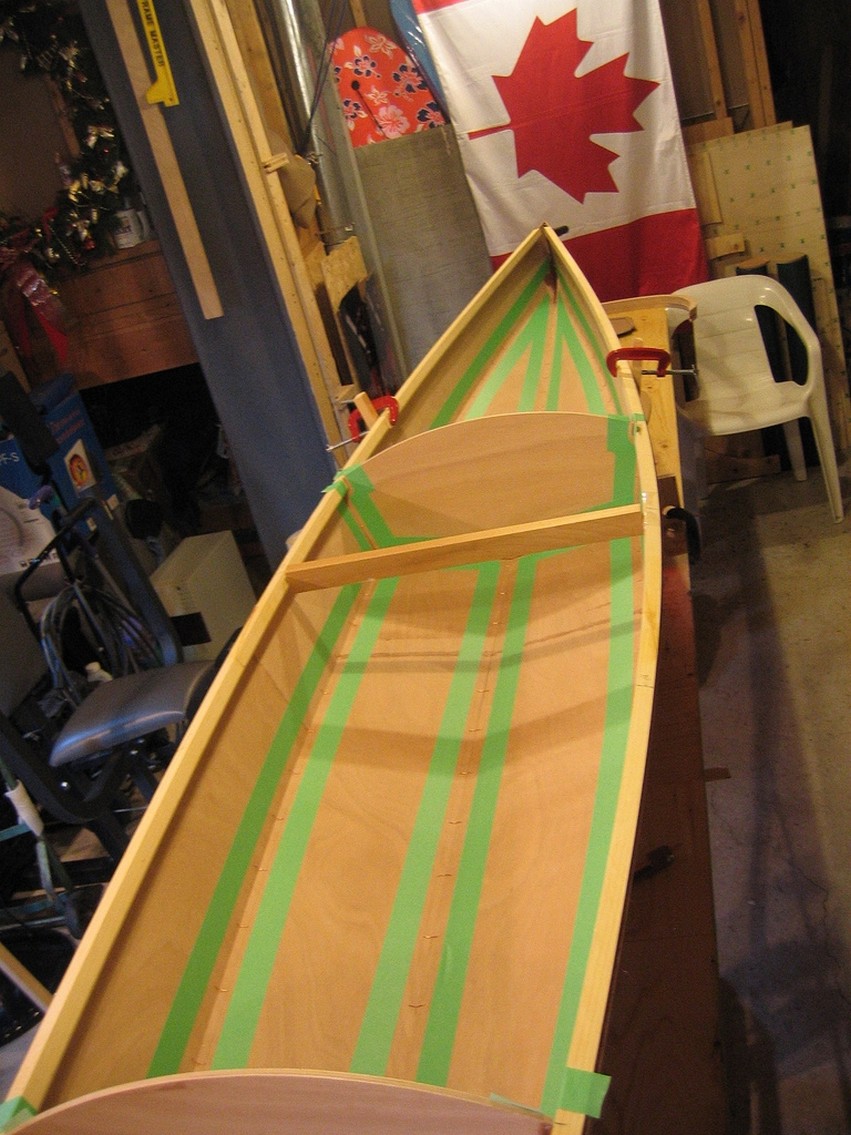
We applied masking tape to keep the epoxy glue neat at the seams. We made various rounded plastic tools to apply the epoxy fillets. It’s not a bad job once you get the hang of it. Kind of like applying drywall compound only more expensive and permanent. One tip though—after making your fillets, wait a couple of hours before applying the 3″ tape and wetting it out with clear epoxy—makes for an easier, less frustrating job.
6—Laying the cloth
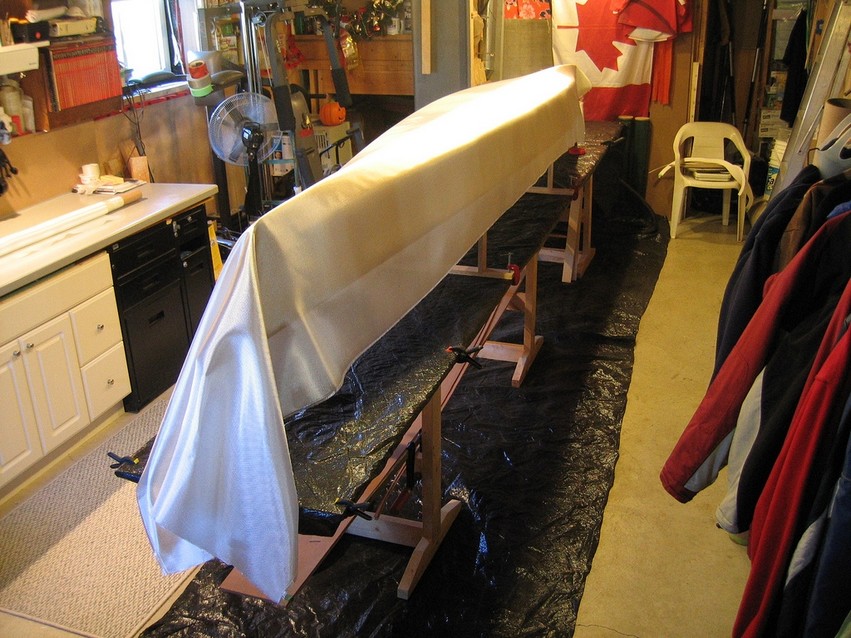
The outside of the hull gets a layer of 6 oz fiberglass fabric.
7—First coat of epoxy
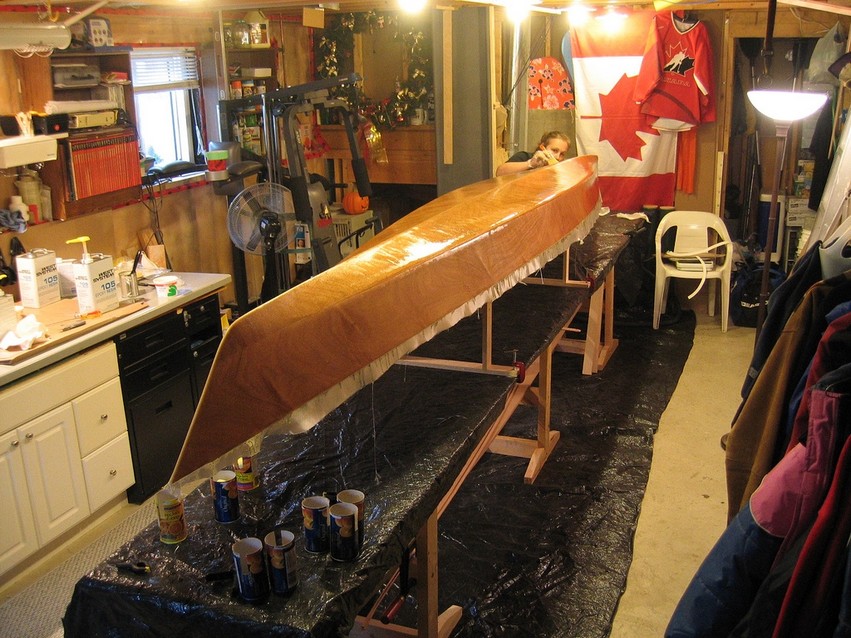
We brushed on and then squeegeed the first coat of epoxy. We used WEST SYSTEM 207 Special Clear Hardener® for a nice bright finish. Mom is tipping out any runs with a dry brush. We’ll add three or four more coats over the next few days. One of the books suggested using cardboard orange juice cans for the grunge while squeegeeing—great idea.
8—Foot braces
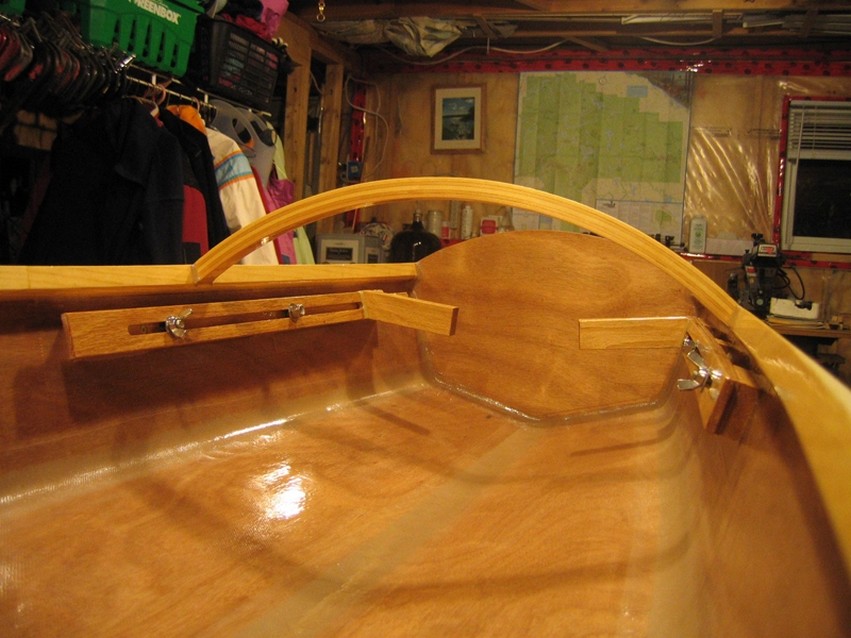
We made fully adjustable foot braces from ¼” oak with an epoxy coating. They are easily adjusted by the paddler while sitting in the cockpit. The hardware is all stainless steel and
they are fully detachable with no through-hull fasteners. The front bolt keeps the brace on track and the back wing bolt tightens down after an adjustment is made. The deck beam was
clamped in place and fillets applied—again, no through-hull fasteners for this either. The foot braces have proven to be extremely rugged.
9—Fiberglassing the Chesapeake 16 deck
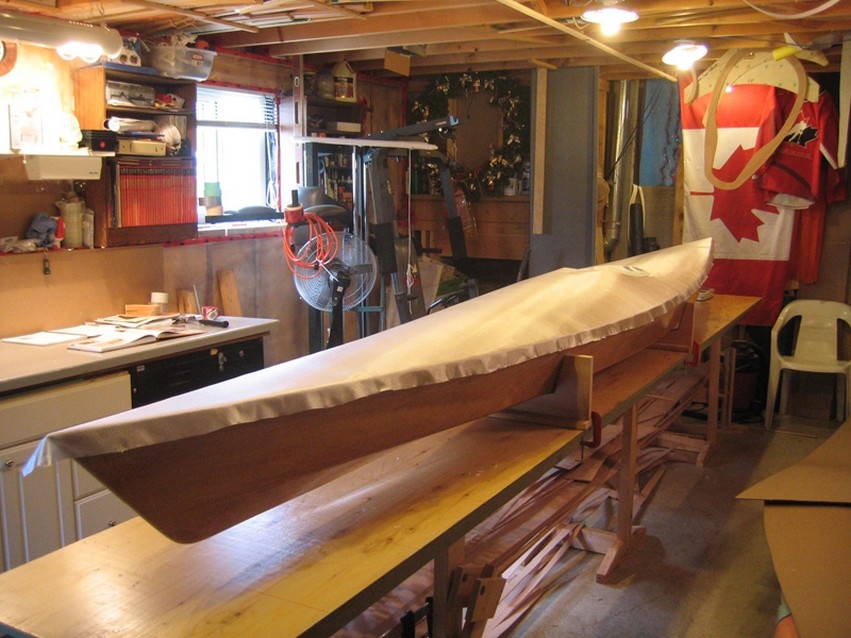
We covered the decks with 4 oz fiberglass and clear epoxy. Mom mixed the epoxy and I applied it. It’s a good team job.
10—Got clamps?
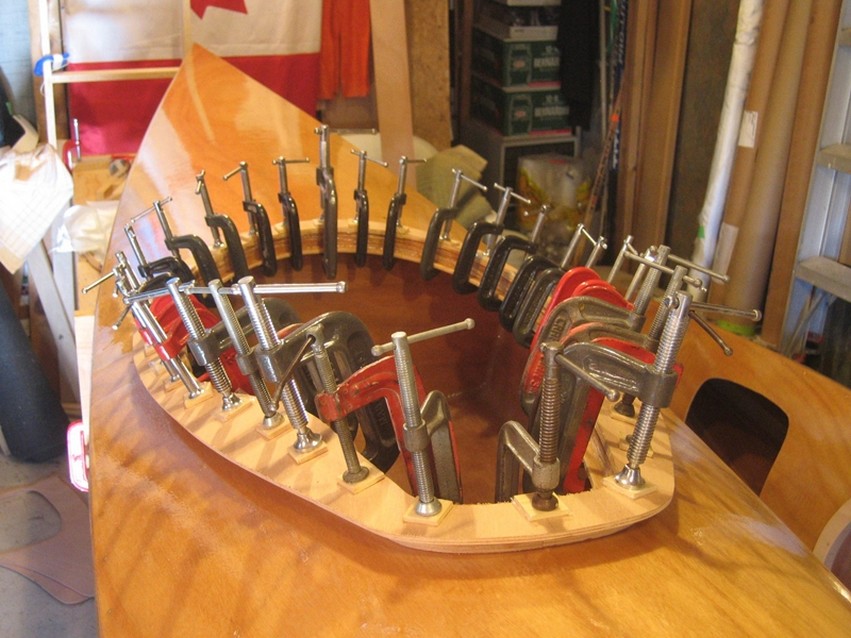
You can see we used lots of clamps for this job. Once the ooze was cleaned up, I removed the masking tape from the spacer stack. It received a coat of clear epoxy when we glassed over the coaming rim with 4 oz cloth. It might sound strange, but I found shaping the coaming enjoyable. It did not take long with a spokeshave and sandpaper and the result, with epoxy and varnish, was like a piece of fine furniture.
11—Hatch openings
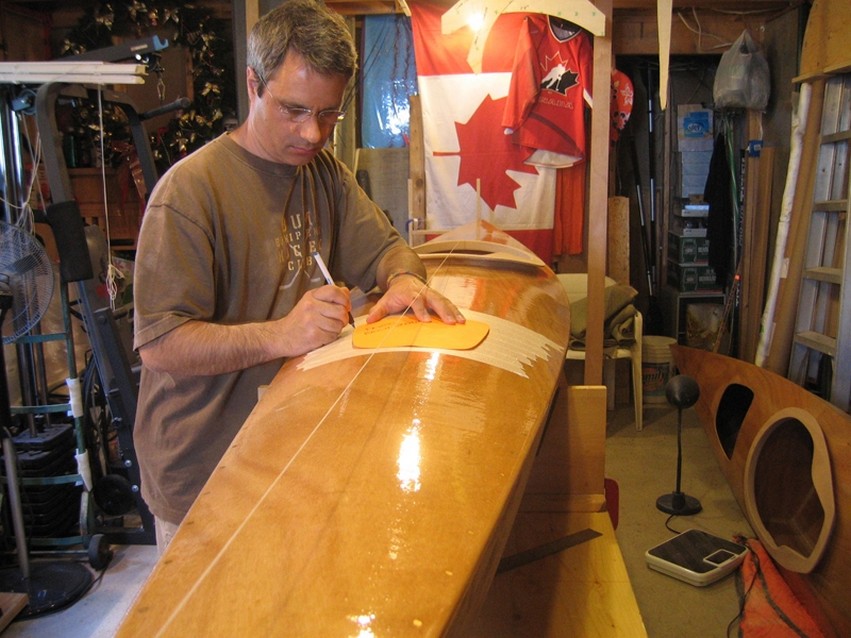
I applied some wide masking tape to the deck and strung a centerline. I then traced the hatch openings from the templates we made earlier. I carefully cut the openings out with a saber saw. I periodically weighed the kayaks on a digital scale to monitor the weight progression. In the end, they came in at 42 lb each.
12—Making hatch covers for the Chesapeake 16
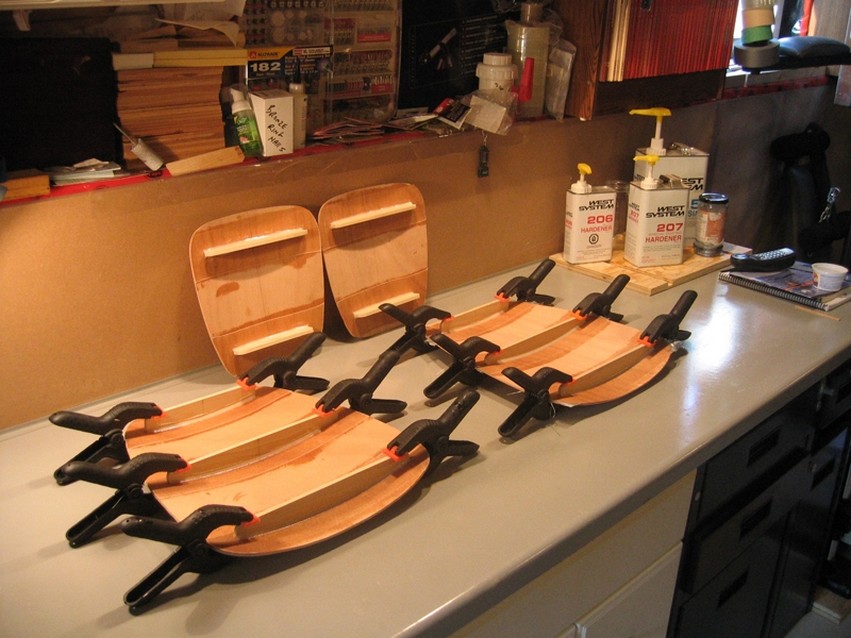
The hatch covers were cut from 4mm marine plywood. The frames were router cut from poplar. Not a great wood, but it will be encapsulated with epoxy. After sanding the kayaks, we applied five coats of Z-Spar Captain’s varnish with an epoxy roller and tipped out the bubbles with a
foam brush for a coffee-table finish.
We started this project in September 2005 and pushed the kayaks out of the basement and carried them to a reservoir down the street for sea trials on July 22, 2006. Annie’s getting a little impatient with this epoxy business. It’s been a few days since she’s been on her walk. The kayak has its fifth and final coat of epoxy. Taking a break on Canisbay Lake in Algonquin Park, August 2006. We paddled the entire shoreline of the lake before moving onto Smoke Lake the next day. The kids leisurely paddled the kayaks. My wife and I busted our asses trying to keep up in a rented 15′ fiberglass canoe.
