

by Tom Pawlak — GBI Technical Advisor
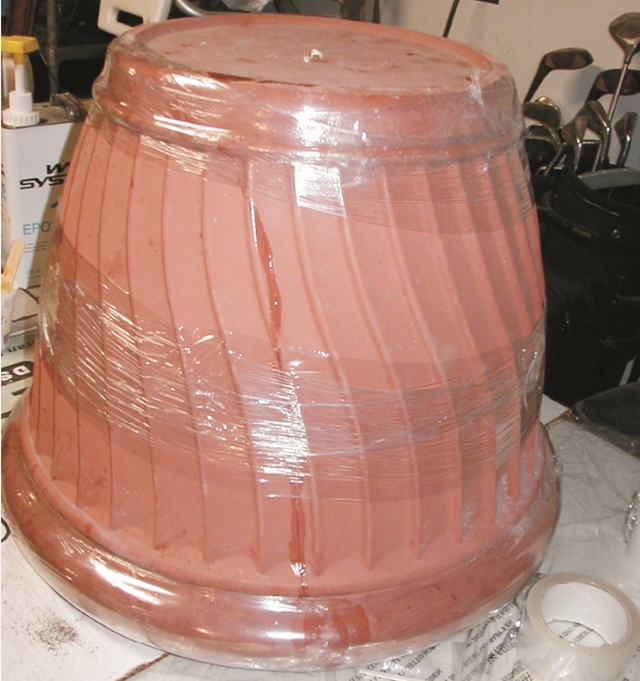
Above: The cracked polyurethane foam planter pot upon which Tom performed this simple pot repair with epoxy. You can see the household cling wrap he used to hold the cracked pot together while the epoxy cured.
My wife Mary and I recently went to the local building center to purchase a large planter pot for our patio. After we had agreed on a nice large terra-cotta beauty, I noticed another large pot that had a serious crack. I asked the associate for a price on it, knowing it would be easy to repair with WEST SYSTEM® Epoxy. He said I would be doing him a favor if I took it away. So we came home with two pots for the price of one.
The free pot was made of tough polyurethane foam that looked like red terra-cotta. It must have taken a nasty hit because it had cracked from the lip of the pot to the bottom (Figure 1).
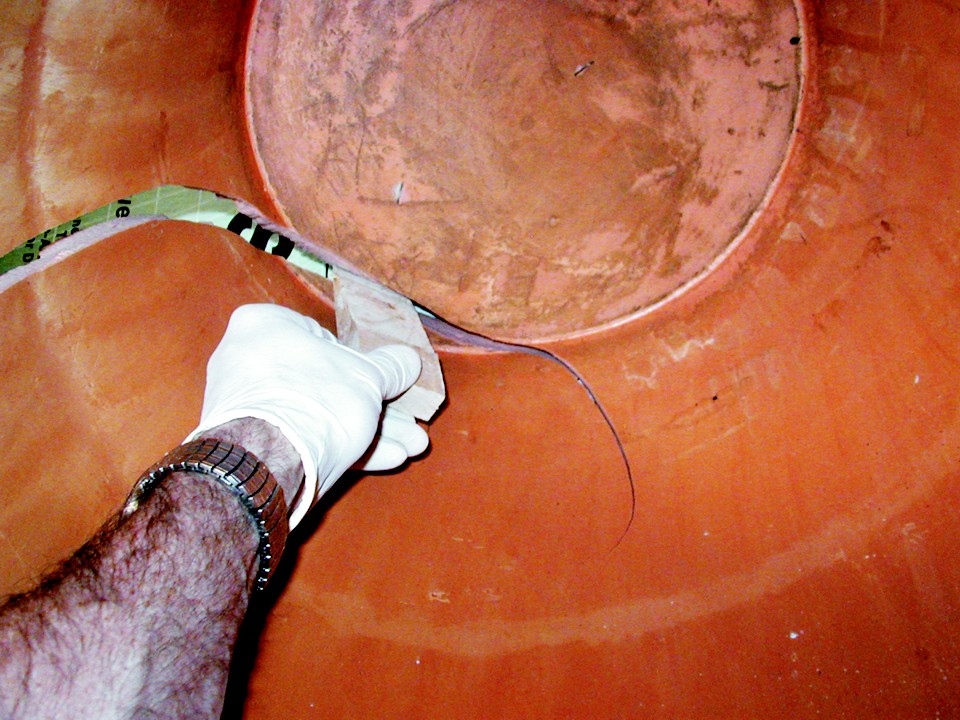
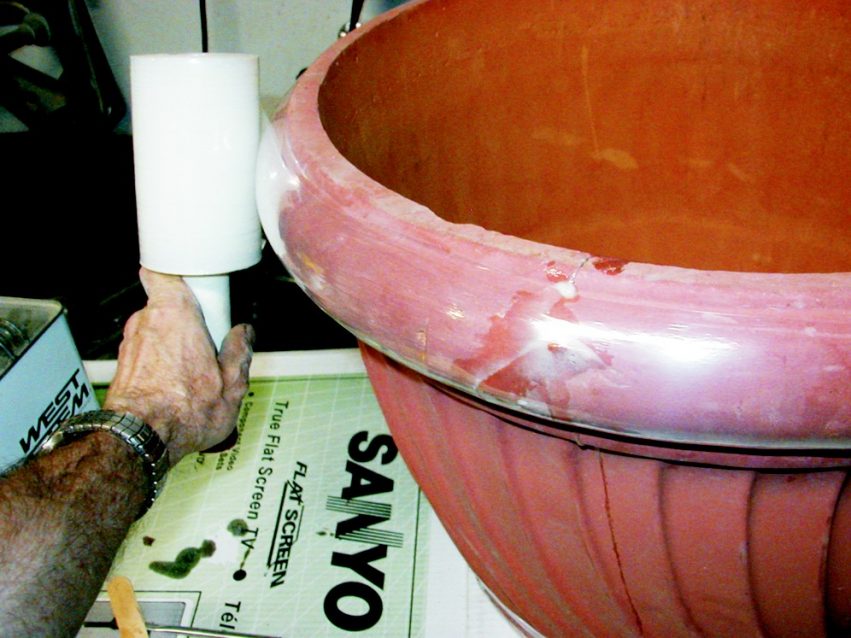
From the photos, you can see the extent of the damage and the techniques used for the repair. The WEST SYSTEM 105 Resin/205 Fast Hardener repair was done with one pump of resin and one pump of hardener from the 300 Mini Pumps. The epoxy was thickened slightly with 406 Colloidal Silica. A clear stretch wrap was used to pull the parts together (Figure 2), and I must say, worked great for the job.
Each wrap applied additional force, which helped draw the pieces together nicely. The clear plastic wrap allowed me to see the joint as it came together (see image at top) and even molded the epoxy as it squeezed out of the crack as the parts were drawn together.


