

Working with G/5 Resin & Hardener
By Tom Pawlak — GBI Technical Advisor
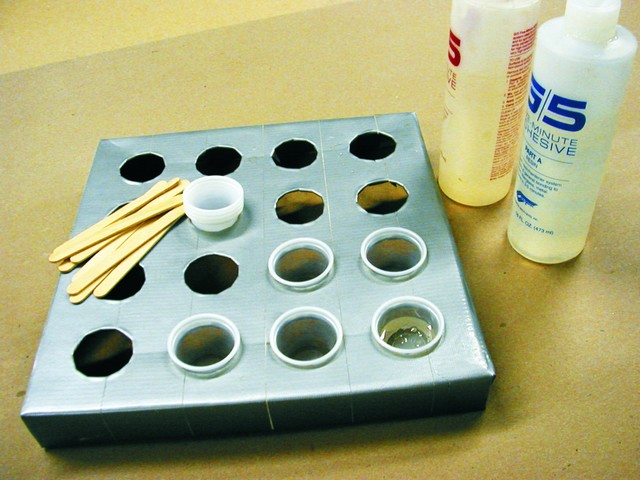
Above: To simplify mixing G/5 Resin and Hardener for a large project, Grant made a carrying pallet with sixteen holes, sized to hold 1-ounce mixing cups (pill cups purchased at a food service outlet). The pallet was covered with duct tape so glue drips could be peeled away. Note that a mini cupcake pan could be dedicated to this kind of task as well.
Many of us at Gougeon Brothers experiment with WEST SYSTEM® products on personal projects at home as well as at work. We often push products and techniques beyond the limits recommended in our literature. Sometimes the experiment fails, sometimes we discover something very useful.
Installing ceramic tile
Grant Urband, head of our marketing department, developed this tip for working with G/5 Resin and Hardener during an interior restoration project on his Victorian-era home. He recently used G/5 to glue hundreds of 1″ square ceramic tiles to a large surface and in the process, came up with a uniquely convenient method for handling the fast-curing adhesive.
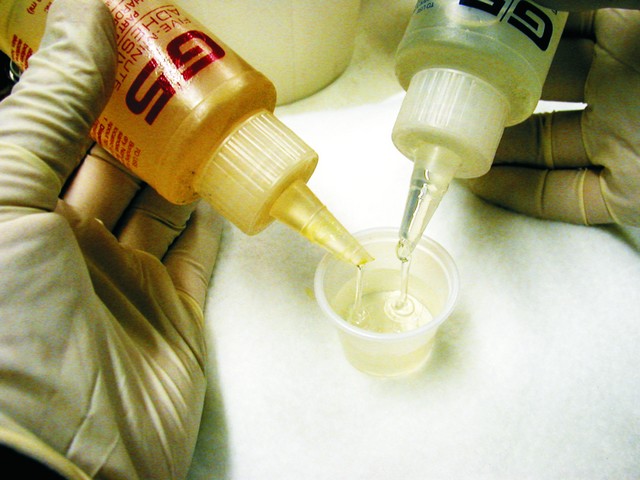
Any time you must continually repeat a process, it is worth developing techniques to improve efficiency. Grant knew that he would have to use small batches for this project because of G/5’s short working time. After experimenting with several batches, he discovered that G/5 resin and hardener can be dispensed into small mixing cups ahead of time and will remain uncured until mixed. (See G/5 Resin and Hardener setup in photo at top.)
Grant arranged all of his materials close at hand.
- A pallet with pre-filled mixing cups
- Mixing (popsicle) sticks (purchased at a crafts store)
- 403 Microfiber Filler
- Ceramic Tiles organized in order
- Supply of disposable gloves
Once Grant’s project was underway, he was able to quickly mix new batches and work continuously without stopping to dispense G/5 Resin and Hardener.
Plastic repair with G/5 Adhesive
I occasionally use my tools on jobs for which they were not intended. I won’t go into detail, but it was on one of those occasions that I significantly damaged my ratcheting “squeeze driver” screwdriver. The plastic that surrounded the thrust bearing had broken into several pieces. I didn’t know if it could be repaired but I was going to give it a try.
I decided to use G/5 Adhesive for this repair since it adheres quite well to a number of plastics. I planned to incorporate 4-oz fiberglass cloth to reinforce the area around the thrust bearing after gluing the pieces together.
These are the basic steps I used:
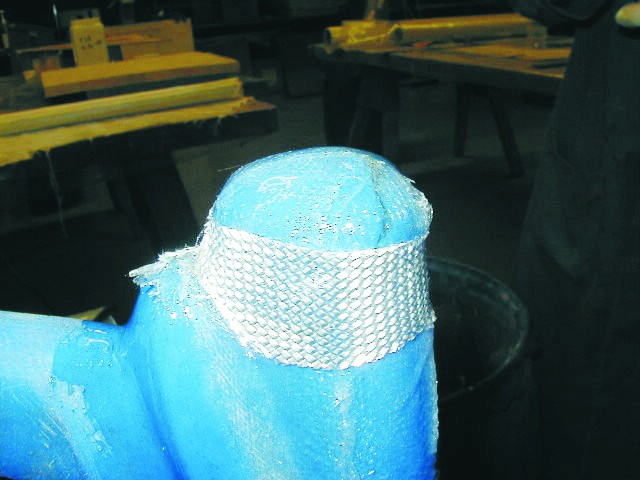
- Dry assemble the unit to verify all of the pieces are there (left photo).
- Prepare the repair for fiberglass and epoxy by sanding with 60-grit sandpaper.
- Oxidize the bonding surfaces with a brief pass of a flame from a propane torch.
- Glue the pieces together with G/5 Adhesive.
- Laminate layers of 4 oz fiberglass cloth with small multiple batches of G/5 to reinforce the damaged area.

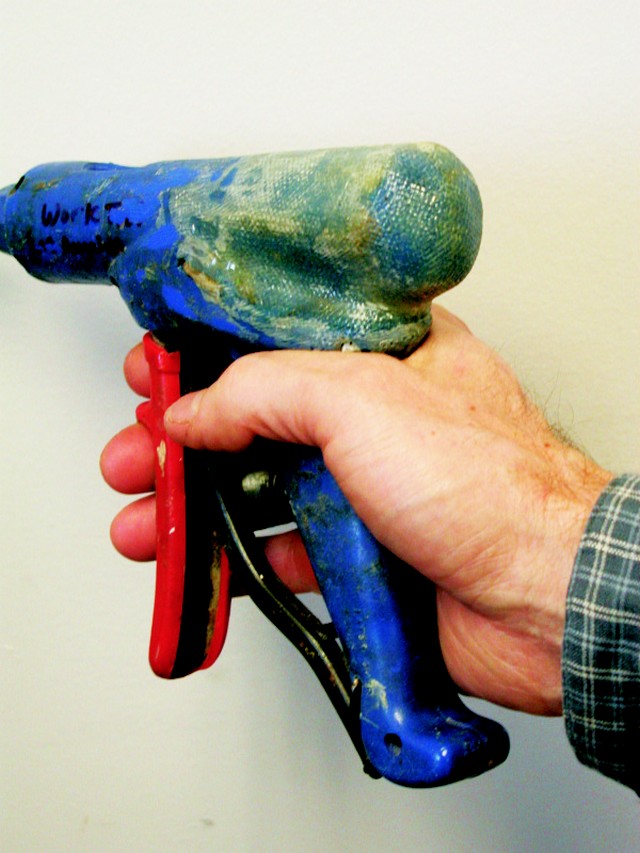
I guess you can say the repair was successful. It’s been a year and a half and my “squeeze driver” works fine. I think it is stronger now than when it was new. It may even work on jobs for which it wasn’t originally intended.


