Fix Leaking Rivets in Aluminum Boats with G/flex 650
Summer 2007

GET STARTED
FREE PRINT & DIGITAL EDITIONS
Summer 2007
We have a video demonstrating aluminum boat repair: Fixing Leaking Rivets in an Aluminum Boat.
We wanted to experiment with using G/flex to fix leaking aluminum boats. I was quite surprised to find that every aluminum boat owner I talked to said they had some sort of leak. Within three hours, I had several co-workers volunteer their aluminum boats for the experimental fix using G/flex.
The first step is to find the leak. This is fairly easy—just fill the inside with water up to the waterline. To reduce the possibility of destruction or distortion, I tilted the boat and only filled one end at a time since filling the boat up entirely might have done more damage to the seams.
On each boat I repaired, I found many rivets that merely seeped water. However, I also found at least one that poured a constant stream. These bigger leaks were the main cause of water inside the craft during normal use. One boat actually carried a bilge pump to help keep up with the bailing. I circled any leaking rivet or seam with a black marker.
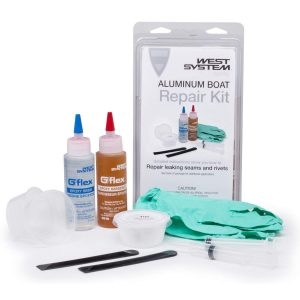
Repair the most common problem with aluminum boats and canoes: leaking seams and rivets in aluminum boats with the WEST SYSTEM 650-K Aluminum Boat Repair Kit. Each kit contains 8 ounces of G/flex 650 Toughened Epoxy, adhesive filler, application syringes, mixing pots and reusable mixing sticks and protective gloves. Illustrated, detailed instructions explain how to repair leaking seams and rivets in aluminum boats. All components are contained in a sturdy, resealable package.
With the leaks identified and marked, here are the techniques used for the repair. Flip the boat over for easier access to the bottom and prepare the surface for bonding. For the seams, clean out any debris that might still be stuck inside. On the rivets, I used a wire brush in a circular motion to abrade the surface. A wire brush attachment on a cordless drill made the job even easier. Once everything is clean and well scuffed, gather the needed materials: a handheld propane torch, a heat gun, an 804 Syringe, paper towels, and G/flex 650 Epoxy.
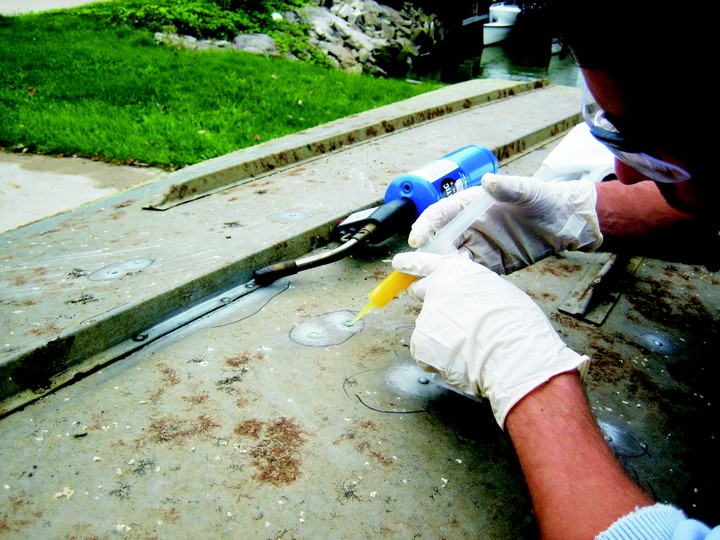
Mix the G/flex 650 Resin and Hardener together and fill the syringe. I cut the tip of the syringe to enlarge the hole to about 1 16″. Heat the repair area with a propane torch (a heat gun will work) up to 180–220°F to dry out the repair area. The heat drives moisture from the seam and thins out the G/flex, allowing it to flow more easily into the seams and rivets.


Then fill the seams and rivets in this area while the aluminum is still warm. Use the heat gun (do not use a propane torch for this step) in one hand while applying the G/flex from the syringe with the other. The forced air from the heat gun keeps the repair area warm and lets you direct the G/flex where it needs to go. This lets you do the repair without flipping the boat over.
After you have applied enough G/flex, pull the syringe plunger back slightly and lay it on a paper towel for the next rivet or seam. Keep applying heat until the G/flex has gelled and no longer moves with the forced air from the gun. Then, you can either let the G/flex® cure at ambient temperature or continue using the heat gun on a lower setting until the epoxy is fully cured. Complete heating and filling each rivet or seam section before moving on to the next to avoid too much heat loss.
Once the epoxy is cured, you are ready for an immediate water test. The boats I repaired in our shop were taken right out to the water and thoroughly abused. After repeated beaching and thermal cycling, the G/flex still holds strong.