Replacing the Wet Core in Another Spade’s Rudder
Spring 2024

GET STARTED
FREE PRINT & DIGITAL EDITIONS
Spring 2024
By Don Gutzmer – GBI Technical Advisor
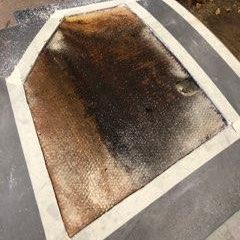
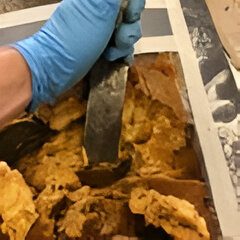
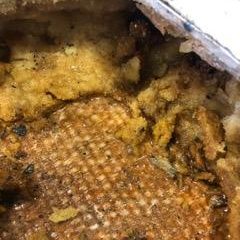
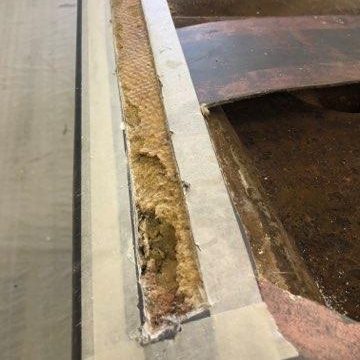
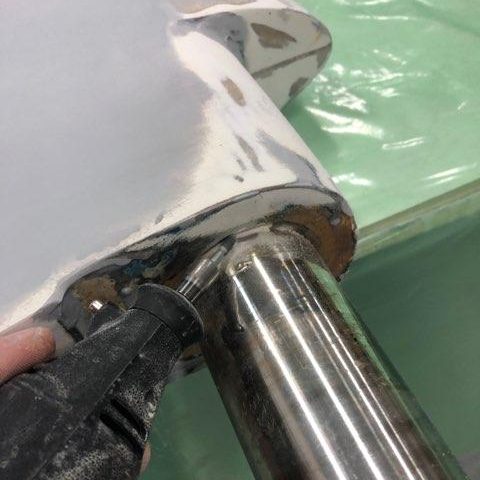
As with any repair, determining the extent of the damage is paramount. One must embody a marine surveyor’s mindset to determine the underlying issue, then devise an effective repair that will also prevent the problem from returning. The first step I took was to “sound” the rudder with a hammer to determine the extent of the wet areas. Sounding is the tapping of a hammer over a cored laminate, listening for the quality of the sound it produces. With the rudder in question, a dull sound was produced when tapping on both sides. With this information, I determined that the entire foam core had gotten wet or was deteriorated to some extent. Next, I drilled several holes into the rudder to determine the integrity of the foam. In some of the holes, the foam came apart easily, even dripping wet. Due to this condition, the foam in the rudder was no longer structurally supportive and past the stage of being saved by simply drying over time. Upon further inspection, I discovered a crack around the top shaft that was likely the culprit of the moisture intrusion.
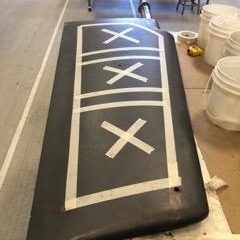
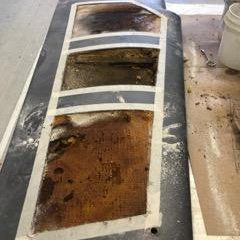
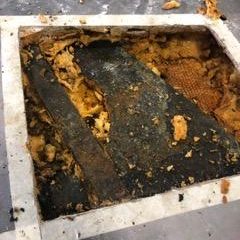
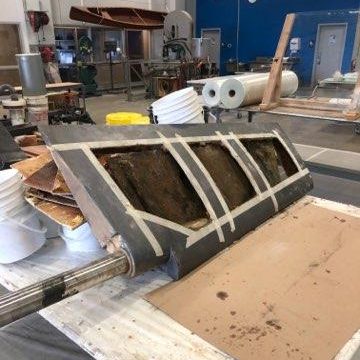
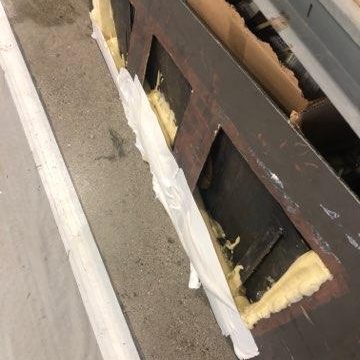
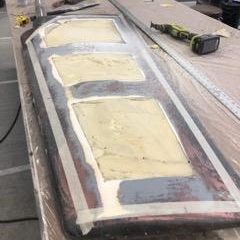
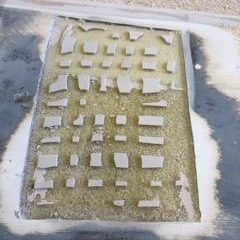
In order to remove the damaged and waterlogged foam core, I needed to cut away some of the laminate to gain access. To maintain the original shape of the rudder, only portions of the laminate were cut away. This left the general shape intact while also granting access to the inner portion of the rudder. The other advantage to leaving some laminate in place was to have enough surface area to grind a 12:1 bevel angle for adhering the new fiberglass. As seen in the pictures, three sections of laminate on each side of the rudder were removed.
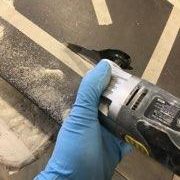
I marked off the area with masking tape and used a vibrating multi-tool to remove the laminate, exposing the foam. A sharp wood chisel and hammer worked well to remove the foam. A small section of laminate was cut away on the leading edge of the rudder to remove additional foam. Once a majority was removed, I placed the rudder in a large oven at 120°F for 24 hours to ensure any remaining foam, and the empty cavity, was thoroughly dry. Alternatively, I could have dried the rudder with heat lamps, but since I have access to an industrial oven with temperature control, I opted to use that.
During the demo process, I had set aside an intact section of foam and dried it in the oven with the rudder. I then trimmed this into a 1-inch cube, weighed it, and calculated the density. The density of the foam in the rudder was 6 lbs./ft3. I decided to use an 8 lbs./ft3 polyurethane expanding foam as a replacement, which was more than adequate.
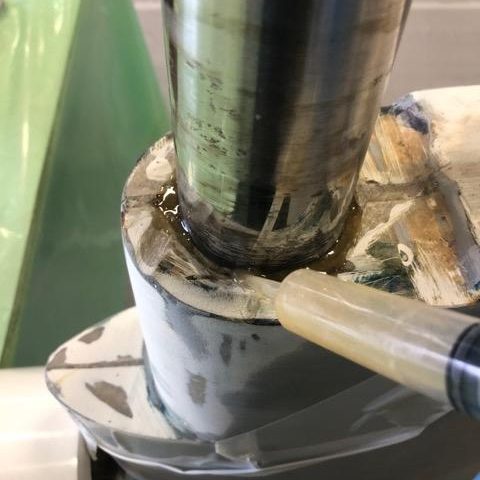
On the inside of the rudder, there is a metal plate welded to the stainless shaft that runs the length of the rudder. There was rust on the metal plate, so I chose to apply a rust converter called Corroseal® before pouring the foam.
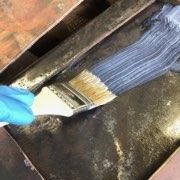
After sanding the metal plate with 36-grit paper, I was ready to test the new expanding foam. I mixed a small test batch and brushed it on the plate to test the strength of the bond. After it cured, I tried to scrape the foam off with a wood chisel. The foam failed, but part of the foam adhered to the plate stayed attached, which indicates good adhesion.
Now that the concept was proven, it was time to actually fill the rudder. Taking advantage of gravity, I flipped the rudder upside down to fill the top portion with foam. The foam cured with a smooth, sealed surface. I used a vibrating multi-tool to remove the sealed surface exposing the textured foam underneath. The smooth surface of the foam could jeopardize good adhesion between layers and eventually separate causing issues later on.
The next area I filled with foam was the leading edge. I stood the rudder up on the leading edge and taped the opening to help contain the foam in the cavity. Once cured, I again removed the smooth surface.
The steel plate in the middle of the rudder worked well as a partition for filling the remainder of the rudder. This way I could fill just one half at a time. All the plate needed was a little tape to cover the hole. I filled half of the rudder with the expanding foam until it rose above the surface of the rudder. Then I let it cure, flipped it over and filled the other half.

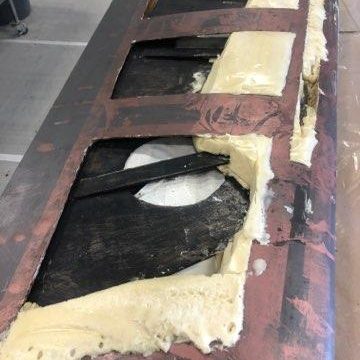
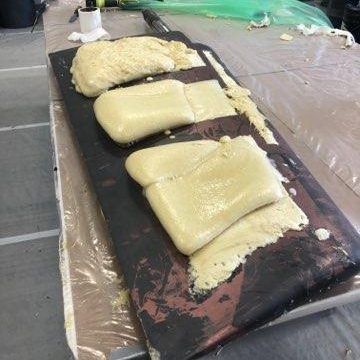
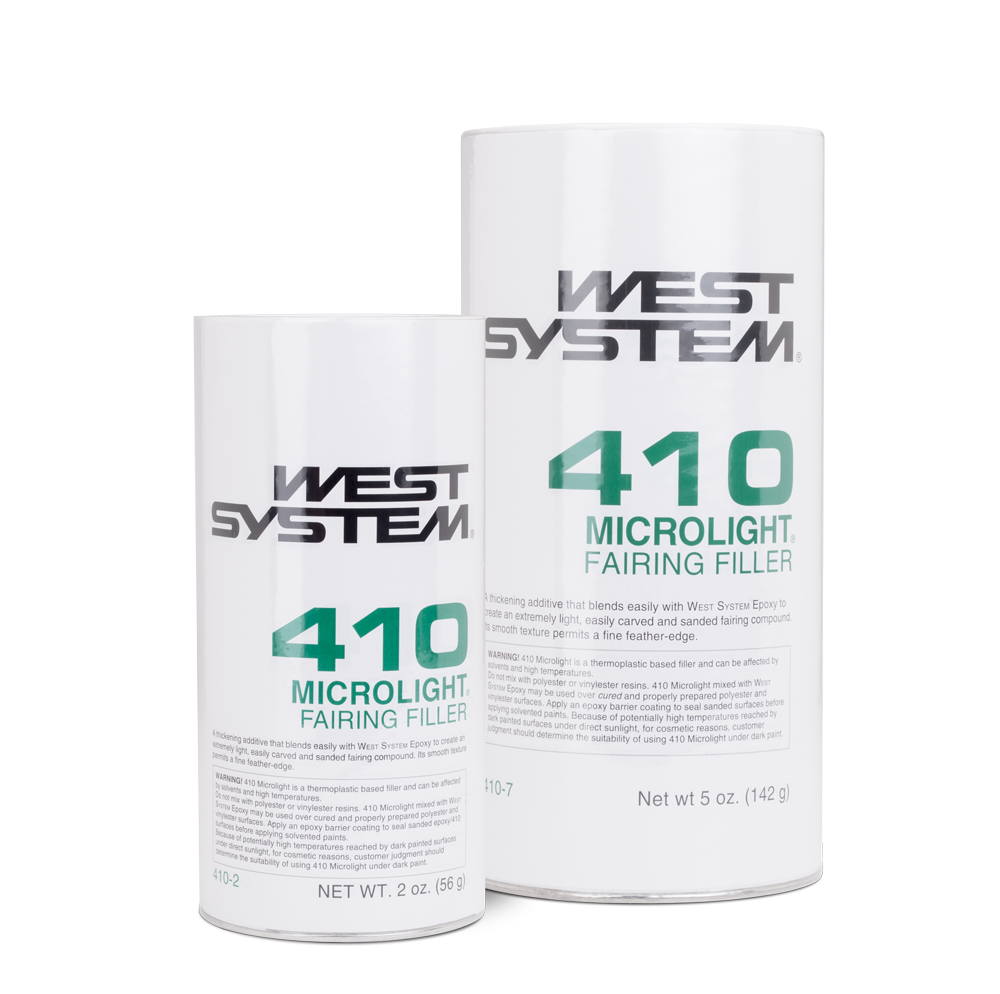
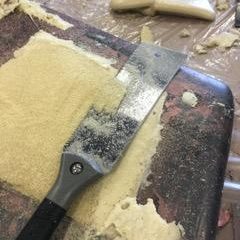
The foam that expanded above the surface of the rudder needed to be removed. I used a Japanese pull saw to cut the foam flush with the surface. The sharp saw cut the foam easily and a 6″ pneumatic orbital sander helped to smooth the areas quickly. There were some areas that the foam did not fill and left some pinholes. I mixed a batch of epoxy, thickened with WEST SYSTEM® 410 Microlight®, to fill the imperfections and any low spots. The resulting surface was fair with the original laminate.
I needed to recess the foam in the openings I had cut into the rudder to accommodate the new skins. The original fiberglass laminate measured 1/8″ thick. I used a router set to that depth to remove the extra foam. The foam needed to be a consistent depth across the entirety of the opening because the fiberglass would follow the contour of the surface below. Any small bits left were removed with a grinder.
The next step was to grind a 12:1 bevel around the perimeter of each opening. At laminate thickness of 1/8″, this meant the bevel would need to be 1 ½” wide. I decided to increase the bevel to 2″ wide to provide ample bonding surface area. I used a 36-grit flap disc to grind the laminate close to the desired bevel angle. I finished refining the bevel using an orbital sander with 60-grit and a little hand sanding.
You may ask, “why didn’t you reuse the old fiberglass laminate instead of installing new fiberglass?” The areas being removed were fairly small, so it was easier for me to layup new fiberglass fabric. This avoids some of the additional grinding that would be required to bevel the old fiberglass panel. I would also still have to layup new fiberglass to bridge over the cut line to make the skin one piece of fiberglass again. If the repair was large, it may have been a smart choice to save the existing fiberglass laminate that was cut off and reuse it on the repair.
As previously determined, the old fiberglass laminate measured 1/8″ thick, and I would be creating a new fiberglass skin to the same dimension. I referenced the WEST SYSTEM User Manual & Product Guide. In the Reinforcing Materials section, the layup thickness chart helped me determine I would need approximately two layers of 10 oz. Glass Fabric (745) and three layers of 17 oz. Biaxial Fabric (737). This was a good starting point.
I laminated a small sample with one layer of 10 oz. fiberglass fabric, three layers of 17 oz. fiberglass fabric, and one additional layer of 10 oz. fiberglass fabric on top to know exactly what thickness I would achieve. There’s a level of variability in the hand layup process so not everyone achieves the exact same results. After measuring my test sample, I realized it was slightly too thick. I opted to swap one layer of 10 oz. fiberglass fabric for a layer of 6 oz. Glass Fabric (742) to achieve the desired 1/8″ thickness.
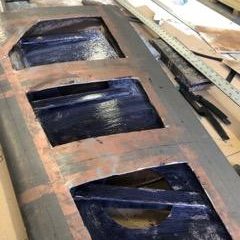
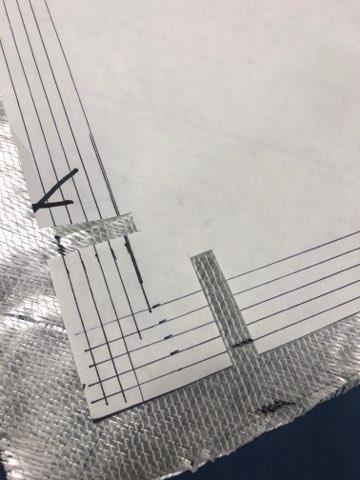
I created templates to mark out the fiberglass layers for each opening. I chose to use thin paper so I could see the outline of the largest layer through the paper. For each subsequent layer, I marked my template a ¼” shorter along the perimeter. This gave me what’s called a ply drop, creating a gradual transition onto the existing fiberglass laminate. As I cut each fiberglass layer using my templates, I labeled them with an indelible marker. For the first opening, I labeled the pieces 1-1 through 1-5, the second opening was 2-1 through 2-5, and so forth until I had pieces cut for all of my openings.
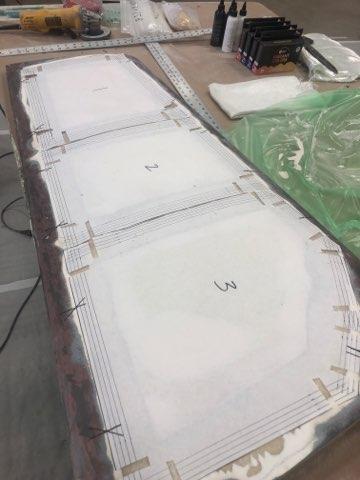
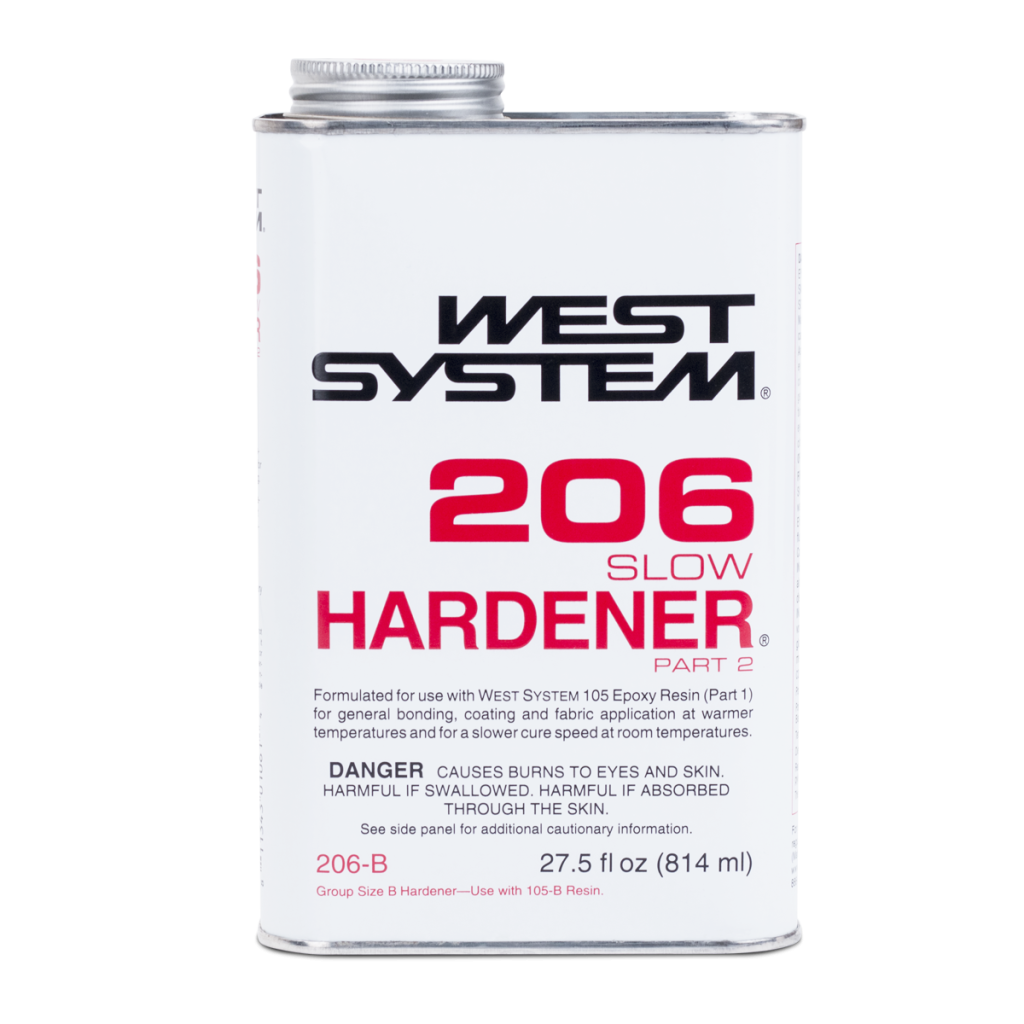
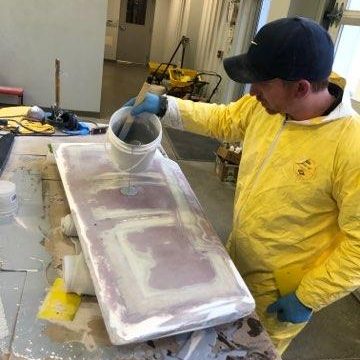
To have enough working time to layup one whole side of the rudder, I chose WEST SYSTEM® 105 Epoxy Resin® and 206 Slow Hardener®. I applied each layer of fiberglass wet on wet, starting with the largest layer and working to the smallest.

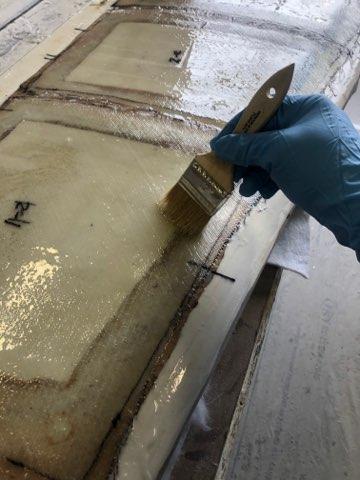
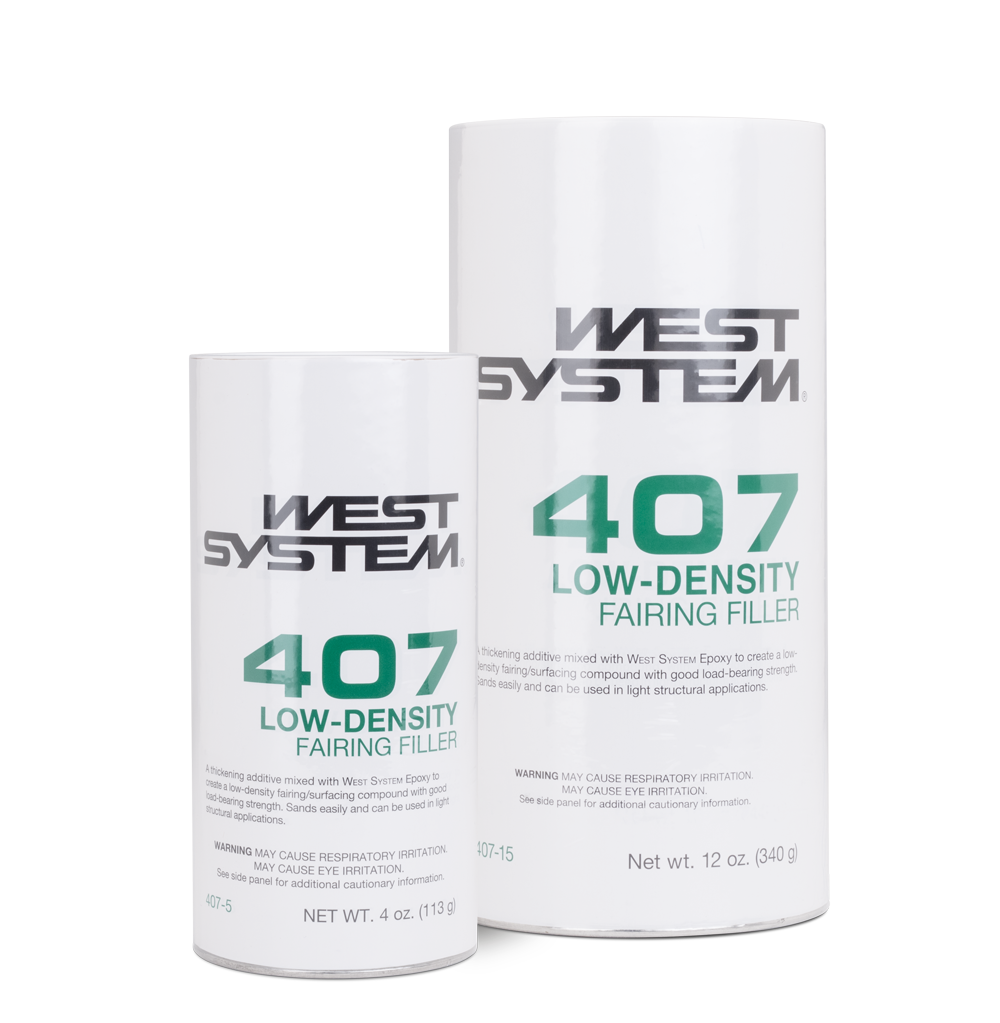
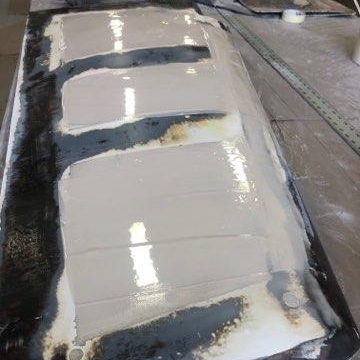
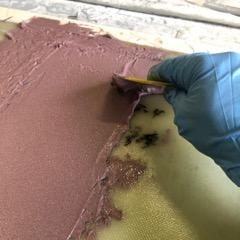
After I had all the layers applied, I waited for the epoxy to set up a little and become tacky. At this stage, I spread a layer of fairing compound (epoxy thickened with 407 Low-Density Filler) over the entire surface without having to do any additional surface preparation. Having the thickened epoxy on the surface helps fill the weave of the fabric and acts as a starting point in filling any potential low spots. I applied a layer of release fabric over the thickened epoxy and used a plastic spreader at a low angle to smooth the surface. Once cured, I could repeat the same process on the opposite side of the rudder.
Having a smooth surface and a fair surface are two different things—like comparing an apple to an orange. Fairness refers to the shape of the surface, while smoothness refers to the texture of the surface. As a point of reference, a wood batten can be used to judge a fair surface, while the friction you feel running your hand across the surface can help you determine if a surface is smooth.
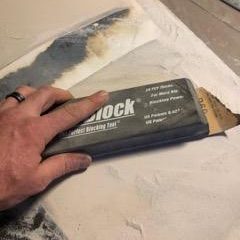
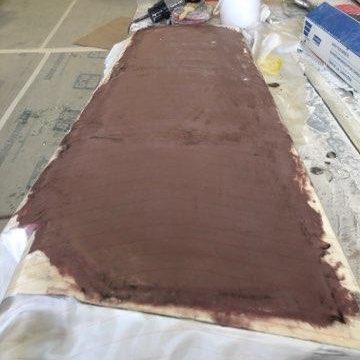
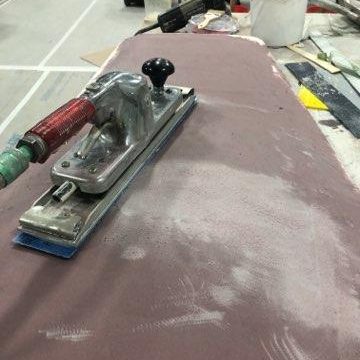
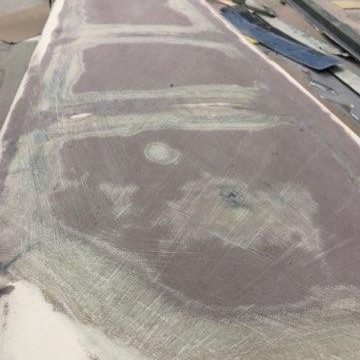
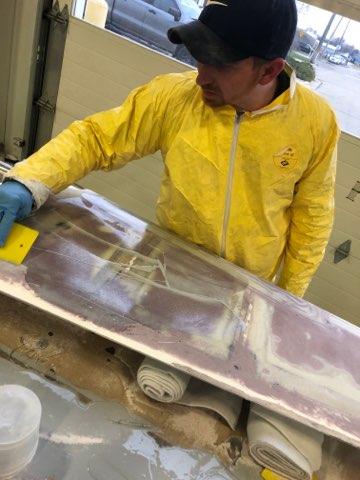
After removing the release fabric, I had a textured, unfair surface. Not to worry. The next step was to make the rudder surface fair again. I needed to use a long sanding block (longboard) to remove any high spots. The low spots on the rudder are left unsanded due to the longboard bridging across from high spot to high spot. Because of the addition of the filler coat at the end of my fiberglassing process, I did not have to go back and refill any low spots with additional fairing compound.
Up until this point, I had largely ignored the crack in the fiberglass around the rudder shaft. Having filled the rudder with foam, and the fiberglass skin now repaired, I felt the rudder was stable enough to begin work on the crack. I used a rotary tool to open up the crack. I made sure to open the entire length of the crack so it did not continue to grow after I finished the repair. By opening the crack, it increases the surface area for better bonding.
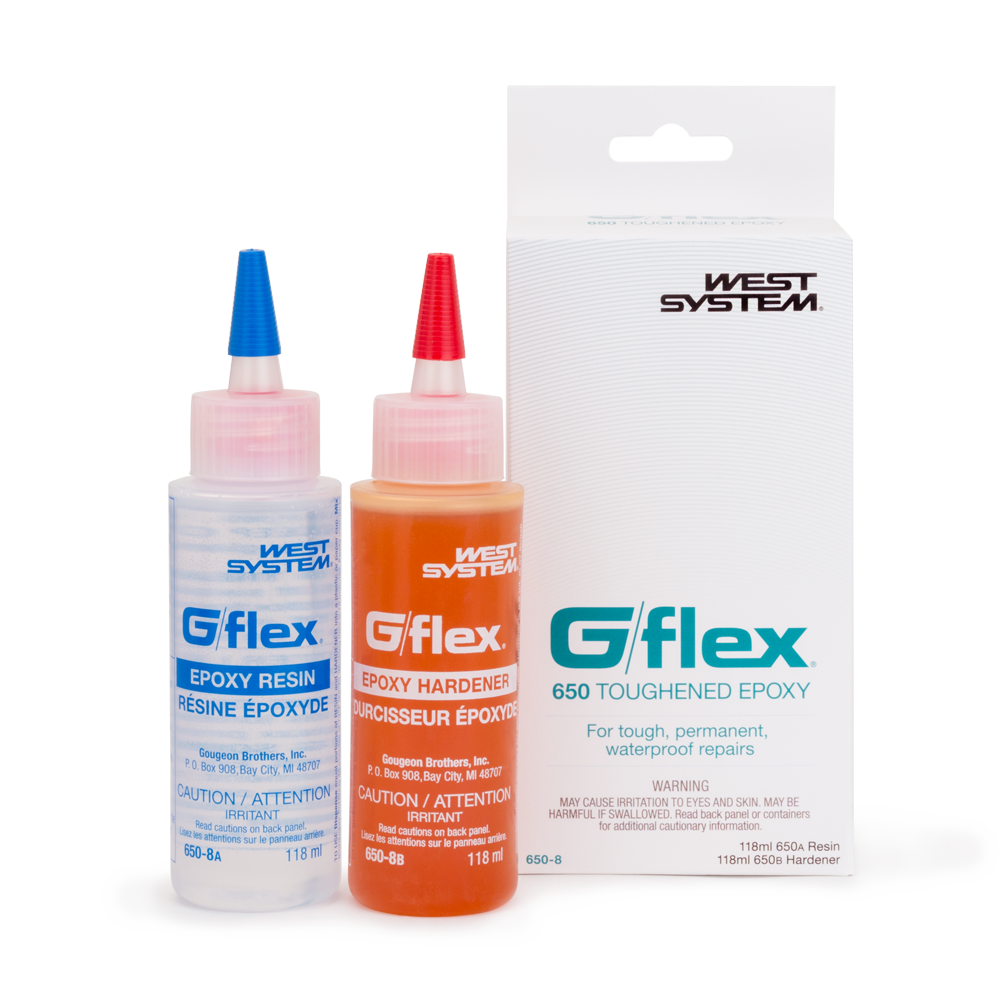
I chose to use G/flex® 650 Toughened Epoxy because of its superior ability to bond dissimilar materials—the fiberglass, the foam, and the stainless-steel shaft. I mixed up a small batch and filled in the opening I had made with the rotary tool. Once it had cured, I sanded it fair to the surrounding area.
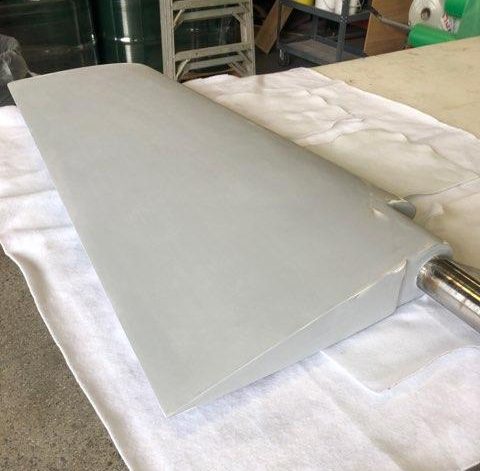
The rudder needed a final coat of epoxy after fairing to seal the surface and fill any pinholes that may have been exposed in the process. I mixed a batch of 105/206 tinted with 503 Gray Pigment. I leveled the rudder and poured a thin layer of the tinted epoxy over the entire surface. This created a uniform coating. I passed a propane torch flame over the wet epoxy to remove any air bubbles within the coating.
After the epoxy cured, I grabbed my trusty longboard to do a final sanding pass. Then I rolled and tipped a couple of last coats of tinted epoxy.
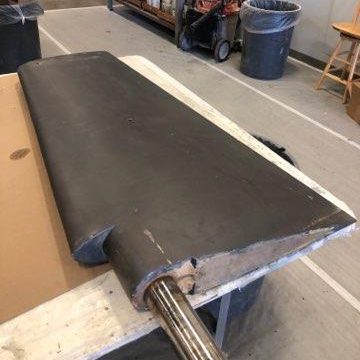
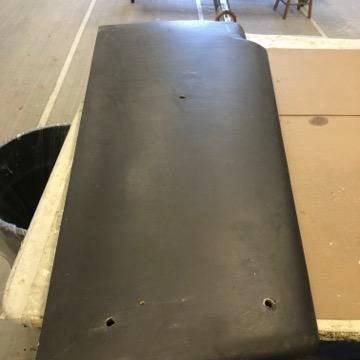
To prepare the surface for paint, I used an orbital sander to dull the epoxy’s surface, per the paint manufacturer’s specifications. For this step, I used an orbital sander because I was simply creating the desired texture on the surface, not sanding for fairness.
The process taken to repair this rudder is commonly practiced in boatyards. Trying to dry the foam over time can be sufficient, but it is also unpredictable in terms of drying time. With this in mind, boat yards can’t accurately bid a job and achieve an effective repair in a timely manner. It may take weeks to dry the core, compared to just removing the foam and finishing the repair in a few days. Without breaks, this repair took about 10 hours of labor, plus the cure time of the epoxy and drying the foam in the oven.
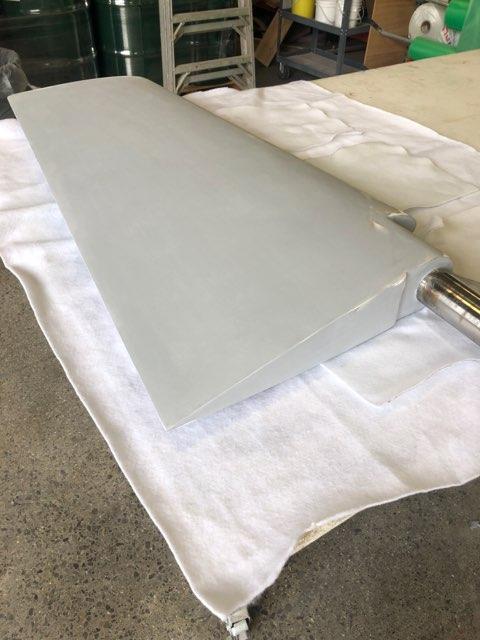
The repaired rudder looks good as new and is ready for paint. The owner of the rudder will not have an issue with water intrusion in the future.
To learn more about WEST SYSTEM products, and for free educational/instructional materials, visit westsystem.com.