

By Jenessa Hilger – GBI Marketing
As beginner to intermediate epoxy users, we focus a lot of effort on learning techniques for mixing and applying epoxy. While these skills are important, there are other aspects to epoxy success that most of us only learn through experience. Luckily, or unluckily, depending on how you want to look at it, I’ve learned a lot about what not to do from working on my own projects. Through my experiences, and hours hanging around our GBI Technical Advisors and their projects, I’ve learned a few approaches to help make things go smoother. Hopefully, some of the knowledge I’ve gained can help you on your next project.
Have a Well Developed Plan
It’s easy to think to yourself, “This will be easy. I’ll just slap a little fiberglass on here, a little epoxy on there, and bam! Good to go.” It’s important to walk through each individual step. How much epoxy am I going to mix? Am I going to mix it in one batch, or in stages to prolong pot life? Are all my materials cut to size and dry fit? Should I wet out my fabric in place or on a flat table? Will it cause problems if the fiberglass stiffness changes once wet out? How am I going to clamp? Etc. Basically, you want to do a dry run of the whole repair before mixing a drop of epoxy.
A few years ago, I was reinforcing the bottom of the drawers in my Ikea® wardrobe with some fiberglass, so they could support our heavy winter boots. The external temperature was around 80°F degrees, but the inside temperature of my garage where I was working felt much cooler. I grabbed my WEST SYSTEM® 105 Epoxy Resin®/206 Slow Hardener® and mixed my epoxy. I trimmed my fiberglass as I went, since it was such a simple shape. First drawer, no problem. Second drawer, no problem. Halfway through the third drawer (of seven) the batch kicked off in the pot before it even touched the fiberglass.
Lesson Learned: Develop a thorough plan. Be honest with yourself about how long each step will take… unless your project is to make a pot of smoking epoxy like I did.
Prepare, Prepare, Prepare
This is one I consistently struggle with. I’ve got my glass cut, my mixing cup and stick, and I’m ready to dive into epoxying. It’s only when I’m elbow deep in epoxy (while wearing our 838 Protective Sleeves of course), that I realize I need a knife, or I ran out of epoxy, or there was something else I missed.
For my rudder support article (“Bond Girl’s New Custom Rudder Support” in Epoxyworks 56), I didn’t even consider how much packing tape I would need for clamping to secure the laminate to the rudder. I’m pretty sure that by end of our layup, there were three or four different kinds of tape on it. We just kept grabbing the first thing we could find every time we ran out.
Lesson Learned: Collect all the materials and tools you think you might need ahead of time. Have them at your fingertips so you don’t run around like a chicken with its head cut off trying to find more tape.
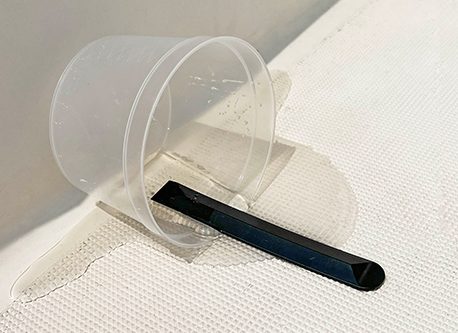
Work Cleanly
Cured epoxy is vastly more difficult to remove than preventing the epoxy from getting where it shouldn’t be in the first place. We’ve all been lazy—unintentionally spreading epoxy from dirty gloves, or sloppily applying excess epoxy because we’re in a hurry. It happens. However, we end up spending so much more time and effort removing the cured epoxy slop than if we had taken a little more time to start with.
The first step to working cleanly is to prevent unintended epoxy slop. Mask off more area than you need to—epoxy gets everywhere. I’ve even found it in my hair on occasion. Change your gloves often. Once your hands get hot and sweaty it’s a real pain to put a new pair on, but trust me. It is much easier to change your gloves than deal with the mess.
The second step is to clean off excess material from the project, and the surrounding surfaces, before the epoxy cures. It’s easy to wipe off when wet, but it’s time to break out the grinder when the epoxy is cured.
Early in my career here, I heard a story about the windmill blade building days of GBI. The workers were applying too much epoxy, which meant they were spending a lot of time every day sanding or grinding it off. To remedy this, a “policy” was instituted. “You epoxied it. You sand it.” True or not, my husband and I have implemented this “policy” within our family. I must say, it makes working on projects together much more enjoyable.
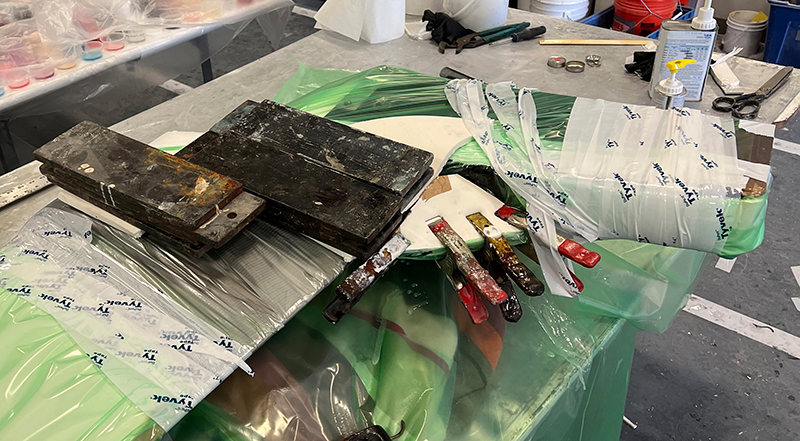
The third step is to have the proper clean up materials at hand—a full roll of paper towels, acetone for your project, and a bottle of waterless hand cleaner, like GoJo®, for your skin. Even for small projects, proper cleanup is important.
Lesson Learned: A little extra care in applying the epoxy is actually a short cut, and, in my experience, makes for a happier marriage.
Know Accidents Will Happen
Yes, that’s right. It’s not a matter of if, but when. The experienced epoxy user approaches a job with this in mind, so they are prepared to handle most issues on the fly.
One spring, my husband learned this the hard way. He was spending the afternoon working on our boat at the yacht club rebuilding winches and relocating some hardware. While he was below digging out a syringe to fill the hardware holes, a gust of wind caught the drop cloth he was working on and dumped a pot of mixed epoxy all over the aggressive nonskid in the cockpit. He hadn’t planned on doing a major project, just filling a few hardware holes, so he had only packed some paper towels. He wiped up as much as he could but still needed to quickly remove any remaining residue before it cured. Luckily, he kept his cool, contacted a friend who lived about a mile down the road, and borrowed acetone from him (which was faster than running to the store). Now, whenever we plan on epoxying, we make sure we have sufficient products for a proper clean up.
When an accident does happen, keep your cool and try to pinpoint the issue. Then ask yourself these questions: Is this fixable before the epoxy cures? Should I finish part of the application and allow it to cure, then regroup? Is it better to remove everything before it cures and start over? The most disheartening thing is to keep trying to fix it, only to realize once it’s cured that you made things worse than when you started.
Lesson Learned: Don’t panic. Think it through. Always pack your solvent just in case.
Take your Time
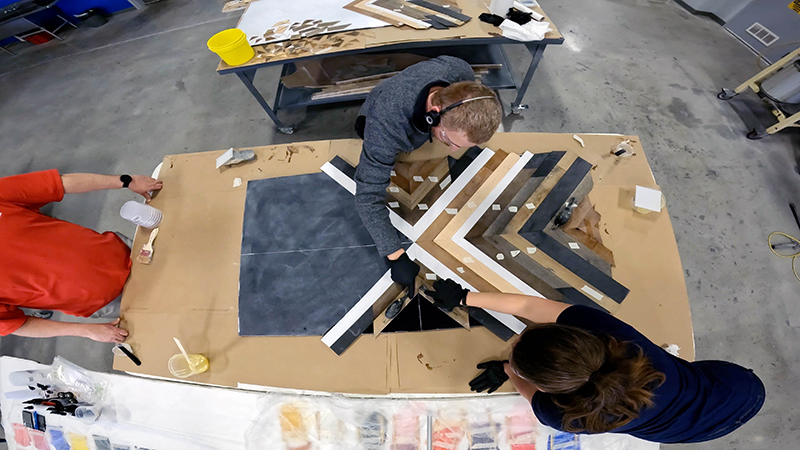
As with all things, good work takes time. Build in time to get your project exactly how you want it before the epoxy cures. Be realistic with your abilities and time estimates. Whenever possible, plan in extra time before the epoxy cures or have an additional person available to assist if you run into problems. I am often volunteering to do this in our tech shop. It gives me great insight into their thought processes, and they get an additional set of hands to mix batches of epoxy, grab materials, or act as a temporary clamp. Win-win.
Lesson Learned: Make friends with other people who love epoxy too.
It takes time to make these tips second nature in your epoxy project routine. I’m definitely guilty of ignoring my own advice from time to time. However, incorporating these tips into your next epoxy project will help minimize surprises and maximize results.


